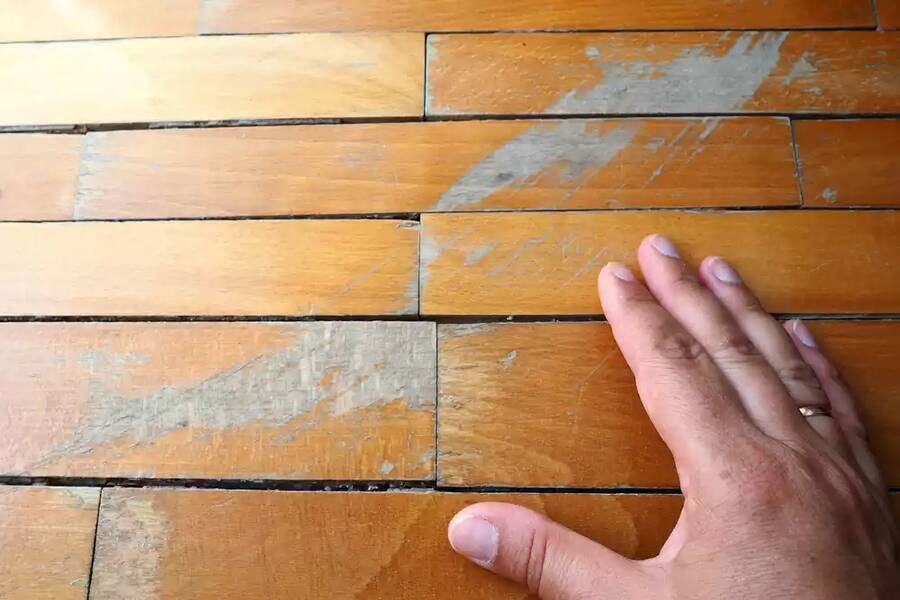
Preserving the eternal charm of hardwood floors has become one of the top priorities of homeowners. However, as the floorboards age, they can crack and deform, and consequently, gaps may develop between them. Such variations tend to give an unpleasant appeal to the flooring and possible safety problems if not examined. On the good side, you can fix these problems using some basic DIY skills and the necessary tools. This will restore the continuous look of your flooring and prevent any future problems related to these gaps.
Through this article, we will look at authentic ways of filling gaps in floorboards. Specifically giving a step-by-step- guide and expert tips to help you get the same quality results as the pros themselves. Whether of the size of your holes or cracks, there are options available fitting to both your skill and needs. You can actually enhance the beauty of your flooring and make them last longer. After understanding the principle of floorboards gaps and taking the ideas of repairs. Let’s get into this installation: from floor faulty to perfect.
Understanding Why is There Gaps in Wood Floors
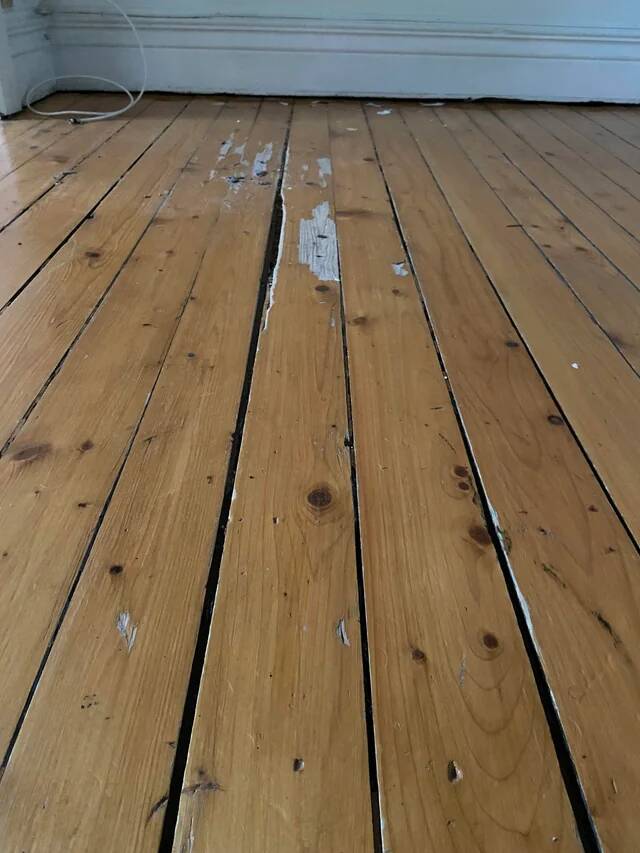
Did you notice those small spaces between your wooden floorboards in any way? Actually, they’re called gaps, and there are different reasons for that. Let us have a look!
The first reason is the weather. You must remember those times when it is very humid as if you could experience a sticky feeling outside. The humidity in the air can cause the wood in your floorboards to expand, and they can loosen and sag a little, like how a sponge absorbs water. And sometimes, when it’s very hot, the wood can shrink, like a grape drying into a raisin. Such wood alterations may lead to the formation of small sizing gaps between the floorboards.
The wood can also change itself as it becomes older. It’s a standard situation of the aging process. Similarly, your wood may develop cracks, just as your jeans may have some wear and tear after they’ve been worn out.
However, the good news is that these problems can be realized and solved. There are a few DIY methods you may want to try, that should fill any unwanted gaps and make your floors look just like new. Therefore, watch out for this kind of advice.
3 DIY Methods to Filling Gaps in Floorboards
Depending on the gap size, wood type and floor finishes there are three common DIY methods to fill gaps in floorboards. Those are mentioned below.
Wood Filler
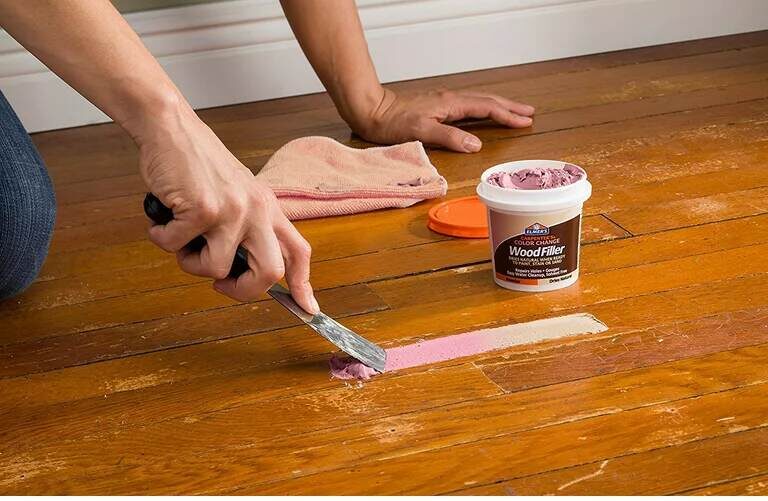
Wood filler is a treated material that can literally mend those served floors and make them look smooth and seamless again!
For one, when your floorboards have gaps, it is like you have a little opening that is very low indeed. However, using wood filler will enable you to fill those gaps and restore your worn-out floors to a like-new appearance.
As a matter of fact, you are just required to place the wood filler in with vertical or horizontal gaps between your floorboards and then allow the filling to air dry. Now, when you do a mix around, you can use a sheet of sandpaper on it to make it smooth and uniform, just like the main part of your floor.
And the best part is the wood filler is available in several visible color options as well, to have a better match with the shade of your floor. In no time, you can restore wood floors to their flawless condition again just after applying wood filler.
Rope caulk
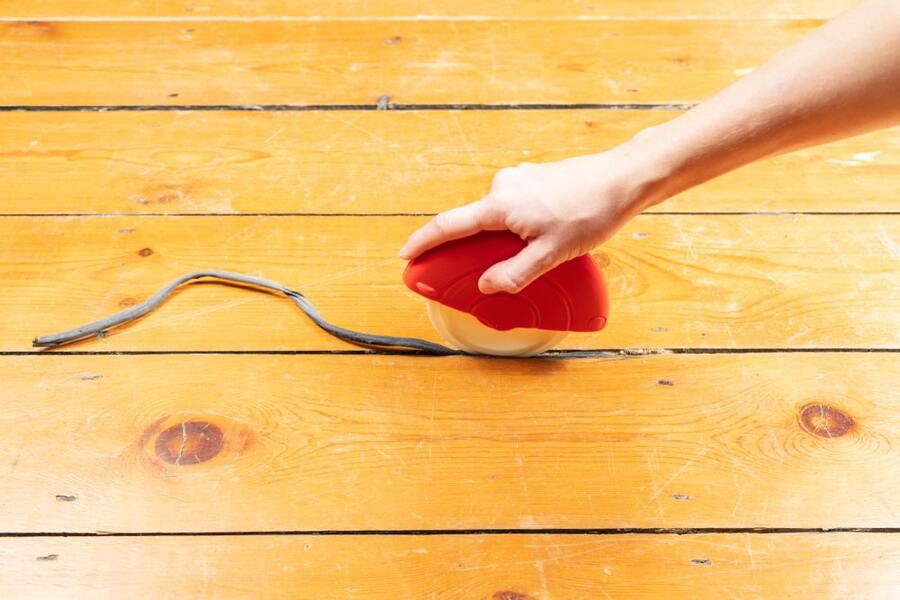
Well, it’s super easy method! The only thing you are supposed to do is use the rope caulk to fill the coordinate where your floorboards meet. It’s much like playdough to fill all the space—just squeezing to get the gaps in.
Flexibility is one of the best things about rope caulk. If your floorboard expands and contracts, the rope caulk will be able to squeeze itself into corners and move without cracking or falling out. Additionally, depending on which of the many color options you prefer, you can find one that matches the color of your floor floors.
All you need to know is that there are a few straightforward steps that you can do to use rope caulk to fix your floors without making them obvious. Thanks to these connectors, small separations will become history, and you’ll get the real smooth surface under your feet!
Sanded Wood Dust
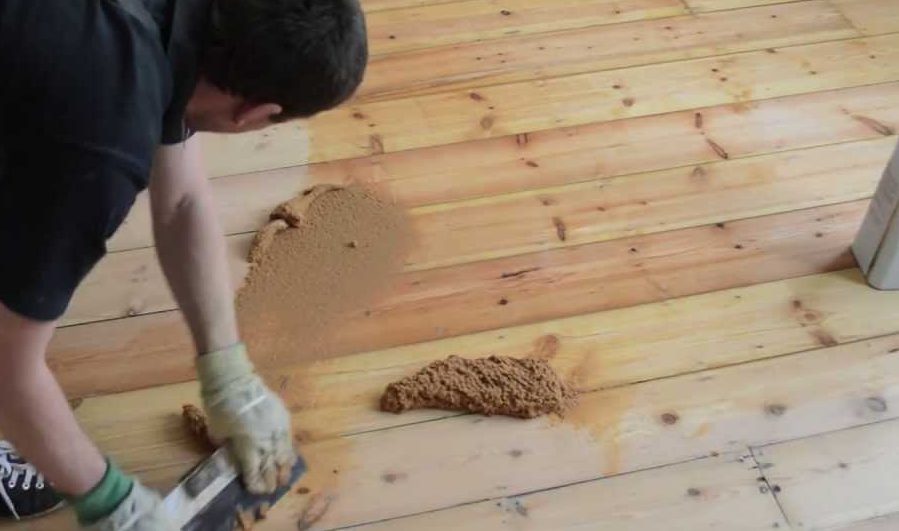
The another way to fix those gaps in your floorboards: sanded wood dust in the dried stage. It’s a mini DIY magic that can make your floors appear like they have been perfectly set. To do this you pour sanded wood dust into a bucket, add glue, and stir them together thoroughly until the mixture becomes a sticky paste. After that, you just put the plaster into the spaces in between your floorboards and wait until it dries out. After you apply the polyurethane, you can sand it down once it is dry, giving it a smooth finish, just like the rest of your floor.
You may opt to prepare the wood stabilizing glue to yourself and get wood dust from sanding or sawing the wood. It is like recycling: something old is used for the creation of something new!
All you need is a bit of work, some sand dust, and stuffing glue, and you will have floors looking perfect once again.
Filling Gaps in Floorboards: Steps by Steps
Therefore, let’s go ahead and undertake the process of making those dull places in your floorboards look neat, with points. look how one small change can go a long way in bringing the desired effects.
Step 1: Gather Your Material
Let’s first assume that you have some wood filler, rope caulk, and sanded wood dust with glue. In addition, you should have a putty, sandpaper, and fresh clothes.
Step 2: Prepare the Area
First of all we advise you to make the area clean in case there is any dirt or debris. Use a vacuum or broom to dust the floorboards, and make sure you get the dust out between them.
Step 3: Apply the Filler
Now, here comes the moment to deal with all those gaps! A wooden filler stick is valuable and helpful for repairing slight cracks, Gaps, or imperfections on the wooden surface; apply it with a putty knife and smooth it out until the gaps are filled. Applying rope caulk is a different procedure compared to this task. It would help if you put the rope caulk into the gaps with your fingers so that they will be filled. However, at this point, you can also use sanded wood dust and glue mixed in case you have either one of them to make a paste and apply it to the dents.
Step 4: Let It Dry
It is important to fill the gaps first and then let the filler (settle) that dries completely. Quite obviously, the gradual absorption may take a day or two, so better be patient!
Step 5: Sand and Finish
Once the filler dries, rub it with sandpaper to even out any projections and connect it with the other floors. Now that all your hard work is done, wipe the dust away with a clean cloth and see the things you have done!
Here is the step-by-step aid on how to fill the gaps in your hardwood floorboards. You can get your floor looking like new again with only a little effort and a correct set of materials.
How to Prevent Gaps in Floorboards?
Filling the gaps in your hardwood floor helps to preserve the integrity of the wood while also keeping its natural beauty. During the dry winter months, the air is full of dust or allergens and can irritate your skin, eyes, nose, or lungs. One effective way to protect your health is to maintain consistent humidity levels within your home. Changes in humidity may result in the increase or decrease of the wood in the floorboards warping and, eventually, the development of gaps and cracks in the material. As to regulate the indoor humidity, it is desirable to use humidifiers or dehumidifiers. They help to smooth out the fluctuations in humidity and gap formation.
Appropriate framing of subfloors with sufficient ventilation is also key to avoiding the space of flooring. Sufficient ventilation contributes to the drying up of the dew under floorboards, which leads to them shrinking or cracking. Ensure that your house has appropriate subfloor ventilation, especially in the portions of the house where the humidity or moisture is likely to be high, such as the basement and crawl space.
Last but not least, factors that should also be emphasized are the quality of the hardwood flooring with tight joints and ensuring proper installation processes. Besides hiring a trained installer who observes the industry standards and makes sure your floorboards are installed properly and securely. their risk of gaps appearing with time will be significantly decreased.
Finally, strategically placing area rugs or furniture pads under furniture. That is frequently moved in heavily trafficked areas and can also be effective in minimizing wear and tear on the floorboards. Thereby reducing the risk of gaps forming. These protective measures still maintain the extra layer of cushioning and support. Which prevents the items from falling and bumping on the hard floorboards.
FAQs
What is the Best Thing to Fill Gaps in Floorboards?
Amongst those options that may fill floorboard gaps, the best option is the best one, depending on the size or extent of the gaps. Among the usual choices are wood filler for smaller gaps, rope caulk for medium-sized ones, and sand wood dust with glue for large or irregular spaces. Select the choice that suits you the most regarding your needs and desires.
Why Are There Gaps in My Wood Flooring?
Gaps in wood flooring may be there due to various causes such as changes in humidity and temperature, settling of the house, or natural aging giving in to estrangement of the woods. Such elements can exert influence on the wood so that it can expand or contract, causing cracking between floorboards over time.
Can I Use Caulk to Fill Gaps in the Floorboards?
Yes, you can use caulk, including rope caulk, to fill spaces between floorboards. Rope caulk, a flexible material, effectively fills medium-sized gaps between floorboards. Pushing the rope caulk into the gaps follows, making sure that it gets into the texture and shapes of the floorboards, and cutting the excess caulk to achieve a continuous finish.
Should You Get Professional Help or Diy to Fill the Gaps in the Floorboards?
Deciding whether to seek professional help or tackle the task DIY for filling holes in the floorboards depends on the size of the gaps and the level of expertise. Sometimes, even a small size problem can be handled with a DIY approach. However, a larger or more complex issue may often entail the type of professional help.
Conclusion
In summary, excluding gaps from our hardwood floors is not only for aesthetic reasons but also for the structural integrity and safety of our floors. Through identification of the floorboard gap causes and application of preventive measures, including regulating indoor humidity levels, providing suitable subfloor ventilation, selecting high-quality flooring, and using protective tools like area rugs, you can minimize the chances of gaps appearing in time. Let’s assume they do occur. In this case, various DIY methods such as wood filler, rope caulk, or sanded wood dust and glue can quickly fix such issues, proving to be quite effective. Implementing all these, you’ll have no problem keeping your flooring looking good and beautiful, which ultimately improves your home’s aesthetics for years.

