Get ready to renew your typical concrete floors to the next level. We’re here to make your dream come true and will guide you every step of the way. It is easy to think about changing the design of your floors and not having a hard time doing it. Now let’s see how easy it will be to install vinyl plank flooring. So stay tuned.
Picking vinyl plank flooring for your concrete floor gives you the benefits of both worlds: vinyl’s convenience and good looks with the stability of concrete. This guide will help you with the extraordinary processes of installing vinyl on concrete, from getting the surface ready to placing each plank accurately.
Whether you are redoing the entire house or just updating your bedroom, knowing how to do it right can save you money and keep your place looking better. Let’s go ahead and find out how this works so you can do it quickly.
Deciding the Type of Flooring and Underlayment for the Project

When choosing flooring for the basement, we considered some options, but we ultimately went with luxury vinyl. It is very tough; it can withstand scratches, dents, and stains. Also, it’s waterproof, which is excellent for us since there is a kitchen down there, and we get away without spillage worries.
This luxury vinyl plank flooring featuring cork underneath makes it particularly suitable for basements. It makes walking quiet, warmer, and softer, even without extra padding. If you cover it directly on concrete, you must put a six-mil poly vapour barrier in place to prevent moisture and the floor from becoming softer. If it’s going on top of tile or hardwood, you might not need any padding, but check the package to be safe.
Also Read: Best Underlayment Recommended for Vinyl Plank Flooring
Step 1: Prepare the Concrete Surface
Vinyl flooring includes planks or tiles, luxury planks, and sheets. Each type has a different implementation method.
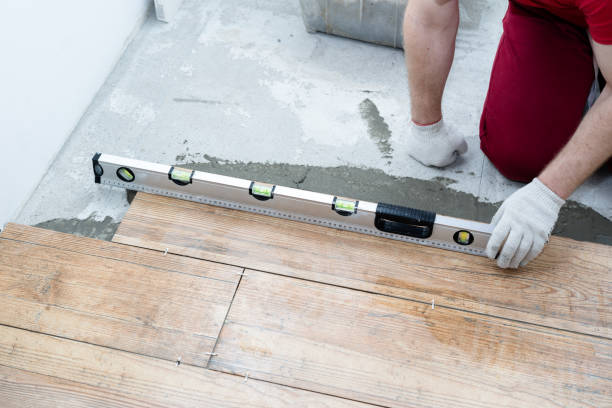
It’s a good idea to check that the concrete or wood floor underneath is level and neat before installing vinyl flooring. But if you use vinyl sheeting on concrete, you must do some preparation work.

Repair Cracks and Holes
Search the floor for cracks, holes, or uneven surfaces. If you find any, repair them with concrete filler or a special patching compound. If the cracks are too big, replacing that part of the floor with new concrete is preferable.
Remember that if your new concrete floor is less than 60 days old, do not install vinyl planks. This gives the concrete enough time to set correctly.
Grind Imperfections
Your floor must be even and smooth. If you sense any bumps or lumps, sand them flat with sandpaper or an electric sander. Begin with 40 or 60-grit sandpaper. When you sand, use a damp cloth to clean away dust.
Wash the Floor
But it is not only about sweeping. The old sticky stuff, grease, and oil should be removed by cleaning the floor well so the vinyl can stick completely. Cleaning ensures good adhesion between the levelling compound and concrete. Please clean the concrete floor well with water, some household detergent, or a special cleaner and degreaser. Be thorough in cleaning all oily spots or dirt on the floor. Finally, ensure the floor is dry before proceeding to the next step.
Moisture Testing
Next, we will discuss moisture. Concrete can absorb a lot of water, like a sponge. As vinyl planks easily bend or change shape with excessive water, you can use a moisture meter and go to the hardware store to check or use the old-fashioned way. Start by placing a small piece of the scrap vinyl on the subfloor. Make the edges airtight so that no air can seep in. Let the tape stay for these three days. On the fourth day, remove the tape from the floor. If it can be peeled off too quickly, then there might be excessively high moisture content, and it will not stick properly. If this happens, you must use a dehumidifier to remove moisture from the room. You must get it over before proceeding.
Step 2: Installation Process
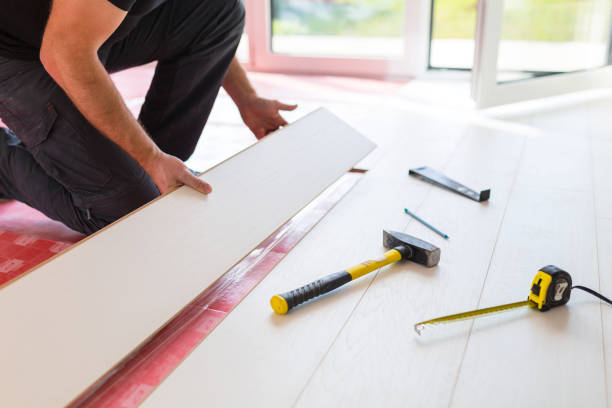
Installing vinyl plank flooring on concrete is relatively easy if you follow the process and possess the necessary tools. Here is a simple installation procedure, concentrating on correctly doing it.

Starting Point:
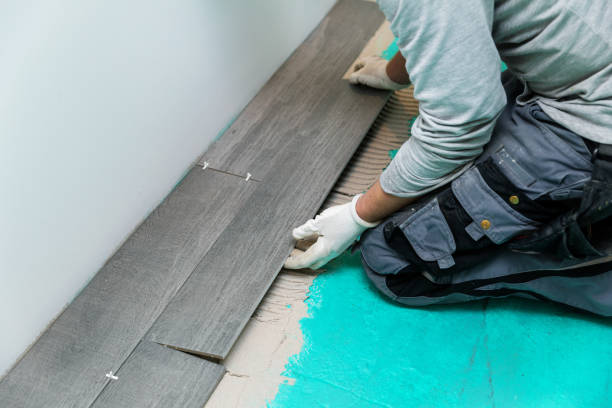
Deciding where to begin is a super important task. The best way is to start on the longest and straightest wall and use it as a guide to straighten your rows. If your room has too many corners or unusual spaces, begin at the main entrance. This way, on your first walk-in, you’ll see the beautifully straight lines of your new floor.
Laying the First Row:
This part is very crucial since it affects everything else that you do. Begin by determining how expansive the room is and determining how many planks will fit across. If the last row is too narrow, use the first-row planks as a cut-off to ensure the first and last rows are roughly the same width. Use spacers between the wall and the first row to leave some space for the vinyl to expand. Concrete floors can be influenced by moisture, so ensure the vinyl has enough space to adjust to the floor.
Cutting and Fitting:
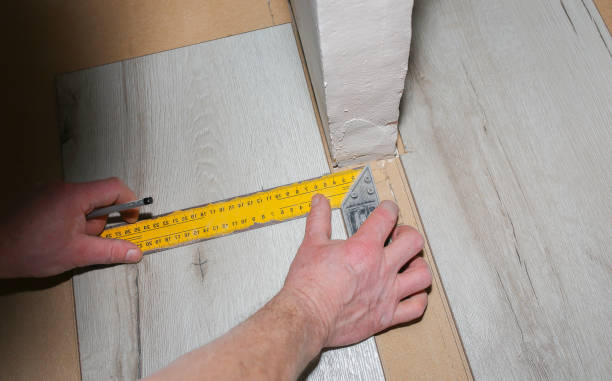
Along the way, you may encounter objects like door frames, pipes, and walls that are not straight. That’s where a well-chosen utility knife and a straight edge come to the rescue. First, score the plank with a knife and then snap it along the knife mark for a neat cut. A jigsaw will be handy when making curves or some fancy cuts. Moreover, when you’re fitting the planks around the items in the kitchen, leave room for the vinyl to expand.
Continue Laying Planks:
Go on laying the planks; however, ensure their ends are at least 6 inches apart from row to row. Consequently, the ground looks more natural and sturdy. It is essential to keep everything tight, especially on concrete floors so there are no problems later.
When you work, keep a consistent room gap all around. This margin allows the vinyl to expand and contract slightly with varying humidity and temperature, like in concrete floors.
If you follow the procedure carefully and take your time, your vinyl plank flooring on concrete will be unique and stay awesome for a long time.
Also Check: 9 Common Mistakes When Installing Vinyl Plank Flooring
Tips & Tricks To tackle the installing Challenges

Here are some tips and tricks to help you handle challenges when installing vinyl plank flooring on concrete: Here are some tips and tricks to help you handle challenges when installing vinyl plank flooring on concrete:
Initially, a floor adhesive remover can clean the concrete surface of any stubborn adhesive residue or sticky stuff. This will facilitate an easy installation process.
Furthermore, if you are dealing with moisture problems on a concrete subfloor, consider putting a moisture barrier under the underlayment. This will ensure that moisture-related issues will not arise shortly.
Also, when installing vinyl plank flooring around obstacles like doorways or vents, use a sharp utility knife and straightedge to make flawless cuts. The sooner you take time with these cuts, the cleaner and more professional the result will be.
Furthermore, if vinyl planks do not stick properly to the concrete surface, ensure the floor is clean and debris-free. Sometimes, even a tiny particle can impede the adhesive from bonding well.
Finally, consult professionals or the internet when you need help with difficulties. Plenty of information is available to help you with any issues and ensure you can complete the installation successfully.
Homebriefings Will Make This Work More Easy For You
With our Homebriefings, your project will be a breeze. With us, Homebriefings, you will have a much simpler step-by-step guide that anyone can understand. No matter how experienced you are with do-it-yourself projects, Homebriefings is a great resource. You’ll learn valuable tips and strategies to overcome any challenges you may encounter on the path to success. On the other hand, Homebriefings has expert advice and guidance throughout the project for a smooth transition. Say goodbye to the confusion and frustrations – with Homebriefings, you will confidently do vinyl plank flooring on concrete.
Conclusion
Finally, vinyl plank flooring on concrete is no longer a nightmare. It is possible to ensure spectacular results when all necessary and in case thorough preparation, the right equipment, and experts are made. Make sure to clean and prepare the concrete surface well beforehand, use an appropriate underlayment when needed, and pay attention to installation instructions provided by the manufacturer. With your carefulness and attention to detail, you can create stylish and hard-wearing floors that define your space for years to come. Therefore, dust off your tools and get ready to transform your dull concrete floors with complete confidence.
Read Next: How to Stagger Vinyl Plank Flooring for Professional Look

