Have you ever wondered how to make your Vinyl plank flooring super cool? Yes, it is possible by staggering them. Staggering vinyl flooring isn’t just a design choice, it’s an ultimate installation technique that enhances the overall aesthetic of flooring while contributing to the floor’s stability and longevity.
When it is done right, staggering creates a natural, seamless look by breaking up the repetitive patterns and ensuring a more dynamic appearance. It also helps to prevent the formation of visible joints and potential weaknesses in the flooring. Think of it as the secret behind that flawless, high-end finish you see in beautifully crafted floors.
So, how to stagger vinyl plank flooring? This article will walk you through a step-by-step process to expertly stagger your vinyl plank flooring. From avoiding common layout mistakes to precise plank spacing and blending techniques, you’ll learn how to achieve a stunning result that not only looks great but also performs well over time.
DIY Step By Step Guide to Stagger Vinyl Plank Flooring
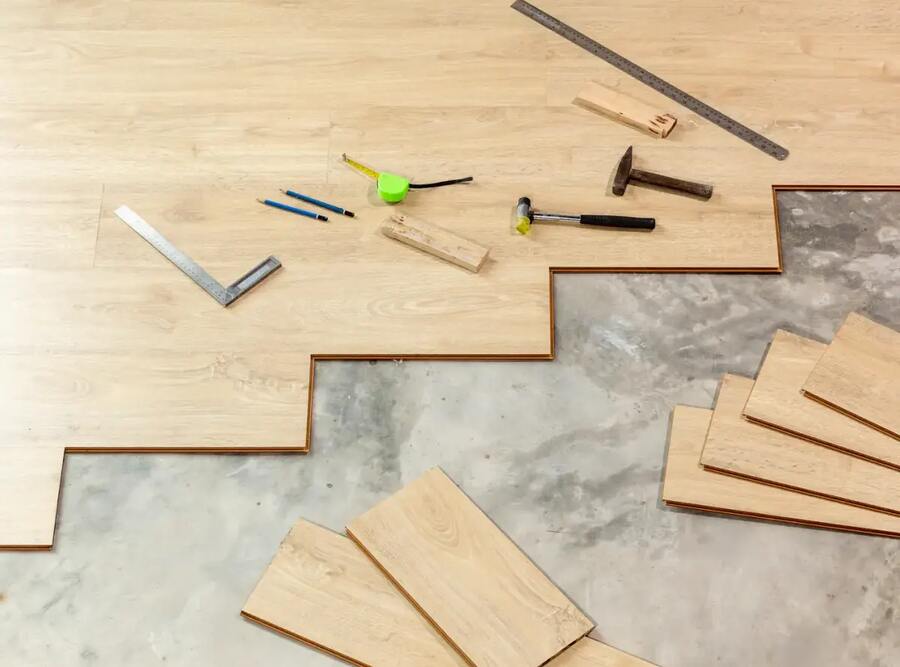
Gather the Required Materials and tools
Here is list of material and tools you will be required while staggering the vinly plank flooring.
- Vinyl plank flooring
- Tape measure
- Utility knife
- Straight edge
- Spacers
- Pencil
- Rubber mallet
- Tapping block
- Pull bar
Note: Lay the vinly planks flat in the room where they will be installed for 48 hours to acclimate to the room’s temperature and humidity.
Clean and Prepare the Subfloor
Begin with cleaning the subfloor, level and free of any waste materials. This process helps in making a flat surface which later on serves as a base for vinyl plank installation.
Make a Proper Floor Layout Plan
Measuring the room’s dimensions will help determine the amount of vinyl plank flooring needed and aid in planning the layout. Accurate measurements are very important for a successful vinyl plank straggering. Once you know the correct length and width of the room, You need to divide the room’s width by the width of the planks to find the total number of rows required.
This calculation will also help you determine the ideal size of the planks in the first and last rows. One time, I had a mismatch between the first and last row of planks and had to trim them to fit properly. It’s a tedious task, but it is essential for a professional look.
Set the Stagger and Plank Spacing Properly
After calculating plank widths, focus on plank lengths. Measure the room’s length and divide it by the full length of a plank. If the result exceeds the recommended six-inch staggered spacing, use full planks for the first row. If it’s less than six inches, use only a third of a plank for the first row. This part might seem like overkill, but trust me, it pays off in the end.
Proper plank spacing is crucial. When I first started, I didn’t pay much attention to this detail and ended up with an uneven pattern. The general rule is to keep a six-inch distance between the end joints of adjacent rows. This spacing works well with planks up to three inches wide. For wider planks, aim for a maximum spacing of 10 inches. Remember, spacing more than 10 inches apart increases the risk of forming H-joints patten, which you definitely want to avoid.
Flooring Tip: You can blend the planks to maximise the elegance of the vinyl floor. When I installed my floor, I mixed planks from different boxes to balance the color shades and create a natural look. This step enhances the visual appeal and makes the flooring look more dynamic and less uniform.
Install the First Row of Vinyl Planks
Start by trimming the tongue of the first plank with a utility knife. Place the plank with the trimmed side facing the wall, leaving a tiny expansion gap (about a quarter of an inch). This gap allows for the natural expansion and contraction of the planks. When I installed my first row, I realized the importance of this gap the hard way – my planks started to buckle after a few months. Connect subsequent planks until you reach the end of the row. If the last plank in your first row is less than six inches, trim the first plank slightly so that the last plank is longer. Keep the offcuts for starting the next row.
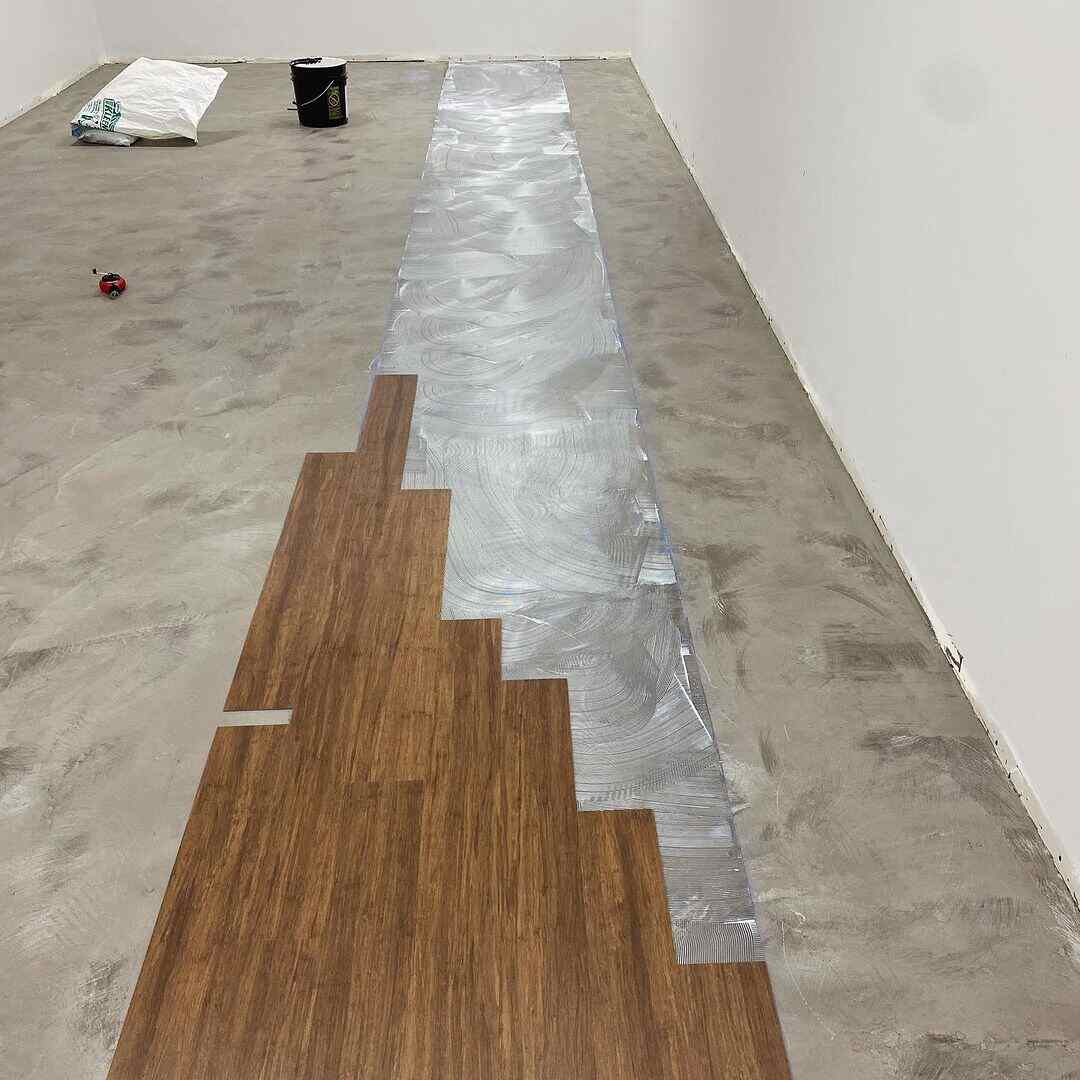
Stagger Subsequent Rows for Visual Appeal and Stability
Begin the second row with the offcut from the first row, ensuring its endpoint is at least six inches away from the nearest joint in the first row. This staggering pattern is vital for both the look and the durability of the floor. When I first tried this, I didn’t realize how important it was until I saw how seamless and professional the floor looked. Continue this pattern, alternating the starting points and using offcuts wisely to avoid H-joints and step patterns.
Cut and Fit Planks Around Obstacles
Obstacles like door frames can be tricky. Measure and cut the planks to fit around these areas precisely. Using a pull bar helps secure planks in tight spots, ensuring a seamless fit. I once tried to eyeball the cuts, and it ended up looking messy – precision is key here.
Complete the Final Row and Add Finishing Touches
As you approach the final row, measure and cut the planks to fit, maintaining the necessary expansion gap. Use a pull bar to lock the last row in place. After all the planks are installed, remove the spacers around the room’s perimeter. Reinstall or install new baseboards and trim to cover the expansion gaps, giving the room a polished look. This final touch makes a significant difference, it’s like framing a beautiful picture.
Clean the Floor and Inspect for Quality
Finally, clean the floor to remove any debris from the installation process. Inspect the entire floor for gaps or loose planks and make any necessary adjustments. Skipping this step can leave your new floor looking less than perfect.
Also Read: 9 Huge Common Mistakes When Installing Vinyl Plank Flooring
FAQs
What is the Best Pattern for Vinyl Plank Flooring?
The best advice for the pattern of vinyl plank flooring is not to overthink. Random staggering always looks better than repeating patterns on the floor. So stagger randomly and follow the minimum requirement of 6 inches during the installation.
How Do You Plan a Vinyl Plank Layout?
First, cut the planks according to room size and shape, then stagger their ends by 6 inches between each row. This installation gives the best appearance of the floor. Always mark and measure the distance and follow the recommended amount of expansion space between planks and walls.
Which Side of the Vinyl Plank Do You Start With?
It is recommended to start installing vinyl plank flooring from the left side of the wall with the tongue facing the wall. The first plank is placed on the starting line and cut side facing the wall. Now start staggered the joints at least 6 inches apart.
How Far Apart Should Vinyl Plank Joints Be Spaced?
The general rule of thumb is that 5-inch wide planks should stagger 6 inches apart from the joints. For planks above 5 inches, you can raise the distance between 8-10 inches. Still, don’t increase the distance above 10 inches, which makes it difficult to avoid H-joints.
Conclusion
Remember, staggering vinyl plank flooring is easy with correct cutting of the planks and right placement on the subfloor. Following the right steps you can make vinyl plank flooring more precious and long lasting.
Read Next: 10 Luxury Vinyl Plank Flooring Installation Pattern Ideas