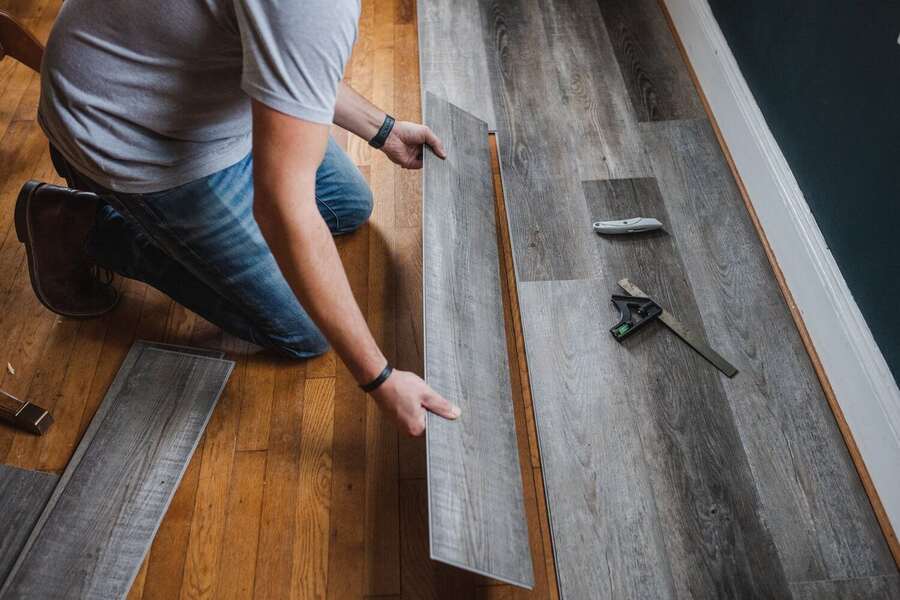
Vinyl plank flooring has become increasingly popular in recent years, and it’s no wonder. Its affordability, durability, and resemblance to hardwood make it an attractive choice for homeowners. However, installing vinyl plank flooring comes with its own set of challenges. Despite being known as a DIY-friendly option, there are common mistakes that can make the process frustrating.
In this article, you will know the most frequent errors made during the installation of vinyl plank flooring and provide tips on how to avoid them, ensuring your new floors look great and last a long time. Whether you’re an experienced DIYer or a first-time installer, knowing these potential pitfalls can save you time, money, and a lot of hassle.
1. Lack of Proper Subfloor Preparation
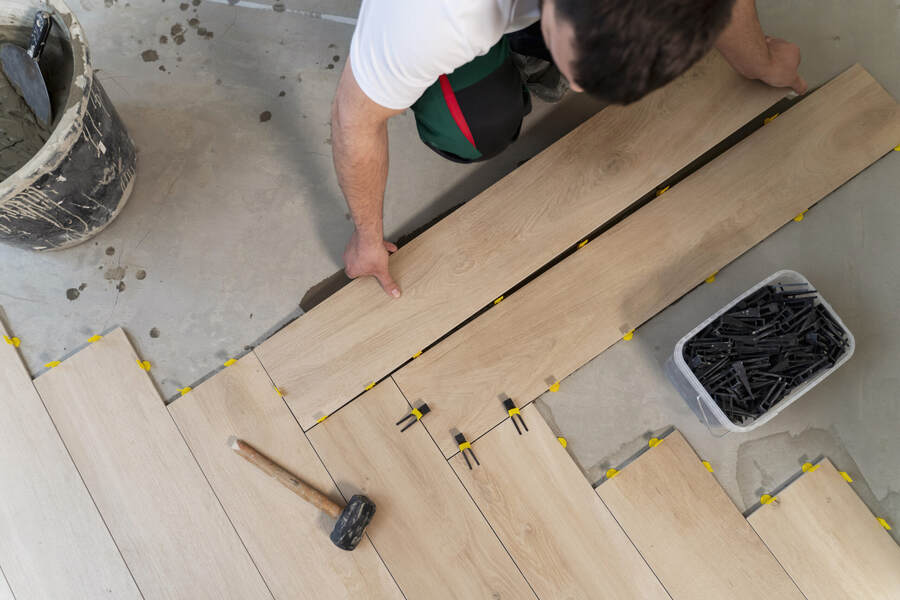
First, you should check if the floor is ready for installation before you lay the vinyl planks down. Proper planning generates less wastage and brings better results. Hence, sweep the floor beautifully, fill the cracks and bumps, and pay attention to it to ensure the surface is even.
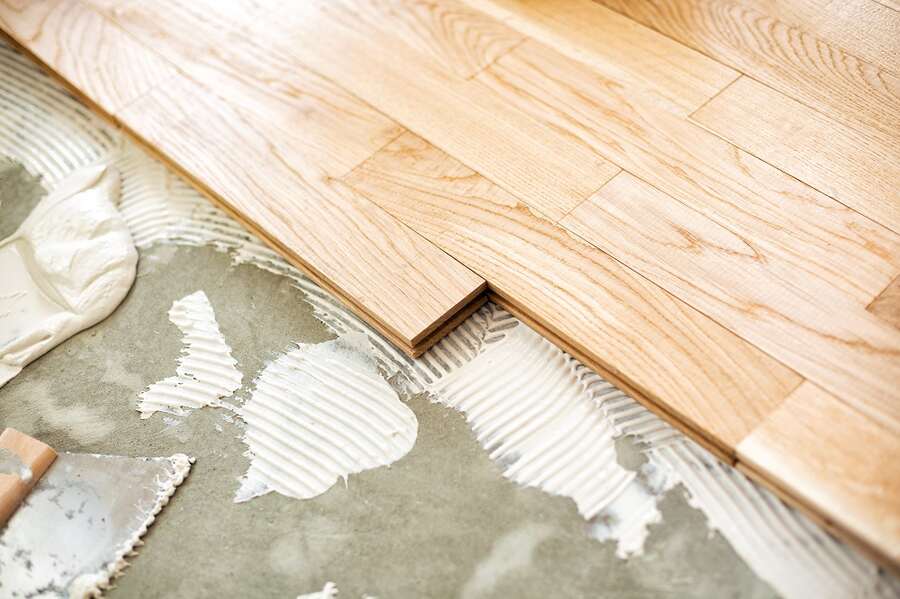
Put graph paper, hands-on models, or all of these to good use in order to come up with a decision on whether the floor should end with full or partial-width planks. The result is accumulated halfway through each end, which produces a more balanced total. By doing this, you will guarantee their position, and they will appear uniformly beautiful! Note that preparation is a prerequisite to successful project completion!
2. Poor Measurement and Layout of Vinly Flooring
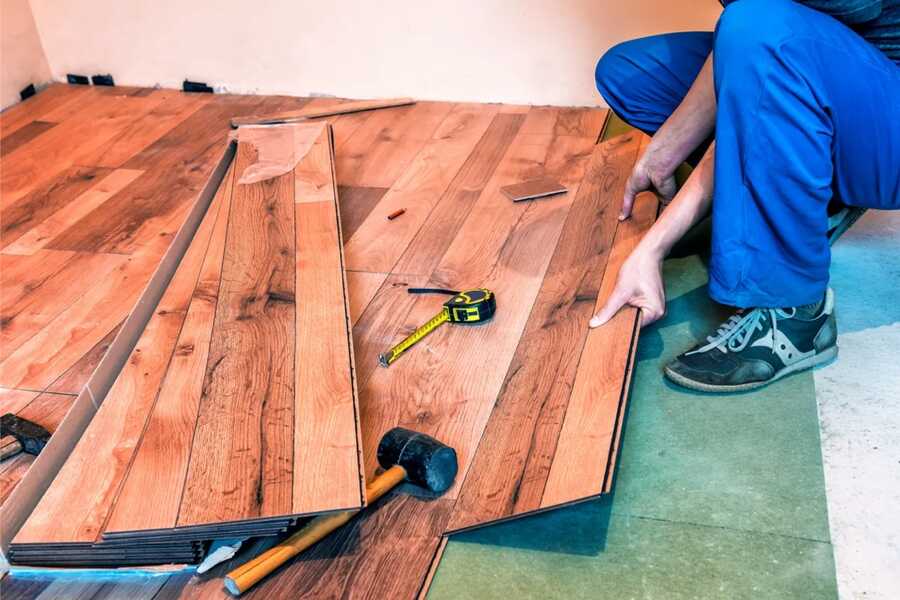
Now, let us discuss measuring and laying out the vinyl planks. If it doesn’t fit, then it’s not look good! Therefore, get your tape measure out and make sure you determine the size of the room. Then, decide the way you would like to lay down your boards, maybe in a cool pattern or just straight. measure twice and cut once.
Also Read: How to Measure Square Footage of a Room Precisely
3. Skipping the Underlayment for Vinyl Flooring
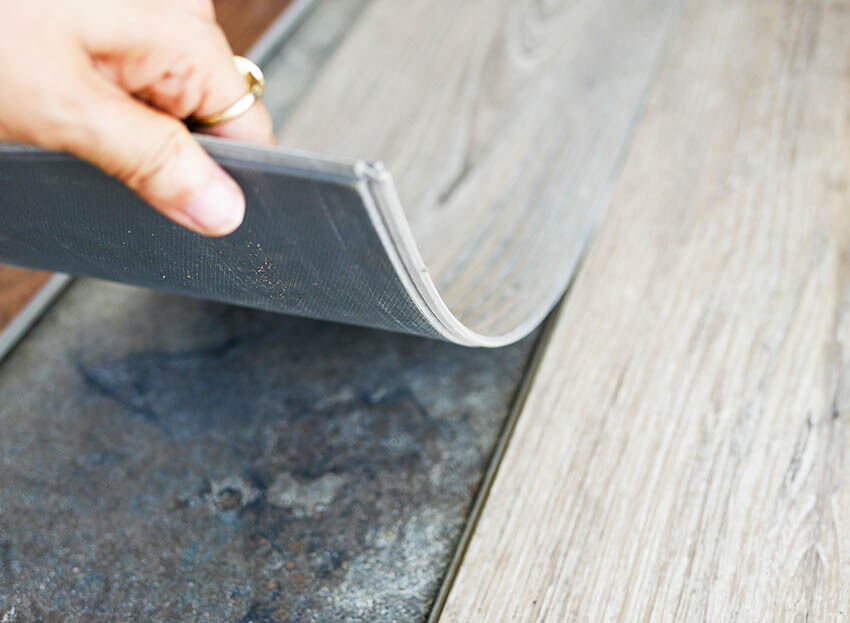
The underlayment does provide various key tasks. However, it gives a smooth base to lay down new floor coverings. Besides, it reveals the quality of waterproofing, especially in circumstances of wetness in the case of rain or fog.
Additionally, it contributes to the muffling of the noise, thus lighting the passing of outside sounds from above to below. It provides you with a cushioned, silent, and waterproof floor that is enjoyable to walk on. Do not forget to put in that underlayment before you begin to install your vinyl planks.
4. Neglecting Expansion Gaps between Vinly Planks
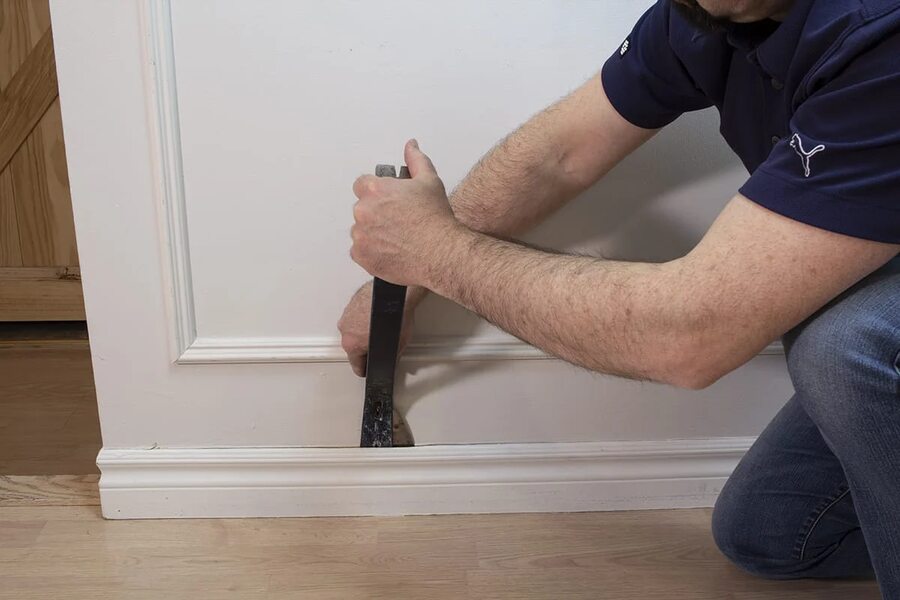
Imagine Expansion Gaps as the little gaps along your flooring’s edges – leave them some space. First, loosen and move the baseboards. Put your planks against the walls with the baseboard covering them.
If you are in this situation, remove the door trim or only trim a small part to accommodate the new flooring. When reinstalling baseboards, do not put them too tight against the flooring so they fit in properly.
These gaps help the flooring be able to withstand variations in temperature and humidity. Therefore, make sure that you have some space around the edges when placing the vinyl planks. It’ll help to keep your floor looking like new and to avoid any buckling or warping any time later.
5. Ignoring Vinly Plank Manufacturer Recommendations
All kinds of vinyl plank floors have some special characteristics. For the best cutting instructions to your flooring you must check the manufacturer’s installation guide. This guide will give you detailed and comprehensive information on different aspects like underlayment installation, pattern layout, gap allowances, snapping methods, etc.
Therefore, you should carefully read and follow their instructions. If you follow their advice on preparing the floor or using specified adhesives, the project will definitely come out superb!
6. Leaving Baseboard & Uncut Trims
The incorrect cutting of door trims may result in gaps, which may have to be filled with either sealant or caulk. If you wish to achieve optimal results, start the installation from the corners of the longest wall; this will help to achieve a seamless transition as well as a high level of elegance in luxury vinyl installation.
Do not leave exposed baseboards and uncut trims, or your flooring tiles will look sloppy. Thus, get your saw and trim them to fit tightly against the vinyl boards you recently installed. It makes everything look perfect.
7. Inadequate Adhesive & Materials
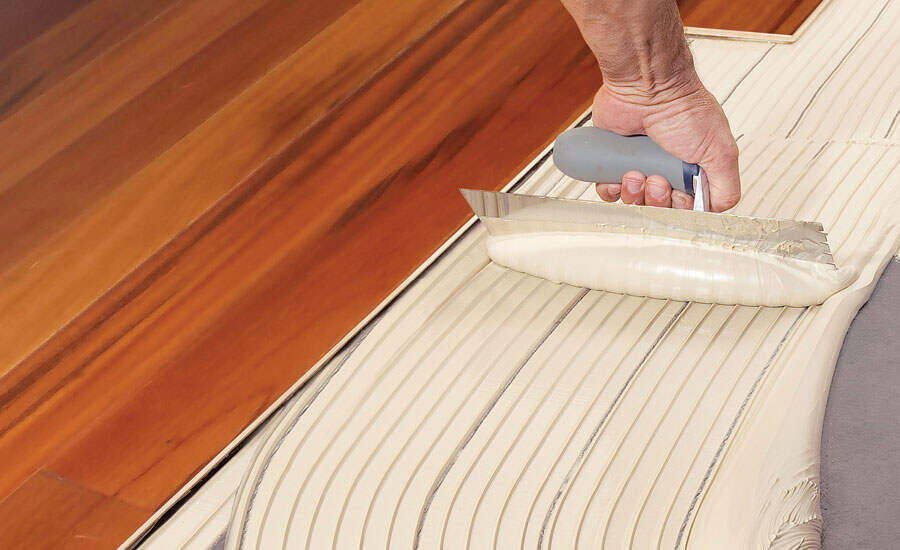
Applying too much glue can consequently bring water seepage through cracks or holes leading to added problems. On the other hand, too much adhesive could cause lines to form. Each kind of flooring has different demands. It would help if you had low-quality glue or a lack of materials for your planks not to hang right or come off altogether.
So, take the good stuff and use it like the pack says. Therefore, your flooring will not shift and look beautiful for long. By checking with the installation guide before initiating the installation process, the issue can be prevented.
8. Poor Seam Sealing
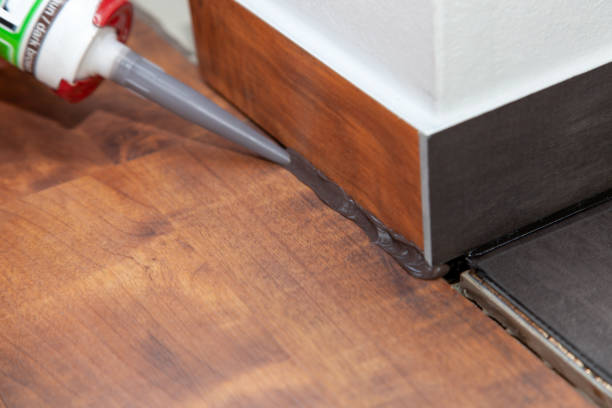
If the seams are not sealed, water can sneak in and ruin your flooring. Therefore, get some sealant and use it to become confident that your seams are watertight. The creation of staggered seams in every row of the flooring will increase the floor’s plank appearance. It keeps everything dry and cool, no matter the weather!
Conclusion: Get Professional Florring Service
By properly preparing your subfloor, acclimating your planks, and following the manufacturer’s instructions, you can avoid problems like uneven surfaces, gaps, and premature wear. Take your time with measurements, cutting, and laying out the planks to achieve a seamless look.
If these potential pitfalls seem overwhelming or if you want a perfect result without the hassle, consider hiring a professional flooring service. Skilled installers offer expertise, precision, and efficiency, ensuring your vinyl plank flooring is installed correctly and looks great. Whether you decide to DIY or hire a professional, the key is to approach the project with care and attention to detail.
FAQs
Why Does My Vinyl Plank Flooring Keep Separating During Installation?
Installation of vinyl plank flooring may result in the separation of the sub-floor not being properly prepared, the adhesive is not correctly applied, or the expansion gap is not left. Make sure the subfloor is clean and level, choose the right adhesive, and install it with proper gaps.
How Long Does It Take for Vinyl Plank Flooring to Settle?
Vinyl plank flooring usually acclimates within 24 to 48 hours after installation. Over time, the flooring adapts to its surroundings, and any small gaps or defects tend to disappear.
How Much Uneven Floor is Acceptable for Vinyl Plank Flooring?
A vinyl plank flooring should only have a 3/16 inch gap within a 10 feet radius on the subfloor. Any significant non-uniformity can cause problems with the installation and thus affect the lifespan and aesthetic appearance of the flooring.
Does Vinyl Plank Flooring Need to Be Staggered?
Absolutely, installing vinyl plank flooring in a staggered pattern is a smart move. Staggering helps the floor create a more uniform one with its seams not aligned and has a strong structure because of it.
Is 24 Hours Long Enough to Acclimate Vinyl Flooring?
Acclimation to vinyl flooring is generally at least a half-day process. However, some people might prefer a longer acclimatisation period, depending on the product and the environmental conditions.
What is the Best Underlayment for Vinyl Floors?
The best underlayment for the vinyl floor is normally a high-quality foam or cork underlayment that is manufactured for use with vinyl flooring. These materials serve to cushion the floors, dampen the sound, and protect from moisture.
Read Next: How to Stagger Vinyl Plank Flooring Professionally

