
Are you staring at outdated wallpaper and wondering if there’s a shortcut to achieving smooth walls? You’re not alone.
Skim coating is applying a thin layer of joint compound to create an even surface, seems like the perfect solution to cover up that busy floral print without the tedious removal process.
Yes, you can skim a coat over your wall, but the success depends on other factors as well.
The wallpaper must be firmly attached, non-textured, and made from compatible materials. Vinyl wallpapers and heavily textured varieties will likely cause problems down the road.
Before you grab that trowel, let’s examine when this approach works and when you’ll save yourself future headaches by removing the wallpaper first.
Understanding Skim Coating and Wallpaper
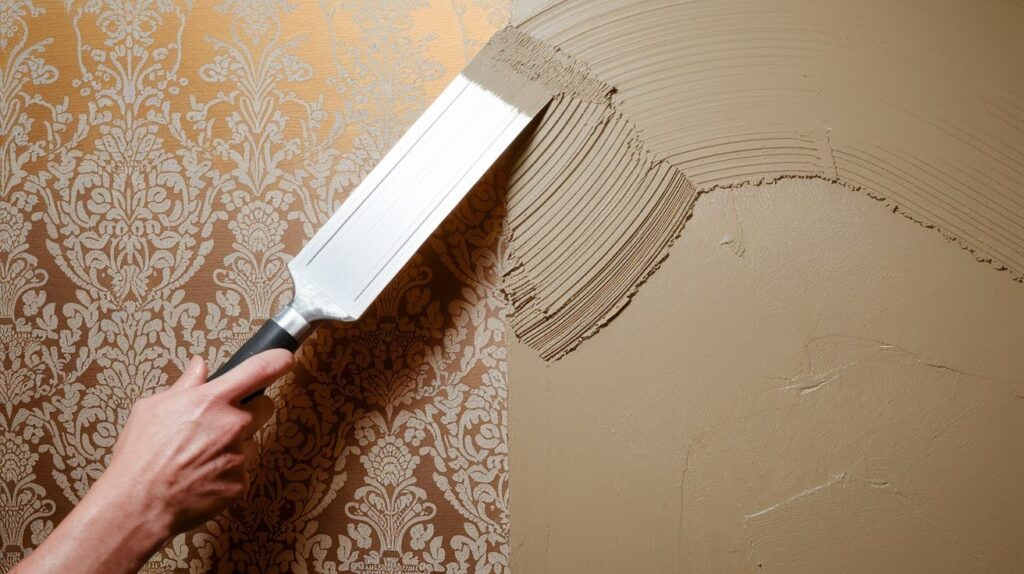
Skim coating involves applying a thin layer of joint compound or plaster over existing surfaces to create a smooth, even finish.
This technique helps hide imperfections and surface irregularities, with most professionals preferring joint compound for its ease of use.
You’ll encounter different wallpaper types that affect skim coating success: traditional paper wallpaper absorbs moisture easily, vinyl-coated versions have plastic layers that resist adhesion, and fabric-backed wallpaper creates texture problems.
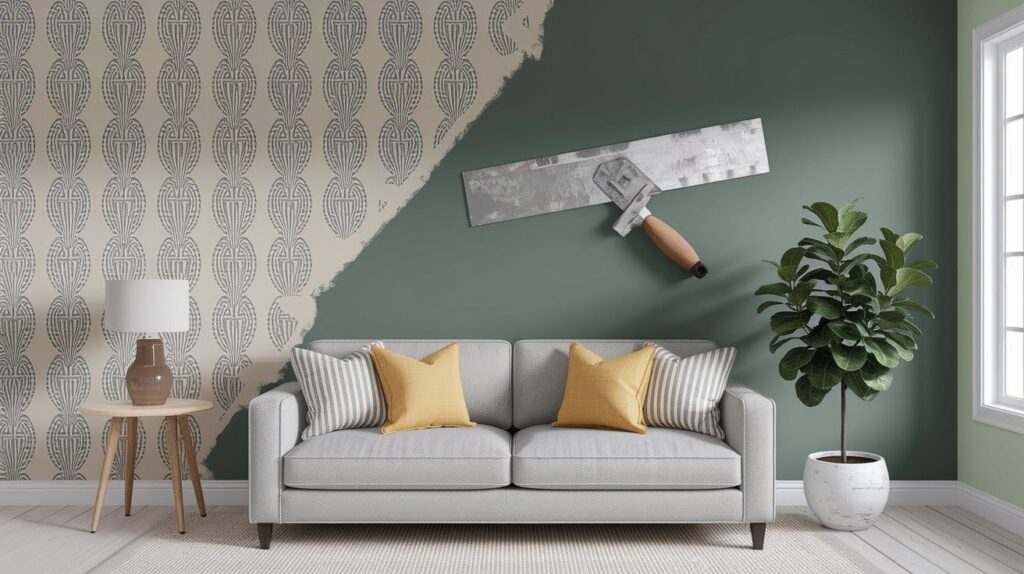
Many homeowners choose skim coating over wallpaper removal because it saves time, minimizes wall damage, and costs less than complete removal and repair work.
Can You Skim Coat Directly Over Wallpaper?
Success depends on several key factors including wallpaper adhesion, glue type, and surface texture.
Well-adhered wallpaper with oil-based adhesive on smooth surfaces offers the best chance of success, while loose sections, water-based glues, or heavily textured patterns create problems. The main advantages include avoiding messy removal processes and saving time when wallpaper is in good condition.
However, significant risks exist including delayed peeling that damages your new finish, visible seams showing through, and uneven surfaces that require multiple coats to hide properly.
Most professionals recommend removal for long-term results, though skim coating can work as a temporary solution under ideal conditions.
Preparation Steps Before Skim Coating
We need to understand the basic preparation steps before skim coating the wall:
Assess the Wallpaper’s Condition
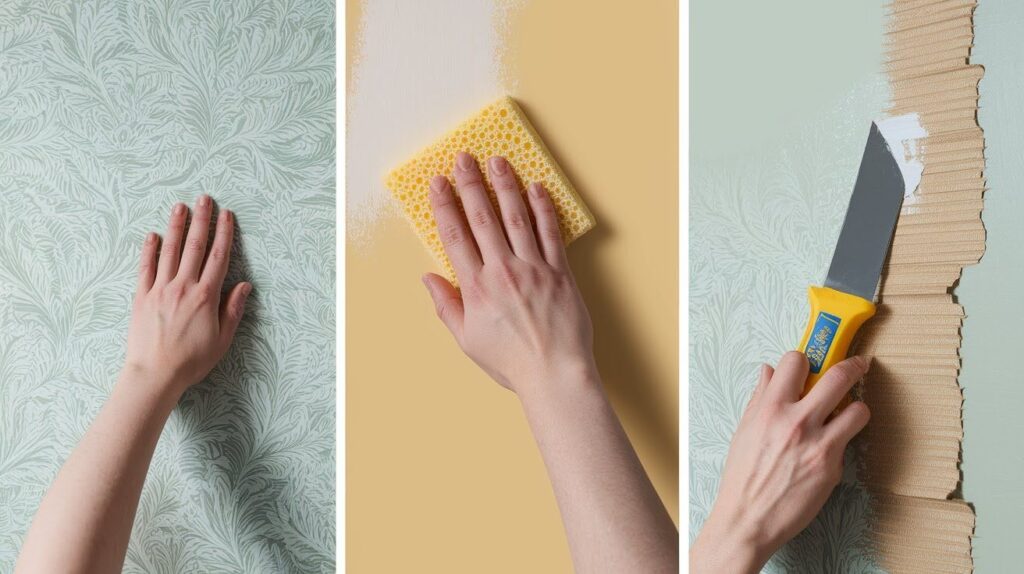
Start by testing wallpaper adhesion in multiple spots by pressing firmly and checking for movement or bubbling.
Test moisture sensitivity by dabbing a small hidden area with a damp cloth to see if the wallpaper lifts or colors bleed.
Cleaning and Priming the Surface
Clean the entire surface thoroughly using a mild detergent solution to remove grease, dirt, and residue that could prevent proper adhesion.
Allow the surface to dry completely before applying a high-quality primer designed specifically for wallpaper surfaces to seal the paper and prevent moisture from reactivating the adhesive underneath.
Handling Seams and Loose Areas
Address any loose edges or lifting seams before applying a skim coat. Re-glue lifted areas with wallpaper adhesive and press them firmly until they bond.
Use a putty knife to feather seam edges so they blend smoothly with surrounding areas, preventing visible lines from showing through your finished coat.
How to Skim Coat Over Wallpaper?
Complete instructions for applying joint compound over wallpaper, including tools needed, application techniques, drying times, and finishing steps for smooth results.
Step 1: Tools and Materials You’ll Need
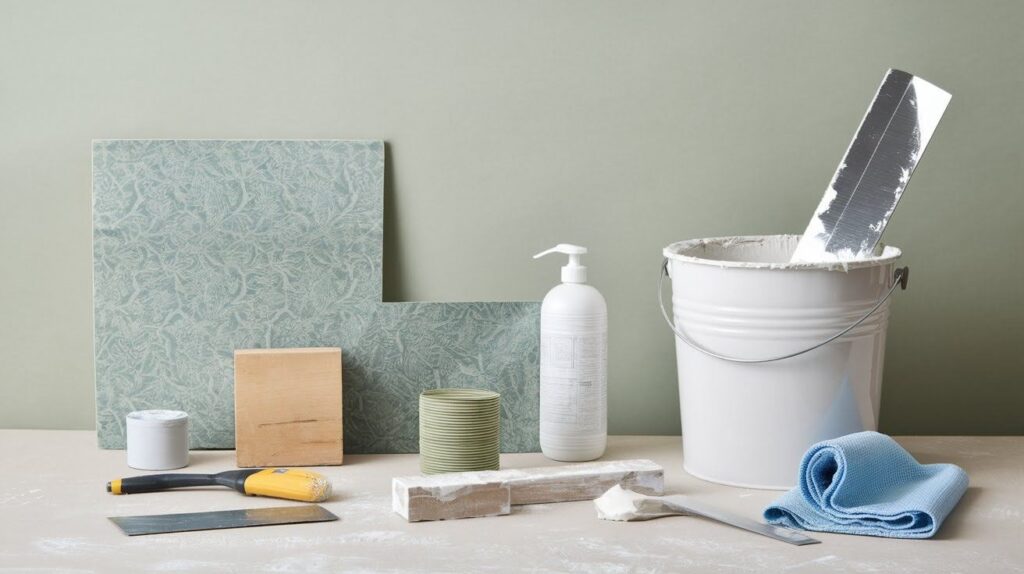
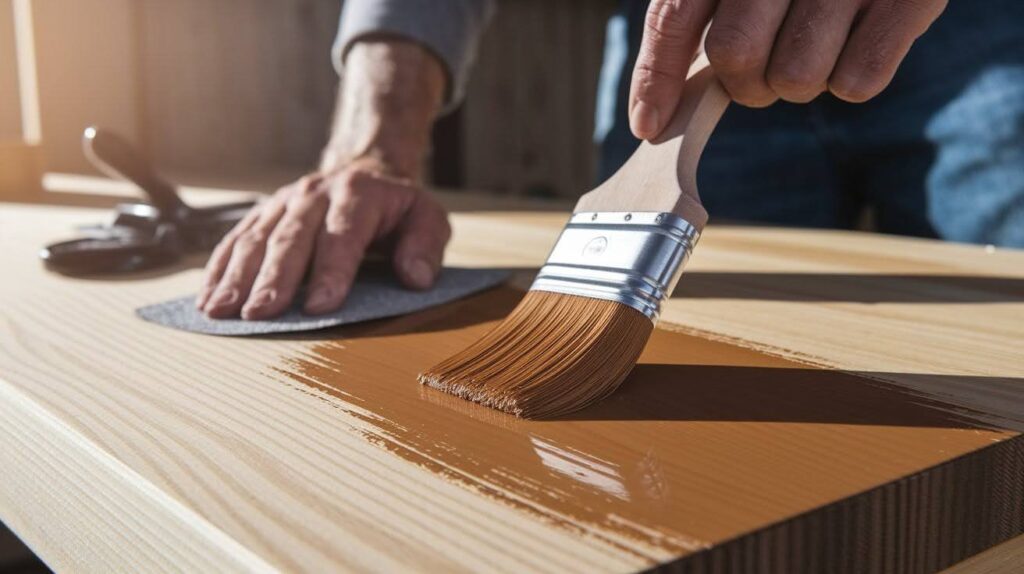
Gather joint compound or plaster for your coating material. You’ll need a wide taping knife (10-12 inches works best) for smooth application.
Have sanding tools ready, including fine-grit sandpaper (120-220 grit) and a sanding block for even results.
Step 2: Applying the First Coat
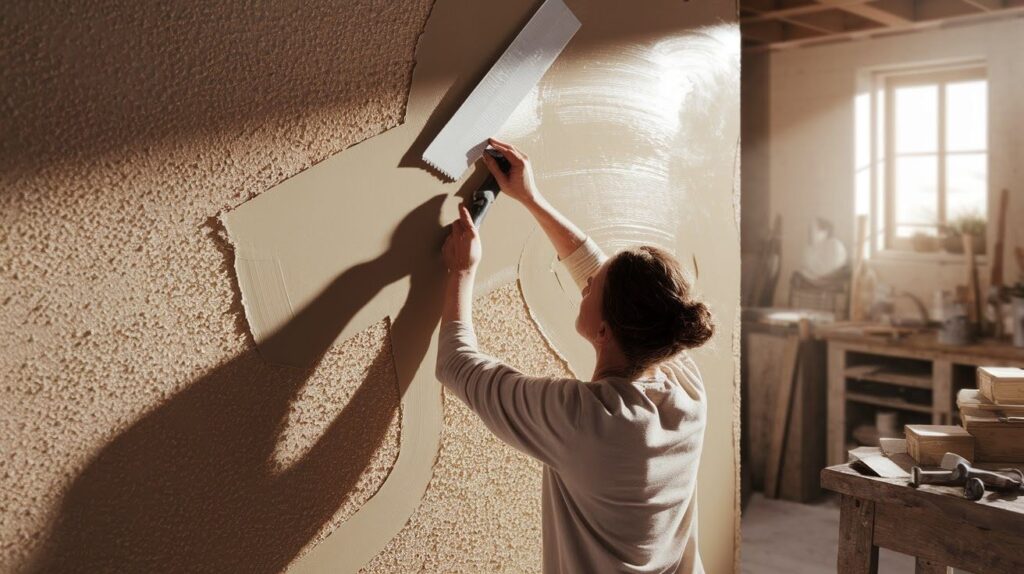
Apply a thin, even layer of joint compound using long, smooth strokes with your taping knife. Keep the coat thin to prevent cracking and bubbling as it dries.
Allow 24 hours drying time in normal conditions, though humid weather may require longer. Check that the surface feels completely dry before proceeding.
Step 3: Sanding and Applying Additional Coats
Lightly sand the first coat with fine-grit sandpaper to remove any ridges or imperfections. Clean away all dust before applying the second coat.
Build up layers gradually with each application, focusing on areas that need extra smoothness. Most projects require two to three coats for professional results.
Step 4: Final Sanding and Cleanup
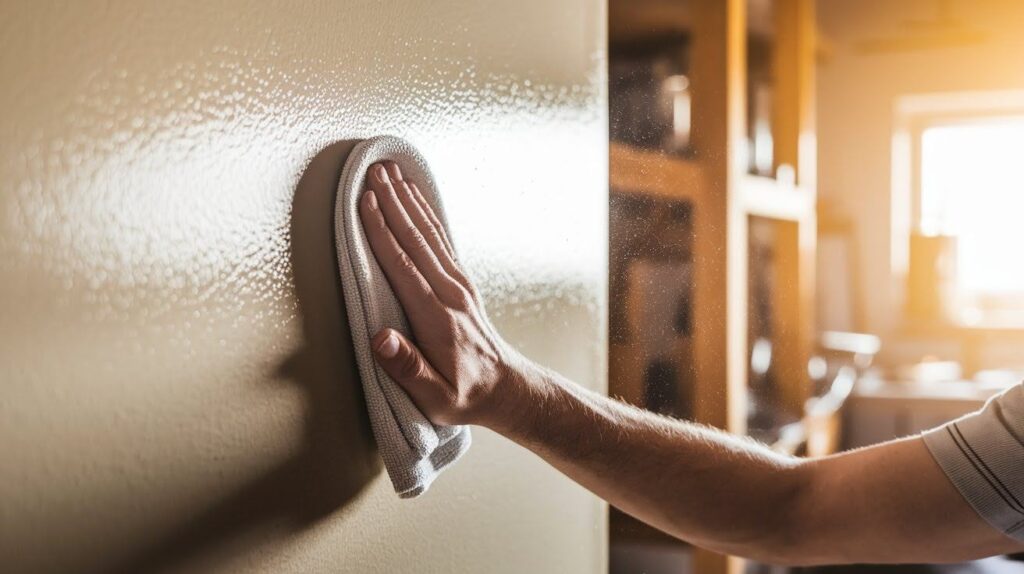
Sand the final coat carefully with 220-grit sandpaper until the surface feels smooth and even. Remove all sanding dust with a damp cloth or vacuum.
Check the surface under good lighting for any remaining imperfections that need touch-ups. Your wall should now be ready for primer and paint application.
When You Should Remove Wallpaper Instead
Remove wallpaper instead of skim coating when you notice bubbling or peeling areas anywhere on your walls, as these indicate poor adhesion that will worsen under skim coat weight.
Heavy vinyl wallpaper creates particular problems because its thick, non-porous surface prevents proper bonding with joint compound, often leading to large sections peeling away later.
While skim coating appears cheaper initially, failed projects double your costs when you end up removing everything and starting over.
Complete wallpaper removal costs more upfront ($500-1500 per room professionally) and takes 2-3 days of intensive work compared to skim coating’s week-long process, but provides reliable, long-lasting results that justify the investment.
Expert Tips for a Lasting Finish
- Choose oil-based primers for most wallpaper types as they penetrate well and create strong adhesion without reactivating water-based adhesives underneath.
- Consider shellac-based primers for problem areas with stains or persistent bleed-through issues that oil-based products can’t handle.
- Apply primer in thin, even coats to avoid oversaturating the wallpaper and causing it to lift or bubble.
- Allow complete drying according to the manufacturer’s specifications before applying the skim coat.
Avoiding Common Mistakes
- Never oversaturate wallpaper with water or primer, as excess moisture reactivates old adhesive and causes peeling or bubbling
- Don’t skip the cleaning step, dirt and grease prevent proper primer adhesion and lead to coating failure
- Avoid rushing between coats, each layer needs full drying time to bond properly with the surface below
- Test your approach in a small, hidden area first to identify potential problems before committing to the entire wall
- Don’t apply skim coat too thick in the first application, as heavy coats are more likely to crack or pull away from the wallpaper
Conclusion
I’ve worked on a lot of skim coating projects, some of which went well and some of which didn’t. I can tell you that this method works best when your wallpaper is firmly affixed, smooth, and primed with oil-based solutions.
The trick is to honestly look at how your wallpaper is doing and take the time to do the preliminary work that many people wish to skip.
You can safely skim coat over regular paper wallpaper that isn’t peeling, but don’t do this with vinyl or severely textured wallpaper.
Remember that cutting corners during prep work almost always leads to problems months later.
If you have a lot of wallpaper layers, damaged walls underneath, or pricey spaces where failure isn’t an option, it can save you a lot of time.
Frequently Asked Questions
Can I skim the coat over any type of wallpaper?
No, only traditional paper wallpaper works well. Vinyl and textured wallpapers cause adhesion problems and peeling.
How do I test if the wallpaper is ready for skim coating?
Press firmly on sections to check for loose areas. If wallpaper lifts easily or feels spongy, remove it first.
What primer should I use before skim coating?
Use an oil-based primer designed for wallpaper to prevent moisture from reactivating old adhesive underneath.
How many skim coats will I need?
Most projects need two to three thin coats. Apply thinly and allow complete drying between each application.
What are the main risks of this method?
Delayed peeling and visible seams are common problems that often appear months later, requiring complete removal.