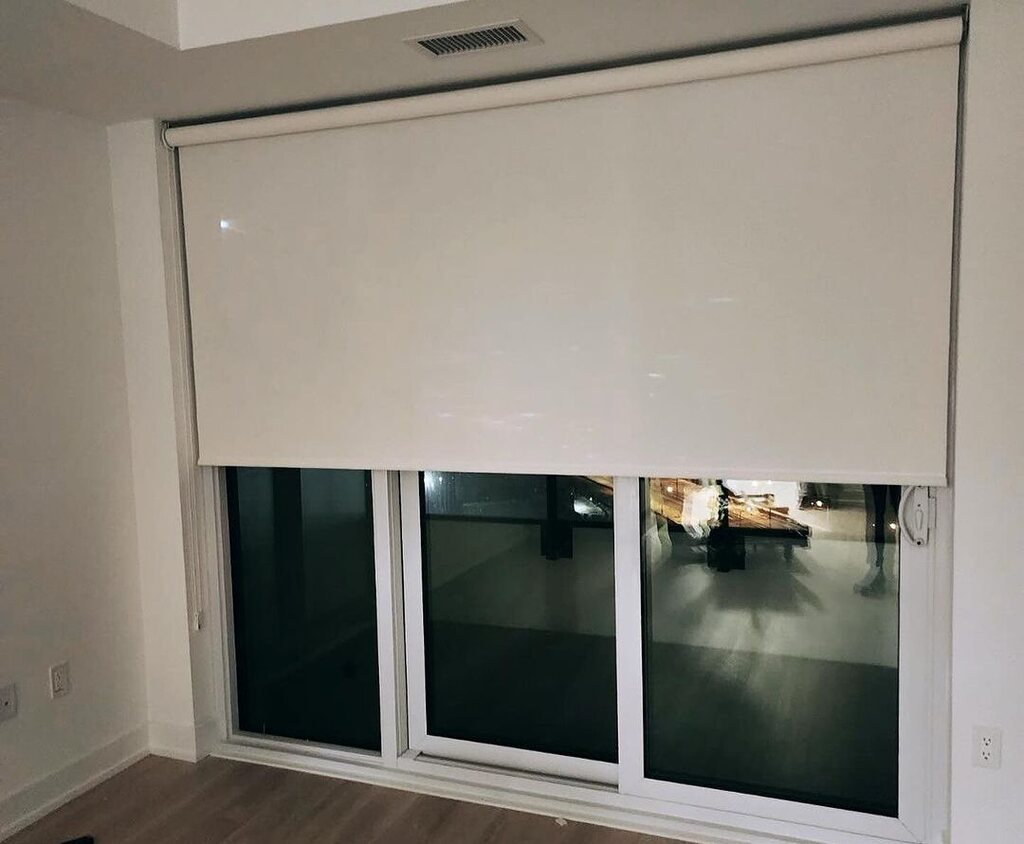
Installing cassette roller blinds can transform a room’s ambiance and functionality. These window coverings offer excellent light control and privacy while adding a sleek, modern touch to any space. Proper installation is crucial for ensuring your cassette roller blinds function correctly and look their best.
Many homeowners encounter challenges when installing these blinds. Common mistakes include incorrect measurements, improper bracket placement, and failing to account for obstacles like window handles. Choosing the right type of blind for the room is also essential. For instance, cassette blackout roller blinds from Direct Fabrics are ideal for bedrooms where complete darkness is desired.
On the other hand, considering the fabric’s durability and ease of cleaning can help ensure your blinds maintain their appearance over time. Proper installation and selection can significantly enhance both the functionality and aesthetics of your space.
Avoiding these pitfalls can save time, money, and frustration. By understanding the most frequent errors and learning how to prevent them, you can achieve a professional-looking installation that enhances your home’s aesthetics and functionality.
Key Takeaways
- Accurate measurements and proper bracket placement are essential for a successful installation
- Selecting the appropriate blind type for each room ensures optimal functionality
- Careful preparation and attention to detail can prevent common installation errors
Preparing for Installation
Proper preparation is crucial for a successful cassette roller blind installation. This involves selecting the right type of blinds and taking accurate measurements.
Selecting the Right Type of Blinds
Choose blinds that match your privacy requirements, aesthetics, and functionality needs. Roller blinds offer a sleek look and easy operation. Blackout options provide maximum light control, ideal for bedrooms. Consider cordless blinds for enhanced safety in homes with children or pets.
Fabric choices impact the overall appearance and light filtration. Lighter colors reflect more sunlight, while darker shades absorb heat. Textured materials add visual interest but may collect dust more easily.
Think about the room’s purpose when selecting blinds. Moisture-resistant options work best in bathrooms and kitchens. Living areas benefit from blinds that balance light control and visibility.
Accurate Measurement and Mount Type
Precise measurements are essential for a proper fit. Use a metal measuring tape for accuracy. Measure the width at three points: top, middle, and bottom of the window frame. Use the narrowest measurement for inside mounts.
For height, measure from the top of the frame to the windowsill at three points. Use the longest measurement to ensure full coverage. Add extra length for outside mounts to minimize light gaps.
Decide between inside and outside mounts. Inside mounts offer a clean look but require sufficient depth. Outside mounts provide better light blockage and can make windows appear larger.
Double-check all measurements before ordering. Even small errors can lead to ill-fitting blinds and installation problems.
Executing the Installation
Proper execution is crucial for a successful cassette roller blind installation. Attention to detail and following the correct steps will ensure your blinds function smoothly and look great.
Installing the Brackets
Start by marking the bracket positions with a pencil. Use a level to ensure the marks are perfectly aligned. Drill pilot holes at the marked locations to prevent wood splitting. Secure the brackets firmly with screws, making sure they’re level and plumb. For drywall, use wall anchors for added stability.
Double-check the bracket placement before final tightening. Incorrect positioning can lead to uneven blinds or operational issues. Leave enough space between the brackets and any obstructions like window handles or frames.
Mounting the Roller Blinds
Carefully remove the roller blind from its packaging. Identify the control end and the idle end of the cassette. Align the control end with its corresponding bracket first. Gently push it into place until you hear a click.
Next, insert the idle end into its bracket. Ensure both ends are securely locked in position. Test the blind’s operation by raising and lowering it a few times. If it doesn’t move smoothly, recheck the bracket alignment and cassette installation.
Post-Installation Tips
Inspect the blind for any protective packaging or transit clips and remove them. Adjust the chain length if necessary, ensuring it’s out of reach of children for safety. Clean any fingerprints or marks from the fabric with a soft, dry cloth.
Test the blind’s operation again, checking for smooth movement and even rolling. If you notice any unevenness, small adjustments to the brackets may be required. Secure any loose cords or chains with the provided safety devices.
Provide users with basic maintenance instructions, such as regular dusting and avoiding harsh chemicals for cleaning. Keep the installation instructions for future reference or troubleshooting.
Conclusion
Installing cassette roller blinds requires attention to detail and proper technique. Avoiding common pitfalls like incorrect measurements, improper bracket placement, and neglecting to level the blinds can ensure a successful installation. Taking the time to carefully follow manufacturer instructions and double-check each step will result in properly functioning and aesthetically pleasing window treatments. With the right approach, DIY installation of cassette roller blinds can be a rewarding home improvement project.

