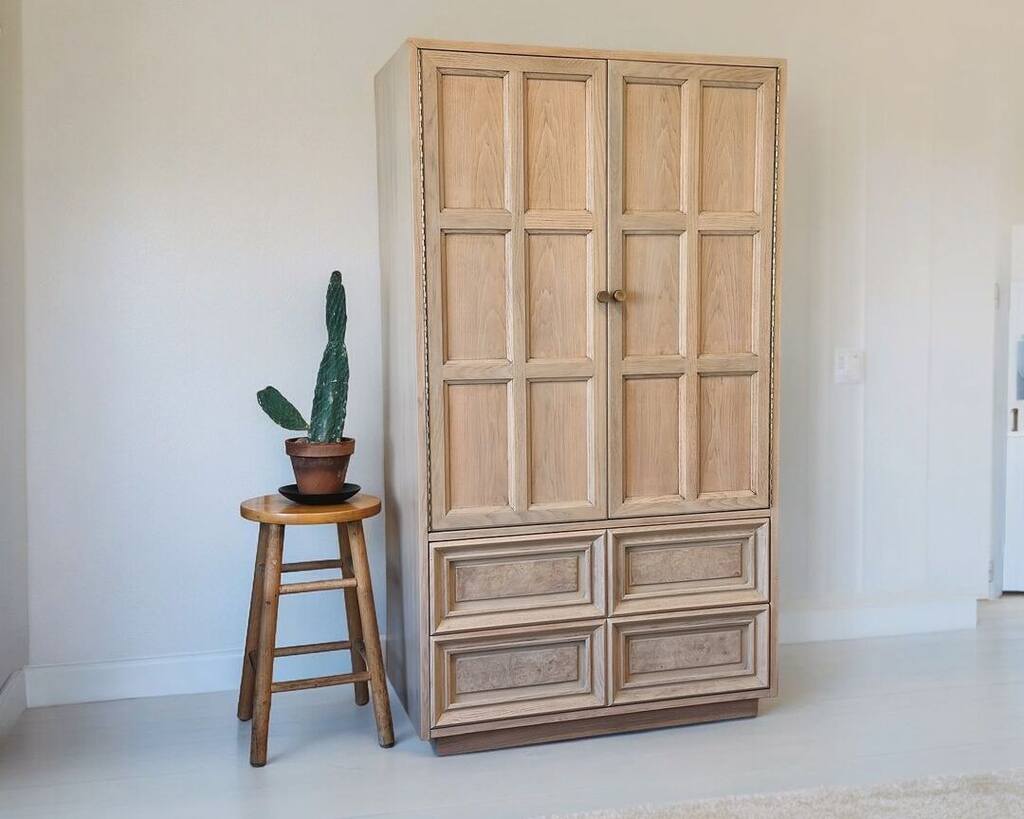
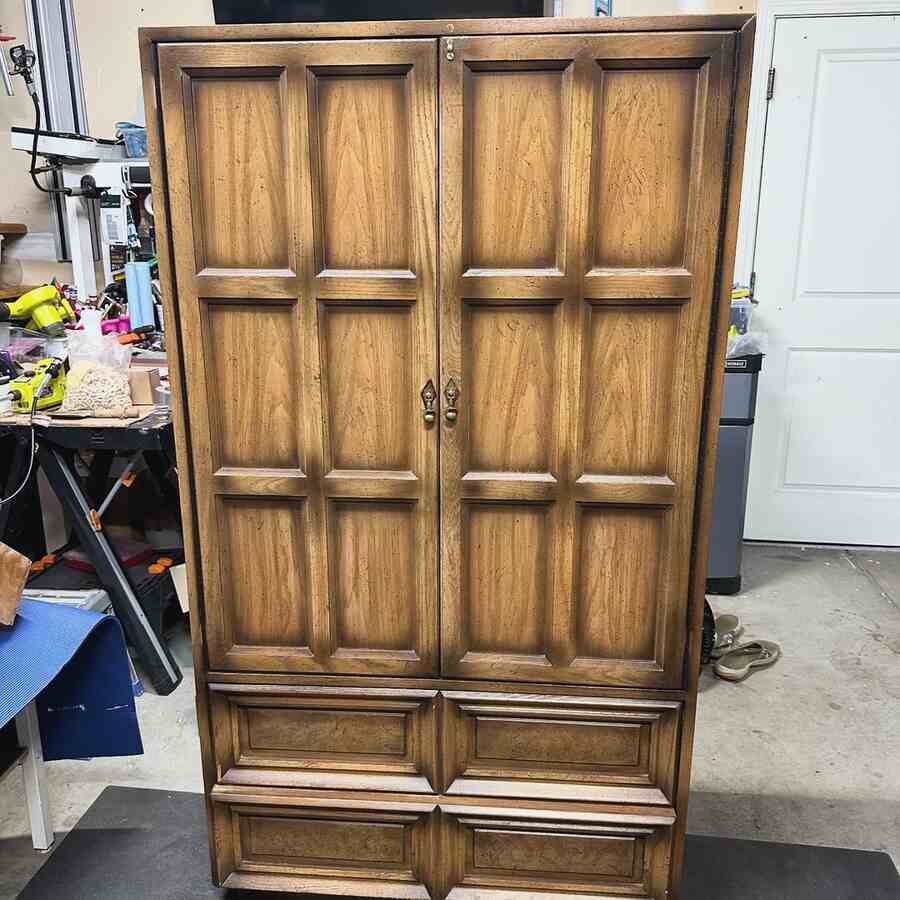
Planning to transform old-appearing dark stained wooden furniture? That is good advice if perhaps you want to refresh it without having to purchase new furniture. Whether you want to brighten a vintage dresser, lighten dark cabinets, or update a flea market find, learning how to lighten stained wood will give wood a new appearance, which is very simple.
All that you need is a few additional items and follow a set of basic procedures to alter the wood furniture shade. This guide offers practical, effective methods to achieve the perfect light shade, using both commercial products and DIY solutions. You’ll find tips and techniques to safely and efficiently lighten wood, preserving its natural beauty while creating a new, lighter finish that complements your home’s style.
Can You Lighten Dark Stained Wood?
It is possible to Lighten dark stained wood and achieve a new kind of look. It’s easy, and anybody can do it. First, you need to realize that the dark stain is on top of the wood. To clarify, you sometimes have to take out or decrease that upper layer on it. The options included a stripper, a fine grade of sandpaper, household/wood bleach, or white wax. All of these techniques tend to work well towards lightening the wood in one way or another.
Each method works well. Just pick the one most suitable for your needs and your tools. In case of any movement of objects, remember to work carefully and always follow the safety measures. This way, you are able to renew your woods and make them appear as bright as new!
DIY Techniques to Lighten Stained Wood
Household Bleach
It is pretty shocking to see what the regular household bleach will do to wood. The majority has never even attempted this technique before. But the outcome can simply take the breath away of anyone.
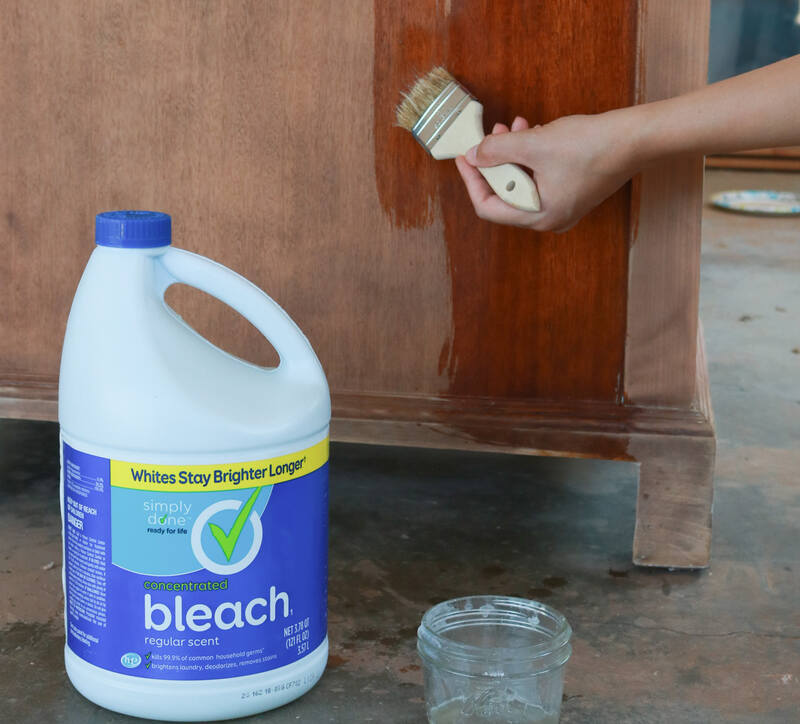
The easy first method is using bleach. It’s beneficial in achieving that natural wooden look. Still, bleach is capable of making the wood rough. Some grains usually come up after using bleach. Consequently, it should be sanded once it has dried out. It can be sufficiently smoothed with 220-grit sandpaper.
It proves that even the strongest and most resilient of woods can be made to resemble new ones by following this easy method. However, if you do not mind putting in a little effort, you can turn the dark-stained piece of wood into a beautiful, light one.
White Wax
This technique includes white wax, which is suitable for creating a soft top coat. When it comes to coffee tables, the best choice would be white wax. It produces a sheen finish with a natural look of a wooden surface. First, some coatings may give the wood a different color than desired, such as being darker. But white wax brings that back to a lighter look again.
Another benefit of white wax is that it protects the wood. It helps protect from wear and tear. This is because your wood remains stunning for quite a longer time than you expected. Moreover, the usage is relatively straightforward. Try it for yourself; simply follow these steps and notice how white wax can transform your look!
Also Read: How to Get Rid of Black Stains on Oak Without Damaging
Supplies Required to Lighten Stained Wood
Specific supplies are essential to lighten stained wood effectively. Choosing the right tools and materials ensures successful outcomes, from stripping agents to finishing products.
Checklist
- Stripper (of your choice)
- Steel Wool
- Mineral Spirits
- Sand Paper
- Orbital Sander
- Gator Sanding Block
- Straight Pick
- Household Bleach
- A couple of rags
- A couple of paint brushes you can throw away after you use them
- Danish Oil Natural Finish
- White Wax
- Tack Cloth
- Brush of choice to apply white wax
Important Notes About Supplies
Important notes about supplies are crucial for any project’s success. Choosing the right tools and materials ensures efficiency and quality in achieving desired results.
Orbital Sander
A lot of individuals are introduced to the orbital sander and end up becoming obsessed with it. This tool becomes a favorite as soon as one starts using it. They begin a project, complete it, and then start another project strictly to utilize the completed project. The clients listen to others say how excellent the orbital sander is. But people learn about it only when they take it themselves and experience the miracle.
The orbital sander is an essential tool for anyone who enjoys planning and simple do-it-yourself work. This is particularly good for sanding as it can make the process much easier and quicker. With the orbital sander, such tasks are no longer issues of concern and instead become easily achievable. For any do-it-yourself nut, it is a thing of wonder.
Gator Sanding Block
This little tool can be used to fit into narrow regions in order to make some adjustments. It assumes that if you’re working on a big, flat surface, you might not need it as much. However, when it comes to corners and small areas, I would recommend giving it a try.
This tool has a much better grip compared to folded sandpaper. You will never want to use folded sandpaper again after experiencing the Gator sanding block on your workbench.
Straight Pick (Or Toothpicks)
This tool is handy for constricted areas and corners. That will be used to clean steel wool and sand particles if they do not have a straight pick and use toothpicks.
How to Lighten Stained Wood: Step-by-step Process
Here’s a step-by-step procedure on how to lighten stained wood, ensuring you achieve the desired finish using effective techniques and supplies.
Step 1:
First, you apply the stripper of your choice on the furniture. If Citristrip doesn’t do the trick, use a stronger one – it usually does the trick.
Allow the stripper to sit on the furniture for the recommended time. This took approximately 15-20 minutes.
Step 2:
Subsequently, you wash the stripper with steel wool and mineral spirits. If your piece has big, flat surfaces, scrape off most of the stripper first with a scraper. This is to prevent the steel wool from getting very dirty with bacteria as fast as possible.
Step 3:
After you have tidied up the stripper, the next step is sanding the furniture piece. For my work, I use 80 grit sandpaper. This is where the orbital sander and Gator sanding block proved most useful. Generally they really made getting close to my natural wood finish much more effortless.
Step 4:
After completing the process of sanding, it is now high time to remove the dust and debris of wood from the surface. With a straight pick, a rag, and a tack cloth, you should be able to clean most of the particles off your coffee table.
Step 5:
Use household bleach with utmost caution. Take the piece of furniture to an area that receives sunlight to help make it lighter. This accelerates the drying time so that you can apply another layer if needed. Some areas required two coats on the coffee table. Some may not believe the efficiency of this method in bleaching stained wood.
Step 6:
Sand the piece of furniture with 220 grit or higher paper in order to smoothen the surface again. The procedure is similar, but 80 grit sandpaper is changed to 220 grit for further sanding.
Additional Step 1:
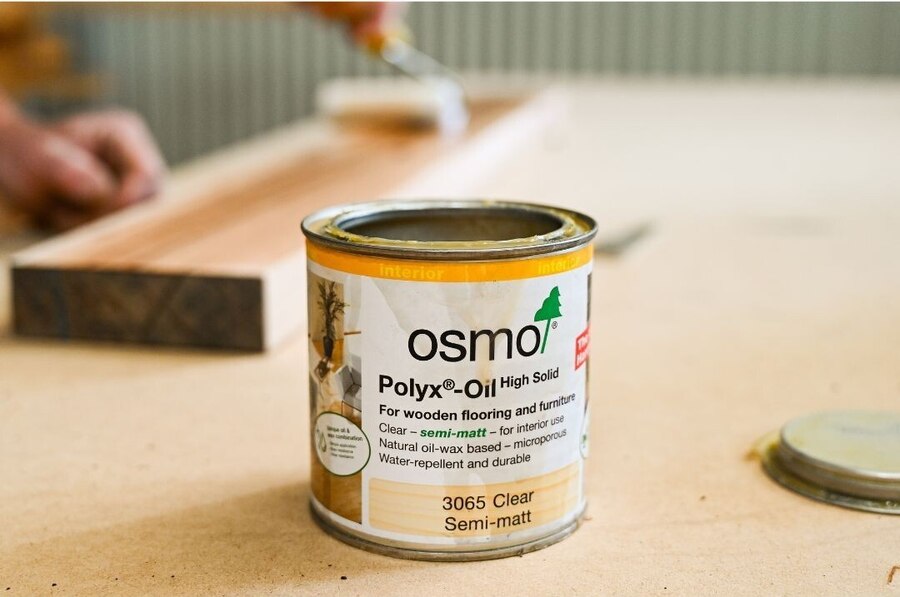
With the wood now the color that is desired, it is time to apply the final coats for protection. A natural finish Danish oil was chosen for a few reasons: To replenish the lost moisture in the bleached wood and because it is eco-friendly. However, it did stain the wood much darker than anticipated. Further research showed that Flat Out Flat is a very light natural wood finish and is actually water-based. Light-colored woods can be preserved with this product rather than by applying another coat.
Additional Step 2:
Since the Danish oil imparted a darker shade to the wood than required, white wax was used for the final application. When clear wax was to be applied, the deeper colour of the Danish oil led to the decision to apply white wax to tone it down. It worked perfectly! Now that the work is over, the issue of what to do if deciding to start all over needs to be clarified.
Conclusion
Finally, the process of lightening stained wood includes Stripping, Sanding, Bleaching, and Finishing, using products such as Danish oil or white wax. Every product selection impacts the final appearance and surface, which is why it is advisable to test them on small sections. One needs to have patience and focus in order to get the right shade of lighter wood finish as required.
Read Next: Special Walnut Stain or Provincial on White Oak: Right Choice


