In this blog, I’m excited to share some DIY small backyard playground ideas that will make your kids’ time more playful.
Who says a compact backyard can’t hold big adventures? The truth is, you don’t need a massive yard or a hefty budget to create a space that’s full of fun. Think climbing walls that double as artboards, foldable swings for easy storage, or even sandbox seating to combine playtime and practicality.
From vertical play structures to corner activity zones, you can transform every square foot into something special for your little ones. Let’s dive in and transform your backyard into the ultimate play zone where adventure knows no limits!
Budget-Friendly DIY Small Backyard Playground Ideas
Whether your kids love climbing, crafting, or simply running wild, these DIY ideas cater to all kinds of playtime adventures. Here’s a list of 15 DIY ideas you can easily do:-
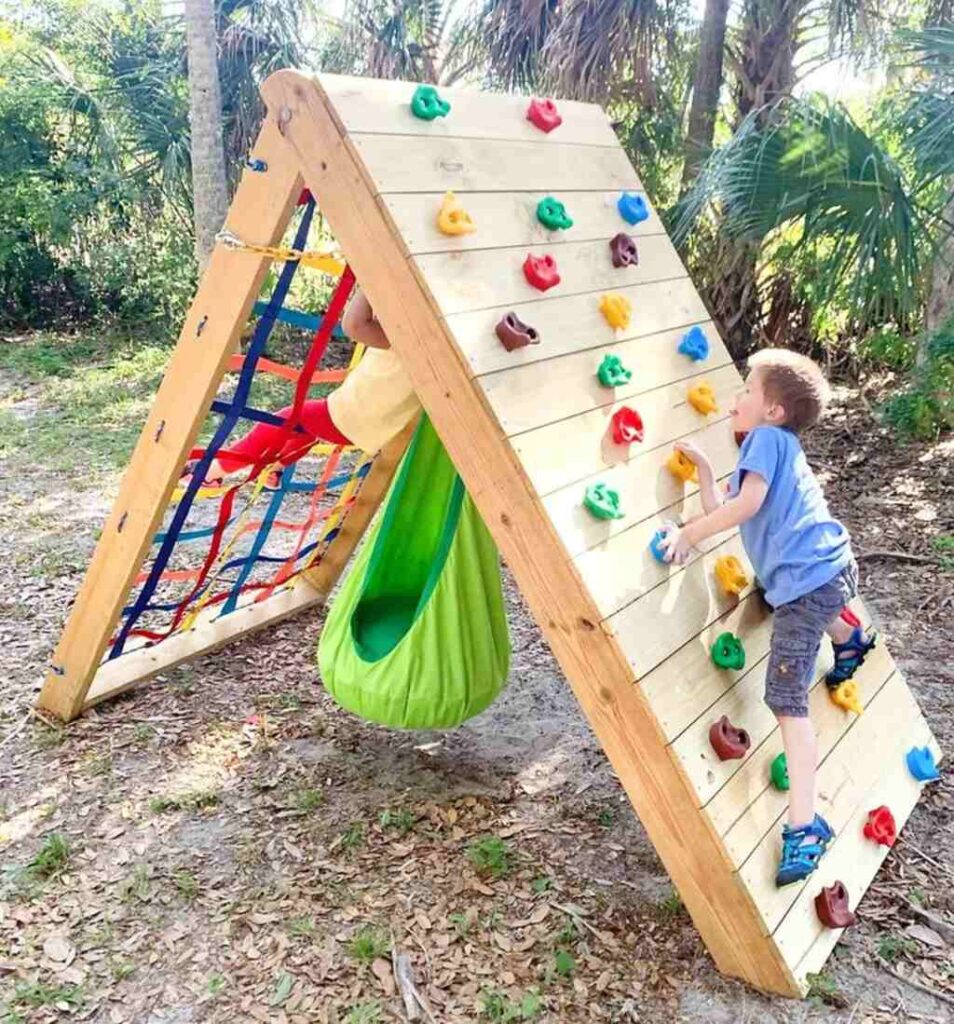
DIY Mini Climbing Wall
It’s typically a vertical or slightly angled structure with handholds and footholds that kids can use to climb. The wall can be attached to an existing fence, the side of a playhouse, or a freestanding frame.
A mini climbing wall boosts strength, balance, and confidence in kids while fitting perfectly into a small space.
DIY Tip: Use a sturdy vertical surface like a fence or a wall. Buy ready-made climbing holds or cut wooden blocks into various shapes. Securely attach them with screws and bolts. Add colourful weatherproof paint to make it engaging and child-friendly. Install soft ground cover (like rubber mats) underneath for safety.
Age Range: Ideal for kids aged 3–8, though older kids might also enjoy it with more challenging holds.
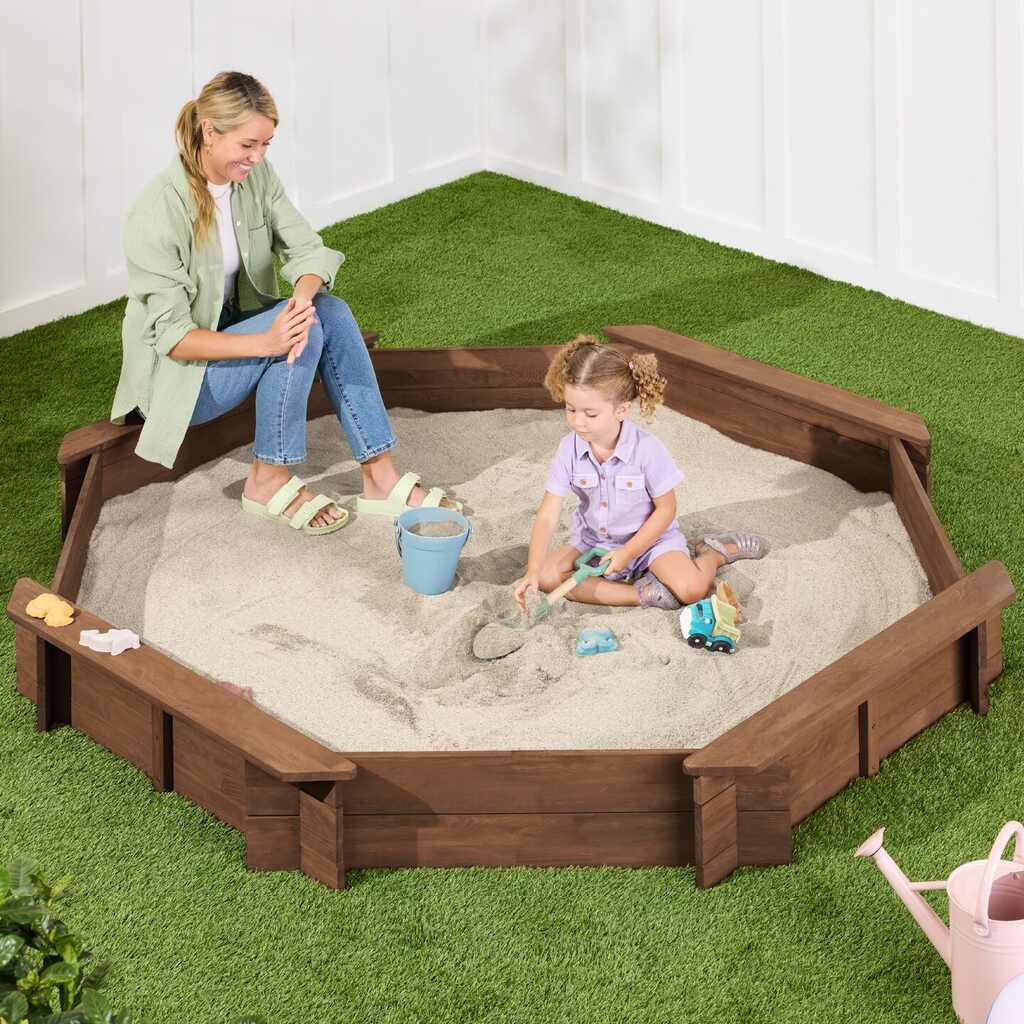
DIY Sandbox
A DIY sandbox is a simple, homemade play area filled with sand where kids can dig, build, and explore creatively. Unlike pre-made sandboxes, DIY versions are customizable to fit your space, budget, and aesthetic preferences.
DIY Tip: Build a sandbox using wood planks or upcycle an old wooden crate. Line it with landscaping fabric to prevent weeds. Add a lid (or repurpose a wooden door) to keep out debris and pets. Consider adding a seating area along the edges and personalize it with your child’s name or designs.
Age Range: Perfect for toddlers and young children up to 6 years old.
DIY Slide & Ladder Combo
A slide and ladder combo is a compact playground feature that combines a slide with a small ladder for climbing. It provides kids with two fun activities: climbing up the ladder and sliding back down.
This combo is especially popular because it requires minimal space and can be customized for various age groups.
DIY Tip: Repurpose an old plastic slide and attach it to a wooden or metal frame with a small ladder. Use weatherproof paint for a polished finish. Ensure the structure is sturdy and anchored securely. You can also add a rope handle for extra support while climbing.
Age Range: Best suited for kids aged 3–7.
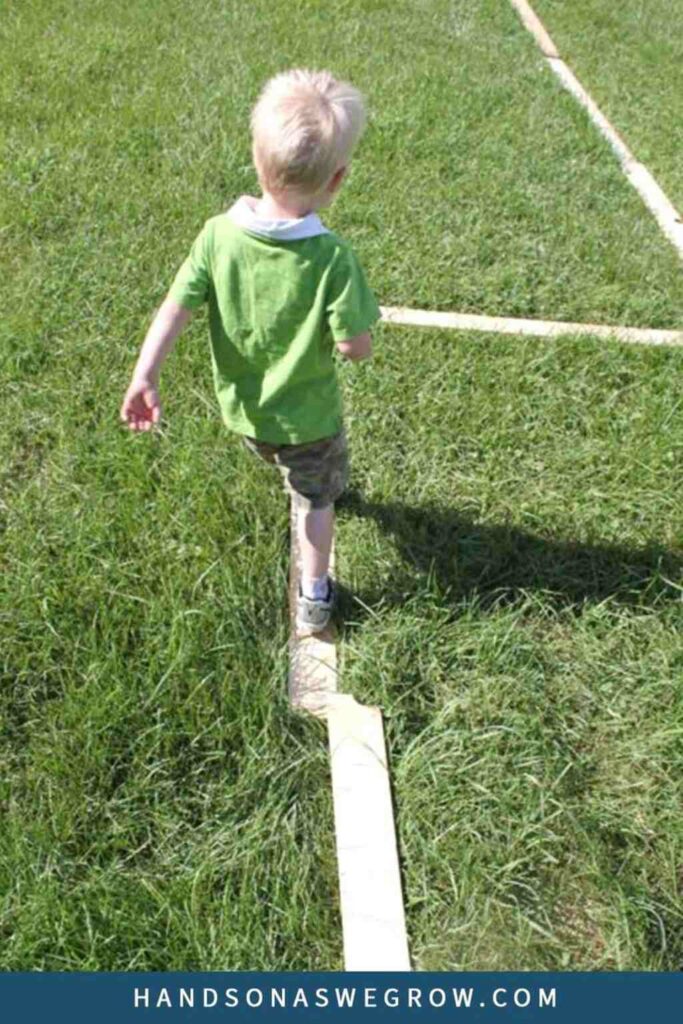
DIY Balance Beam
A balance beam is a simple, narrow platform or plank that children walk across to practice and develop balance, coordination, and motor skills.
It’s a compact and versatile play element that can be part of a larger backyard playground or used on its own for fun and skill-building.
DIY Tip: Use a thick wooden plank or PVC pipe as the beam. Sand down rough edges and paint it in bright colours for added appeal. Secure it on short, stable blocks or bricks to raise it slightly off the ground. For a portable version, keep the supports detachable.
Age Range: Great for kids aged 4–10, and it can double as an obstacle course element.
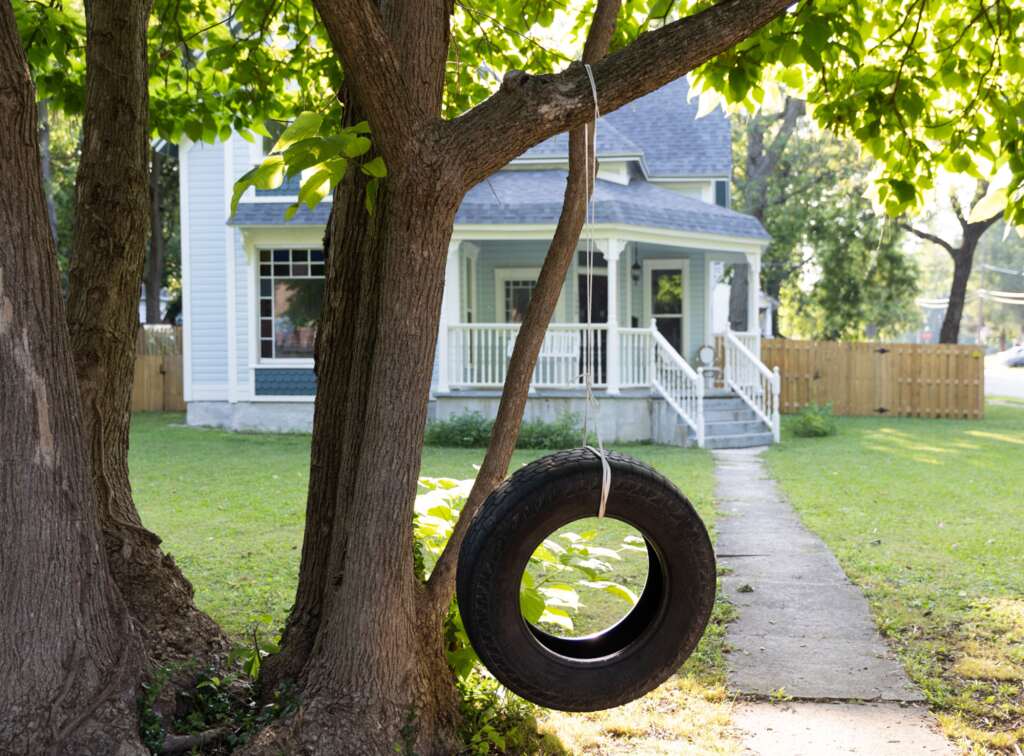
DIY Tire Swing
A tyre swing is a classic outdoor play structure made from an old tyre, suspended from a tree branch or a sturdy frame using strong ropes or chains.
It allows kids to swing back and forth, providing them with hours of fun and a sense of freedom. Tyre swings are both simple and durable, making them a favorite in many backyard playgrounds.
DIY Tip: Find an old tyre and scrub it clean. Paint it with non-toxic, weatherproof paint for a pop of colour. Securely hang it from a sturdy tree branch or frame using heavy-duty rope or chains rated for outdoor use. Test the stability and height before letting kids play.
Age Range: Suitable for kids aged 4 and older.
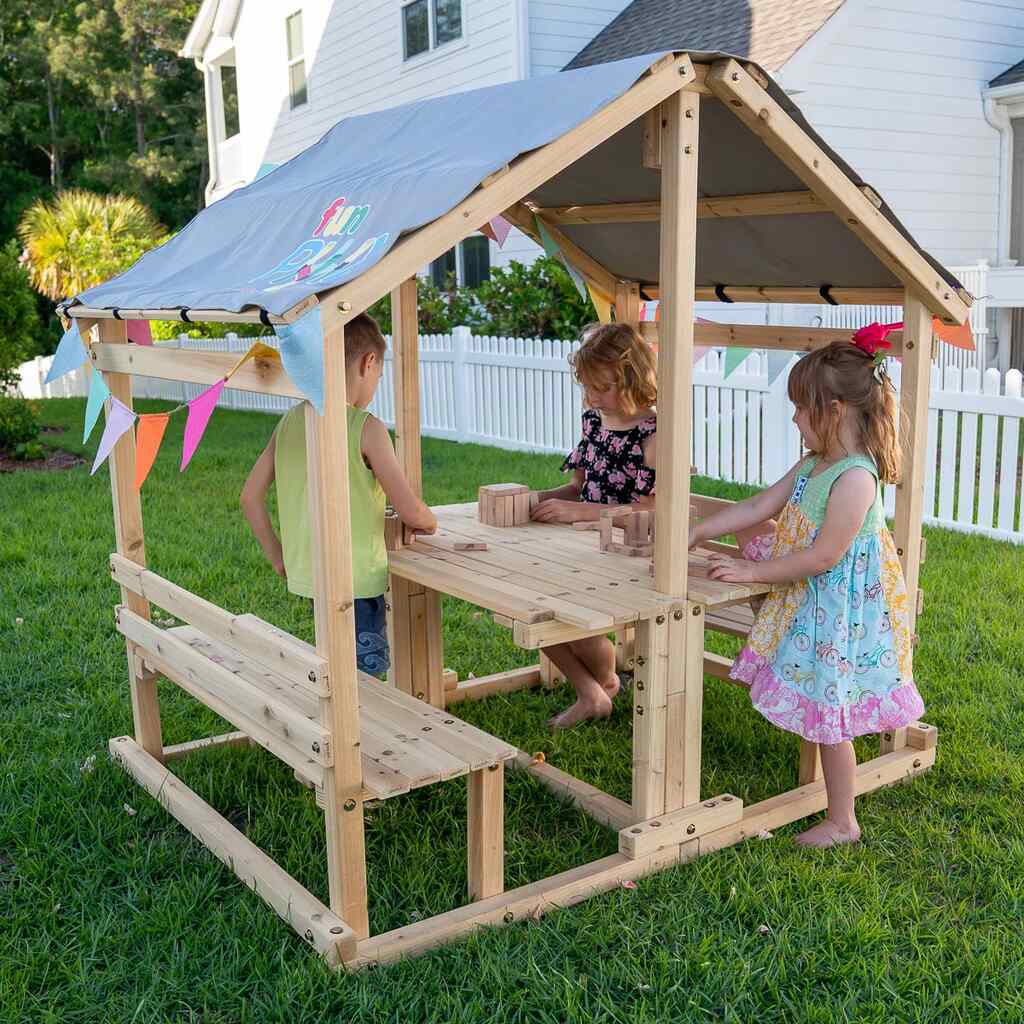
DIY Playhouse or Fort
A playhouse fort is a small, enclosed structure designed for children to play in, often resembling a miniature house or fort.
It serves as a private space for kids to use their imagination, whether they’re pretending to be pirates or explorers. Playhouse forts are fantastic for fostering creativity, social interaction, and independent play.
DIY Tip: Build one using wooden pallets, old doors, or sheets of plywood. Add fun touches like curtains, paint, or a roof made of fabric or shingles. For a budget option, create a fort using PVC pipes and a tarp. Involve your kids in decorating their new space.
Age Range: Perfect for kids aged 3–10, with designs customizable for different age groups.
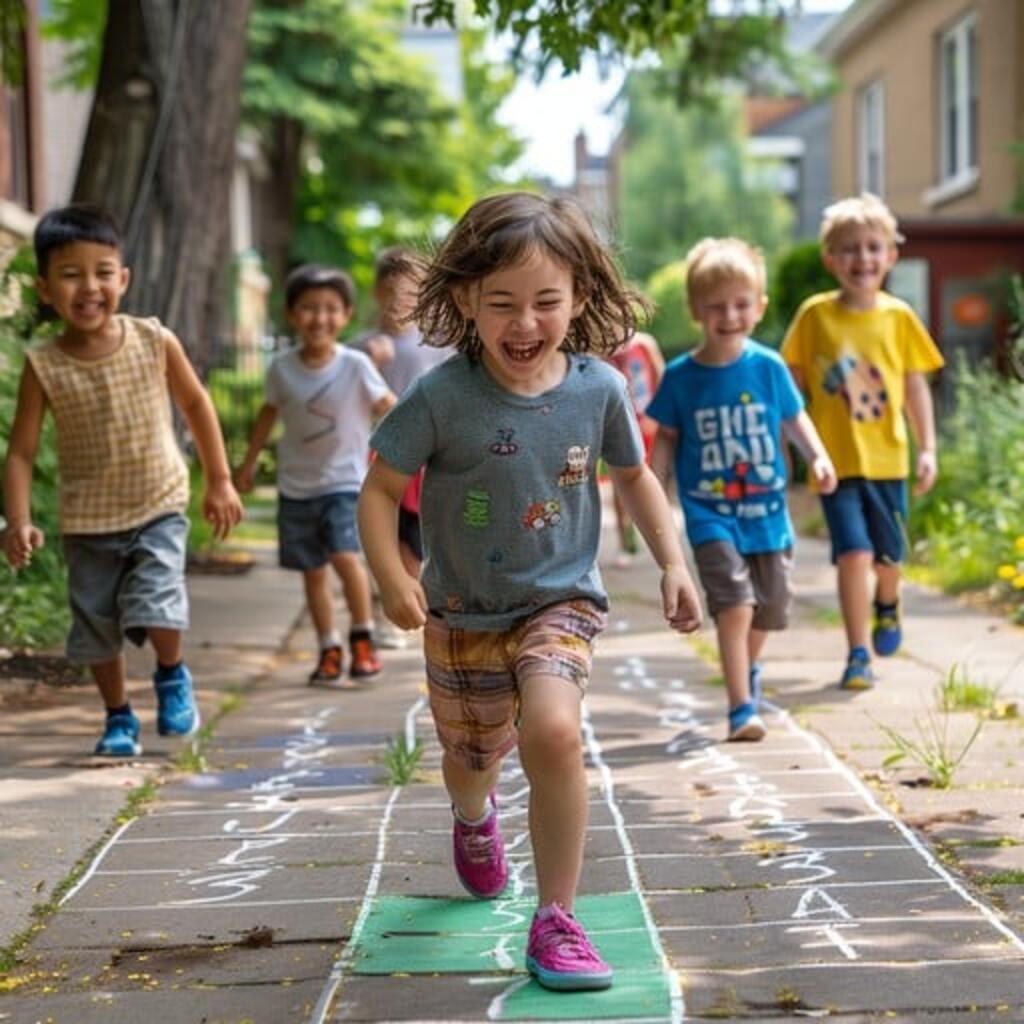
DIY Hopscotch Path
A hopscotch path is a fun, colourful outdoor game layout that helps kids develop physical coordination and motor skills. It consists of a grid of numbered squares where children hop or jump in a specific sequence, typically using chalk or outdoor paint.
This classic game is a favourite for both younger and older children and can easily be adapted to fit into any backyard.
DIY Tip: Use colourful outdoor paint or chalk to create a hopscotch grid on your patio or driveway. For a permanent option, paint on pavers or stepping stones. Use stencils to ensure neat numbers and shapes.
Age Range: Suitable for kids aged 3 and older.
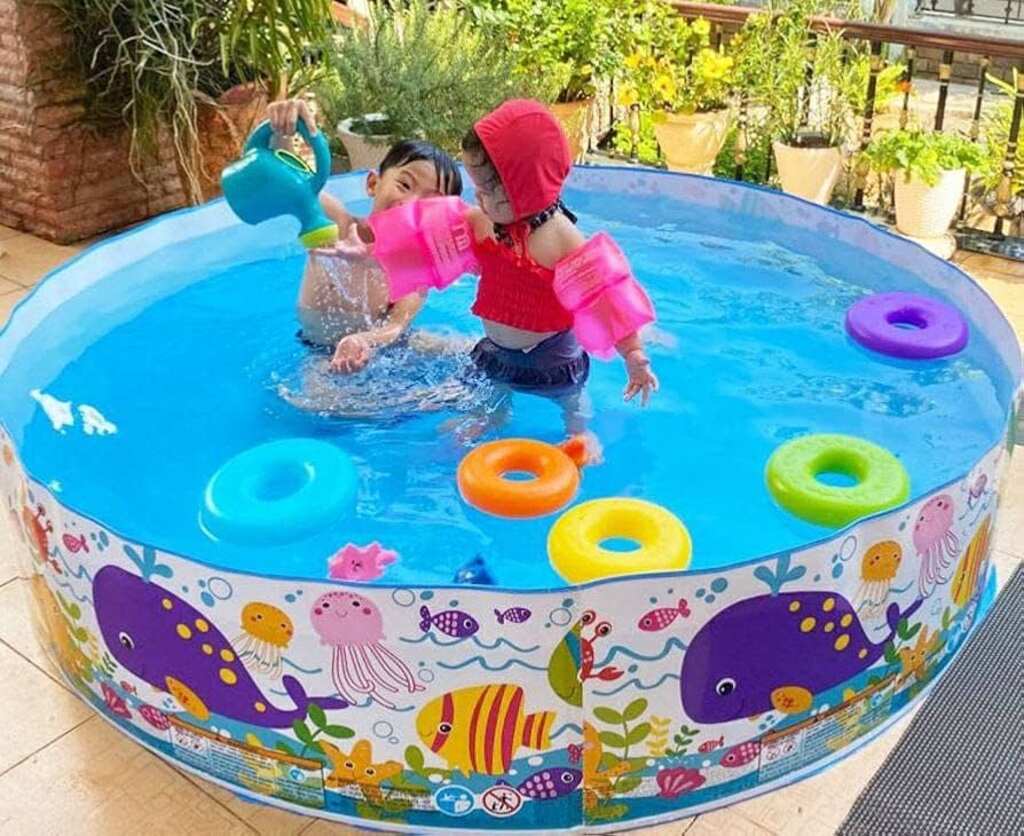
DIY Water Play Area
A water play area is a designated outdoor space designed for children to play with water, often featuring various interactive elements that engage them in sensory and physical activities.
Water play areas can range from simple DIY setups with sprinklers and water tables to more elaborate installations with fountains, splash pads, and water slides.
DIY Tip: Use a shallow plastic tub or inflatable kiddie pool as the water base. Add toys like buckets, scoops, and floating animals. Surround the area with play sand to create a mini beach. To prevent spills, set up on a waterproof mat or tarp.
Age Range: Best for kids aged 2–6.
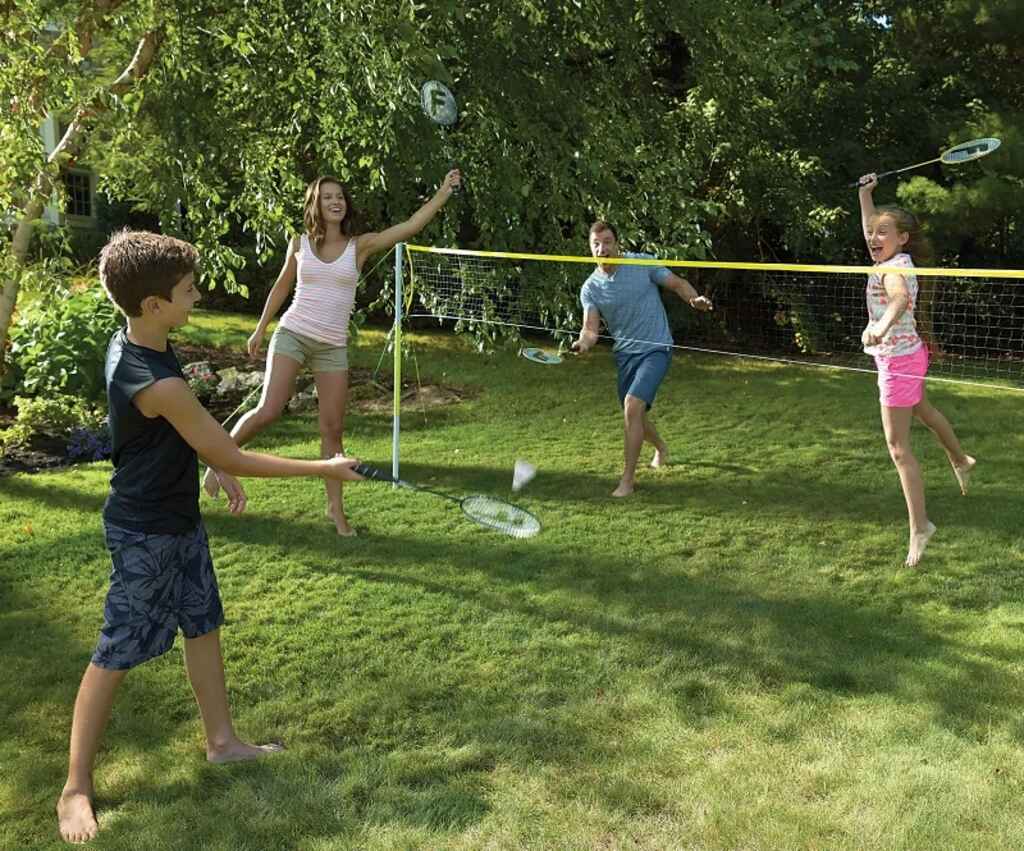
DIY Badminton Court
A mini badminton court is a scaled-down version of the traditional badminton court, designed for smaller spaces and younger players.
It allows kids to enjoy the fun and physical benefits of playing badminton without needing a large area. A mini badminton court can be set up in your backyard using simple materials and is great for improving hand-eye coordination, agility, and teamwork.
DIY Tip: Mark a small court with chalk or tape. Use a lightweight, portable badminton net and kid-friendly rackets. For small spaces, use a shorter net and modify the rules for fun.
Age Range: Great for kids aged 6 and older.
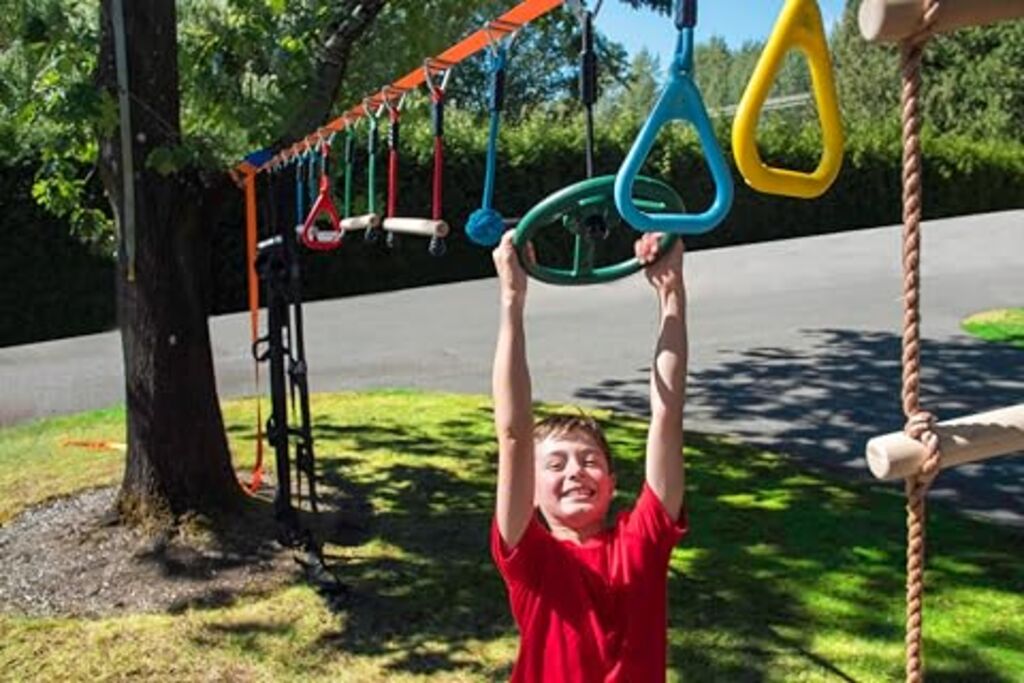
DIY Zipline
A zipline is an exciting outdoor activity that involves riding a cable from a higher point to a lower point using a pulley and harness.
It’s a thrilling way for kids to soar through the air, experiencing the sensation of flight. Zip lines are typically set up between two trees or posts, creating an adventure that’s both fun and a little bit daring.
DIY Tip: Use a safe, weight-tested zipline kit. Install it between two sturdy trees or posts at a safe height. Test thoroughly for stability and ensure there’s a soft landing area at the end. Always supervise during use.
Age Range: Best for adventurous kids aged 6–12.
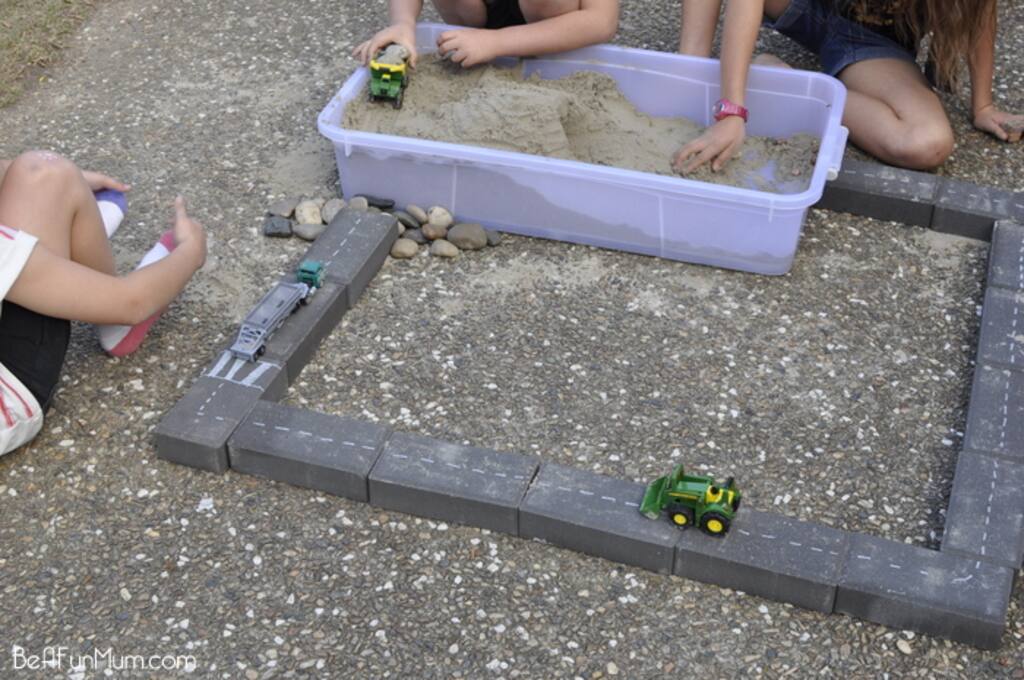
DIY Self-Made Paver Roadways
Self-made paver roadways are DIY outdoor paths constructed using pavers or stones, arranged to create a durable and attractive walkway in your backyard.
These roadways can be simple or elaborate, depending on your design preferences, and are a great way to add functionality and aesthetic appeal to your space.
DIY Tip: Lay down flat pavers or use outdoor paint to create a roadway design on your patio or garden. Include fun details like parking spaces, stop signs, and crosswalks. Add small cones for obstacle challenges.
Age Range: Ideal for kids aged 3–7.
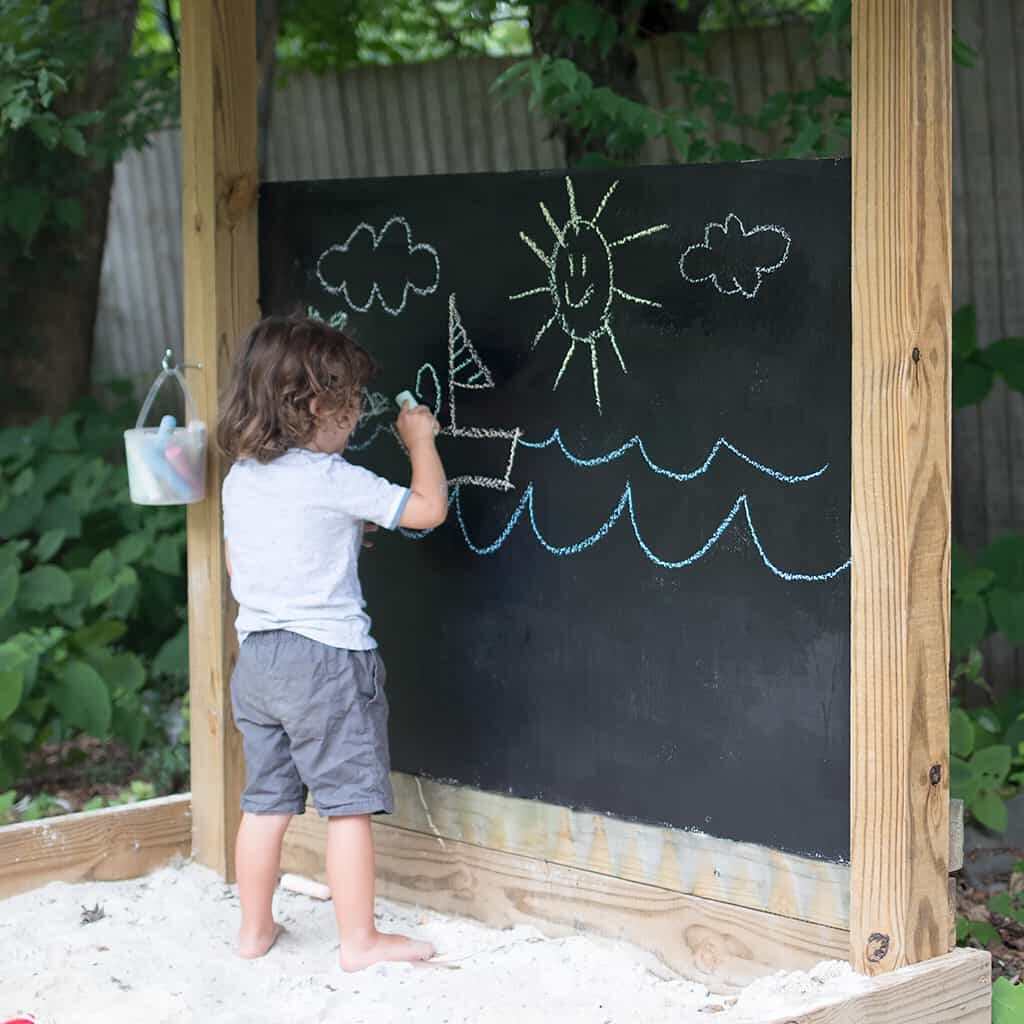
DIY Fold-Down Chalkboard Wall
A fold-down chalkboard wall is a creative and space-saving feature that functions as both an interactive chalkboard and a wall storage solution.
This type of chalkboard is designed to be mounted on a wall, with the ability to fold down when needed and fold back up to save space when not in use.
DIY Tip: Attach a foldable chalkboard to a fence or exterior wall using hinges. Use weatherproof materials and outdoor chalk. Add a small shelf for storing chalk and erasers.
Age Range: Perfect for kids aged 4–10.
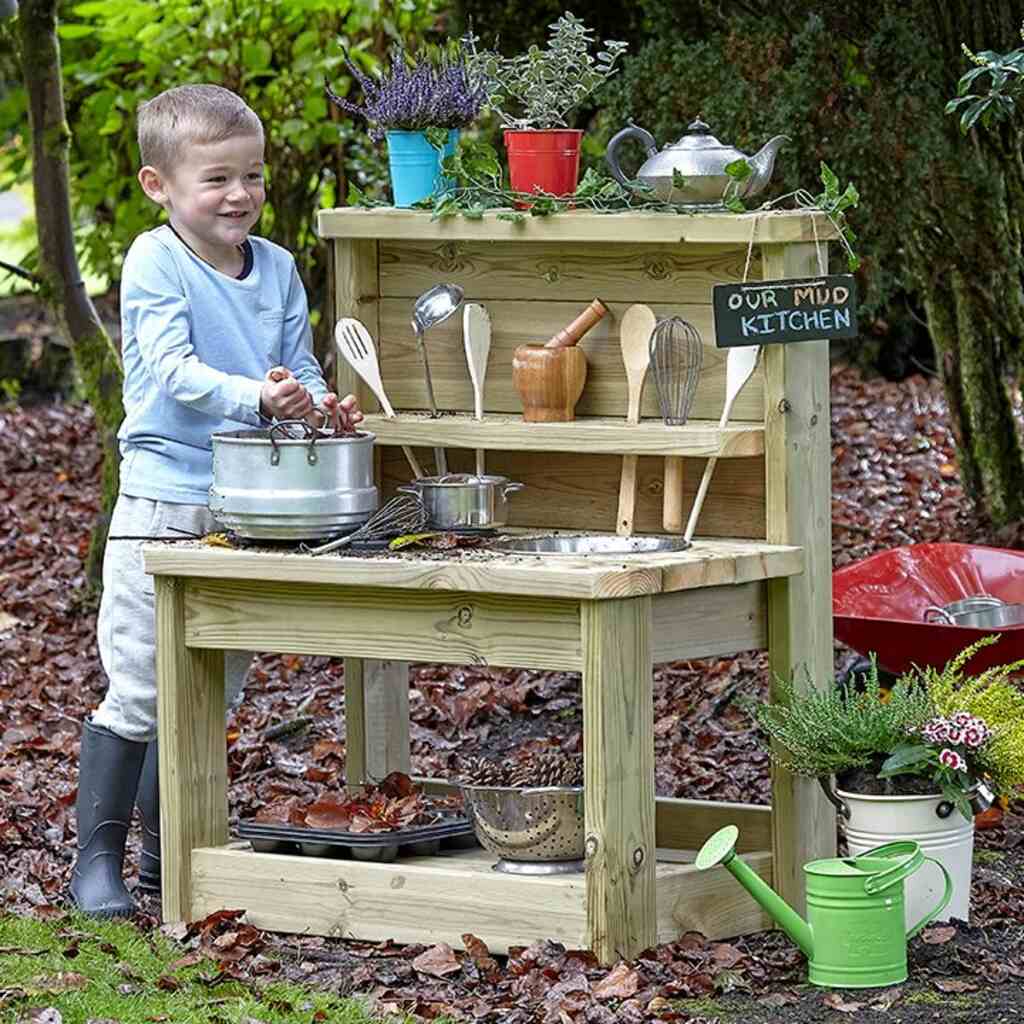
DIY Mini Mud Kitchen
A mini mud kitchen is an outdoor play area designed for children to engage in imaginative, messy play, simulating a real kitchen but with natural, outdoor materials.
It’s a miniature version of a traditional kitchen where kids can “cook,” mix, and create using dirt, water, leaves, stones, and other natural elements.
DIY Tip: Repurpose an old cabinet, sink, or pallet to create the structure. Add hooks for hanging utensils, and include pots, pans, and bowls. Set it up near a garden patch or sand area for easy access to “ingredients.”
Age Range: Best for kids aged 3–8.
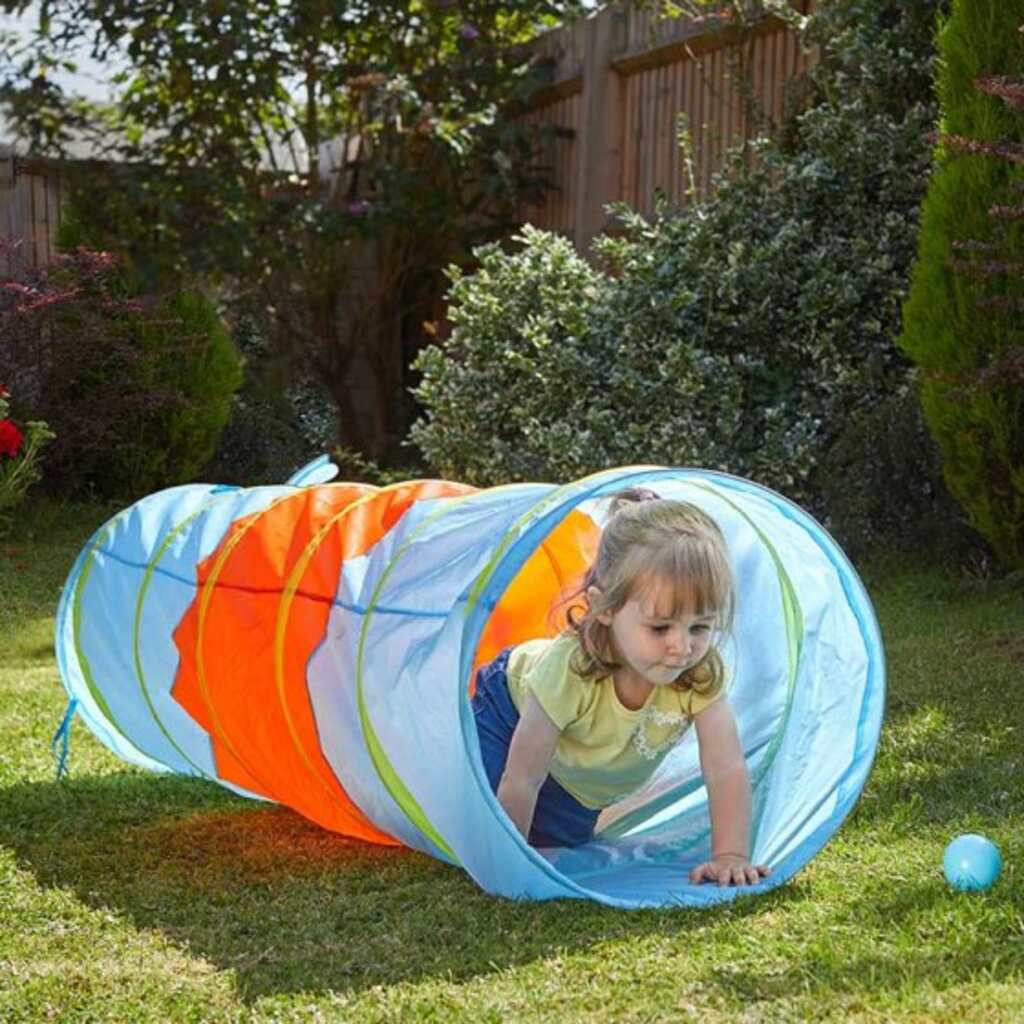
DIY Crawl Tunnel
A crawl tunnel is a fun, interactive play feature designed for children to crawl through, promoting physical activity and sensory exploration. It’s typically made of durable fabric, PVC, or plastic, and is shaped like a tunnel or tube.
Crawling tunnels can be used indoors or outdoors and are a fantastic way to help kids develop strength, coordination, and problem-solving skills while having fun.
DIY Tip: Use large PVC pipes, flexible tubing, or cardboard boxes to build the tunnel. Decorate it with paint or fabric to make it inviting. Anchor it securely to prevent tipping over.
Age Range: Perfect for toddlers and preschoolers aged 2–5.
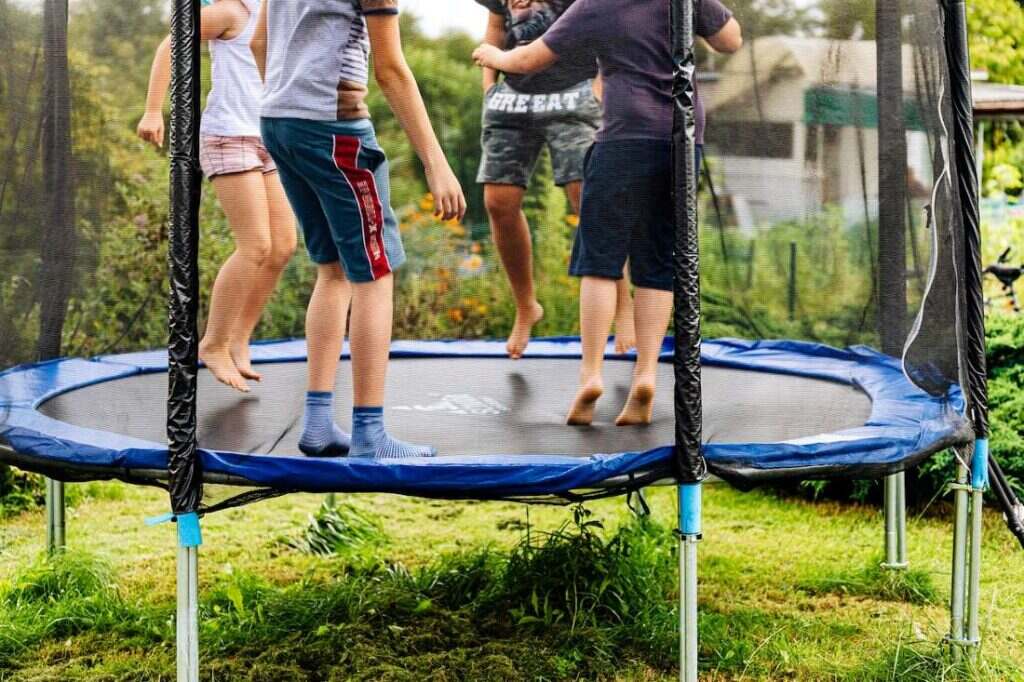
DIY Mini Trampoline Area
A mini trampoline area is a fun and safe space in your backyard where kids can bounce and jump on a small, trampoline-style jumping surface.
Mini trampolines are designed for individual use and are perfect for younger children who are looking to burn off energy, improve coordination, and enjoy active play.
DIY Tip: Choose a compact trampoline with a safety net. Place it on a flat, soft surface or add protective padding around it. Regularly inspect for wear and tear to ensure safety.
Age Range: Suitable for kids aged 4–12.
Safety Considerations for Backyard Playground
When setting up a backyard playground, it’s important to keep safety in mind. Here are some safety considerations for your small backyard playground:-
- Choose Age-Appropriate Equipment: Select equipment suited for your child’s age and follow weight and height limits.
- Ground Surfacing: Use soft, cushioned materials like rubber mulch or grass to absorb falls.
- Secure Equipment: Anchor play structures firmly and regularly check for wear and tear.
- Clearance and Spacing: Maintain adequate space between equipment and clear the area of hazards.
- Supervision: Always supervise play and teach safe behaviour.
- Safety Barriers: Install fences or safety nets to keep children within safe boundaries.
- No Small Parts: Avoid small parts that could pose choking hazards and check for sharp edges.
- Proper Maintenance: Use weather-resistant materials and regularly maintain equipment.
- Weather Considerations: Ensure equipment is safe to use in various weather conditions.
- Encourage Safe Play: Encourage one-at-a-time play and create separate zones for different age groups.
Wrapping It Up!!
In conclusion, creating a DIY small backyard playground is a fantastic way to transform a limited space into a world of adventure and creativity for your children. From a mini climbing wall to a cosy playhouse fort, these budget-friendly ideas will keep kids entertained for hours while encouraging physical activity, imaginative play, and skill development.
With a little effort and some thoughtful planning, your backyard can become the ultimate play haven that your kids will love and cherish. Remember to keep safety in mind, and most importantly, have fun while building memories that will last a lifetime. Happy DIY-ing!

