
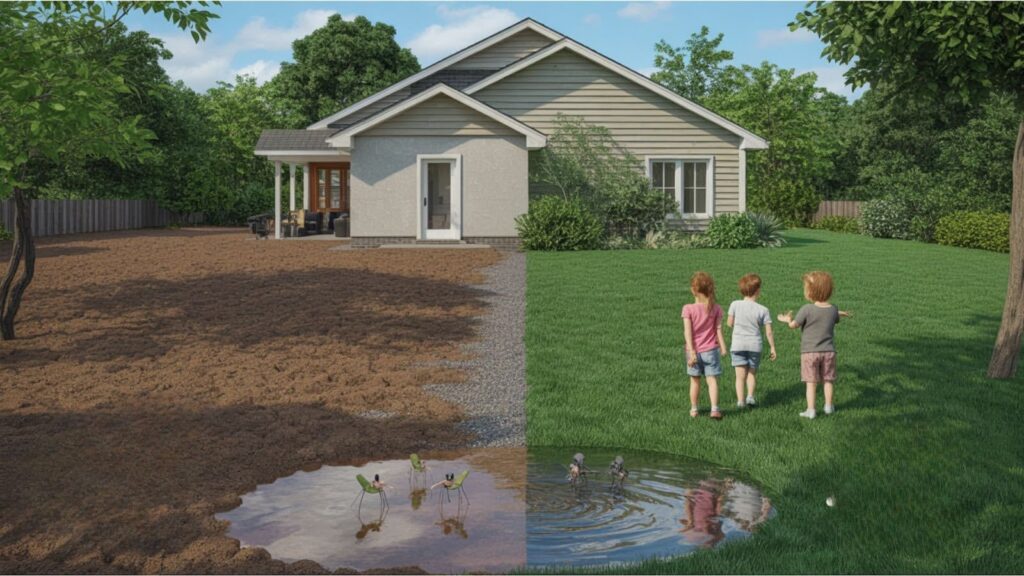
Ever stood in your yard after heavy rain and felt that sinking feeling? You know the one. Water everywhere, it shouldn’t be.
Your neighbor’s yard looks fine. Yours looks like a small lake.
Here’s what’s happening. Poor grading turns your property into a water magnet. And water brings friends you don’t want.
Flooding is just the beginning. Standing water invites mosquitoes and other pests. It seeps toward your foundation. Over time, this creates cracks and structural damage.
The repair bills? They add up fast.
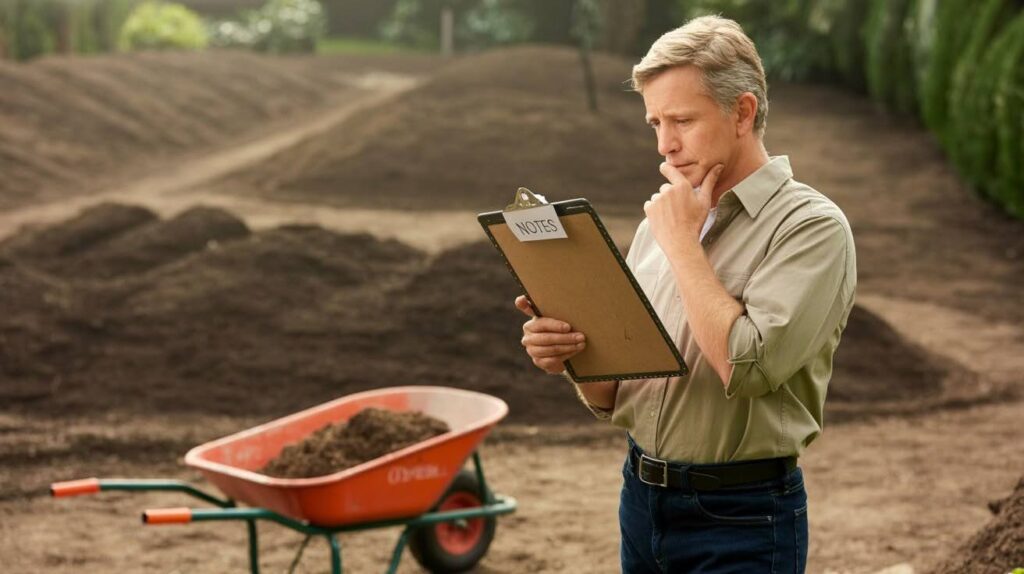
But here’s the thing. You might not need a contractor. Many homeowners can fix basic grading issues themselves. A weekend project could solve years of problems.
Of course, some situations need professional help. Major slopes. Clay soil. Drainage near utilities.
The key is knowing which category your yard falls into. Let’s figure that out together.
Why Grading Your Yard Matters
Why does water always seem to know exactly where you don’t want it?
Your yard’s slope controls everything. Get it wrong and problems multiply fast.
Foundation Protection: Water pooling around your home finds every tiny crack. Turns small issues into major structural problems.
Basement Safety Nobody wants water in their basement. Poor grading lets water seep down and find its way inside.
Pest Control: Standing water attracts mosquitoes and other unwanted visitors. Proper drainage keeps these problems away.
Better Outdoor Living Well-graded yards mean no muddy patches. Your kids can play after the rain. Your landscaping thrives.
Think of grading as home insurance. A small investment now prevents expensive repairs later.
Essential Tools
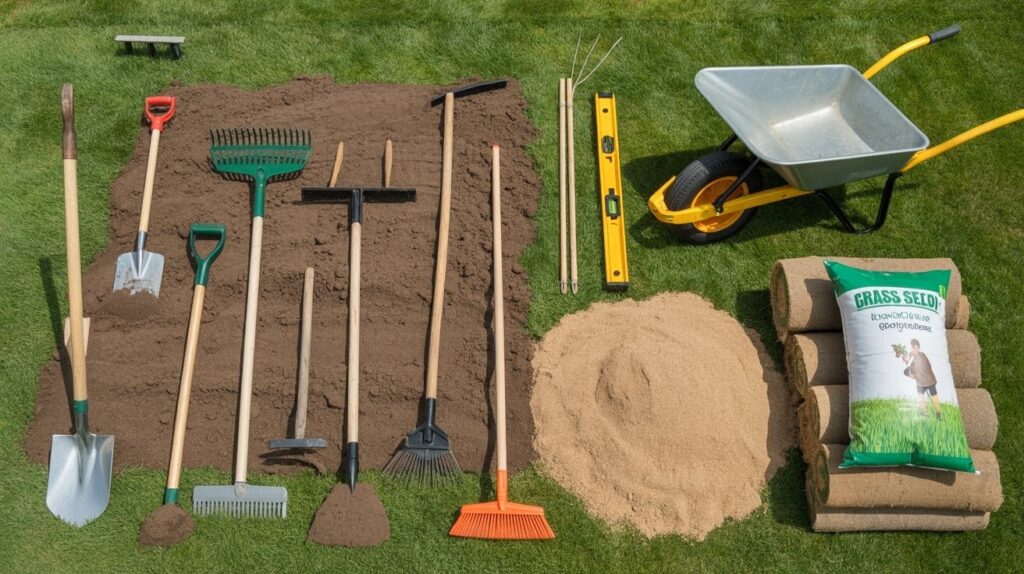
- Shovel for moving dirt
- Rake for spreading and smoothing
- Edger to keep lines clean
- A dethatching rake removes dead grass and debris
- Wheelbarrow to haul materials (your back will thank you)
- Carpenter’s level to check your slope
- String line and stakes to mark work areas
- Push broom for cleanup
Required Materials
- Topsoil (get quality stuff cheap soil causes problems later)
- Sand (helps drainage in heavy clay areas)
- Compost (feeds your new grass)
- Grass seed or sod (seed is cheaper, sod gives instant results)
Most items are available at your local hardware store. Call ahead to check availability on larger quantities.
Step-by-Step: How to Grade a Yard
Proper yard grading requires a systematic approach and the right techniques. Follow these proven steps to fix drainage problems and protect your home.
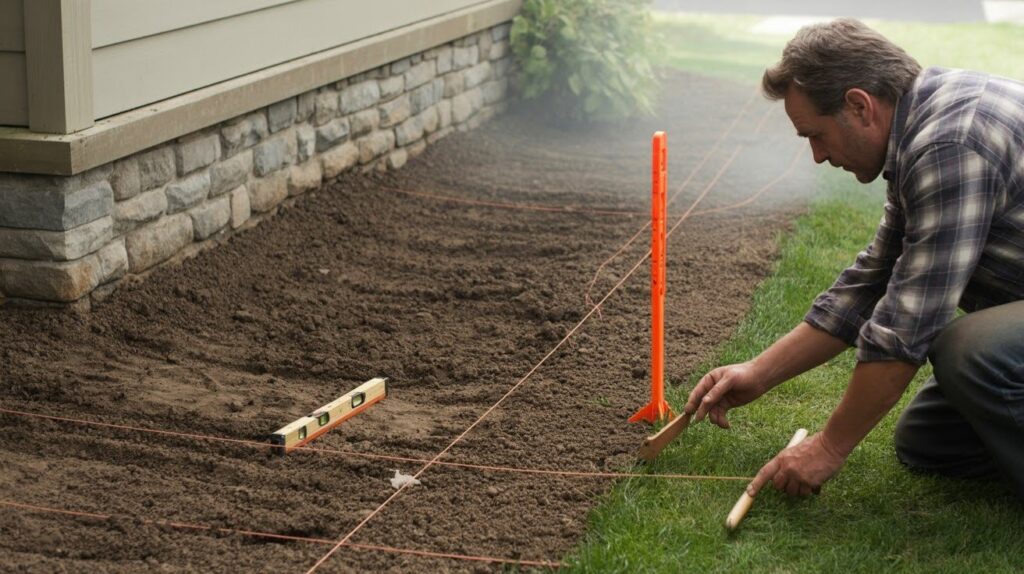
Step 1: Measure the Existing Slope
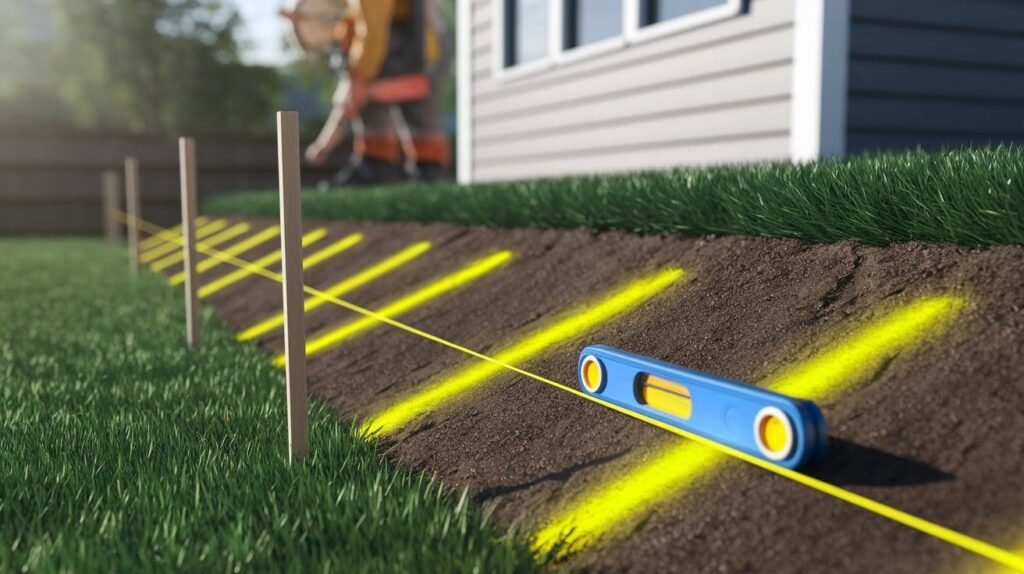
Start by setting up stakes and string lines across your yard. Use a line level to check your current grade.
You need at least 1 inch of drop per foot away from your foundation for the first 10 feet. Mark problem areas with spray paint.
This baseline measurement tells you exactly where work is needed and how much soil you’ll need to move.
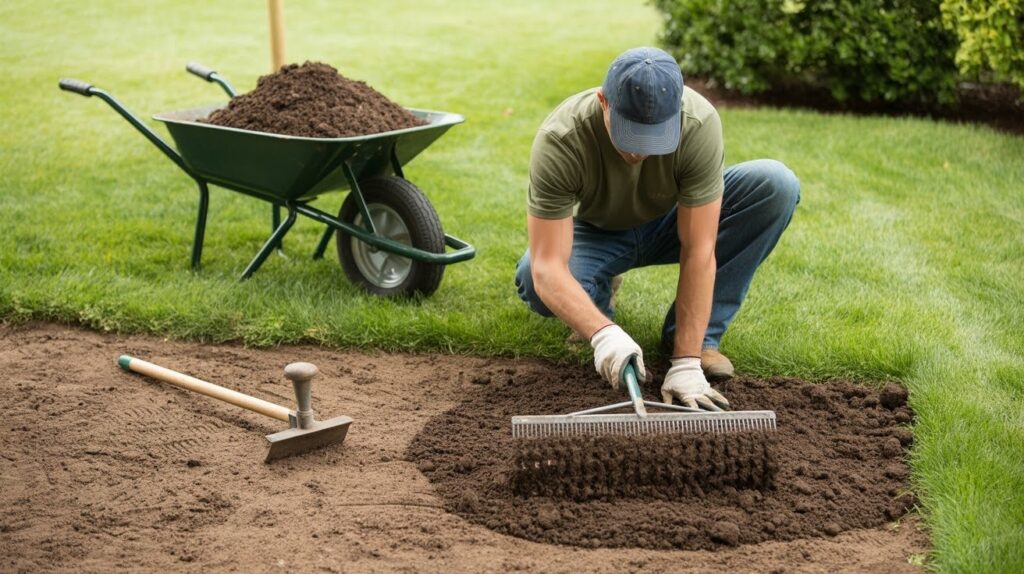
Step 2: Prepare the Lawn
Cut your grass short, but don’t scalp it. You want to see the soil without exposing grass stems. Check for thatch buildup.
If it’s thicker than half an inch, remove it with a dethatching rake. Carefully remove sod from problem areas and low spots.
Save the healthy pieces for replanting later. This prep work makes everything else easier.
Step 3: Plan Soil Movement
Walk your yard and identify the high and low spots. High areas are your soil source. Low areas need filling.
Calculate how much dirt you’ll need to move. Sometimes you’ll have enough soil from high spots.
Other times, you’ll need to bring in additional topsoil. Planning prevents multiple trips to the garden center and saves your back.
Step 4: Spread and Compact Soil
Mix your soil blend using 2 parts topsoil, 2 parts sand, and 1 part compost. This combination drains well but holds nutrients.
Spread the mixture evenly across problem areas using your rake. Compact gently with your feet or a hand tamper.
Don’t overdo it. You want firm soil that won’t settle later but still allows grass roots to penetrate easily.
Step 5: Recheck the Grade
Set up your stakes and string lines again. Measure the slope to confirm it meets the 1-inch-per-foot standard.
Adjust soil as needed until water flows away from your home consistently.
This double-checking step catches problems before you plant grass. It’s much easier to fix grading issues now than after your new lawn is established.
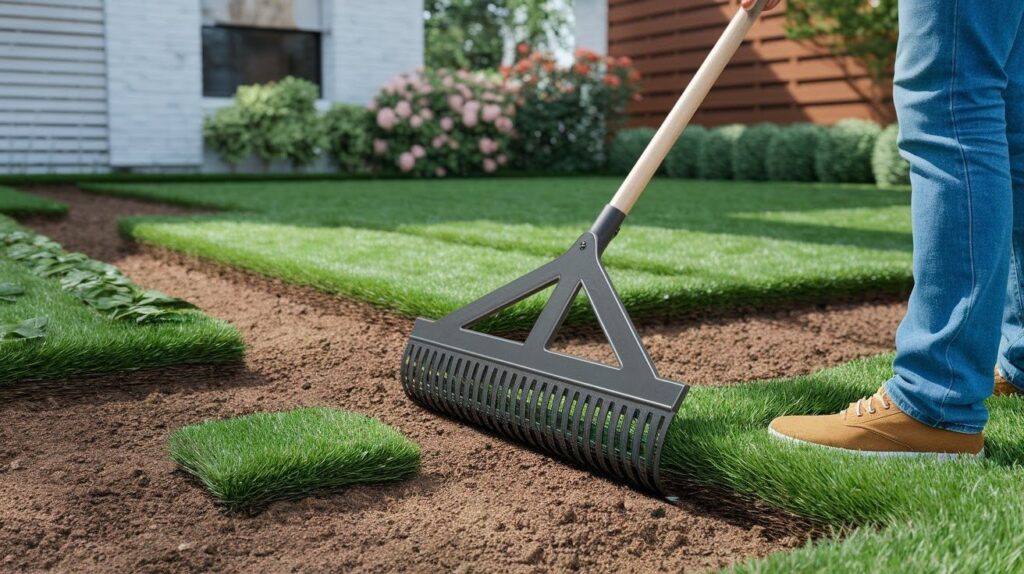
Step 6: Replace Grass or Seed
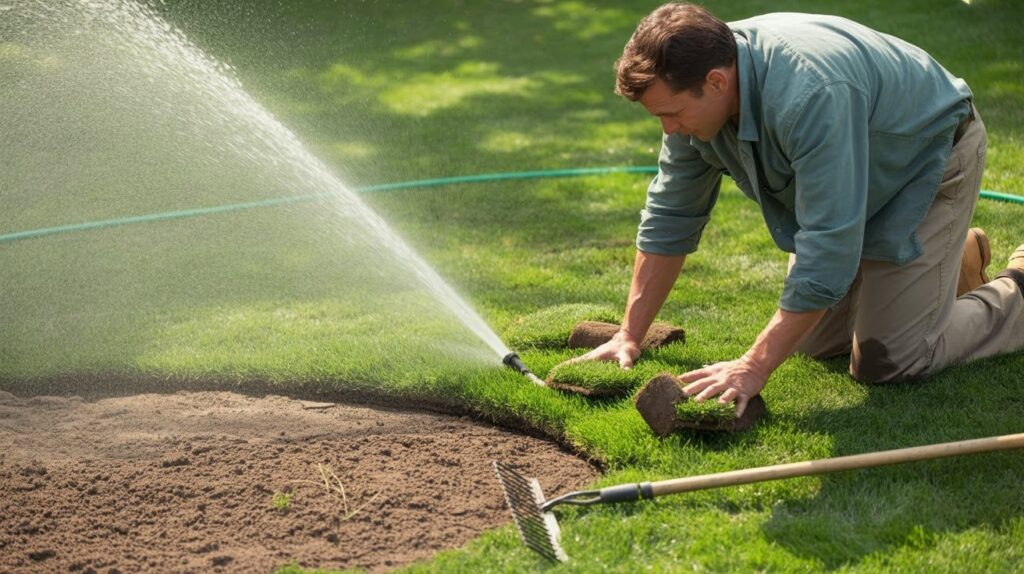
Now comes the satisfying part. Lay your saved sod back over the repaired areas or spread grass seed evenly.
Press sod firmly into contact with the soil. For seeded areas, rake lightly to cover seeds with a thin soil layer.
Water thoroughly but gently to avoid washing away seeds or disturbing new sod. Good soil contact is crucial for establishment.
Step 7: Water and Maintain
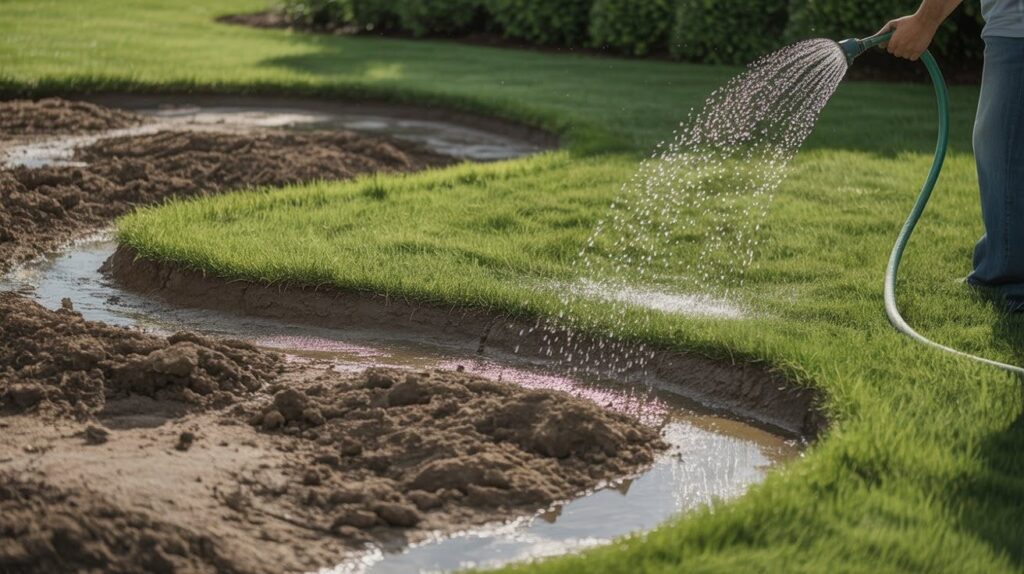
Give your newly graded areas deep, thorough watering. This helps soil settle and shows you any spots that need more fill.
Watch for depressions over the next few weeks and add more soil mix as needed. Check regularly for erosion, especially after heavy rains.
Early maintenance prevents big problems later and keeps your investment protected.
Additional Tips for Successful Yard Grading
- Time your project right – work during dry seasons when the soil is workable
- Avoid periods with heavy rains or frozen ground conditions
- Keep soil levels at least 6 inches below your home’s siding or wood structures
- This gap prevents termite infestations and wood rot problems
- Clean your gutters regularly – clogged gutters dump water near the foundation
- This undoes all your grading work in one heavy storm
- Know your limits – steep slopes need professional help
- Consider installing French drains for complex water management issues
Conclusion
You’ve made it this far, which tells me you’re serious about protecting your home.
Here’s what I’ve learned after years of helping homeowners with yard grading. It really works. Proper grading protects your foundation from water damage and keeps your lawn healthy.
Most importantly, it prevents those expensive repair bills that nobody wants to face.
For smaller projects, you absolutely can handle this yourself. The tools are basic. The steps are straightforward. Take your time and follow the process.
But here’s my honest advice. If you’re dealing with major slopes or complex drainage problems, call a professional. Some battles aren’t worth fighting alone.
Your home is your biggest investment. A little preventive work now saves thousands later. You’ve got this.
Frequently Asked Questions
How long does yard grading typically take?
Most small yard grading projects take 1-2 weekends to complete. Larger areas or complex drainage issues may require several weeks of work.
Can I grade my yard during any season?
Spring and fall are ideal for grading work when soil conditions are manageable. Avoid winter when ground is frozen or summer during drought conditions.
How much does DIY yard grading cost?
Basic DIY grading costs $200-500 for tools and materials like topsoil and seed. Professional grading ranges from $1,000-5,000, depending on yard size and complexity.
What’s the minimum slope needed for proper drainage?
Your yard needs at least 1 inch of drop per foot for the first 10 feet from your foundation. This ensures water flows away from your home effectively.
When should I hire a professional instead of doing it myself?
Call professionals for steep slopes over 30%, large areas exceeding 1,000 square feet, or complex drainage problems. Also consider the pros if you lack time or physical ability.