
Want to give your walls a fresh update without hiring a contractor?
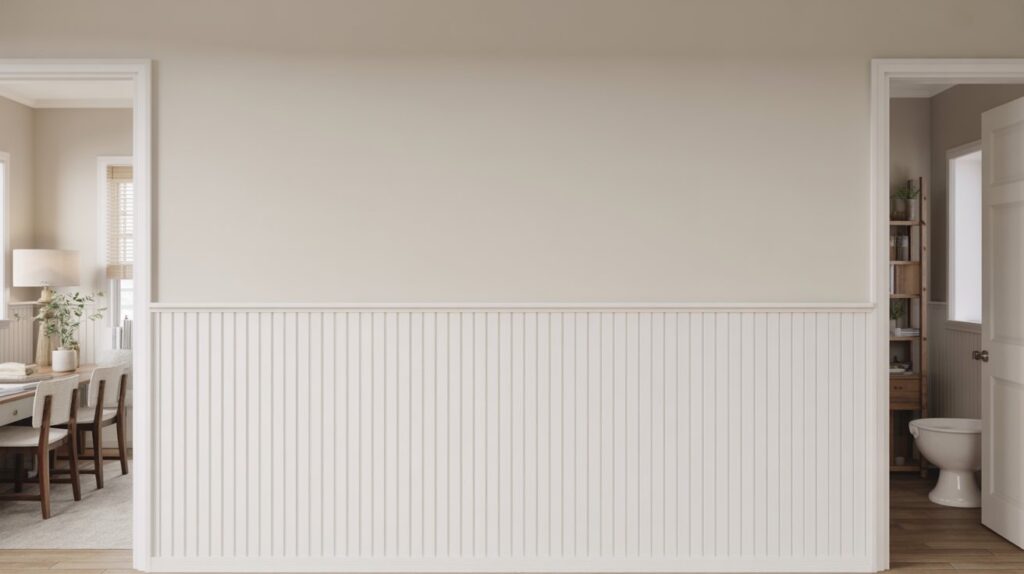
A vertical shiplap half wall might be exactly what you need. This style adds texture and warmth to any room, and I’ve seen it work wonders in hallways, bathrooms, and dining rooms.
I’m going to walk you through the entire process in five simple steps. You don’t need to be an expert to pull this off.
I’ve included both written instructions and a video tutorial so you can follow along easily. Trust me, once you see how doable this project is, you’ll be ready to start right away.
Why Choose a Vertical Shiplap Half Wall?
This project is one of the most budget-friendly ways to add character to your home. You can use real shiplap or save even more money by cutting plywood into strips. The results look professional either way.
Vertical shiplap half walls work in almost any room. They look great in bathrooms, bedrooms, hallways, and dining rooms. The vertical lines make ceilings appear higher, which is a nice bonus.
If you’re new to DIY projects, this is a perfect place to start. The steps are straightforward, and you don’t need advanced woodworking skills. With basic tools and a free weekend, you can completely change the feel of a room.
Tools & Materials You’ll Need
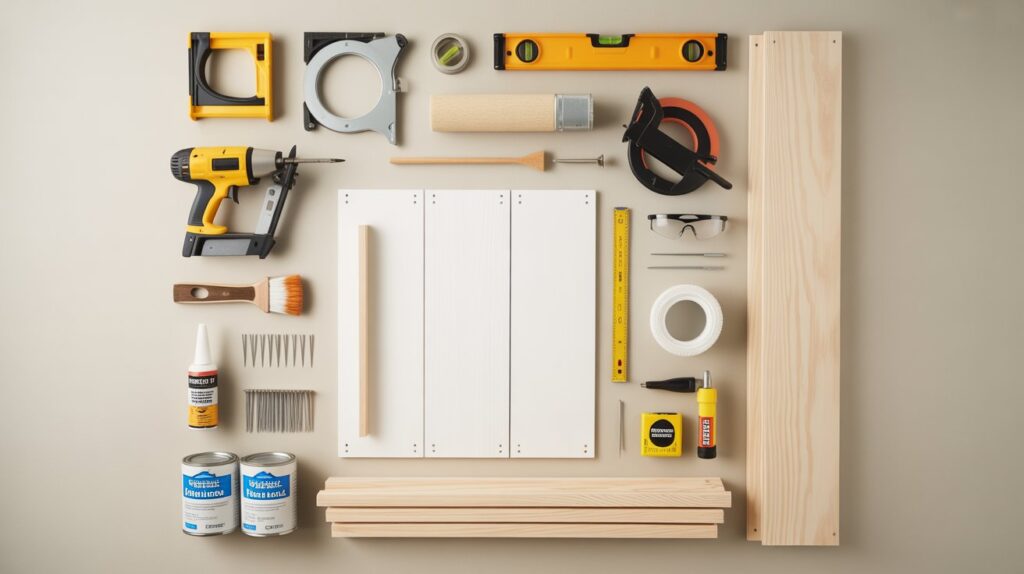
Before you start, gather everything you need for this project. Having all your tools and materials ready will make the installation go smoothly.
Tools:
- Nail gun or nailer
- Level
- Measuring tape
- Saw (circular or miter saw)
- Stud finder
- Paintbrush or roller
- Caulking gun
- Pencil for marking
- Safety glasses
Materials:
- Shiplap boards or plywood
- Wood trim or molding
- Construction adhesive
- Paint or primer
- Caulk
- Nails or brad nails
- Sandpaper
Make sure you measure your wall space before buying materials. This helps you get the right amount of shiplap and avoid extra trips to the store.
Step-by-Step DIY Guide
Follow these five straightforward steps to install your vertical shiplap half wall. Each step builds on the last for professional results.
Step 1: Prep the Wall and Choose Your Half-Wall Height
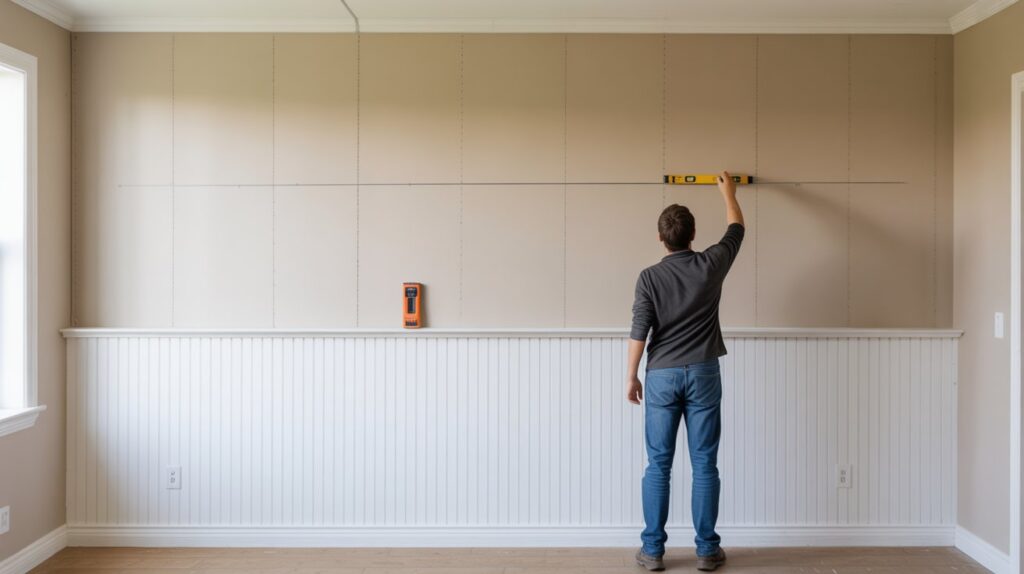
Start by deciding how high you want your half wall. Most people go with 4 to 5 feet, but you can adjust based on your room. Use a level and pencil to mark a straight line across the wall.
Find the studs with a stud finder and mark their locations. Clean the wall surface to remove dust and dirt. You can keep your existing baseboards or remove them depending on your preference.
Step 2: Cut and Pre-Paint Your Vertical Shiplap Boards
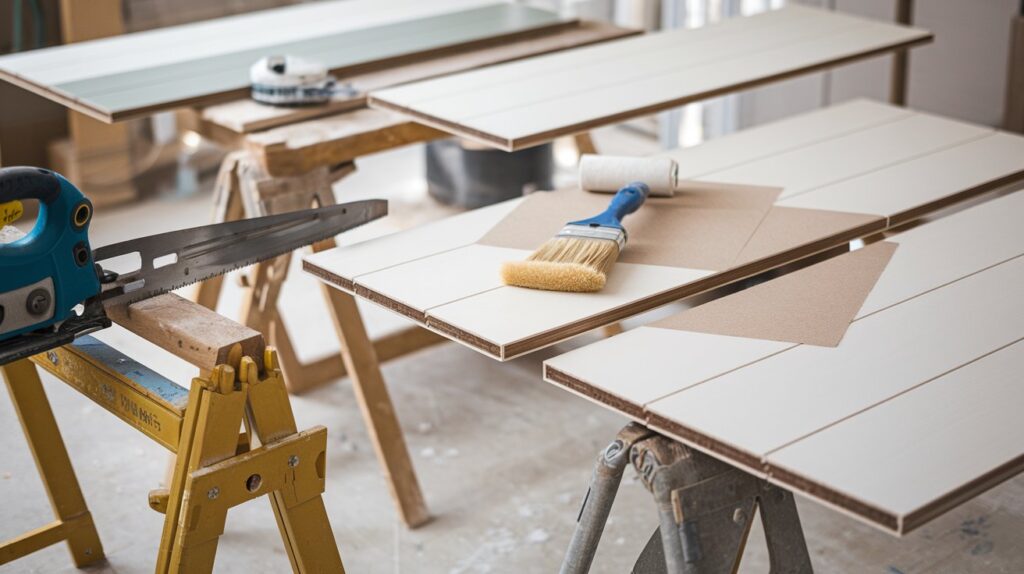
Measure the distance from your baseboard to your marked line. Cut all your shiplap boards to this exact length. Before installing anything, paint the edges of each board. This prevents unpainted gaps from showing through later.
Sand each board lightly to remove rough spots and splinters. Pre-painting now saves you time and gives you a cleaner finished look. Let the paint dry completely before moving to the next step.
Step 3: Install the Top Trim for Alignment
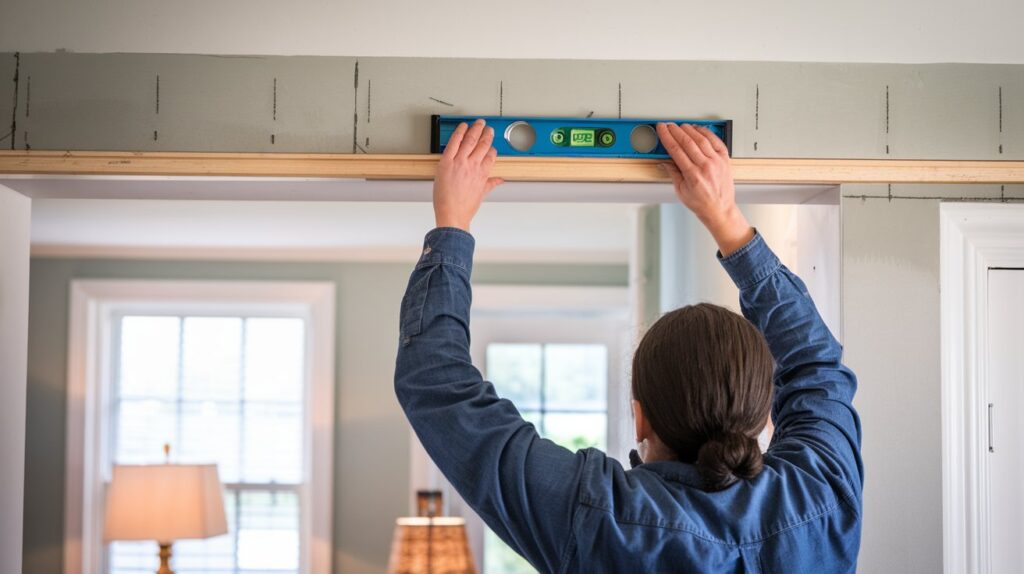
Attach a 1×4 or 1×2 board along your marked line at the top. Use a level to make sure this trim piece is perfectly straight. Nail it securely into the wall studs you marked earlier.
This top rail is important because it guides the placement of all your vertical boards. A level top trim means your entire wall will look professional. Take your time with this step to get it right.
Step 4: Attach the Vertical Shiplap Boards
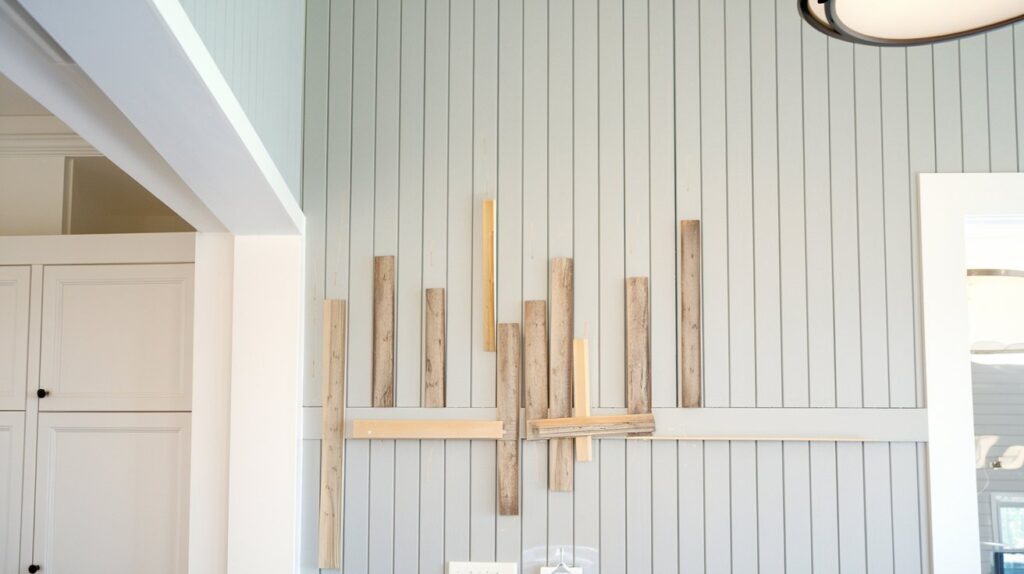
Begin installing boards at the most visible corner of your wall. Apply construction adhesive to the back of each board. Press it firmly against the wall and secure it with brad nails.
Keep consistent spacing between each board as you work across the wall. When you reach outlets, measure carefully and cut notches to fit around them. Cut your final board to the exact width needed to complete the wall.
Step 5: Finish, Caulk, and Paint the Shiplap Half Wall
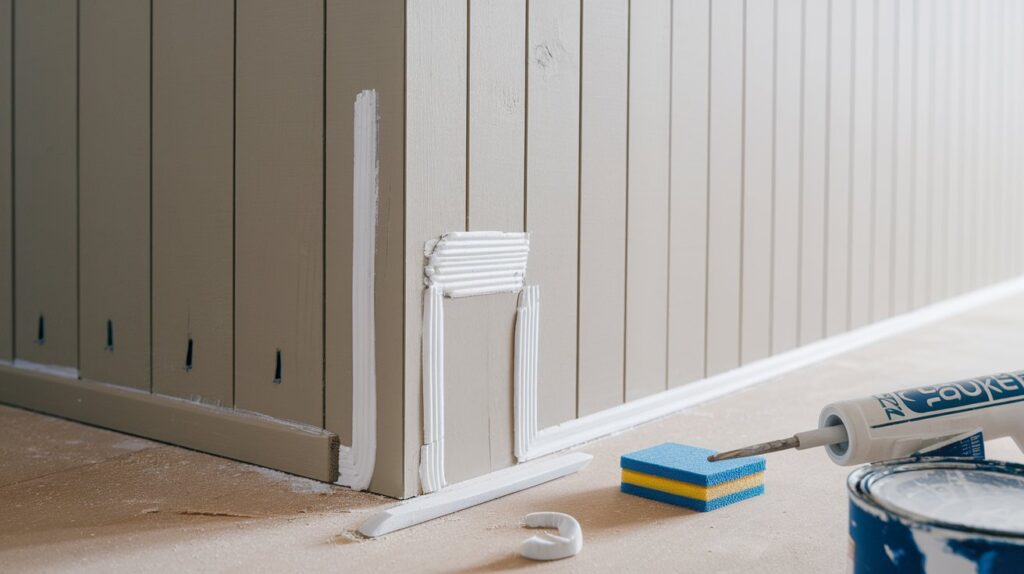
Fill all nail holes with wood filler and let it dry. Sand the filled areas until they’re smooth and flush with the board surface. Run a bead of caulk along all seams where boards meet the trim and corners.
Smooth the caulk with your finger for a clean line. Apply your final coat of paint over the entire half wall. This last paint coat ties everything together and gives you that polished, professional finish.
Common Mistakes to Avoid
- Uneven gaps between boards: Use a spacer to keep consistent gaps throughout your installation. Random spacing makes the wall look unprofessional and messy.
- Skipping pre-painting: Always paint board edges before installation. Unpainted gaps become visible over time and are hard to fix later.
- Forgetting to caulk seams: Caulk fills small imperfections and creates clean lines. Skipping this step leaves your wall looking unfinished.
- Poor height placement: Measure your wall height carefully before marking your line. A crooked or awkwardly placed half wall throws off the entire room.
- Not finding studs first: Secure your trim and boards into studs for stability. Relying only on adhesive can lead to boards loosening over time.
Conclusion
You now have everything you need to install a vertical shiplap half wall in your home. This project is affordable, looks professional, and truly changes the feel of any room. I’ve walked you through each step to make it as simple as possible.
If you’re new to DIY, don’t hesitate to give this a try. The process is forgiving, and the results are worth it. Take your time with measurements and prep work, and you’ll be happy with how it turns out.
Ready for more wall projects? Check out our other DIY wall ideas to keep improving your space. Your home should reflect your style, and small updates like this make a big difference.
Frequently Asked Questions
How high should a shiplap half wall be?
Most shiplap half walls are between 4 to 5 feet tall. This height works well in most rooms and creates a balanced look without overwhelming the space.
Can I use plywood instead of real shiplap?
Yes, plywood is a great budget-friendly alternative to real shiplap boards. Cut it into strips, sand the edges, and paint it for a similar look at a lower cost.
Do I need to remove my baseboards before installing?
You can choose to keep or remove your baseboards based on your preference. Keeping them saves time, while removing them gives you a cleaner, more seamless finish.
What type of paint works best for shiplap walls?
Semi-gloss or satin finish paints work well for shiplap walls. These finishes are easy to clean and hold up better in high-traffic areas like hallways and bathrooms.
How do I fix gaps between the shiplap boards?
Use caulk to fill any gaps between boards and at the seams. Apply it with a caulking gun, smooth it with your finger, and paint over it once it dries.