
The energy efficiency, security, and curb appeal of your house are all enhanced by installing a new exterior door. However, the procedure may appear difficult and daunting if you have never done it before.
This guide provides easy-to-follow instructions for installing exterior doors from beginning to end. I’ll go over the necessary equipment, opening preparation, and each installation step with you.
You will gain knowledge about the different kinds of doors, steer clear of typical blunders, and receive finishing advice that will make your door appear polished.
This guide makes the task easier, whether you’re installing a new door or replacing an old one.
Understanding Exterior Doors and Their Components
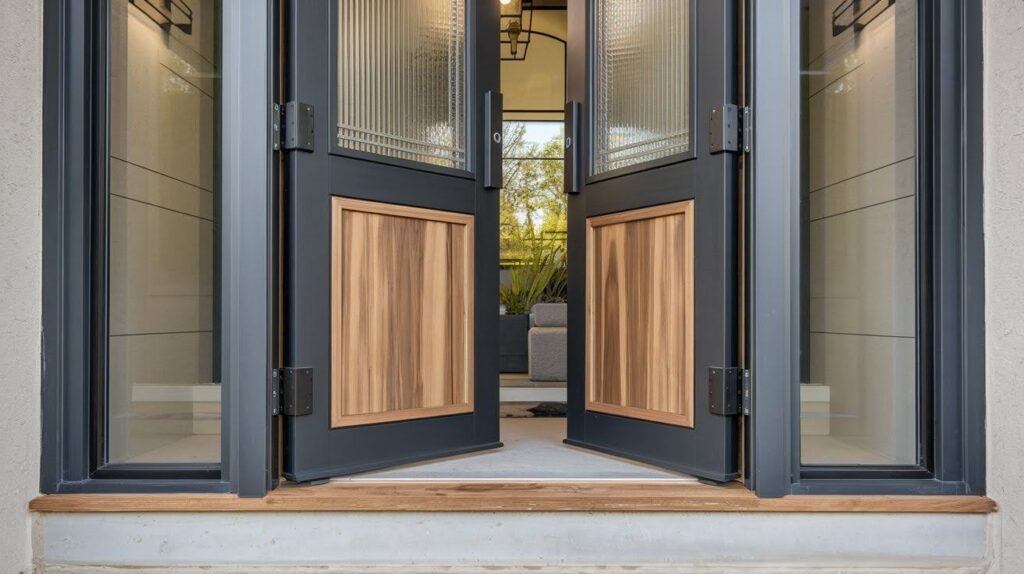
Exterior doors come in three main types: fiberglass, steel, and wood. Fiberglass doors resist warping while providing excellent insulation and low maintenance.
Steel doors offer maximum security and energy efficiency at an affordable price. Wood doors provide classic beauty but require more maintenance.
Every exterior door system includes key components. The frame attaches to your home’s structure.
The threshold forms the bottom seal against weather. Jambs are the vertical sides that support the door.
Hinges allow smooth opening, weatherstripping seals gaps, and the lockset provides security.
Prehung doors come with the frame already attached, making installation much simpler for DIY projects.
Slab doors are just the door itself without any frame or hardware. Prehung doors are ideal for DIY installation because alignment is already done at the factory.
Tools and Materials You’ll Need
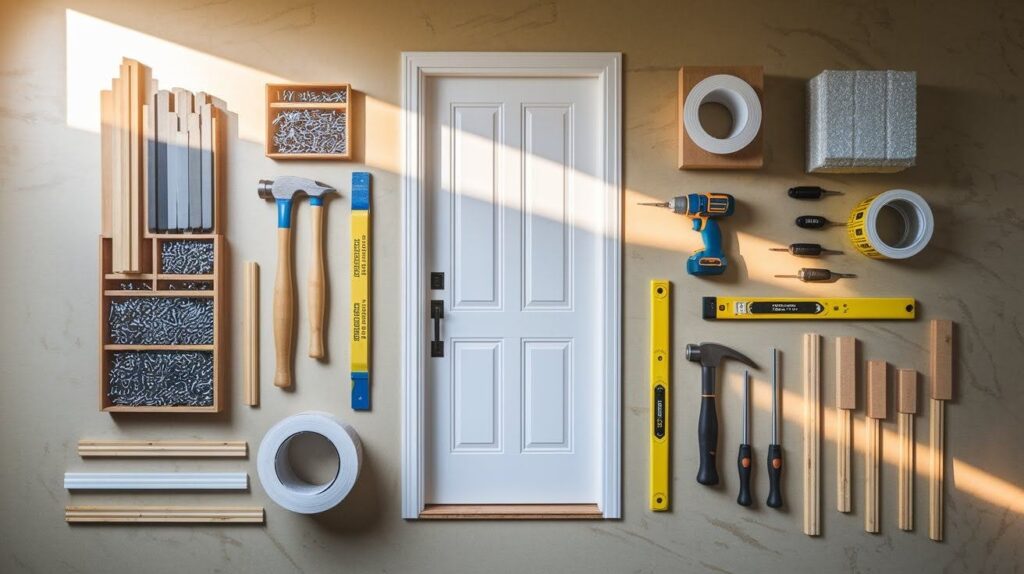
Gather important tools like drill, level, and shims plus materials including door unit, sealant, flashing, and trim.
Essential Tools:
- Hammer
- Screwdrivers (various sizes)
- Power drill
- Level
- Pry bar
- Tape measure
- Shims
Materials Checklist:
- Prehung exterior door
- Screws and nails
- Caulk or sealant
- Sill pan
- Flashing tape
- Insulation foam
- Interior and exterior trim
Step-by-Step Process for Installing an Exterior Door
Follow eleven detailed steps from measuring the opening through testing the finished door for proper operation and seal.
Step 1: Measure the Door Opening
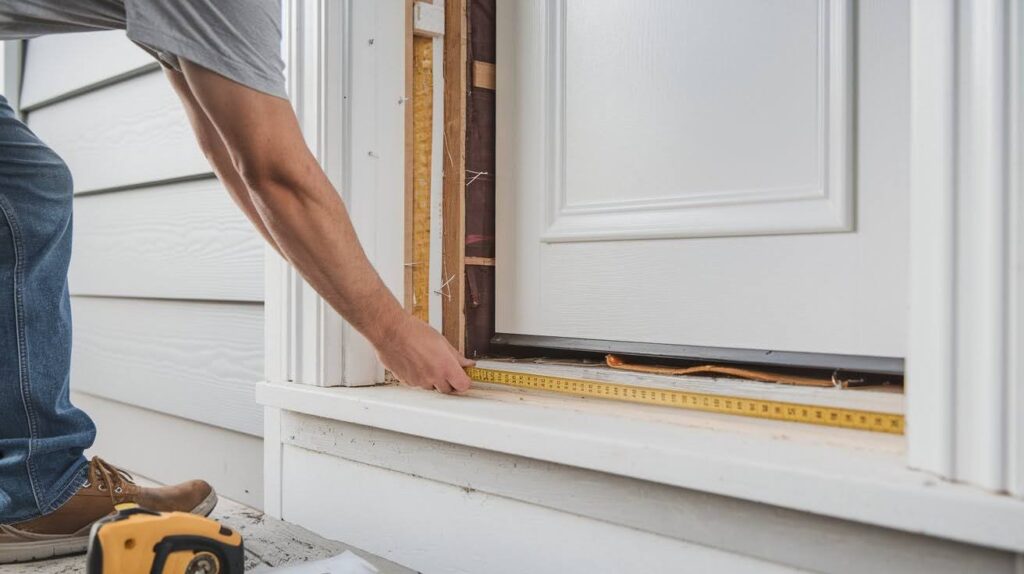
Measure the width and height of your rough opening at multiple points. Use the smallest measurement to order your door.
Standard exterior door openings are typically 36 inches wide and 80 inches tall.
Step 2: Remove the Old Door (If Applicable)
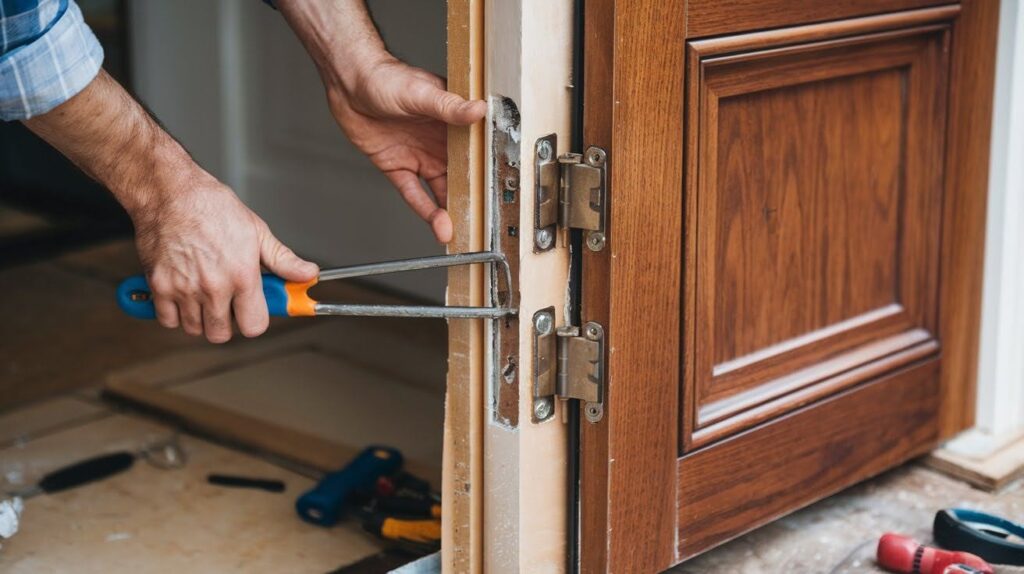
Remove the interior trim carefully using a pry bar. Unscrew the hinges and lift the old door out.
Remove the old frame by cutting through nails or unscrewing fasteners, then clean the opening completely.
Step 3: Check the Rough Opening
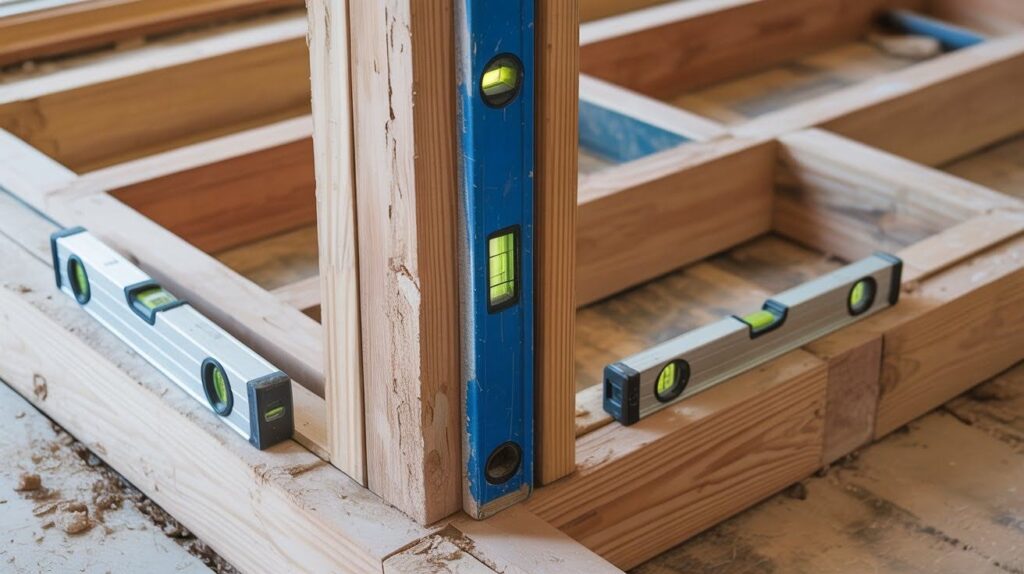
Inspect the rough opening for rot, damage, or pest infestation. Verify the opening is level, plumb, and square using your level.
Make any necessary repairs before proceeding.
Step 4: Prepare the Sill and Install Sill Pan
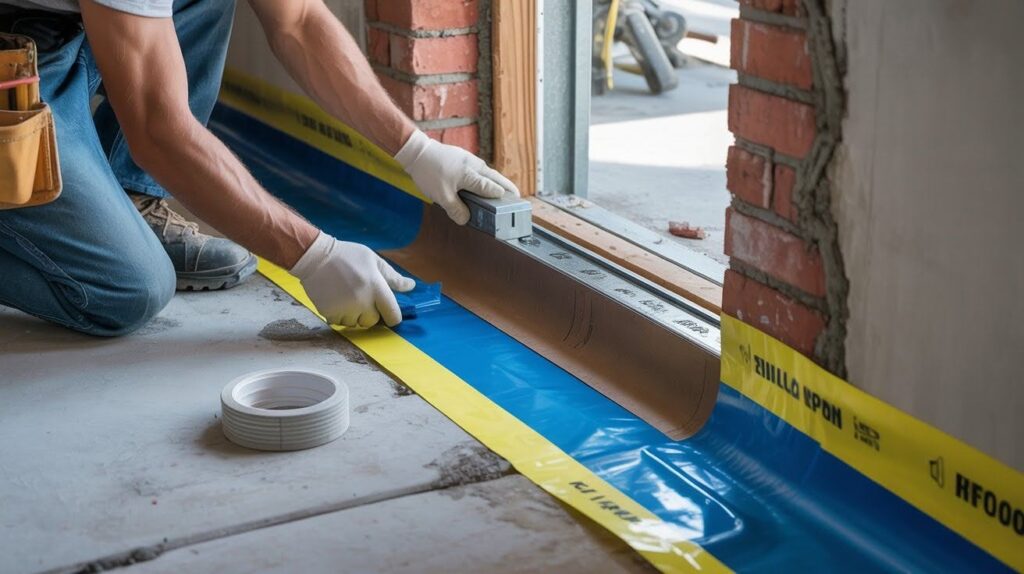
Clean the sill area thoroughly and remove all debris. Install a sill pan to protect against water infiltration.
Apply flashing tape to the sill and up the sides, overlapping corners to create a continuous waterproof barrier.
Step 5: Dry Fit the Door
Place the door unit in the opening without fastening anything.
Verify the door swings in the correct direction and ensure there’s enough space for shims around all sides.
Step 6: Apply Caulk Around the Opening
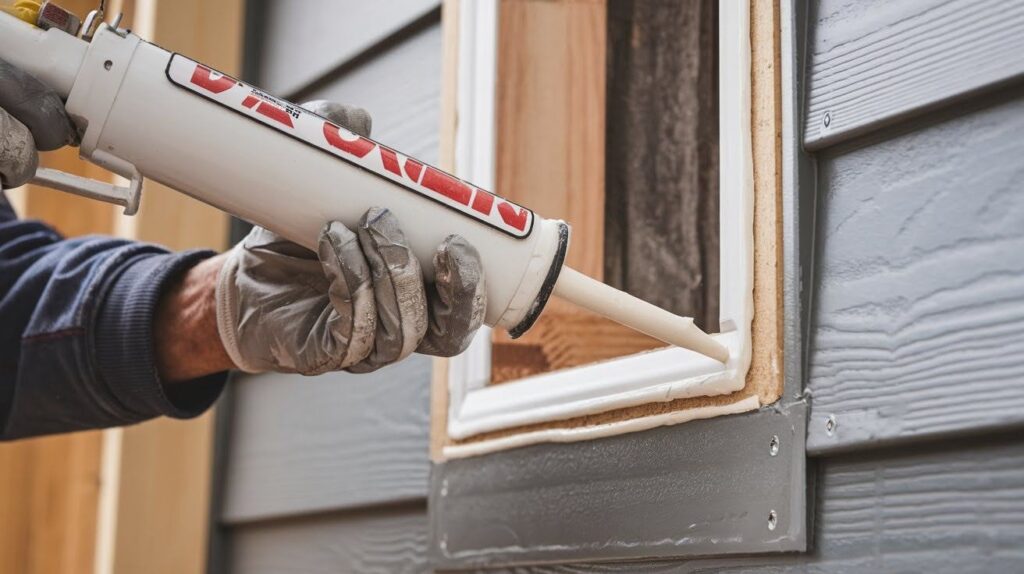
Run a continuous bead of exterior-grade caulk around the outside perimeter of the opening. Don’t caulk the top initially as you may need to make adjustments.
The caulk prevents air and water infiltration.
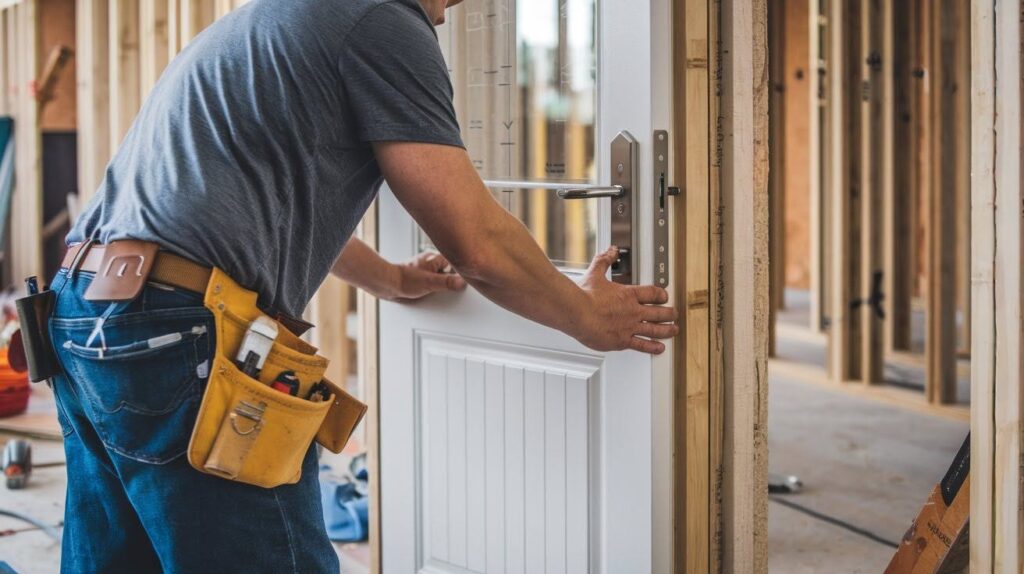
Step 7: Set and Secure the Door
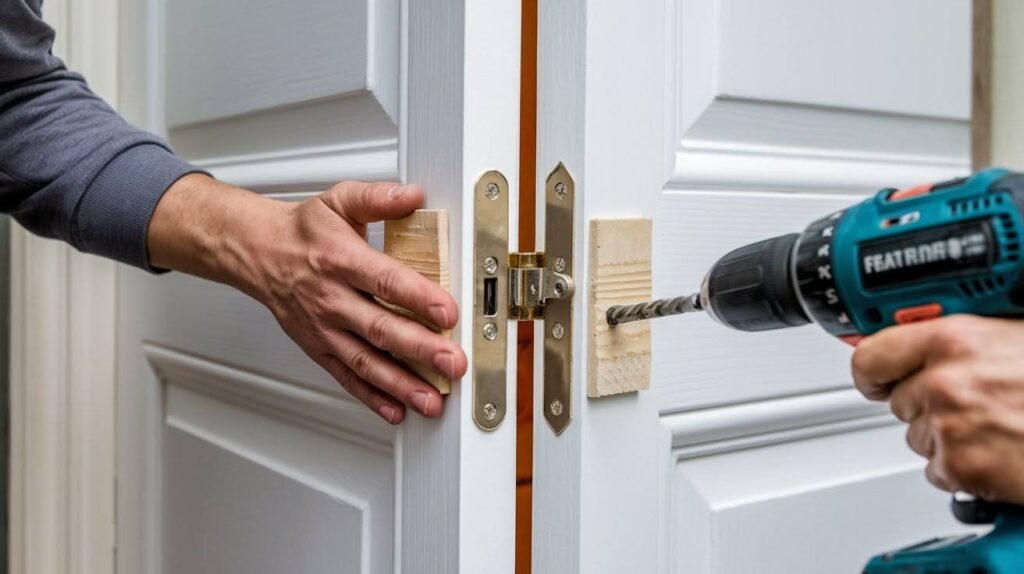
Lift the door unit and set it into the opening carefully. Insert shims between the frame and rough opening at hinge locations.
Drive one screw partially through the frame without tightening completely yet.
Step 8: Check for Level, Plumb, and Square

Place your level on the sill to check if it’s level side to side. Check both sides of the frame for plumb.
Measure diagonally from corner to corner in both directions to ensure the frame is square, then tighten all screws.
Step 9: Insulate and Seal Around the Frame
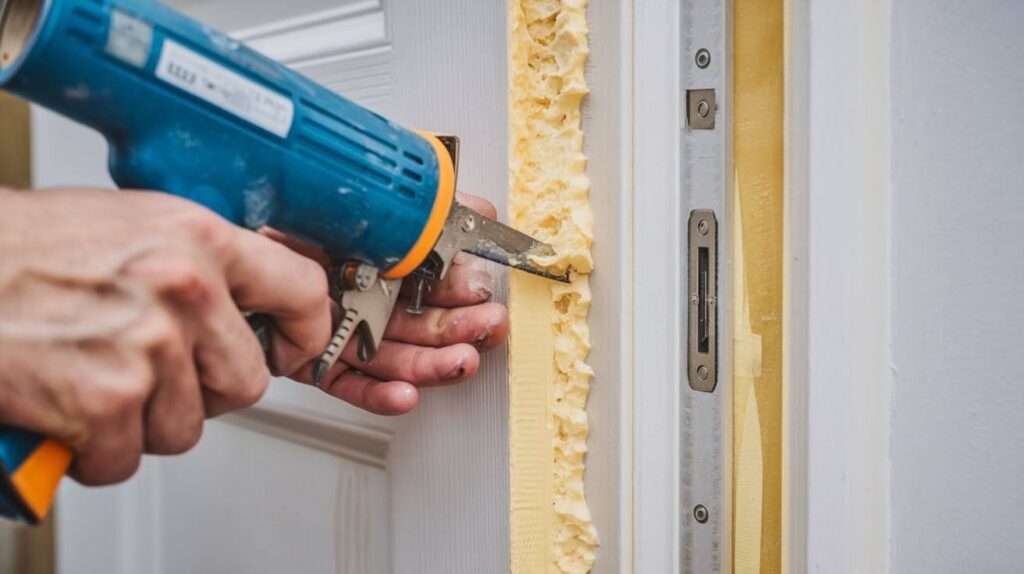
Fill gaps between the frame and rough opening with low-expansion foam insulation. Don’t overfill as foam can bow the frame.
After foam cures, trim excess with a utility knife.
Step 10: Install Exterior and Interior Trim
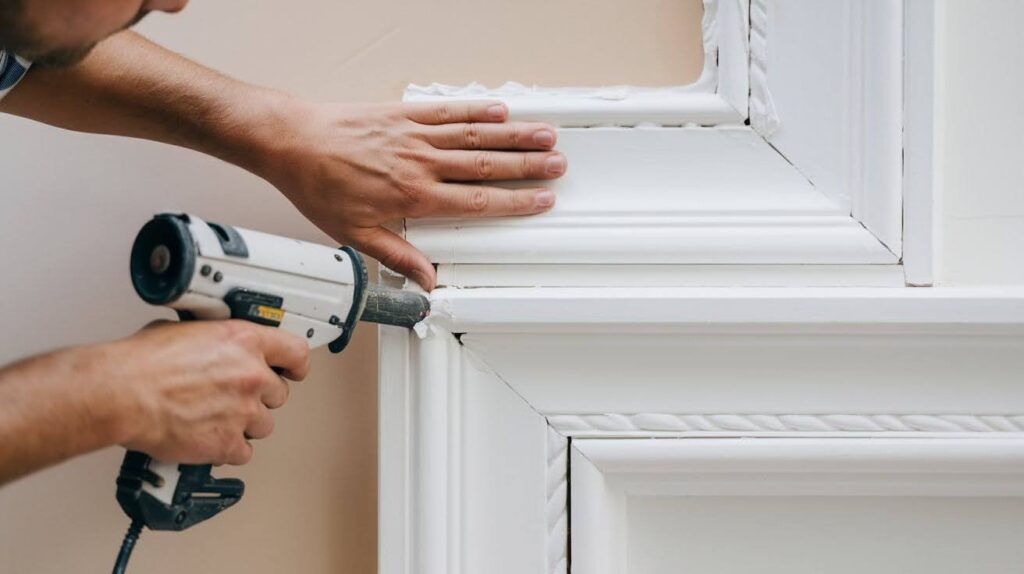
Cut and fit exterior trim or brick mold around the door perimeter, mitering corners at 45-degree angles.
Nail trim to the door frame using galvanized or stainless nails. Install interior trim using the same technique and caulk all joints.
Step 11: Add Hardware and Test the Door
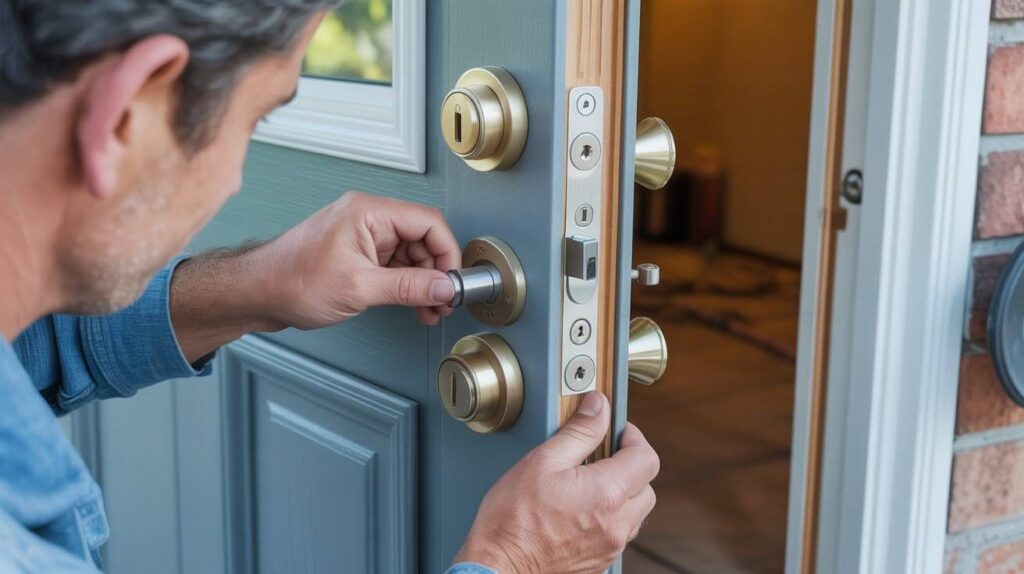
Install the lockset according to manufacturer instructions. Attach the strike plate so it aligns with the latch.
Open and close the door multiple times to verify smooth operation and check all edges for proper seal.
Common Mistakes to Avoid
Prevent problems by avoiding over-tightening, skipping waterproofing steps, and failing to verify swing direction before securing.
- Over-tightening screws can bow the door frame and cause binding. Tighten screws just enough to secure the frame without creating pressure.
- Misaligning the frame during installation leads to operation problems and poor sealing. Take time to check level, plumb, and square before final fastening.
- Skipping the sill pan or improper sealing allows water to enter your walls. Water damage from missing waterproofing measures costs far more to repair than proper installation.
- Not verifying swing direction before installation means you might have to start over. Confirm whether you need a left-hand or right-hand swing door before securing.
Video Tutorial for Visual Learners
How Much Does it Cost to Install Doors | The Home Depot
Video tutorials from trusted sources like Home Depot, Lowe’s, or door manufacturers provide visual guidance. Seeing the actual installation process helps you understand techniques that are hard to describe in words.
Combine visual and written steps for the most accurate installation. Pause videos to read your written guide, then watch the corresponding section to see it in action. This dual approach catches details you might miss using only one method.
Look for videos specific to your door type and brand. Manufacturer videos often include brand-specific tips and show the exact hardware you’ll be working with.
Maintenance Tips for Exterior Doors
- Check weatherstripping annually for wear, tears, or compression and replace as needed.
- Inspect hinges for loose screws or rust and tighten or lubricate them.
- Examine sealant around the frame and trim, caulking any cracked or missing areas.
- Test the lockset and lubricate moving parts with graphite or silicone spray.
- Repaint or re-stain when the finish shows wear, fading, or peeling.
- Clean drainage holes in the threshold to prevent water accumulation.
- Adjust the door if it starts sticking or not closing properly due to settling.
Conclusion
I recall being initially overwhelmed when I installed exterior doors at my first home. However, it was completely manageable by following a step-by-step procedure, and the satisfaction was amazing.
Measure, align, and waterproof as you see fit. The effectiveness of your door for many years to come is determined by these crucial actions.
It’s acceptable to call a professional if a step seems too difficult for you. A well-installed door keeps your family and house safe.
Are you prepared to begin your project? If you have any questions, leave them in the comments and I’ll be happy to assist you!
Frequently Asked Questions
How long does it take to install an exterior door?
A typical prehung exterior door installation takes 4-6 hours for someone with moderate DIY skills. This includes removing the old door, preparing the opening, installing the new door, and finishing trim work.
Can I install an exterior door by myself?
You can install an exterior door alone, but having a helper makes the job easier and safer. Exterior doors are heavy and awkward to maneuver, and a second person helps with positioning and alignment.
Do I need special tools to install an exterior door?
Basic tools like a drill, level, tape measure, and pry bar are sufficient for most installations. You don’t need specialized equipment, though a pneumatic nail gun speeds up trim installation.
What’s the difference between inswing and outswing doors?
Inswing doors open into your home and are most common in residential construction. Outswing doors open outward and are better for areas with limited interior space or specific weather conditions.
How do I know if my rough opening is the right size?
Measure the rough opening and compare it to the door manufacturer’s specifications. The opening should be about 2 inches wider and 2.5 inches taller than the actual door size to allow for the frame and shimming.