
Ready to tackle your first roofing project?
You’re standing in your driveway, looking up at your roof. That loose shingle isn’t going to fix itself.
Here’s the thing. Most DIY roofing disasters happen because people use the wrong tools. Or worse, they use kitchen knives and garden rakes.
Don’t be that person.
The right roofing tools make three huge differences. First, they keep you safe up there. Second, they cut your work time in half. Third, your repairs actually last.
But which tools do you actually need?
This guide breaks down 29 essential tools into three simple categories. Hand tools for precision work. Heavy-duty equipment for major repairs. Plus all those little accessories that save your project.
Let’s get your toolbox ready.
List of 29 Must-Have Roofing Tools for Every DIYer
Get ready to build your complete roofing toolkit. These 29 essential tools cover everything from basic repairs to full installations.
Hand Tools for Roofing DIYers
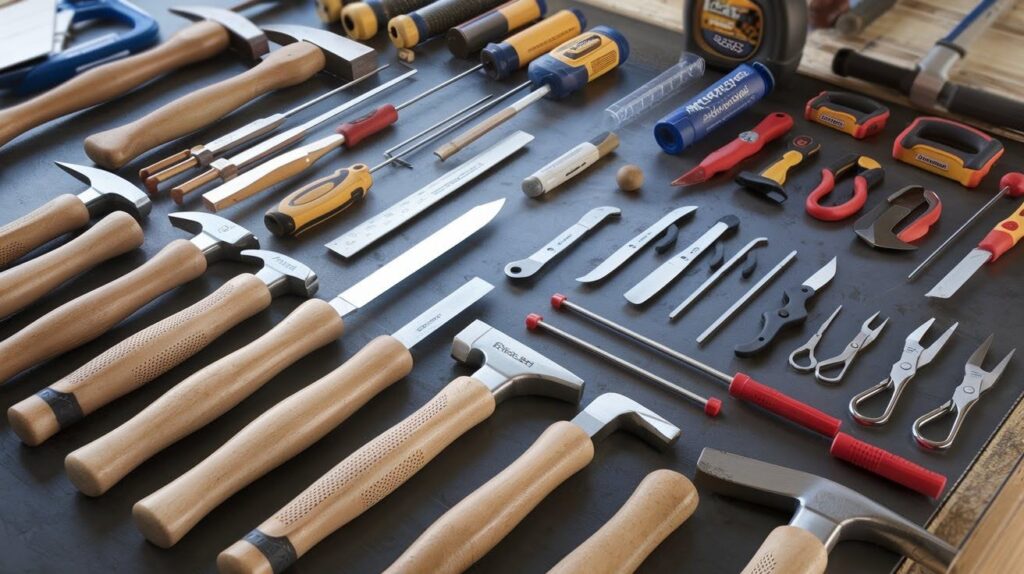
- Roofing Hammers and Hatchets: Your roofing hammer is your best friend on the job. Look for claws, gauges, and magnetized faces. Choose a 16-ounce for beginners or a 20-ounce for experienced DIYers who want faster work.
- Roofing Knives: Different cuts need different blades. Hooked blades slice thick shingles. Serrated edges grip tough materials. Trapezoidal blades give clean, straight cuts. Ergonomic handles prevent hand cramping during long projects.
- Tape Measures: Generic tape measures won’t cut it up here. Roofing-specific tapes have markings for standard shingle exposure, usually 5 inches. This saves you from doing math on every single row.
- Chalk Liners: Crooked shingle lines scream amateur work. Good chalk liners create perfectly straight reference lines. Use bright blue chalk that shows clearly on most roofing materials for professional-looking results.
- Caulking Guns: Water finds every tiny gap. Different sealants work for different jobs. Rubber for extreme weather, butyl for metal connections, latex for basic gaps, silicone for flexible areas that move.
- Utility Knives, Shears & Tin Snips: Sharp tools make clean cuts. Heavy-duty utility knives handle standard shingles. Shears work better on thick underlayments. Tin snips are essential for metal work and precise flashing cuts.
- Hand Seamers & Benders: Metal roofing needs precise bends. Hand seamers create tight, weatherproof seams. Benders shape flashing for corners and valleys. Take your time because one bad bend ruins expensive metal pieces.
- Seam Rollers: Membrane roofing needs perfect adhesion. Roll out air bubbles immediately before they cause leaks later. Work from the center outward with firm, consistent pressure while the adhesive remains workable.
Heavy-Duty Roofing Tools
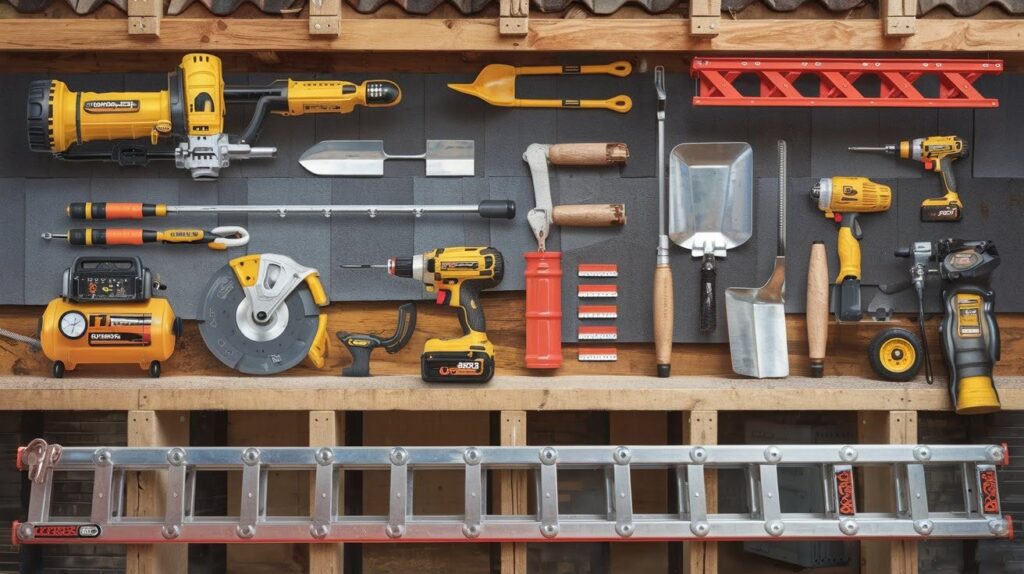
- Roofing Nailers: Pneumatic nailers need air compressors but drive nails faster. Cordless models offer more mobility but cost more upfront. Follow OSHA safety guidelines and always wear eye protection when operating.
- Saws: Reciprocating saws excel at demolition and cutting through multiple layers. Circular saws give precise cuts on shingles and metal panels. Choose the right blade material for your specific roofing material.
- Roofing Shovels & Shingle Strippers: Steel shingle fork shovels range from 41 to 47.5 inches long. Use the tear-off function for removing old shingles quickly. The pry bar function helps lift stubborn materials without roof damage.
- Air Compressors: Essential for running pneumatic nailers efficiently. Maintain proper pressure levels between 70-120 PSI, depending on your nailer specifications. Check pressure gauges regularly during long work sessions for consistent performance.
- Drills: Impact drills provide extra torque for driving screws through metal roofing. Driver drills offer more precision for delicate work. Use appropriate bits and avoid over-tightening screws that could crack materials.
- Ladders: Look for ridge hooks that secure to roof peaks and wheels for easy repositioning. Always maintain three points of contact. Check weight ratings and inspect for damage before each use.
- Ladder Hoist: Safely lift heavy shingle bundles to roof level without straining your back. Hydraulic models handle heavier loads. Electric options offer consistent lifting speed and reduce manual effort significantly.
Fasteners & Roofing Accessories
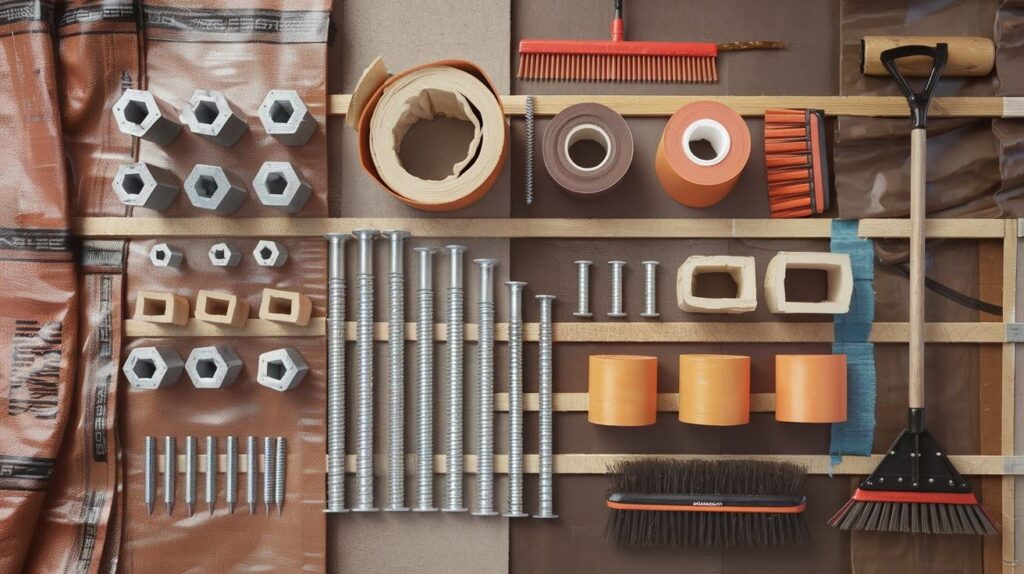
- Hex-Head Wood Screws: Available in 1-inch, 1.5-inch, and 2-inch lengths with galvanized coating for rust resistance. EPDM washers create watertight seals around screw heads. Use appropriate lengths based on your decking thickness.
- Sealant Tapes: Butyl tape provides excellent adhesion for permanent seals around vents and chimneys. Expanding open-cell foam tape fills gaps and irregular surfaces. Apply to clean, dry surfaces for maximum effectiveness.
- Tarps: Heavy-duty tarps protect materials from unexpected weather during multi-day projects. Secure edges properly to prevent wind damage. Choose UV-resistant materials that won’t deteriorate under direct sunlight exposure.
- Cleaning Equipment: Roof rakes remove debris from gutters and valleys safely. Push brooms clear loose materials efficiently. Magnetic sweepers collect scattered nails that could puncture tires or injure family members later.
Safety Gear for DIY Roofers
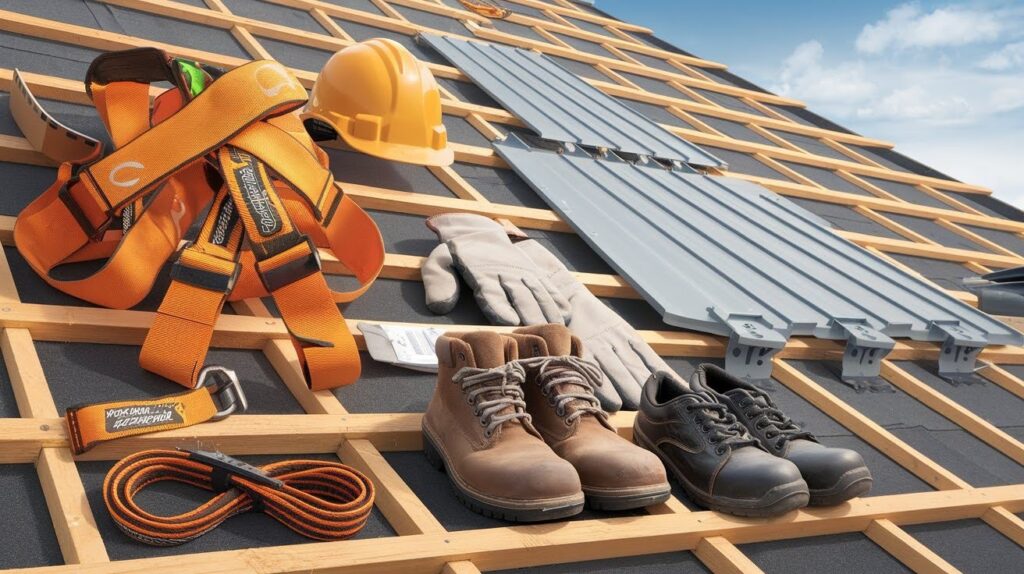
- Personal Protective Equipment (PPE): Safety harnesses distribute fall forces across your body safely. Hard hats protect from falling debris and accidental head impacts. Work gloves improve grip while protecting hands. Install guardrails on roof edges.
- Roofing Shoes: Non-skid soles provide traction on wet or angled surfaces. Soft rubber outsoles grip shingles without causing damage. Steel-toe protection prevents injury from dropped tools. Magnetized soles offer extra grip on metal roofing.
- Roof Brackets and Toe Boards: Brackets create temporary platforms on steep roofs for material storage and safer footing. Toe boards prevent tools and materials from sliding off the roof edges. Both provide crucial stability during challenging installations.
- Fall Protection Kits & Lanyards: Complete kits include harnesses, anchor points, and connecting hardware for comprehensive fall protection. Choose OSHA-compliant lanyards with shock-absorbing features. Professional-grade equipment costs more but protects your life effectively.
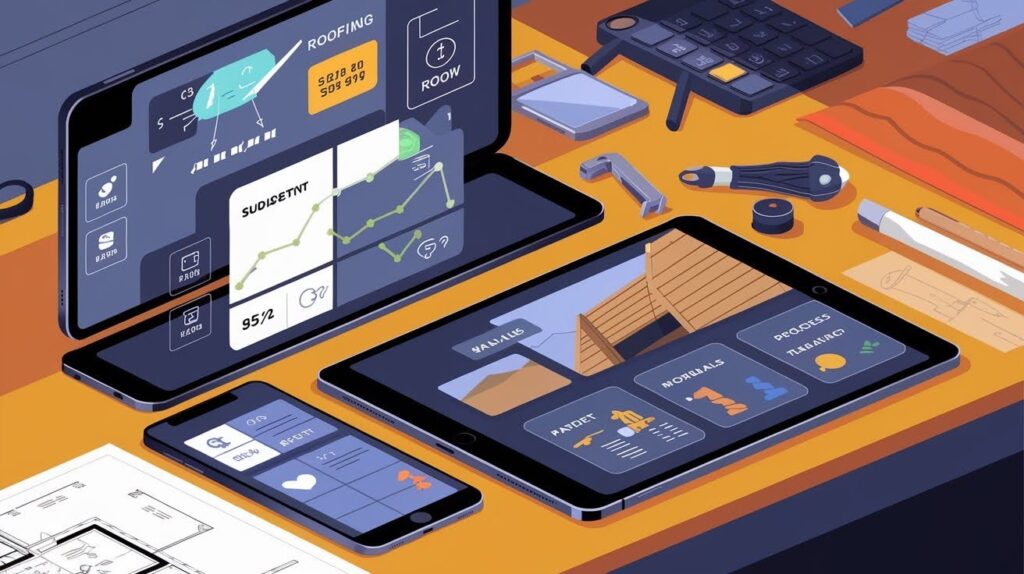
Optional Digital & Project Management Tools for DIYers
- Call Booking Tools: Schedule professional inspections before starting major work or book emergency repairs when projects go beyond your skill level. Many apps integrate with local contractor networks for quick connections.
- Marketing & Planning Tools: Track material costs, labor expenses, and project progress in one place. Create detailed budgets that prevent overspending. Photo documentation helps with insurance claims and future reference needs.
- Scheduling Tools: Plan project phases around weather forecasts and material deliveries. Set realistic timelines that account for your skill level. Coordinate multiple work days efficiently without conflicts or delays.
- Dispatching Tools: Coordinate family members or hired helpers with clear task assignments. Send location updates and progress reports. Manage multiple people working on different roof sections simultaneously for better efficiency.
- Payroll Tools: Track hours and calculate payments for temporary helpers or subcontractors. Handle tax documentation properly if hiring outside labor. Maintain records for potential insurance or warranty claims later.
- Field Service Apps: Access digital manuals and video tutorials directly from your phone while working. Store property measurements, material specifications, and project photos. Get step-by-step guidance for complex installation procedures.
Tips for DIY Roofing Success
These tips are going to help you:
- Plan Ahead: Measure your roof and list all materials before starting. Add 10% extra for waste and mistakes.
- Prioritize Safety: Always wear PPE and inspect ladders before use. Secure fall protection on steep roofs.
- Use the Right Tool: Never improvise with kitchen knives or garden tools. Wrong tools cause accidents and poor results.
- Weather Watch: Avoid wet, icy, or windy conditions. Even light moisture makes shingles dangerously slippery.
- Keep Clean Workspace: Use tarps to catch debris. Remove nails immediately to prevent accidents and property damage.
- Check Instructions: Read nailer settings, sealant cure times, and tool specs before use to avoid warranty issues.
- Maintain Tools: Replace dull blades quickly. Store screws dry and oil nailers regularly for best performance.
Conclusion
You now have everything you need to build a complete roofing toolkit.
The right tools don’t just make jobs easier. They keep you safe up there. They help you work faster. And they give you results that look professional.
Don’t cut corners on tool quality. Cheap tools break when you need them most. They create safety risks. And they often cost more in the long run.
Start with the basics from this list. Add heavy-duty tools as your projects get bigger. Always invest in proper safety gear first.
Visit trusted suppliers like Home Depot for quality brands. Talk to the experts there. They’ll help you choose tools that match your skill level and project needs.
Your roof protects everything you care about. Give it the attention it deserves. Good luck with your roofing project.
Frequently Asked Questions
What tools do I absolutely need to start my first roofing project?
Start with basic hand tools: roofing hammer, utility knife, tape measure, and chalk line. Add safety gear like harnesses, a hard hat, and non-slip shoes before stepping on any roof.
Can I use regular household tools instead of specialized roofing tools?
Regular tools aren’t designed for roofing materials and create safety risks. Kitchen knives tear shingles instead of cutting cleanly, and standard hammers lack proper nail-pulling features.
How much should I budget for a complete roofing tool set?
Basic hand tools cost $200-400, while adding power tools brings the total to $800-1200. Quality tools last for multiple projects and provide better safety than cheap alternatives.
What safety equipment is most important for DIY roofers?
Fall protection harnesses are essential for any steep roof work above 6 feet. Non-slip roofing shoes and hard hats protect against the most common roofing injuries.
Should I buy pneumatic or cordless nailers for roofing work?
Pneumatic nailers work faster and cost less upfront, but need air compressors. Cordless models offer more mobility and convenience but have higher initial costs and battery limitations.