
Your entire home appears worn out and dingy when your shutters are faded or chipped. You might be surprised to learn how simple and inexpensive it is to paint them yourself.
This guide provides straightforward, understandable instructions for painting shutters from beginning to end. For long-lasting effects, I’ll demonstrate how to prepare, paint, and preserve your shutters.
You’ll find the best paints and tools, whether to remove shutters or leave paint in place, and expert methods that avoid common blunders. The project only takes a weekend and costs less than $50.
Together, we can give the outside of your house a modern, long-lasting makeover.
Understanding Vinyl Shutters
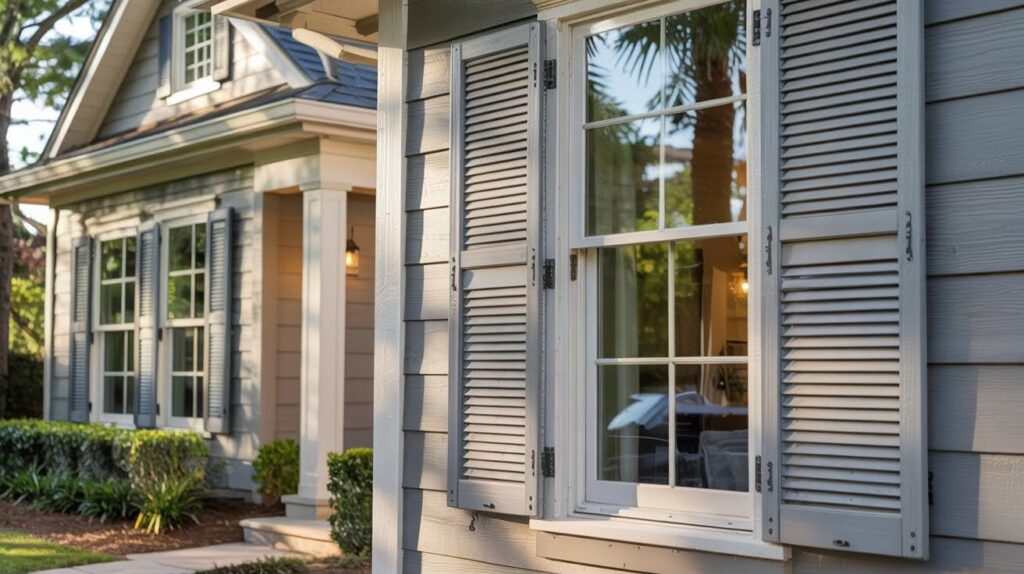
Vinyl shutters are made from durable plastic material that resists weather, moisture, and insects.
They’re popular because they require minimal maintenance and hold up well in various climates. Vinyl doesn’t rot or warp like wood, making it a practical choice for exterior applications.
However, vinyl shutters can fade, chip, or discolor over time from sun exposure and temperature changes.
Painting them improves curb appeal by restoring vibrant color to dull surfaces. You get complete color customization to match your home’s new exterior scheme or personal style preferences.
Fresh paint extends shutter life by protecting the vinyl from further UV damage and weathering. A simple paint job delays the need for expensive shutter replacement by several years.
Before You Begin
Start by inspecting your shutters closely for cracks, warping, or heavy damage. Small cracks can be filled, but severely damaged shutters should be replaced rather than painted.
Decide whether to remove shutters or paint them in place. Removing shutters produces easier and cleaner results with better paint coverage on all surfaces.
Painting in place works best for shutters secured with plastic mounting nails that break easily when removed or when shutters are difficult to access.
Prepare a safe work area before starting. Lay drop cloths on the ground to protect grass, patios, or driveways from paint drips.
Use painter’s tape around window trim and siding if painting shutters in place. Ensure proper ventilation if working in an enclosed space like a garage. Good airflow helps paint dry properly and reduces fume exposure.
Tools and Materials You’ll Need

Gather paintbrushes, cleaning supplies, primer, exterior paint, and safety equipment for efficient shutter painting with professional results.
Tools: Paintbrush 2 to 2.5 inches wide, sturdy ladder, bucket, soft-bristle scrub brush, microfiber cloth, pliers for removing clips, caulking gun
Materials: Mild soap or detergent, primer (optional), latex exterior paint, painter’s tape, silicone caulking, work gloves, safety glasses, drop cloths
Optional Products: Behr Premium Plus Primer or Behr Ultra Paint and Primer in one for simplified application
Step-by-Step Guide to Painting Shutters
Follow seven detailed steps from removing shutters through reinstallation for complete conversion with lasting, professional-quality results.
Step 1: Remove or Secure the Shutters

Remove shutters attached with metal clips by gently prying them away from the siding. Shutter locks typically unscrew or snap off with gentle pressure using pliers.
If painting in place, protect surrounding siding with painter’s tape and cover plants with drop cloths.
Step 2: Clean the Shutters Thoroughly

Wash shutters with soap and water using a soft brush to remove dirt, mildew, and grime. Rinse thoroughly and let dry completely, which takes 2 to 4 hours.
Wipe off excess water with a microfiber cloth for faster drying.
Step 3: Prepare the Surface and Work Area
Lay shutters flat on a drop cloth if you remove them. Use painter’s tape around the trim if painting in place.
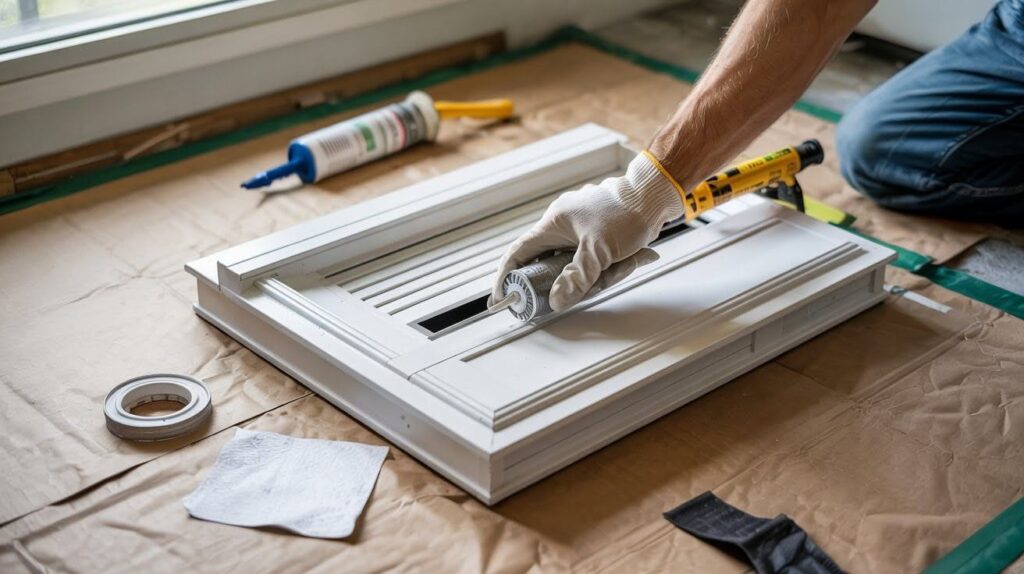
Fill any holes or cracks with silicone caulking, let dry, then sand lightly for a smooth finish.
Step 4: Apply Primer (If Needed)
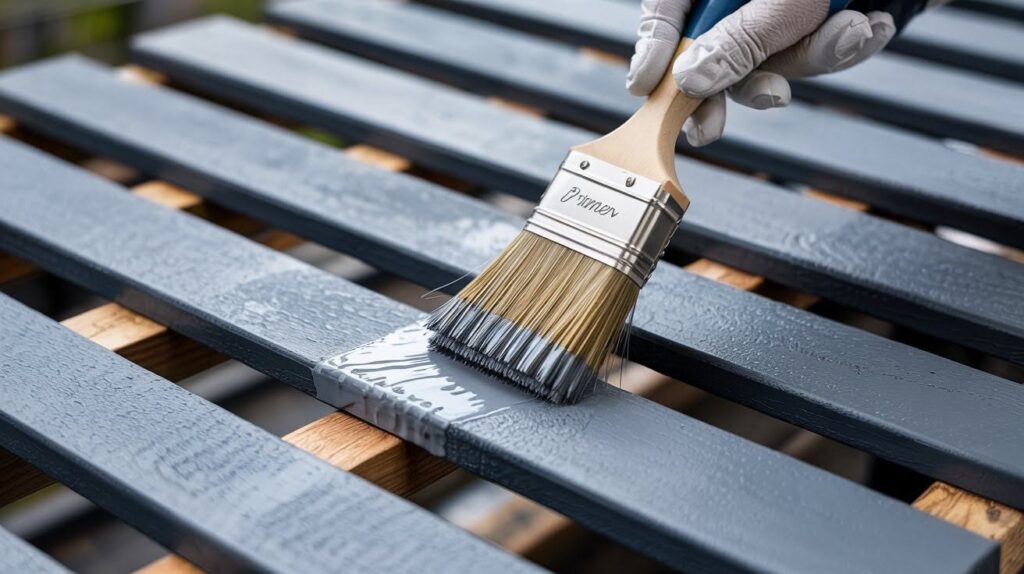
Primer is required for weathered or pitted surfaces. Use a paintbrush to apply a smooth, even coat, working bristles into slats and grooves.
Allow the primer to dry for 1 to 4 hours according to the manufacturer’s instructions.
Step 5: Paint the Shutters

Use exterior latex paint formulated for vinyl surfaces. Start from the top and work downward using long, even strokes.
Apply the first coat evenly, let dry for 2 to 4 hours, then apply a second coat for best color depth.
Step 6: Let the Paint Cure

Allow painted shutters to dry completely before handling. Full curing requires up to 48 hours.
Avoid reinstalling or exposing to moisture too soon as premature handling can leave fingerprints or smudges.
Step 7: Reinstall the Shutters
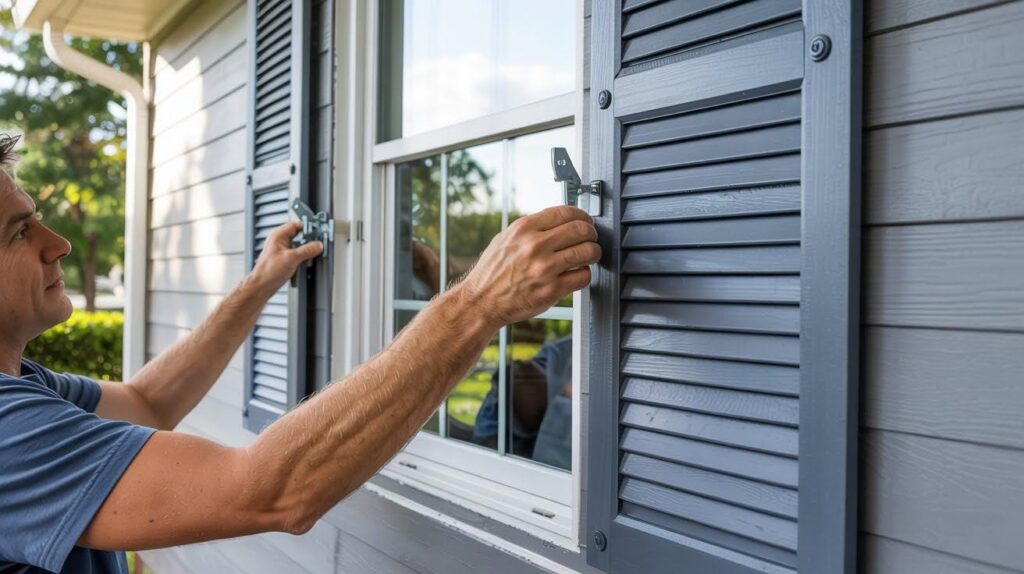
Reattach shutters using original metal clips or new shutter lock fasteners if old hardware is damaged.
Ensure shutters are securely fitted and evenly aligned on both sides of windows.
Expert Tips for a Professional Finish
- Avoid painting in direct sunlight or during high humidity. Heat causes paint to dry too quickly and creates lap marks. High humidity prevents proper drying and adhesion.
- Choose high-sheen or satin finishes for easier cleaning and added durability. These finishes resist dirt and can be wiped clean without damaging the paint.
- Test a small area for paint adhesion before full application. Paint a hidden section and let it dry overnight. If it peels easily, you need better surface prep or primer.
- Use a brush rather than a roller to reach slats and grooves. Brushes work paint into textured surfaces better than rollers, which skip over details.
Safety Considerations
Wear work gloves to protect hands from chemicals in paint and primer. Eye protection prevents paint splatter from reaching your eyes. Wear a mask if painting indoors or in enclosed spaces to avoid breathing fumes.
Use a sturdy ladder rated for your weight plus the weight of paint and tools. Have a spotter hold the ladder steady when working on upper levels or in windy conditions.
Keep the work area free of tripping hazards like hoses, buckets, and drop cloths. Clean up paint spills immediately to prevent slipping accidents.
Common Mistakes to Avoid
Prevent paint failure by cleaning properly, applying correct thickness, and respecting weather conditions during your painting project.
Skipping the Cleaning Step: Paint won’t adhere properly to dirty shutters covered in dust, pollen, or mildew. Dirt creates a barrier that causes paint to peel within months.
Painting Too Thickly: Painting too thickly or without allowing proper drying time between coats causes runs, drips, and uneven texture. Thin coats dry faster and look smoother.
Ignoring Weather Conditions: Weather affects paint performance significantly. Temperatures below 50°F or above 90°F prevent proper curing. Rain within 24 hours can wash away uncured paint completely.
Conclusion
Last summer, I painted my own shutters and was astounded by the conversion. You now have a thorough understanding of how to paint shutters for a polished look.
The exterior of your house is instantly refreshed with this inexpensive project that only takes a weekend to complete. To make sure your work lasts for years, use premium exterior paint made for vinyl.
To preserve that new look, follow up with a light cleaning every spring. With little maintenance, your painted shutters will continue to look fantastic for five to seven years.
Are you prepared to begin your project? Leave a comment with your before and after pictures!
Frequently Asked Questions
What type of paint works best for vinyl shutters?
Use exterior latex paint specifically formulated for vinyl surfaces. These paints contain flexibility agents that expand and contract with vinyl, preventing cracking and peeling over time.
Do I need to prime vinyl shutters before painting?
Primer is optional for shutters in good condition but necessary for weathered, pitted, or severely faded surfaces. Primer improves paint adhesion and provides better coverage over dark colors.
How long does the painted shutter finish last?
Properly painted vinyl shutters last 5 to 7 years before needing repainting. Longevity depends on sun exposure, climate, and paint quality. High-quality exterior paint lasts longer than budget options.
Can I spray paint shutters instead of brushing?
You can spray paint shutters, but brush application often produces better results on textured vinyl surfaces. Spraying requires more masking and may miss details in slats and grooves.
Is it better to remove shutters or paint them in place?
Removing shutters produces cleaner, more thorough results with better coverage on all surfaces. Paint in place only if removal risks breaking plastic mounting hardware or shutters are difficult to access.