
Is that drip, drip, drip from your shower head driving you crazy? I know how frustrating it can be.
Your shower head leaks when washers wear out, seals break down, or connections loosen over time.
That annoying drip might seem harmless, but it’s wasting gallons of your water every day and quietly pushing up your bills.
Here’s the relief you need: most leaks are easy to fix on your own. You don’t need special skills or expensive tools.
I’ll walk you through why your shower head leaks, how to fix it yourself, and when it’s time to call a pro.
Why Is Your Shower Head Leaking? Common Causes
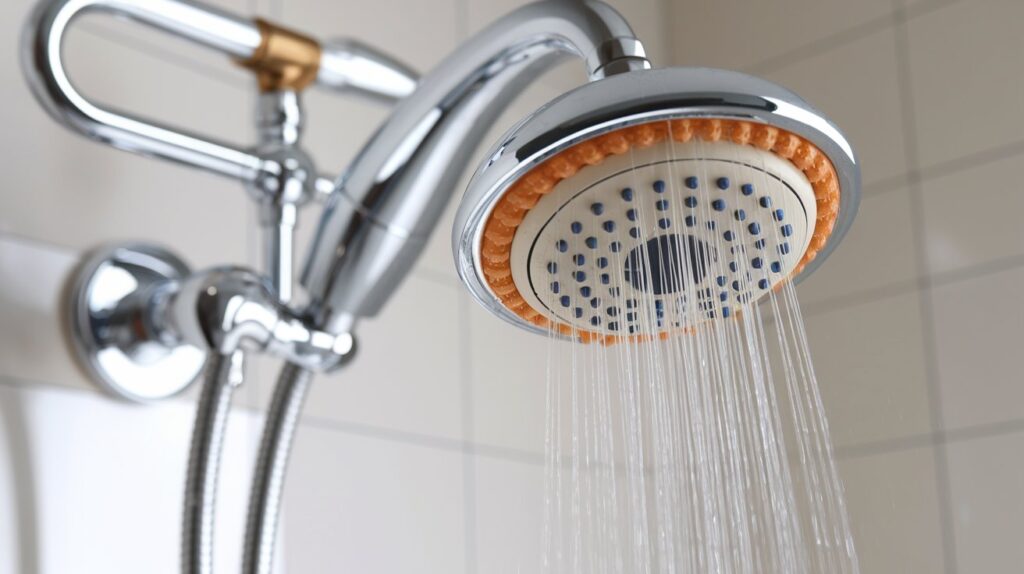
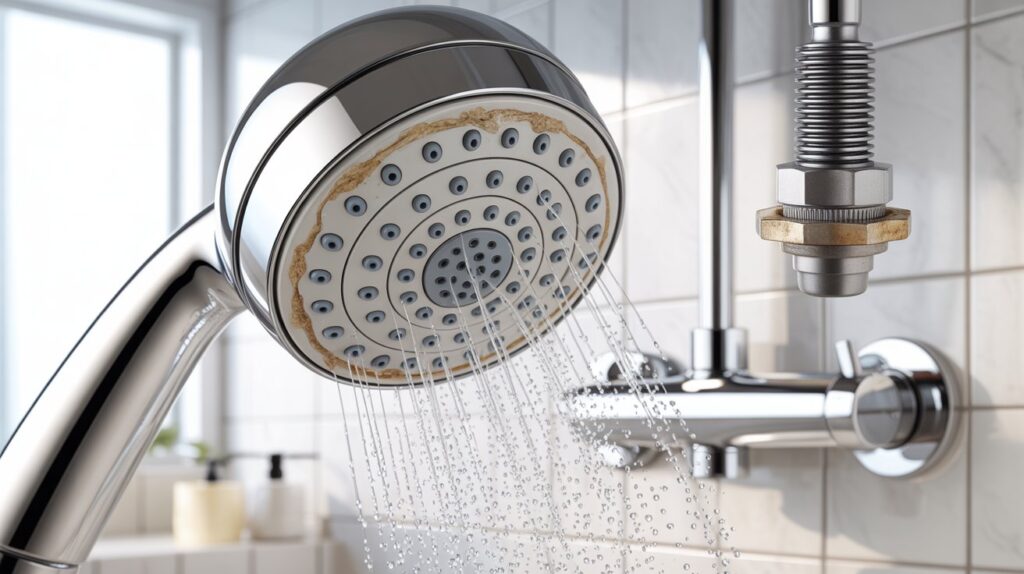
Most shower head leaks come from a few typical problems. Hard water leaves mineral deposits inside the head that block water flow and cause drips.
The rubber gasket inside wears out over time and can’t seal properly anymore. Sometimes your shower head just gets loose, or the thread seal wasn’t installed correctly from the start.
You might also see normal residual water dripping for a few seconds after you turn off the shower, which isn’t a real leak.
If none of these match your problem, the issue could be a faulty valve or cartridge behind the wall.
Tools and Materials You’ll Need
Before you start fixing your leak, gather these basic items. Most of them are probably already in your home.
- Adjustable Wrench: to remove the shower head
- Plumber’s Tape: to create a tight seal when reassembling
- Scrub Brush or Toothbrush: for cleaning out mineral buildup
- White Vinegar: to dissolve hard water deposits
- Replacement Gasket/O-Ring: in case yours is worn out
- Cleaning Cloths: to wipe and dry parts as you work
These simple tools will handle most shower head repairs without any trouble.
How to Stop a Leaky Shower Head: Step-by-Step Instructions
Follow these simple steps to fix your leaky shower head. Each step is easy to complete and takes just a few minutes of your time.
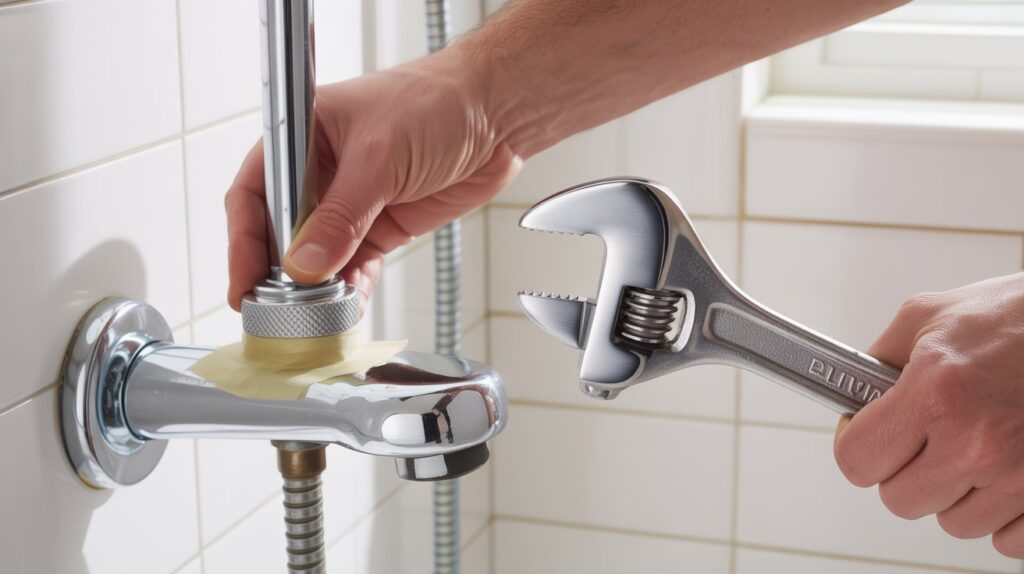
Step 1: Remove the Shower Head Safely
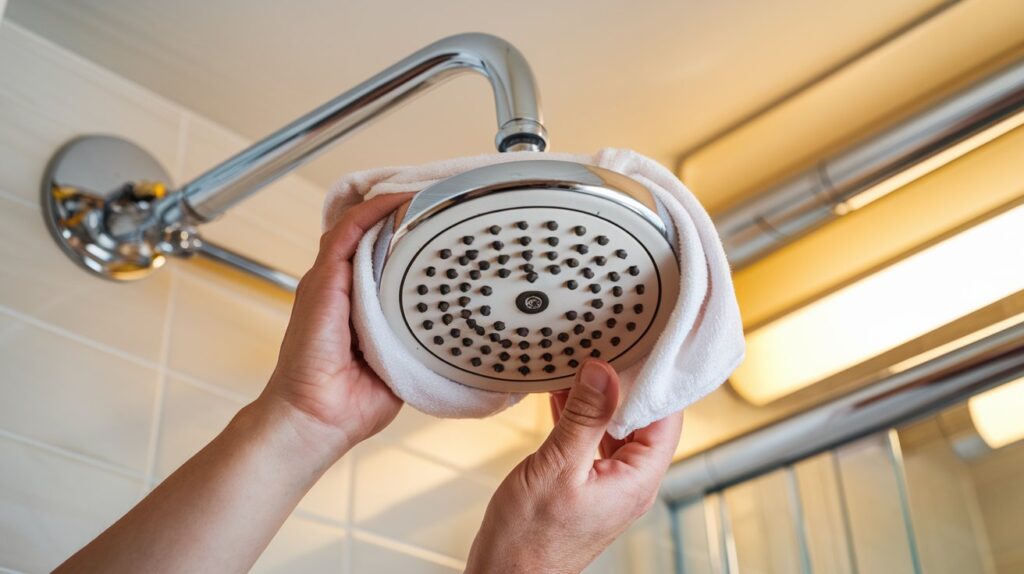
Start by wrapping a cloth around your shower head to protect its finish from scratches. Use an adjustable wrench if the connection feels tight.
Hold the shower arm steady with your other hand so it doesn’t twist or bend. Turn the shower head counterclockwise until it comes off completely. Set it aside on a clean towel.
Step 2: Soak the Shower Head in Vinegar
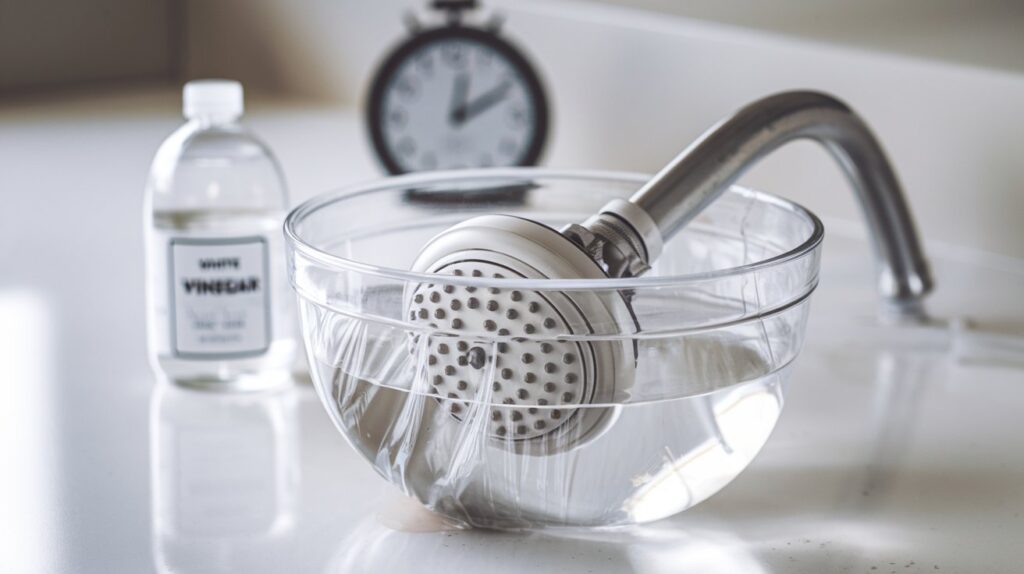
Fill a bowl or plastic bag with white vinegar and submerge your shower head completely. This dissolves mineral deposits that cause blockages and leaks.
Let brass or nickel shower heads soak for 30 minutes. Chrome and stainless steel need longer, sometimes up to an hour. The vinegar breaks down hard water buildup naturally without harsh chemicals or scrubbing.
Step 3: Scrub Away Blockages
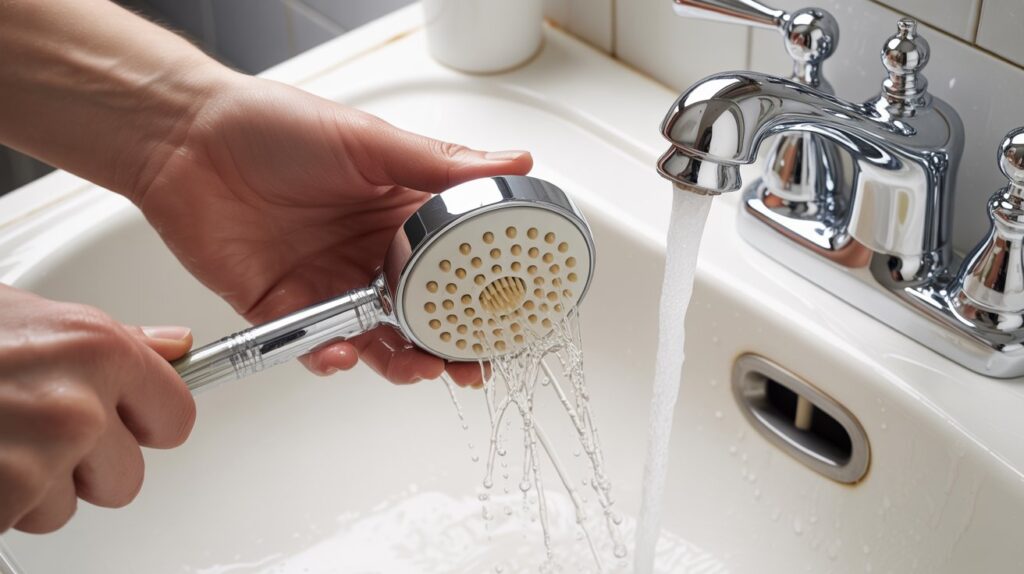
After soaking, use an old toothbrush or scrub brush to clean the spray holes thoroughly. Pay attention to any remaining mineral deposits around the nozzles.
Rinse the shower head under warm running water to wash away loosened debris. Check each hole to make sure water can flow freely. A clean shower head prevents future leaks and improves water pressure for better showers.
Step 4: Replace the Worn Gasket or O-Ring
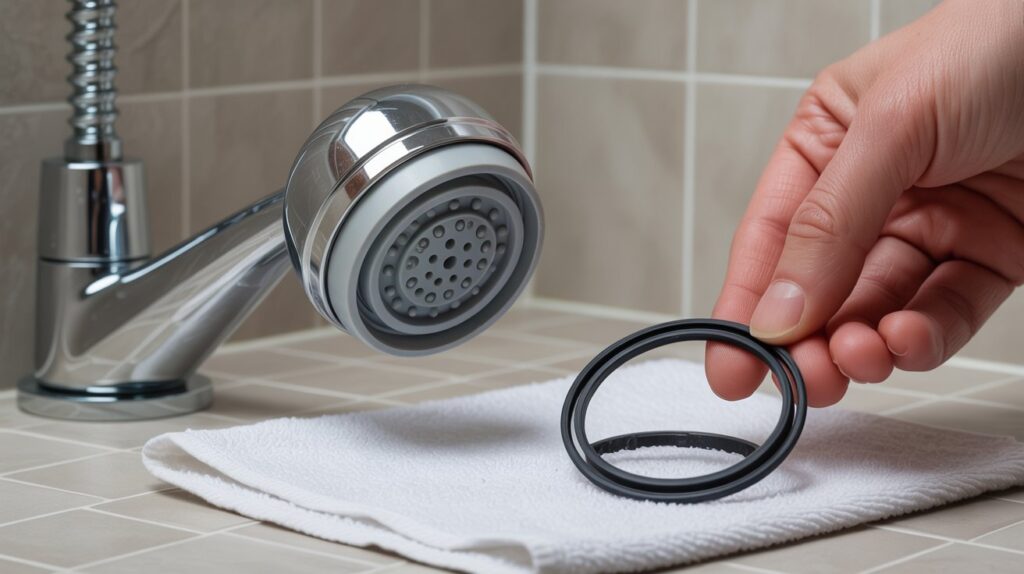
Look inside the shower head connection for the rubber gasket or O-ring. Check carefully for cracks, tears, or signs of wear.
Take the old gasket to a hardware store to match the correct size and thickness. Remove the damaged gasket and press the new one firmly into place. A fresh gasket creates the watertight seal you need to stop leaks.
Step 5: Apply Plumber’s Tape to Shower Arm Threads

Wrap plumber’s tape clockwise around the exposed threads of your shower arm. Use two to three layers for the best seal. The tape should overlap slightly as you wind it around.
Press it down firmly so it sticks to the threads. This fills tiny gaps and prevents water from seeping through the connection when you turn on your shower.
Step 6: Reattach the Shower Head
Screw the shower head back onto the arm by hand first. Turn it clockwise until it feels snug and secure. Then use your wrench to tighten it just a bit more, but be gentle.
Overtightening can crack the gasket or damage the threads. You want a firm connection that won’t leak, not one that’s forced too tight and causes new problems.
Step 7: Test for Leaks
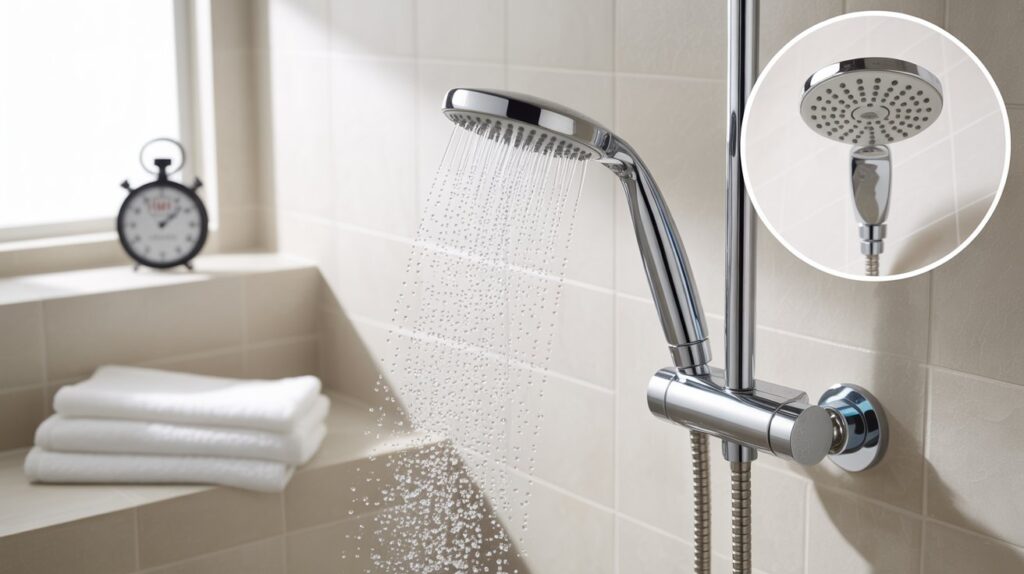
Turn on your shower and let the water run for a full minute. Watch the connection point closely for any drips or moisture. Check if water sprays evenly from all the holes.
Look around the joint where the shower head meets the arm. If you see leaks, try tightening slightly or adding another layer of plumber’s tape.
Prevention Tips to Avoid Future Leaks
Keep your shower head working smoothly and prevent leaks before they start. These simple habits save you time, money, and frustration down the road.
- Clean your shower head monthly: Soak it in vinegar and scrub away mineral buildup regularly. This keeps water flowing properly and prevents blockages that cause leaks.
- Install a water softener in hard water areas: Hard water deposits damage seals and create clogs faster. A softener or descaler protects your shower head and extends its life.
- Replace gaskets every 1 to 2 years: Rubber seals wear out over time even with careful use. Changing them regularly prevents leaks before they happen.
- Avoid overtightening when installing parts: Too much force cracks gaskets and strips threads. Hand-tight plus a quarter turn with a wrench is usually enough.
- Check connections during routine bathroom cleaning: A quick visual inspection catches small drips early. Fixing minor issues now prevents bigger problems later.
Conclusion
You’ve now got everything you need to fix that annoying drip. Most shower head leaks happen because of mineral buildup, worn gaskets, or loose fittings.
The good news is that you can solve these problems yourself in just minutes with basic tools.
I’ve walked you through each step because I want you to feel confident tackling this repair.
You’ll save money on your water bill and avoid paying for a plumber. Give these fixes a try, and you’ll have a leak-free shower before you know it. You’ve got this!
Frequently Asked Questions
Why does my shower head drip after I turn off the water?
A few drops after shutoff is normal. It’s just residual water left in the head. If it keeps dripping for more than a minute, you likely have a worn gasket or mineral buildup causing the leak.
Can I fix a leaky shower head without replacing it?
Yes, most leaks can be fixed by cleaning mineral deposits and replacing the rubber gasket inside. You only need to replace the entire shower head if it’s cracked or corroded beyond repair.
How much water does a leaking shower head waste?
A slow drip can waste 3 to 5 gallons per day, which adds up to over 1,800 gallons yearly. That’s a lot of wasted water and money on your utility bills.
What if my shower head still leaks after I’ve tried everything?
The problem might be with the shower valve or cartridge inside your wall. These require more advanced plumbing skills, so it’s best to call a licensed plumber for help.
How often should I clean my shower head to prevent leaks?
Clean your shower head at least once a month if you have hard water. Soak it in vinegar and scrub the spray holes to prevent mineral buildup from causing blockages and leaks.