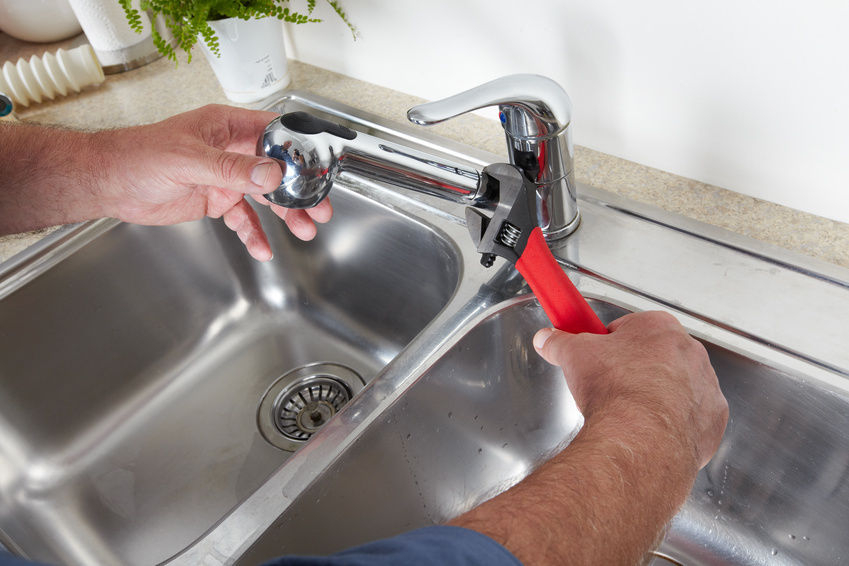
A leaky faucet is more than just an irritation. The constant dripping sound can be frustrating, and you may not realize how much water is being wasted. According to the U.S. Environmental Protection Agency (EPA), a leaky faucet that drips at the rate of one drip per second can waste more than 3,000 gallons of water in a year. Fixing this issue can save you money and prevent water waste.
Fortunately, you don’t always need to replace your faucet to stop the leak. With a few simple steps, you can fix the problem and have your faucet working perfectly again.
Why Do Faucets Leak?
Before discussing the steps to fix your leaky faucet, it’s important to understand why faucets leak and how do you stop a leaky faucet. Most faucet leaks occur due to worn-out washers, seals, or O-rings inside the faucet. These parts can wear out over time due to constant use. Mineral buildup, corrosion, and faulty installation can also cause leaks. The good news is that these issues can often be resolved without replacing the entire faucet.
Tools You Will Need
Before starting your repair, gather the following tools:
- Adjustable wrench
- Screwdriver (flathead or Phillips, depending on your faucet)
- Replacement washers or O-rings
- Plumber’s grease
- Towel or cloth
Step-by-Step Guide to Fix a Leaky Faucet
Here’s a simple and easy-to-follow guide to help you fix a leaky faucet without replacing it. Just follow the steps below, and you’ll have your faucet working properly again in no time!
Turn Off the Water Supply
The first and most important step is to turn off the water supply to the faucet. This prevents water from spraying everywhere while you’re fixing the leak. There should be shut-off valves under the sink. Turn these clockwise to close them. If you can’t find these valves, you may need to shut off the main water supply to your home.
Plug the Drain
Use a sink plug or a cloth to block the drain. This will prevent small parts like screws from falling into the drain as you work on the faucet.
Take Apart the Faucet Handle
Using your screwdriver, carefully remove the handle of the faucet. Most faucet handles are attached with screws, which may be located under a decorative cap or cover. Once the screws are removed, gently lift the handle off the faucet.
Inspect the Cartridge or Stem
After removing the handle, you should be able to see the cartridge or faucet stem (depending on the type of faucet). This is the part that controls the flow of water. Use your adjustable wrench to remove the cartridge or stem. Be gentle, as you don’t want to damage it.
Check for Worn-Out Washers or O-Rings
Inspect the washer or O-ring inside the faucet. In many cases, these small rubber parts are the source of the leak. They can wear out due to regular use and need to be replaced. If the washer or O-ring looks damaged, cracked, or worn, replace it with a new one of the same size. You can find replacement washers or O-rings at any hardware store.
Clean the Inside of the Faucet
Before putting everything back together, take a moment to clean the inside of the faucet. Mineral buildup or debris can sometimes cause leaks or reduce water flow. You can use a cloth to wipe away any grime or calcium deposits.
Apply Plumber’s Grease
Once you’ve replaced the washer or O-ring, apply a small amount of the plumber’s grease to the new part before putting it back in the faucet. This helps the parts move smoothly and prevents future leaks.
Reassemble the Faucet
Now, it’s time to put the faucet back together. Place the cartridge or stem back into the faucet and tighten it using the adjustable wrench. Reattach the faucet handle with the screws you removed earlier.
Turn the Water Back On
With everything reassembled, you can now turn the water supply back on. Slowly open the shut-off valves under the sink, and check if the faucet is still leaking. If you’ve followed the steps correctly, the leak should be gone.
What If It’s Still Leaking?
If your faucet is still leaking after replacing the washer or O-ring, there could be a more serious issue, such as a crack in the faucet body or cartridge. In such cases, you may need to replace the entire faucet or consult a plumber for professional help.
Tips for Preventing Faucet Leaks
- Regular Maintenance: Check your faucet parts periodically for wear and tear. Replace washers or O-rings when necessary to avoid leaks.
- Avoid Over-Tightening: Don’t tighten the faucet handle too much when turning off the water. Over-tightening can damage the internal parts and cause leaks.
- Soften Hard Water: If you live in an area with hard water, consider installing a water softener to reduce mineral buildup, which can damage faucet parts over time.
Conclusion
Fixing a leaky faucet without replacing it is a simple task that almost anyone can do with the right tools and knowledge. By following these steps, you can save water, prevent further damage, and avoid the cost of buying a new faucet. If you’re not comfortable with DIY repairs, don’t hesitate to call a professional plumber. However, in most cases, a leaky faucet is an easy fix that can be done in less than an hour!

