
You’re standing there looking at those metal roofing panels, measuring tape in hand. The success of your entire roofing project hinges on these next cuts.
Make them wrong, and you’re dealing with leaks, gaps, and a roof that screams “amateur hour.” Get them right, and you’ll have tight seams and clean lines that look professionally installed.
This isn’t just about making cuts. It’s about understanding why precision matters for leak-free installation.
You’ll learn which tools work best for different metal types, master a proven measuring and cutting process, and stay safe while handling sharp materials.
We’ll also cover the mistakes that cost DIYers time and money, plus professional techniques for achieving those smooth, factory-quality edges.
Your roof project’s success starts with these fundamental cutting skills.
Why Proper Cutting Matters for Metal Roofing
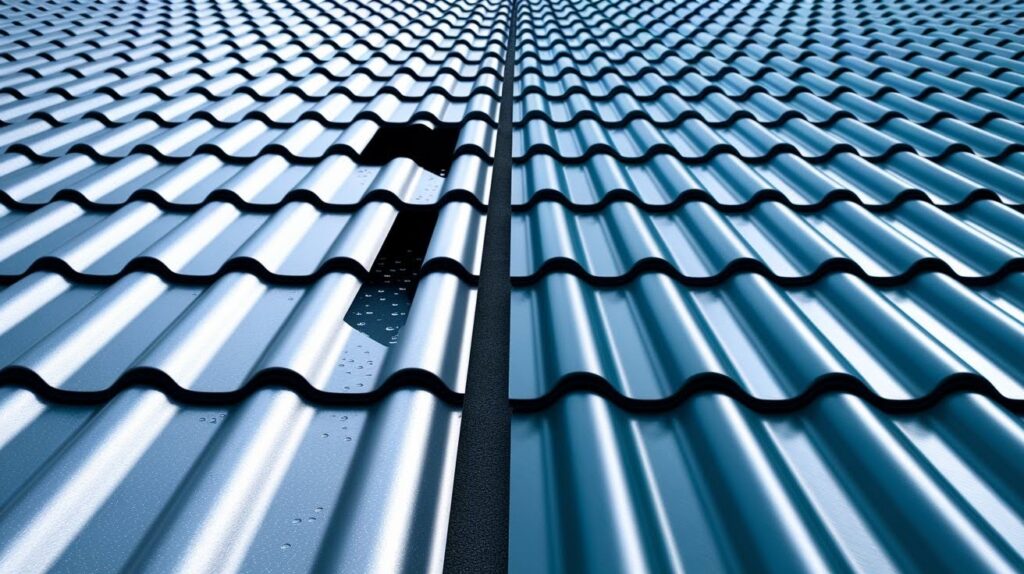
Your cuts determine everything. Get them wrong, and problems follow you for years. Poor cuts create gaps where water sneaks through.
Even tiny imperfections become entry points during heavy rain. Water damage starts small but spreads fast. One bad cut can cost thousands in repairs later.
Clean cuts create tight seams that look professionally installed. Jagged edges catch the eye and scream amateur work.
Straight, smooth cuts align perfectly with adjacent panels. Poor cuts create visible gaps and uneven spacing that no amount of trim can hide.
Accurate measuring and cutting mean less waste. Metal roofing panels aren’t cheap. Every mistake ends up in your scrap pile and costs real money.
Rush the process, and you’ll make extra trips to the supply store.
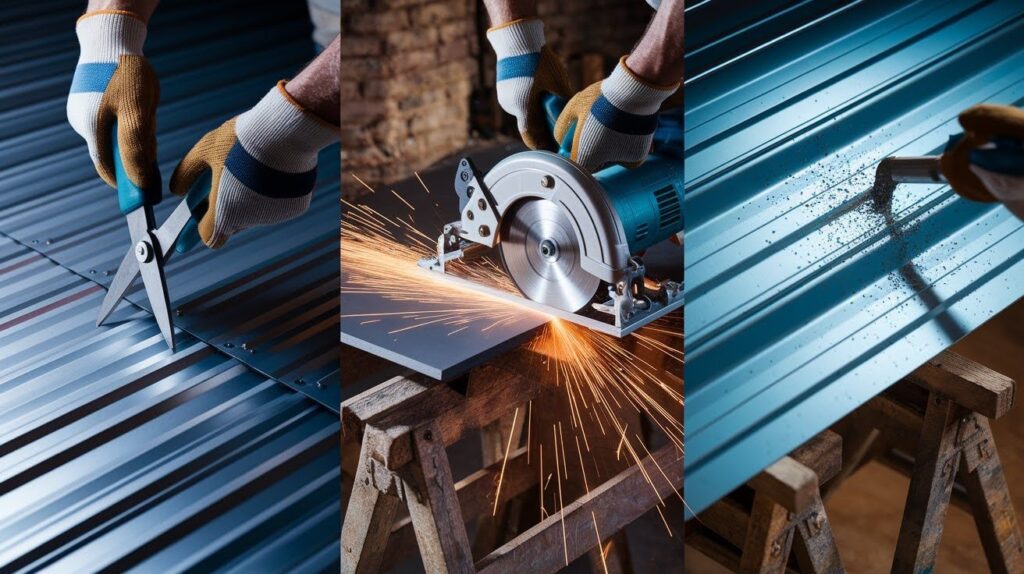
Essential Tools for Cutting Metal Roofing
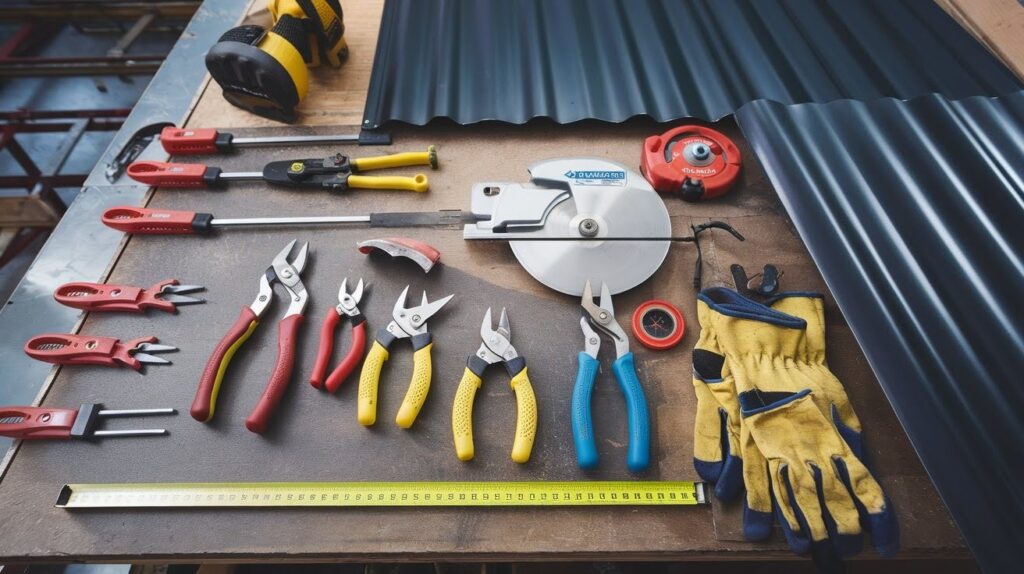
Tin Snips
Great for shortcuts and detail work around vents. Aviation snips have color-coded handles: red cuts left curves, yellow cuts straight, green cuts right curves.
Circular Saw with Metal Cutting Blade
Your workhorse for long, straight cuts through panels. Creates sparks and heat, so work outside and support both sides of cuts.
Nibblers
Perfect for curves around pipes and irregular shapes. Punch out tiny metal pieces for smooth edges. Electric versions save hand fatigue.
Additional Must-Haves
Safety glasses, work gloves, clamps, chalk line, and an accurate measuring tape. Safety gear protects from sparks and sharp edges, while other tools ensure precise cuts.
.
Step-by-Step Guide to Cutting Metal Roofing
Ready to make those cuts? Follow this process and you’ll get professional results every time.
Step 1: Prepare Your Work Area
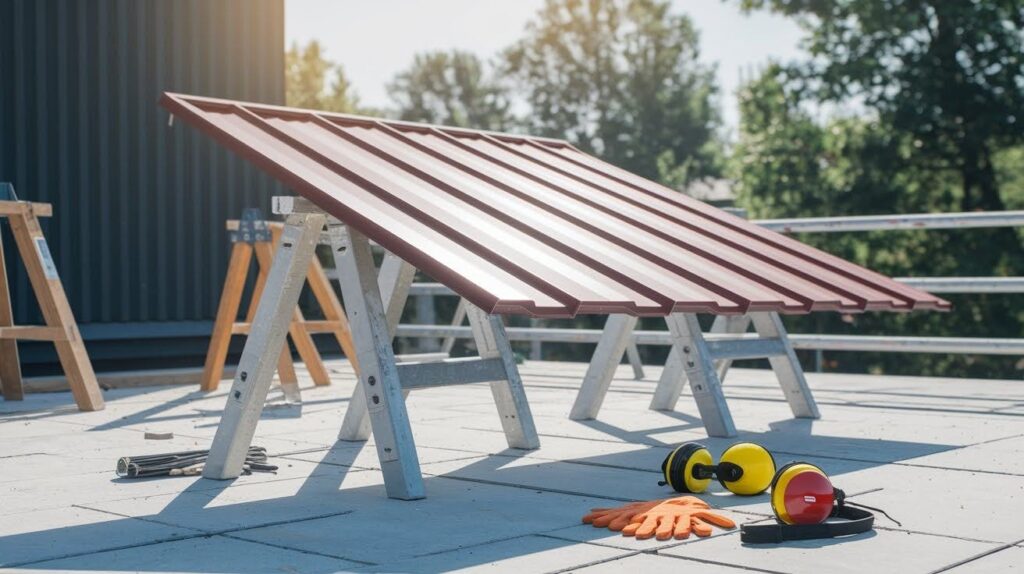
Clear all debris from your cutting space. You need a flat, stable surface that supports the full panel length. Sawhorses work great for this.
Put on your safety gear now, not after you start cutting. Safety glasses protect from metal sparks. Work gloves prevent cuts from sharp edges.
Ear protection saves your hearing from loud power tools.
Step 2: Measure and Mark Panels Accurately
Measure twice, cut once. This old rule saves money and prevents mistakes. Use a quality tape measure that won’t stretch or bend.
Mark straight lines with a chalk line for perfect accuracy. Double-check all your dimensions before making any cuts. Write measurements on the panel with a marker so you don’t forget them.
Step 3: Cut the Panels
Using Tin Snips: Start these cuts slowly and stay on your marked line. Keep the snips perpendicular to the metal surface. Long cuts will tire your hands quickly, so take breaks. Use the right snip color for your cutting direction.
Using a Circular Saw: Support both sides of your cut line with sawhorses or a cutting table. Let the blade reach full speed before touching the metal. Feed the saw slowly and steadily. Never force the blade through tough spots.
Using Nibblers: These work by punching small pieces of metal. Start inside your marked area and work toward the line. Take your time on curves. Rushing leads to jagged edges that need extra finishing work.
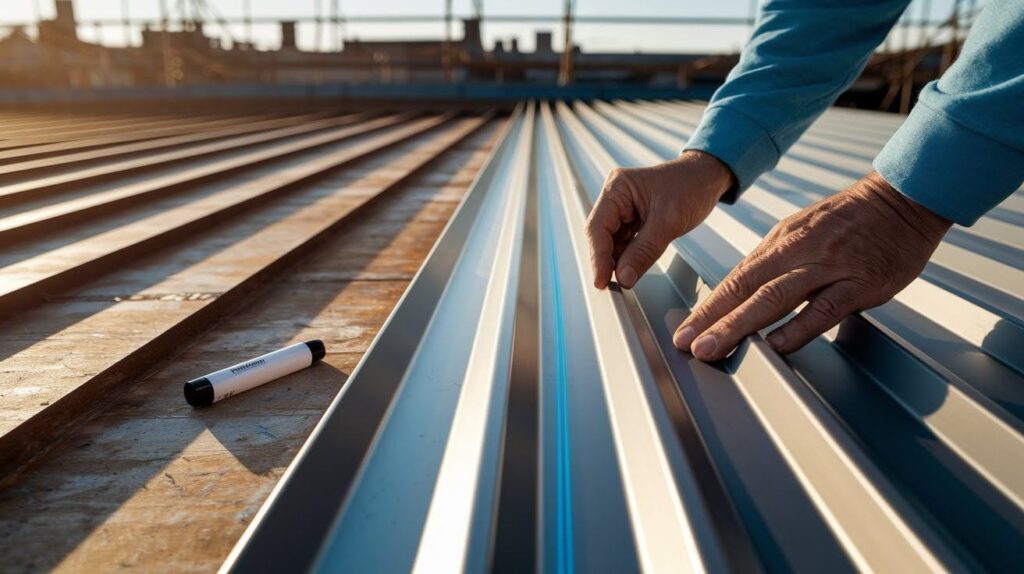
Step 4: Smooth and Finish the Edges
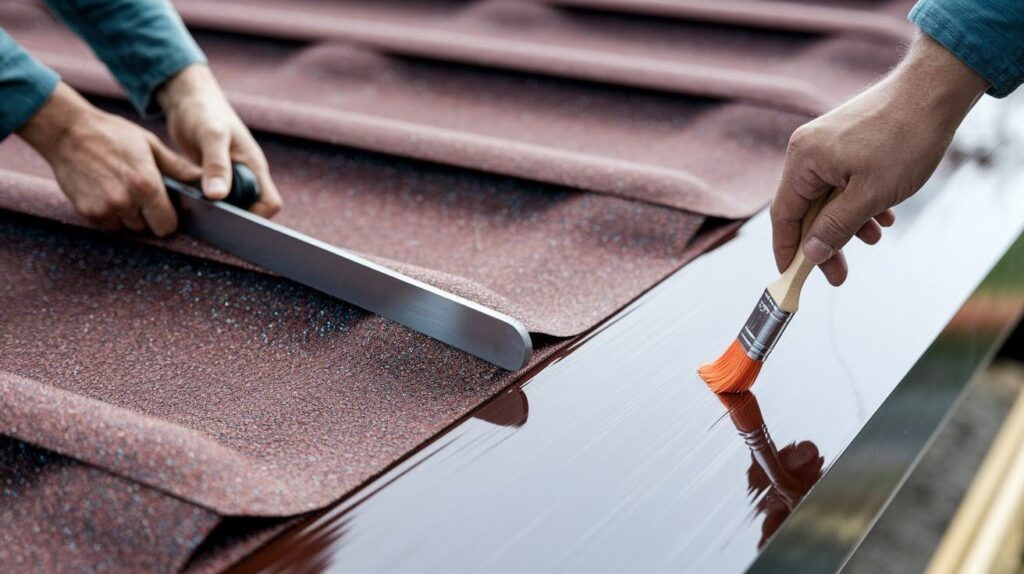
Fresh cuts have sharp burrs that will cut you and look unprofessional. Remove them with a metal file or angle grinder. Work slowly to avoid creating new scratches.
Exposed metal rusts quickly when moisture hits it. Apply primer or matching paint to all cut edges within a few hours. This step prevents rust stains from running down your new roof.
Common Mistakes to Avoid
Using the Wrong Tool for the Job
Don’t try to cut long straight lines with tin snips. Circular saws can’t make tight curves. Match your tool to the specific cut you need.
Skipping Measurement Checks
Measuring once and cutting immediately leads to expensive mistakes. Always double-check your measurements before cutting. Mark your cut line clearly.
Rushing the Process
Hurried cuts look terrible and let water through. Take time to line up your cuts properly. Let power tools reach full speed before starting.
Cutting on an Unstable Surface
Wobbly sawhorses create dangerous situations and poor cuts. Set up proper support before making any cuts. Both sides need solid backing.
When to Consider Hiring a Professional
Large Projects Mean Multiple Challenges
Cutting panels for an entire roof involves hundreds of precise cuts. A professional crew cuts faster and more accurately than any DIYer. Large projects require a serious time commitment that most homeowners underestimate.
Complex Roof Shapes Need Expert Skills
Hip roofs, dormers, and multiple angles require advanced measuring skills. One wrong angle measurement ruins expensive panels. Valleys and roof penetrations need perfect fits to prevent leaks.
Safety Concerns Are Valid
Working on roofs is dangerous. Falls cause serious injuries every year. Professionals have proper safety equipment and insurance coverage. If you’re uncomfortable with heights or power tools, hire someone else.
Conclusion
After helping countless homeowners with metal roofing projects, I’ve seen what works and what doesn’t. The right tools make all the difference.
Tin snips for detail work, circular saws for long cuts, and nibblers for curves. Measure twice, cut once, and always prioritize safety over speed.
For small projects like sheds or porches, you can absolutely handle this yourself. Take your time, follow proper techniques, and don’t rush the process. Your patience will show in the final results.
But here’s what I’ve learned from years in this business. Full roof installations involve hundreds of cuts, complex angles, and serious safety risks.
The money you think you’ll save often disappears in mistakes, extra materials, and time off work.
Professional roofers complete in days what takes most DIYers weeks. Sometimes the smartest decision is knowing when to call the experts.
Frequently Asked Questions
What blade should I use in my circular saw for cutting metal roofing?
Use a carbide-tipped metal cutting blade with 60-80 teeth for clean cuts. Wood-cutting blades will dull quickly and create rough edges.
Can I cut metal roofing panels in cold weather?
Yes, but metal becomes more brittle in cold temperatures. Work slowly and let panels warm up slightly before cutting.
How do I prevent metal shavings from scratching my panels?
Place a tarp under your cutting area to catch metal filings. Use a magnet to clean up shavings immediately after cutting.
Should I cut metal roofing panels face up or face down?
Cut panels face down when using a circular saw to prevent scratching the finished surface. This creates cleaner cuts on the visible side.
How do I cut around roof vents and pipes accurately?
Make a paper template first, then trace it onto the metal panel. Use nibblers for curved cuts around circular openings.