
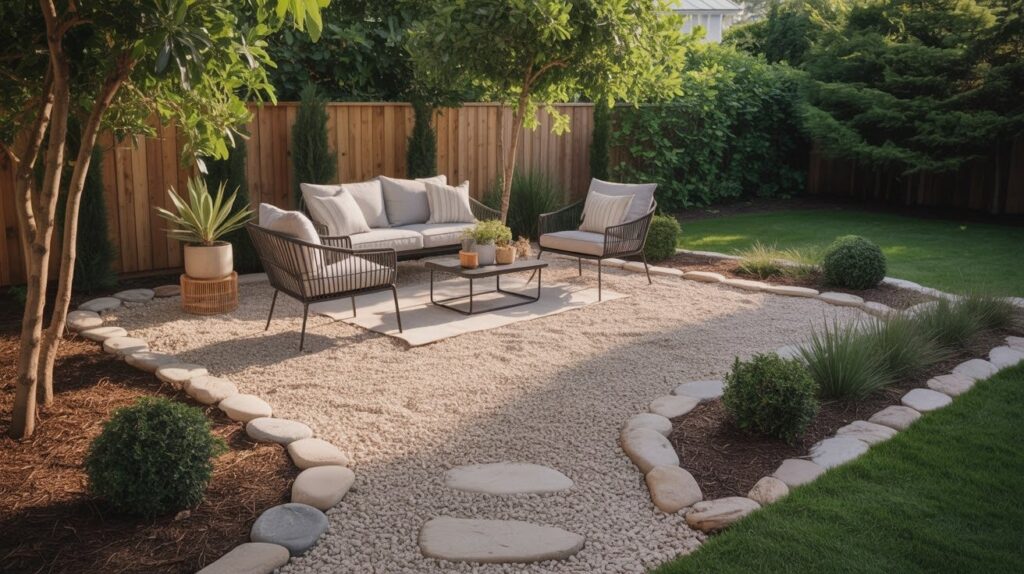
Want a beautiful patio without breaking the bank? Gravel patios might be your answer.
These outdoor spaces cost a fraction of what you’d spend on stone or concrete. Plus, you can build one yourself in just a weekend.
Why are more homeowners choosing gravel?
First, they work with any home style. Modern house? Classic cottage? Gravel fits right in.
Second, installation is straightforward. No heavy machinery needed. No specialized skills required.
Third, water drains naturally through gravel. Say goodbye to puddles after rain.
But here’s what most people don’t realize…
The secret isn’t just laying down gravel and calling it done. A few simple steps make the difference between a patio that looks amateur and one that looks professionally installed.
Ready to build something amazing? Let’s get started.
Your neighbors will soon be asking for your secrets.
Planning Your DIY Gravel Patio
Location makes or breaks your patio project.
Think about sun patterns first. Morning sun with afternoon shade? Perfect for coffee and evening relaxation.
Here’s a pro tip most people miss…
Walk around your yard at different times. Notice where you naturally want to sit. That’s probably your best spot.
Distance from your house matters too. Too far away and you won’t use it.
Not all gravel works the same way.
Pea gravel is the crowd favorite. Those smooth, rounded stones feel good under bare feet. Crushed gravel (3/4″ minus) packs down tight for your foundation.
Decomposed granite creates a smooth surface when mixed with stabilizer. River rock adds style, but use it as borders only.
Math time. Here’s the formula: (Length × Width × depth) ÷ 324 = cubic yards
Plan for 2 to 3 inches of pea gravel over your base. Order 10% extra for touch-ups.
Trust me on this one.
Materials and Tools You’ll Need
Don’t start digging yet.
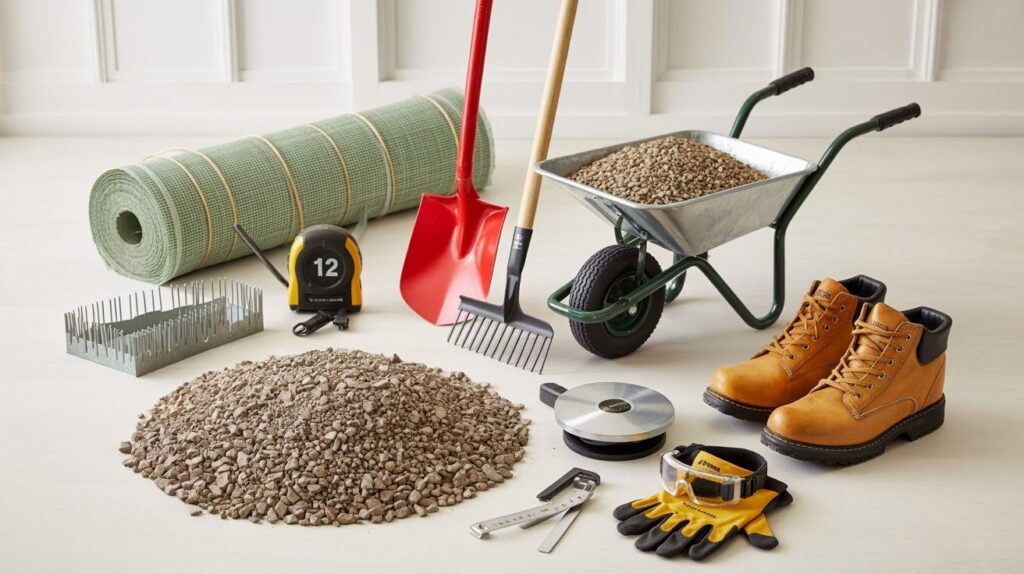
First, gather everything you need. Nothing worse than stopping mid-project for a hardware store run.
- Shovel, rake, and wheelbarrow for moving materials
- Tape measure and level for accurate work
- Marking paint to outline your patio shape
- Landscape fabric and pins to stop weeds
- Edging (plastic, metal, or stone) to contain gravel
- Crushed stone for your foundation layer
- Pea gravel or your chosen top material
- Plate compactor (rent for the day)
- Safety gear: gloves, goggles, and boots
Here’s what most DIYers forget…
That landscape fabric. Skip it, and weeds will grow through your beautiful new patio.
A plate compactor makes all the difference. Your back will thank you.
One weekend. These supplies. That’s all you need for a patio that lasts years.
Step-by-Step: How to Build a Gravel Patio
Ready to get your hands dirty?
Follow these steps and you’ll have a professional-looking patio by Sunday evening.
1. Mark and Measure the Patio Area
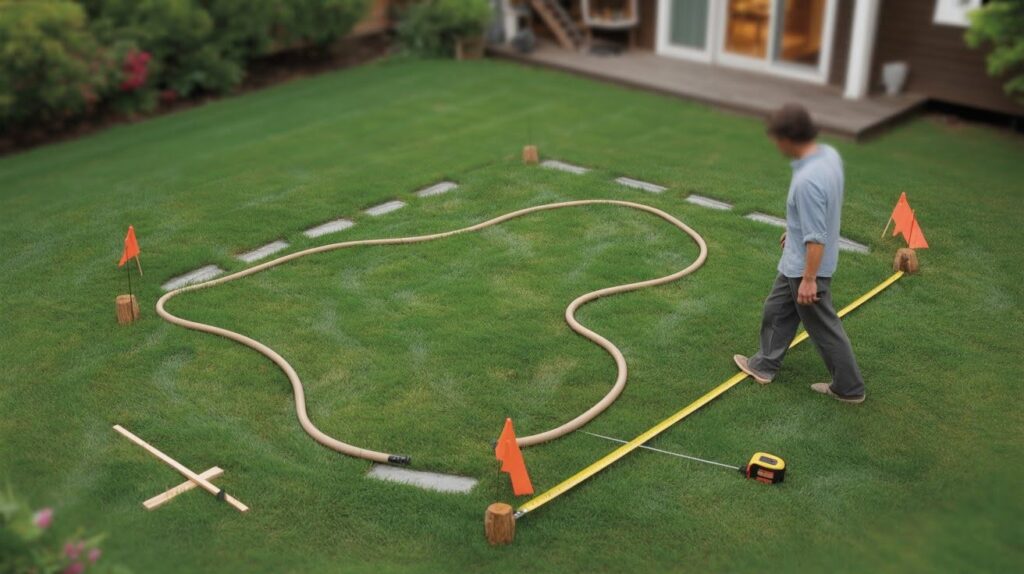
Outline your space with spray paint or a garden hose. Move the hose around until the shape feels right. Walk around it.
Does it look good from your house? From different angles? Measure the final dimensions so you know exactly how much gravel to buy. Double-check your measurements before ordering materials.
2. Remove Everything
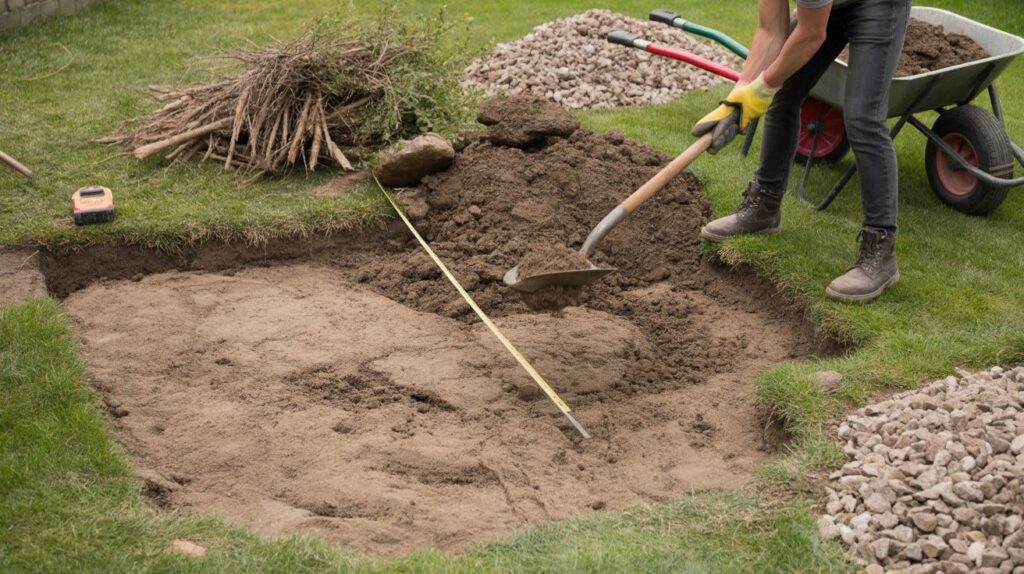
Start digging out all sod, rocks, and stubborn roots. Go down 3 to 5 inches total for the entire area.
This depth gives you room for your base layer plus the final gravel layer. Check the depth with your tape measure as you work.
Level ground means a level patio. Remove every bit of organic material you find.
3. Install Your Edging
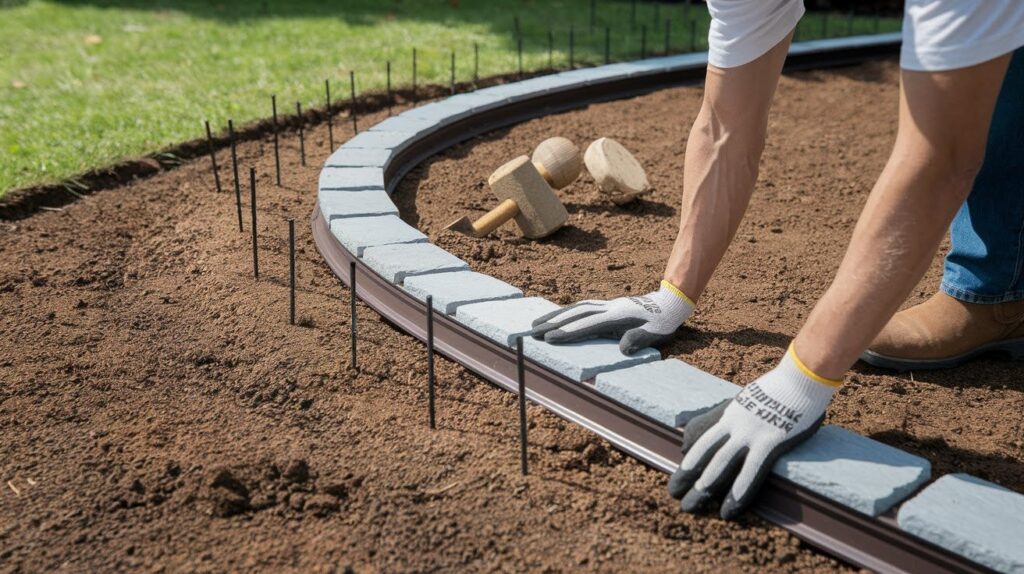
Place your chosen edging materials around the entire patio perimeter. Whether you picked plastic, metal, or stone, install it carefully.
Keep your future gravel level about half an inch below the edging top. This small detail prevents gravel from spilling into your yard. Secure everything firmly so it won’t shift over time.
4. Create a Solid Foundation
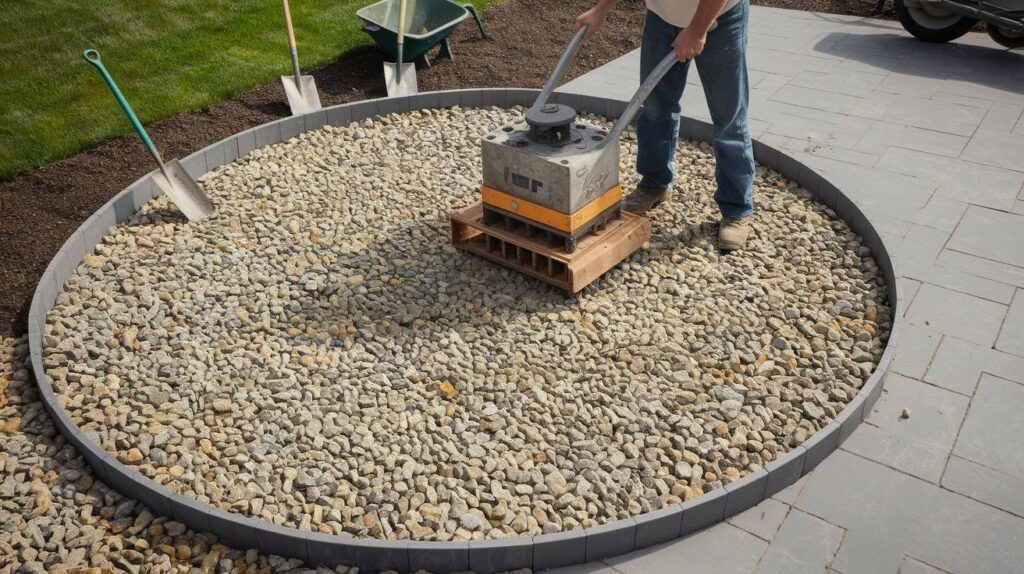
Spread 3 to 4 inches of crushed rock evenly across your patio area. Now comes the most important step that separates amateur jobs from professional ones.
Compact everything with your rented plate compactor. Go over the area multiple times until the base feels rock solid. This foundation determines how long your patio lasts.
5. Stop Weeds Before They Start

Lay landscape fabric in overlapping sheets across your compacted base. Pin it down securely with landscape pins every few feet.
This fabric prevents weeds from growing through your beautiful patio, while still allowing water to drain properly. Don’t skip this step or you’ll regret it later when weeds start poking through your gravel.
6. Add Your Gravel
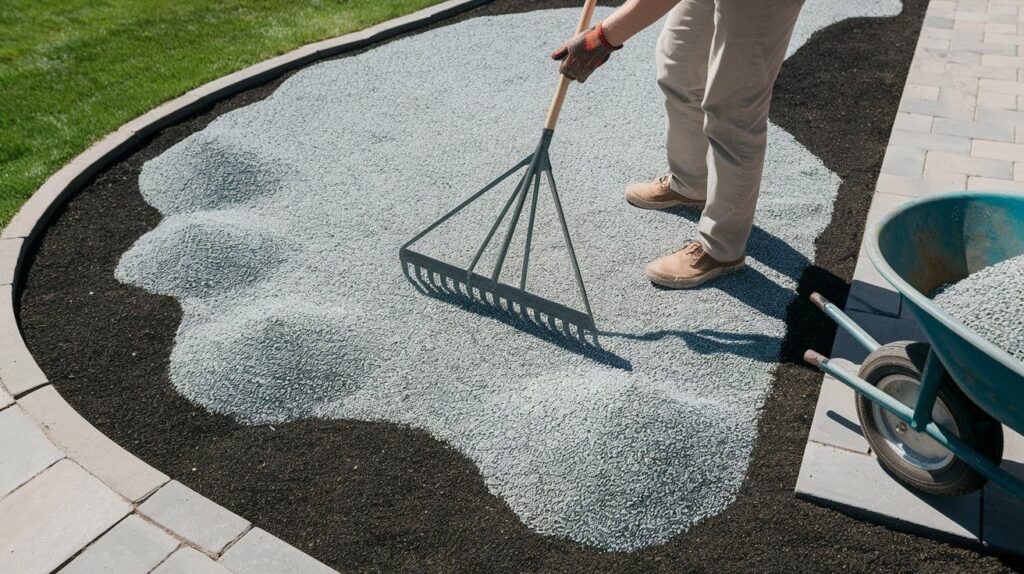
Spread 2 to 3 inches of pea gravel evenly across the fabric. Use your rake to smooth everything out. Work in small sections to get an even depth throughout.
The surface should look smooth and level when you’re done. Take your time with this step because it’s what everyone will see and walk on.
7. The Final Touches
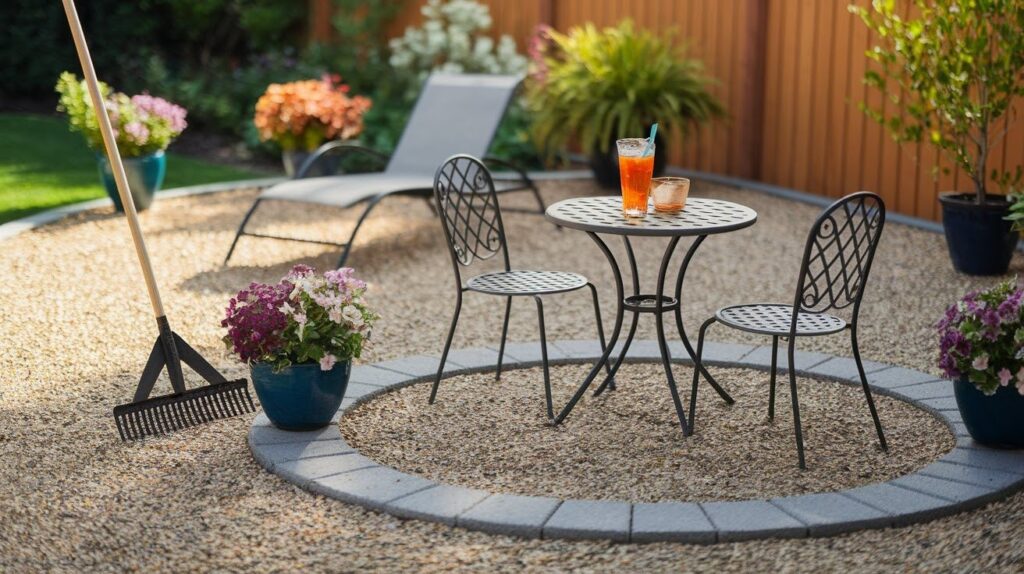
Place your patio furniture on wide feet or paver supports to prevent sinking. Rake the gravel occasionally to keep everything looking fresh and neat.
Add more gravel when high-traffic areas start looking thin. These simple maintenance steps keep your patio looking great for years. Now grab a cold drink and enjoy your new outdoor space.
Done. Time for a cold drink on your new patio.
Tips for a Perfect Finish
- Always compact the base, never the pea gravel
- Buy quality landscape fabric for long-term weed control
- Keep gravel depth consistent at 2 to 3 inches everywhere
- Create a gentle slope away from your house for drainage
- Use furniture with wide legs or place paver pads under chairs and tables
- Check for thin spots regularly and add gravel as needed
- Rake the surface occasionally to keep it looking fresh
Conclusion
I still remember my first gravel patio project ten years ago. My wife thought I was crazy digging up half our backyard on a Saturday morning.
But when we sat down with our coffee that Sunday evening, watching our kids play on the smooth pea gravel, she finally got it.
That patio became our favorite spot. Birthday parties, quiet mornings, late-night talks under the stars. It hosted all our best memories.
You just created the same thing. An affordable space that’s completely yours. No contractors, no huge bills, just your hands and a weekend’s work.
Your back might be sore tomorrow, but trust me on this. Every morning when you step outside with your coffee, you’ll feel that builder’s satisfaction all over again.
You didn’t just save money. You built a place where your family’s stories will unfold.
Now go make some memories on your new patio.
Frequently Asked Questions
How long does it take to build a gravel patio?
Most DIY gravel patios can be completed in one weekend with proper planning. The actual construction takes 6-8 hours, but allow extra time for material delivery and site preparation.
What’s the best gravel type for walking comfort?
Pea gravel is the top choice for comfort since its rounded edges feel smooth underfoot. Avoid sharp crushed stone for the top layer, as it can be uncomfortable for bare feet.
How deep should my gravel patio be?
Plan for 2-3 inches of pea gravel over a 3-4 inch compacted base layer. This 5-7 inch total depth provides stability while maintaining comfort and proper drainage.
Do I need permits to build a gravel patio?
Most areas don’t require permits for simple gravel patios since they’re considered temporary structures. Check with your local building department to confirm requirements in your specific location.
How do I prevent weeds from growing through my patio?
Quality landscape fabric installed over your compacted base stops most weeds effectively. Choose commercial-grade fabric and overlap seams by 6 inches for complete coverage.