When it comes to home or business security, ensuring your surveillance system provides comprehensive coverage is essential. Installing security cameras correctly can mean the difference between a safe environment and one riddled with vulnerabilities.
Blind spots—areas that cameras cannot monitor are common mistakes that can leave your property unprotected. For the best results, consider these practical tips on positioning security cameras to eliminate blind spots and maximize coverage.
Understand Your Property’s Layout
The first step in installing security cameras is to assess your property. Walk around and identify areas most vulnerable to intrusion, such as entry points, garages, and hidden spots. Use this assessment to determine where cameras are most needed.
Prioritize locations like the front door, back door, and windows on the ground floor. Remember, every property is unique. A high-rise apartment has different security needs compared to a standalone home or a commercial space.
Customizing your camera placements based on your property’s layout will minimize blind spots and maximize coverage.
Choose the Right Camera Types
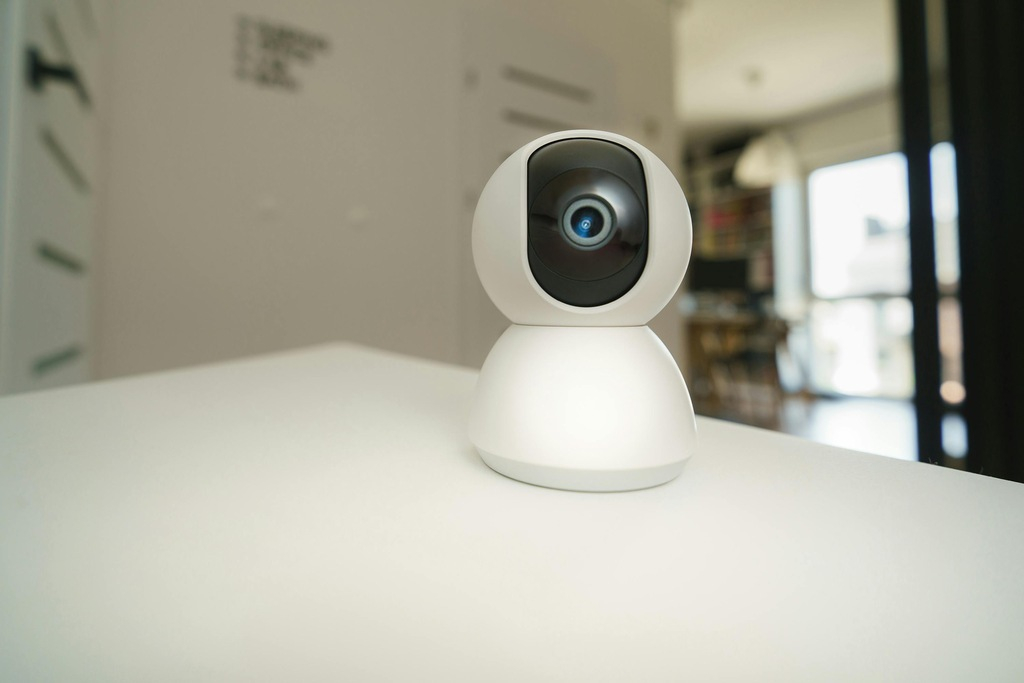
Not all cameras are created equal. Dome cameras, for example, are excellent for wide coverage, while bullet cameras are better for focusing on a specific area. Pan-tilt-zoom (PTZ) cameras are ideal for monitoring larger spaces, as they can cover multiple angles.
Outdoor cameras should be weatherproof, while indoor cameras can focus on areas like hallways and entryways. Combining different camera types ensures a comprehensive surveillance system tailored to your needs.
Determine the Optimal Height
Installing cameras at the correct height is crucial to avoiding blind spots. Cameras that are too low can be tampered with easily, while cameras placed too high may miss critical details. Ideally, cameras should be mounted at a height of 8-10 feet for outdoor areas. This height deters tampering while providing a clear view of faces and vehicles.
Angles also play a key role. Tilt the cameras slightly downward to capture activity close to the property while keeping the horizon in view. This positioning helps monitor activities without leaving gaps in coverage.
Overlap Camera Coverage
One of the best ways to eliminate blind spots is to overlap the field of view of adjacent cameras. When one camera’s coverage ends, another should begin. This technique ensures there are no gaps in surveillance and creates a safety net in case one camera fails.
For example, cameras covering your driveway and front yard should intersect at a point where activity is most likely to occur. This overlapping strategy is particularly useful for larger properties with multiple access points.
Avoid Obstructions
Obstructions such as trees, walls, and furniture can hinder a camera’s view. Before installing, clear the area of potential obstacles. For outdoor cameras, trim bushes and branches regularly to maintain visibility. Indoor cameras should be positioned away from curtains, plants, or decorative items that could block their view.
If unavoidable obstructions exist, adjust the camera’s position or angle to work around them. Regular maintenance and inspections can also help keep your cameras functioning optimally.
Use Proper Lighting
Lighting significantly impacts the effectiveness of security cameras. Ensure that cameras have adequate light to capture clear footage, especially at night. Position outdoor cameras near motion-activated lights to enhance visibility when needed.
For areas with little to no natural light, invest in cameras with infrared or night-vision capabilities. These features allow cameras to capture clear images in low-light or pitch-dark environments, eliminating potential blind spots.
Secure the Cameras
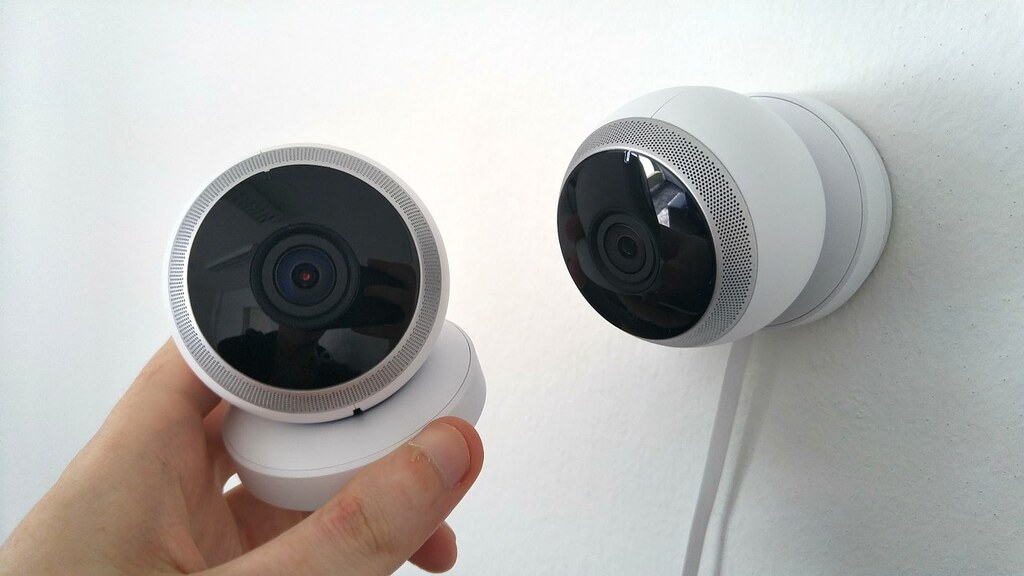
A camera’s placement is only as good as its security. Ensure that cameras are firmly mounted to prevent tampering or accidental dislodging. Use tamper-proof mounts and screws, particularly for outdoor cameras in easily accessible areas.
Additionally, ensure that the cameras are connected to a secure network. Cybersecurity measures such as strong passwords and updated firmware protect your footage from unauthorized access.
Test Your System
Once the cameras are installed, conduct thorough tests to ensure full coverage. Walk through your property and observe the live feed to identify any blind spots or areas with inadequate coverage.
Adjust the camera angles as needed and re-test to confirm improvements. Consider conducting periodic reviews of your camera footage to spot any issues that may arise over time, such as obstructions from new growth or changes in the property layout.
Regular Maintenance
Maintaining your security cameras is essential to ensure consistent performance. Clean the lenses regularly to prevent dirt, dust, or water spots from impairing the view. Check for loose connections or mounts and repair them promptly.
Schedule routine inspections to ensure all cameras are functioning correctly. Technology upgrades, such as switching to higher-resolution cameras or integrating with a smart home system, can also improve the effectiveness of your surveillance setup.
Final Thoughts
Properly installing security cameras is key to creating a robust surveillance system that leaves no room for blind spots. By assessing your property’s layout, choosing the right camera types, and following best practices for height, coverage, and maintenance, you can achieve comprehensive security coverage.


