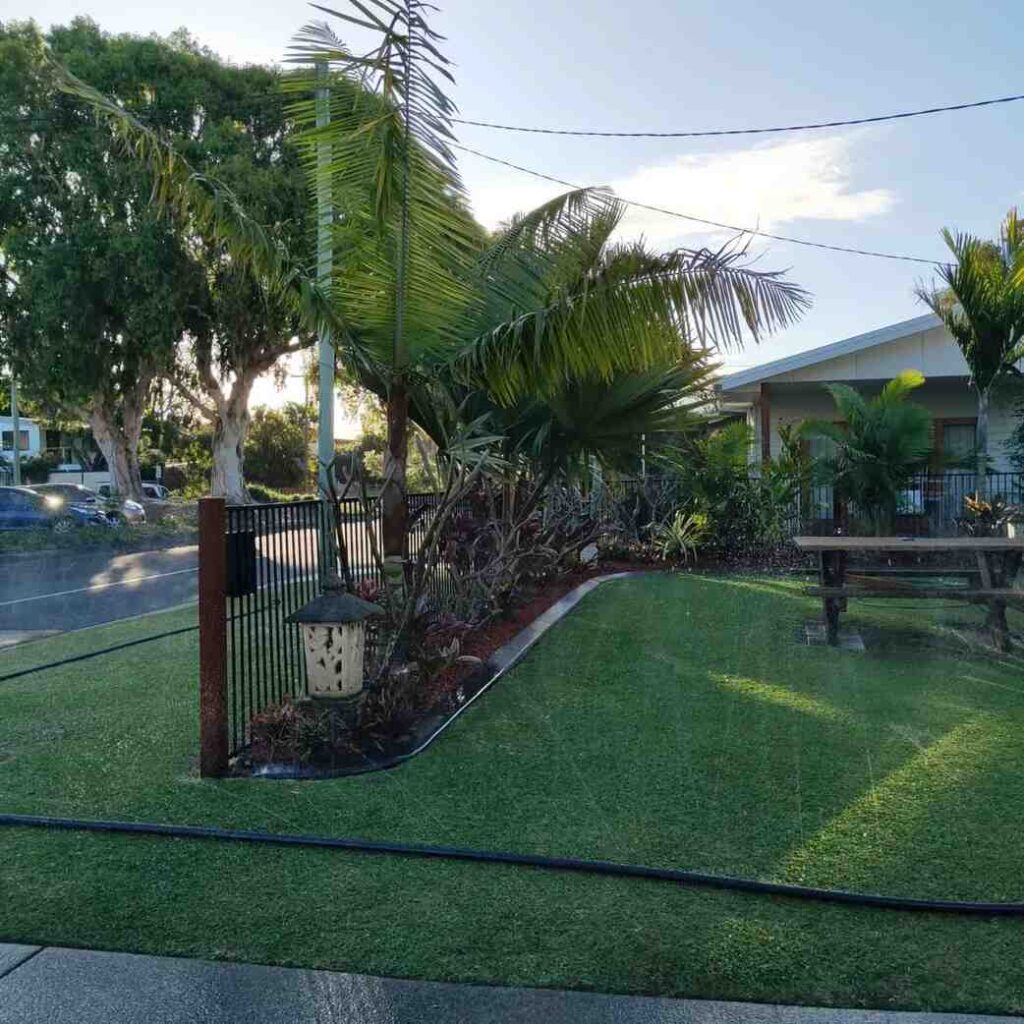
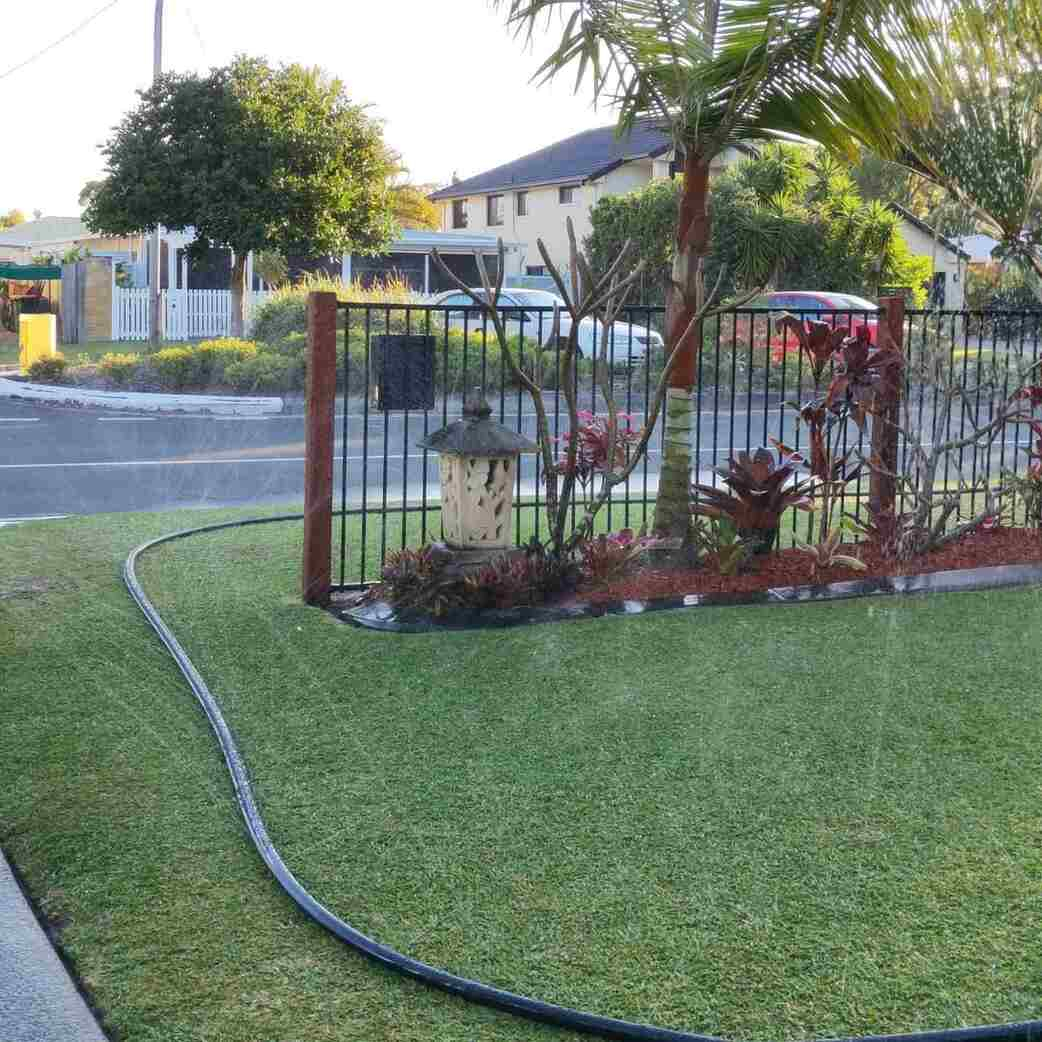
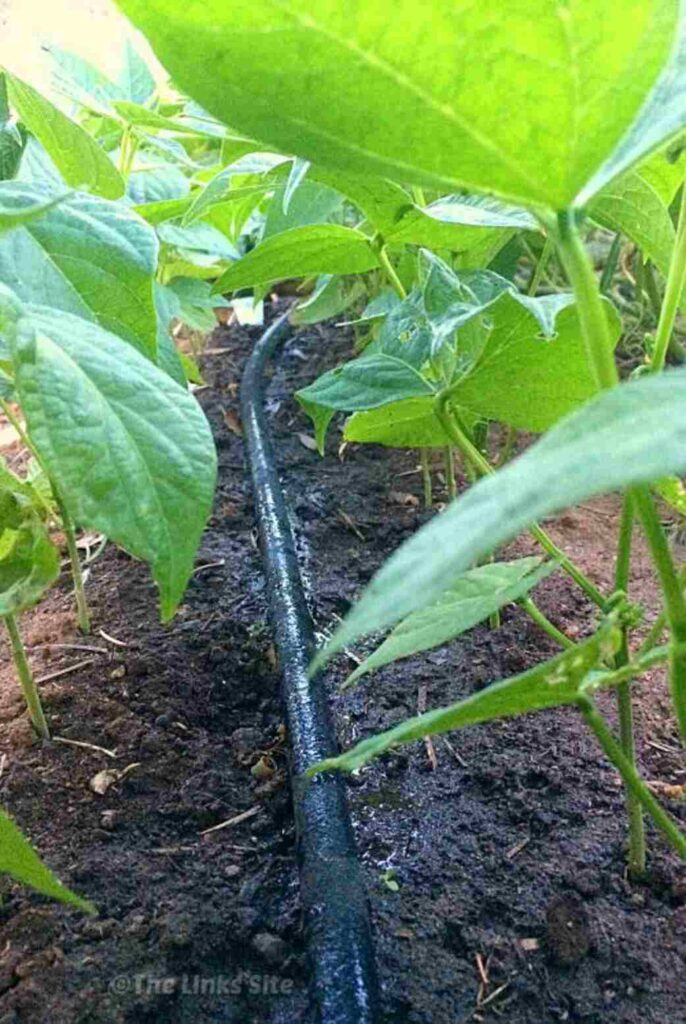
This blog is all about how to make a DIY Soaker Hose to hydrate your plants efficiently.
Tired of constantly adjusting sprinklers or dealing with a never-ending chore? A DIY soaker hose might just be the secret to simplifying your watering routine.
Not only does it help conserve water by delivering moisture directly to the roots, but it also offers a budget-friendly and eco-conscious solution for maintaining a lush garden. I made a DIY Soaker hose rather than buying a pricey one from the store.
Let me show you how I did it using just a few basic materials and explain how it works to keep your garden healthy while cutting down on water waste and bills.
Why choose a DIY soaker hose over a store-bought one?
A soaker hose is a type of garden hose designed to slowly release water directly into the soil along its length. When I started using a DIY soaker hose, I noticed how much more flexible it was for my garden. I could easily adjust the length to fit my space, and I didn’t have to worry about the hose being too long or too short.
The best part? I could control the water flow. I used simple materials to create a system that waters my plants evenly and efficiently, without wasting a drop. Plus, DIY hoses are easy to fix or adjust if something goes wrong.
Not to mention, a DIY soaker hose is incredibly budget-friendly. Instead of spending money on a pre-made one, I saved by using inexpensive items, and I got exactly what I wanted. It’s a win all around!
Materials needed For DIY Soaker Hose
To create your DIY soaker hose, you’ll need a few simple materials that are easy to find and inexpensive.
- Garden Hose: The main component, typically a rubber or vinyl hose, serves as the base for your soaker system.
- Nails or Screws: Used to create small holes in the hose where the water will seep out.
- PVC Pipe (Optional): For added structure or to create a more permanent setup for larger gardens.
- Hose Connectors: To attach different hose sections or connect the hose to your water source.
- Duct Tape or Electrical Tape: To secure the hose ends or fix any leaks in the system.
- Scissors or a Knife: Cut the hose to the desired length for your garden setup.
Step-by-step DIY Instructions
Here’s how I made my DIY Soaker Hose with an easy and simple process.
1. Gather Your Materials
Firstly, I gathered everything I needed. You’ll need a garden hose (I used a rubber one, but vinyl works too), nails or screws, duct tape (or electrical tape), scissors or a utility knife, and a hose connector.
These items are all super easy to find and very affordable. I was amazed at how little I had to spend for something so effective.
2. Prepare the Hose
Now that I’ve gotten all the materials, it was time to prep the hose. I measured the length based on the area where I needed to water in my garden.
I didn’t want it to be too long or too short, so I measured carefully to get it just right. Once I had got the right measurement, I cut the hose using scissors or a utility knife.
I made sure to clean up the edges so there weren’t any rough spots that could cause issues later on.
3. Create the Holes
Here comes the fun part! I took nails and screws to make small, evenly spaced-holes along the hose.
I kept spacing 6-8 inches apart, and this worked out great for an even water flow. The holes should be on the top and sides of the hose, so the water can seep right into the soil.
If you want the water to flow more freely, you can make the holes a little larger. I went with smaller ones, and it provided a nice, slow soak for my plants.
4. Connect the Hose
Next, I attached the hose to my water source. I used a hose connector to hook the hose up to my faucet.
The connector should fit tightly, so no water escapes around the edges. I always double-check that the connection is nice and secure to avoid leaks when it’s running.
To prevent water from flowing out of the ends of the hose, I sealed the other end with duct tape (you could use electrical tape too).
5. Position the Hose
I laid the hose along the rows of my plants, making sure it was as close to the base of the plants as possible.
For the best results, I laid the hose under a layer of mulch, which helps conserve moisture and prevent evaporation.
The closer the hose is to the roots, the better it will work.
6. Test the System
Turn on the water and see how it’s flowing. The water should seep slowly from the holes and soak the soil at the base of your plants.
I checked for dry spots and adjusted the hose. Sometimes the water wasn’t flowing evenly, so I made the holes a bit bigger or moved the hose around to improve the distribution.
7. Adjust as Needed
One of the things I love about this DIY soaker hose is how easy it is to make adjustments.
If I notice certain spots need more water, I just add more holes or move the hose. If some areas were getting too much water, I’d either cover the holes with tape or reposition the hose a bit farther away.
It’s customizable to your garden’s needs, which is a huge plus!
Maintenance and cleaning tips for DIY Soaker Hose
To keep your DIY soaker hose in top shape, regular maintenance is key. By following these tips, your DIY soaker hose will continue to work efficiently for years.
- Regular Inspection: Periodically check your soaker hose for any visible signs of wear or damage, such as cracks or holes.
- Flush the Hose: Over time, dirt and debris can clog the small pores in the hose.
- Use a Filter: If you’re using well water or your water source has a lot of minerals, consider attaching a filter to the hose inlet.
- Avoid Kinks: Kinks and sharp bends can damage the hose and restrict water flow.
- Winter Care: Before storing the hose for the winter, ensure it’s thoroughly drained to prevent freezing and cracking.
- Clean the End Caps: The end caps of your soaker hose can accumulate dirt over time, which can affect water flow.
- Check Water Pressure: High water pressure can cause the hose to burst or lose effectiveness.
Conclusion
Creating a DIY soaker hose was one of the best decisions I made for my garden. Not only did it save me time, effort, and money, but it also helped me achieve more consistent, efficient watering.
By customizing the hose to fit my space and needs, I gained control over water distribution and reduced waste—something my garden, and my wallet, truly appreciated.
If you’re tired of dragging hoses around or dealing with high water bills, a DIY soaker hose is the perfect solution. It’s simple, budget-friendly, and highly effective. With just a few easy steps, you can have a greener, happier garden in no time!
So, why not give it a try!!
FAQs
1. How do I know if the water flow is too strong or too weak?
After testing your hose, if the water is not seeping out evenly or if some areas are dry, you may need to adjust the hole sizes or reposition the hose. You can also cover holes with tape if you need to decrease water flow in specific areas.
2. Can I use this system for large garden areas?
Absolutely! For larger spaces, you can extend your DIY soaker hose by connecting additional hoses or using PVC pipes for better structure and water flow control.
3. How long should my DIY soaker hose last?
With proper maintenance and care, your DIY soaker hose can last for several seasons. Regular cleaning and proper storage will help extend its lifespan.
4. How do I store my DIY soaker hose during the winter?
Coil your soaker hose neatly and store it in a dry, cool place to prevent damage from cold weather. Avoid leaving it outside exposed to freezing temperatures, as this could cause the hose to crack or deteriorate.
5. How much water does a DIY soaker hose use?
A DIY soaker hose is highly water-efficient, as it delivers water directly to the plant roots. Unlike traditional sprinkler systems, which waste water due to evaporation or runoff, a soaker hose minimizes water waste, making it an eco-friendly option.


