
My new kitchen was functional but lacked personality. The countertops were old, scratched, and needed replacing.
After researching DIY kitchen countertops options, I realized it would be cost-effective and fun to make my own. I wanted a modern, durable, and unique countertop.
So, I decided to tackle this DIY project. It was a challenge but rewarding. I handled everything, from planning and measuring to cutting and installation. Each step taught me something new.
With patience and effort, the finished countertop looked amazing. I saved money and felt proud every time I used my kitchen.
In this review, I’ll share the steps, tips, and lessons learned to help you create your own DIY kitchen countertop with ease.
10 DIY Kitchen Countertops Projects
So Looking to upgrade your kitchen on a budget? Check out my top 10 DIY kitchen countertop projects that are cost-effective, stylish, and easy to create, transforming your space with a personal touch.
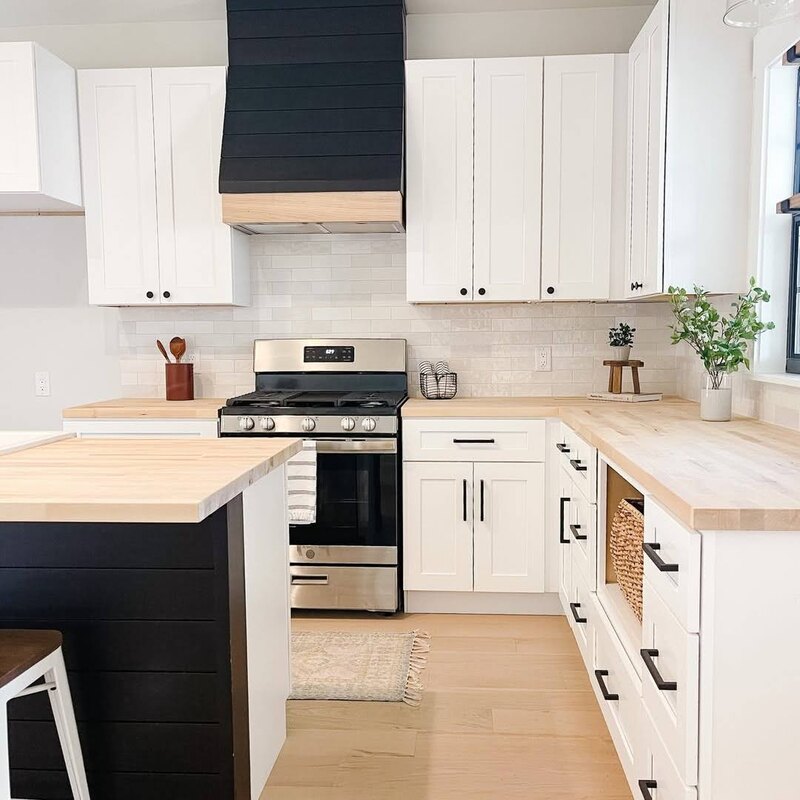
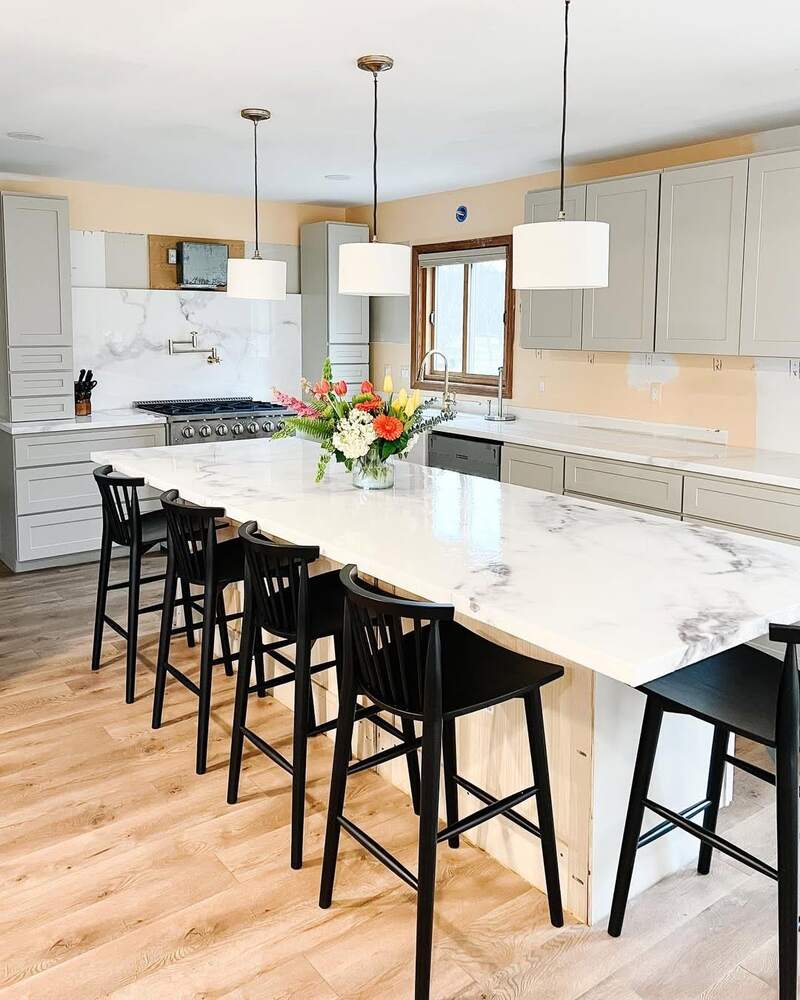
DIY Butcher Block Countertop
Materials needed:
- Wood planks (maple, oak, or birch)
- Wood glue
- Different grains of sandpaper
- Wood sealer or food-safe mineral oil
- Screws and brackets
Butcher block countertops add a warm and rich feel to your kitchen. Start by cutting wooden planks to your size and placing them side by side on a flat surface.
Apply wood glue between the planks liberally and push the edges together to join tightly. Clamp the planks together and let it dry for at least 24 hours.
After the planks have dried, use coarse sandpaper to even out the surface and get rid of any glue residue. Progressively change to finer grits for a smooth finish.
Apply several coats of food-safe mineral oil or wood sealer, letting each coat dry before adding the next. Finally, position the countertop on your cabinets and secure it using screws and brackets underneath for a sturdy fit.
DIY Concrete Kitchen Countertop
 DIY Kitchen Epoxy Resin Countertop
Materials Needed:
- Concrete mix
- Water
- Mold or form (plywood or plastic)
- Trowel
- Sandpaper (fine grit)
- Concrete sealer
For an industrial-modern vibe, concrete countertops are perfect. Begin by constructing a mold using plywood or plastic, ensuring it matches your desired countertop dimensions.
Line the mold with a release agent or plastic sheeting for easy removal. Mix the concrete according to the manufacturer’s instructions in a large container, and pour it into the mold.
Use the trowel to distribute it evenly, tapping on the sides of the mold to release air bubbles trapped within. Smoothen the surface with the trowel for a nice finish. Allow the concrete to cure for 48,72 hours.
When the concrete is fully hard, remove the mold slowly and carefully and sand any sharp edges or surfaces. Pour on a concrete sealer for extra durability and stain resistance. Attach the countertop to the cabinets using adhesive or brackets.
DIY Kitchen Epoxy Resin Countertop
Materials Needed:
- Epoxy resin kit
- Plywood base
- Paint or pigments for design
- Sandpaper with various grits
- Clear sealant
Epoxy resin countertops are aesthetically pleasing and highly customizable. Begin by cutting a plywood base according to your countertop measurements, and be sure to securely place it.
Prep the bottom with sanding to ensure it is smooth, applying a base coat of paint if desired. Combine epoxy resin according to package directions and add pigments or metallic powders for the desired personal design.
Pour the mixture over plywood with a spatula or brush, spreading it evenly over it. Use a heat gun or blow torch to eradicate air bubbles working fast as resins start to set very quickly.
Let epoxy cure for 24 to 48 hours in a dust-free environment. When cured, lightly sand it to polish the surface, and then apply a clear sealant to make it more durable.
DIY Kitchen Tile Countertop
Materials Needed:
- Ceramic or porcelain tiles
- Tile adhesive
- Grout
- Tile spacers
- Trowel
- Sealant
A tile countertop is both colorful and easy to maintain, which makes it suitable as a creative DIY project. Start by cleaning and prepping your counter surface.
Do this to ensure that your countertop is smooth and flat. Sprinkle a little amount of tile adhesive at a portion of the counter by means of a trowel that makes ridges to strengthen adhesion.
Lay out the tiles on the applied adhesive, pressing it using spacers to hold gap measurements uniform. Do that to the entire counter and wait for the adhesive set time as indicated by the manufacturer.
After drying off, apply grout within the gaps using a rubber float, pressing it deep into the spaces between tiles. Wipe off the excess grout with a damp sponge and let the grout dry completely before sealing it. Seal a final layer to protect from stains and moisture.
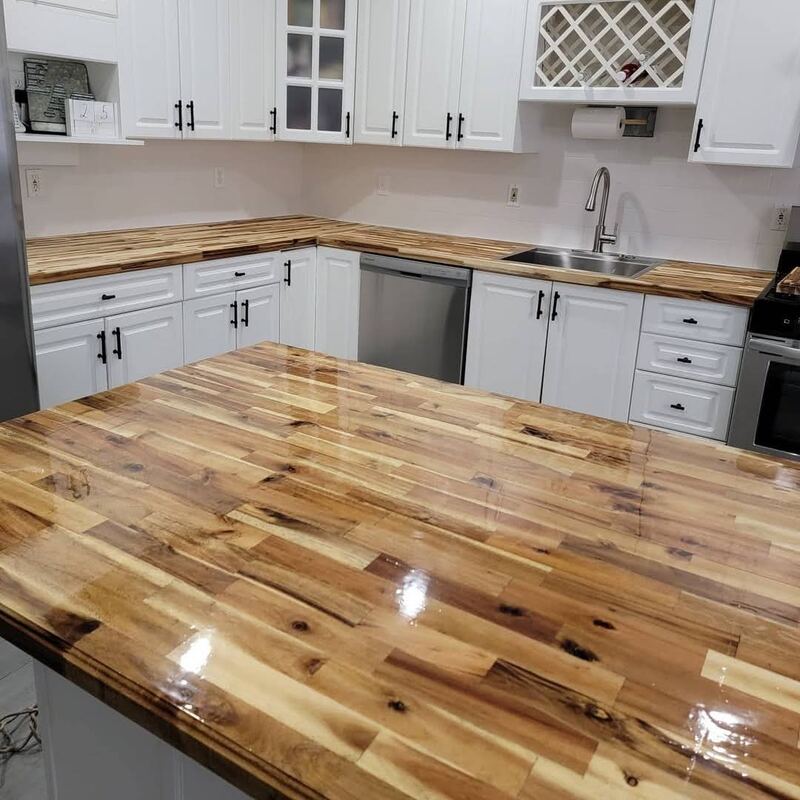
DIY Reclaimed Wood Counter Top
Materials Required:
- Reclaimed wood boards
- Sandpapers of different grits.
- Wood glue
- Screws and Brackets
- Wood stain or any finish
Reclaimed wood countertops are indeed an excellent option for an ecological and vintage look. Start by selecting reclaimed wood boards of alike thickness and size.
Sand each board thoroughly to remove the old finishes, splinters, or dirt that may have accumulated on their surfaces. Lay the boards flat on a surface aligned properly. Use some wood glue to join all the boards edge-to-edge, then clamp them all tightly together and let sit for 24 hours of drying.
Sand the glued surface again uniformly and smoothly. Use a wood stain to add some life to the natural grain and color, followed by a protective sealant that prevents moisture damage. Then attach the countertop with screws and brackets underneath, so it is stable and level.
DIY Faux Marble Countertop
Materials Needed:
- Plywood base
- Contact paper or paint kit in a marble pattern
- Squeegee
- Clear sealant
If you love the look of marble but don’t want to pay the price, faux marble countertops are the perfect solution. Start with a smooth plywood base or existing laminate surface.
For contact paper, apply it carefully to the surface, using a squeegee to remove air bubbles. For a paint kit, follow the instructions to replicate the veining patterns of marble.
Apply a primer coat and use small brushes to make veins and feather them out for a more realistic effect. Allow the design to dry, then seal the surface with a clear coat for additional protection and shine.
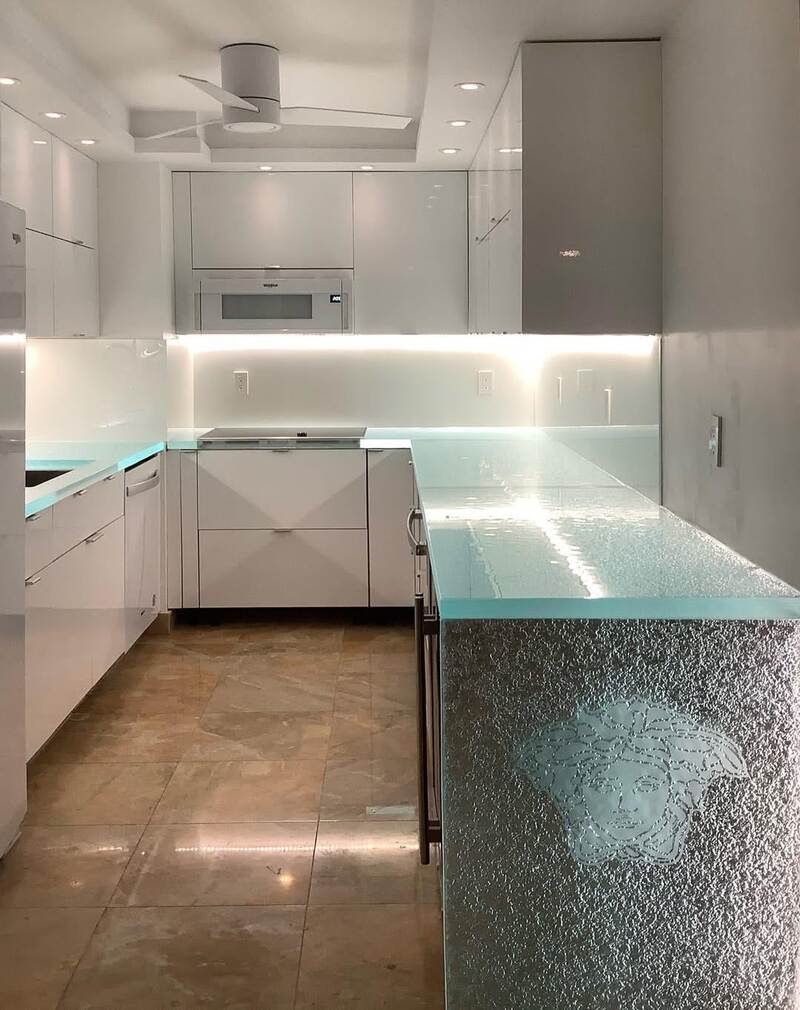
DIY Glass Kitchen Countertop
Materials needed:
- Tempered glass sheet
- Adhesive or silicone caulk
- Supporting frame or base
A glass countertop can bring a sleek, modern look to any kitchen and has some unique advantages and considerations. These countertops are easy to clean, resistant to stains, and can be customized with frosted, tinted, or even LED-lit designs for a personalized touch.
However, they must be cared for so scratches and chips do not occur. Tempered glass is resilient but not indestructible, so cutting boards are necessary and heavy impacts need to be avoided.
To maintain them, cleaning occurs regularly with non-abrasive products to keep the glass clear and shiny. Balancing beauty and functionality, glass countertops can be a stunning addition to modern kitchens, provided users are mindful of their upkeep.
Start by measuring your countertop area and having a tempered glass sheet cut to size. Ensure the supporting base is even and secure.
Apply a thin layer of adhesive or silicone caulk to the base before carefully placing the glass on top. Press the edges down gently but firmly to secure a tight hold. Allow the adhesive to dry for 24 hours.
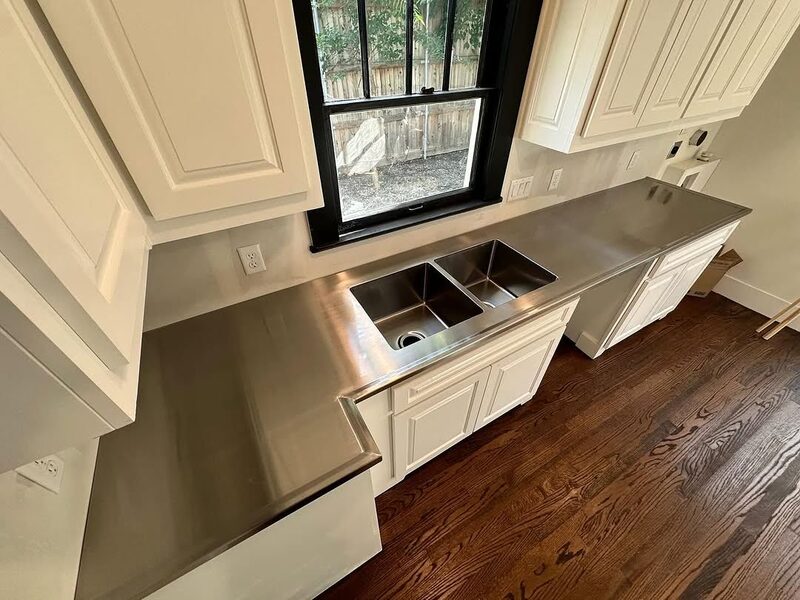
DIY Stainless Steel Countertop
 DIY Penny Kitchen Countertop
Materials Required:
- Stainless steel sheet
- Plywood base
- Adhesive
- Screws and brackets
For an industrial, commercial kitchen look, stainless steel countertops are ideal. Start by attaching a plywood base to your cabinets. Cut a stainless steel sheet to match the countertop dimensions.
Apply adhesive to the plywood and carefully press the steel sheet into place, smoothing out any bubbles or creases. Use a rubber roller for even application. Secure the edges with screws or brackets for a polished finish.
Stainless steel is durable, heat-resistant, and easy to clean.
DIY Penny Kitchen Countertop
Materials Needed:
- Pennies
- Epoxy resin
- Plywood bottom base
- Glue
Attach the bottom ply to your cabinets with epoxy resin. Place your penny on the surface by forming your desired pattern; afterwards, pour epoxy on it to ensure that every piece is well spread.
The best option is to use an iron to remove air in every penny before letting the resin dry for 24 or 48 hours and installing. The result is a stunning, unique countertop that’s sure to impress.
DIY Chalkboard DIY Kitchen Countertop

Materials Needed:
- Plywood base or existing laminate surface
- Chalkboard paint
- Paint roller or brush
- Clear sealant (optional)
Chalkboard countertops are both fun and functional. Start by sanding the surface to ensure it is smooth and ready for painting. Apply multiple coats of chalkboard paint, ensuring each layer is dry completely before applying the next coat.
Lightly sand in between coats for a smooth finish. For extra durability, finish with a clear sealant. Once you are done, you can write down any notes, recipes, or even drawings directly on your countertop using chalk. That is creative and fun and can be an addition to your kitchen.
Conclusion
Creating DIY kitchen countertops is not only economical but also highly rewarding. Every project is an avenue to express your personal taste and creativity while at the same time saving your wallet.
Plus, the sense of accomplishment from building something with your own hands is unmatched. Share your completed projects with others, or connect with fellow DIY enthusiasts for inspiration and tips.
Together, we can create kitchens that are as personal as they are beautiful. Whether you’re aiming for a rustic, modern, or vibrant style, these ideas provide endless inspiration. Choose the one that suits your kitchen’s vibe. Gather your materials and let the transformation begin in your space today!