
Want to build a DIY barn door but not sure where to start? I’ll show you exactly how to do it. This guide covers everything: measuring, cutting, assembly, and installation.
I’ve made these doors for my own home and helped friends build theirs too. You don’t need special skills or expensive tools.
I’ll walk you through each step in plain language. We’ll talk about wood options, hardware choices, and how to avoid mistakes I learned the hard way.
By the end, you’ll have a custom door that fits perfectly and costs way less than buying one.
Let’s get started.
Understanding How a Barn Door Works
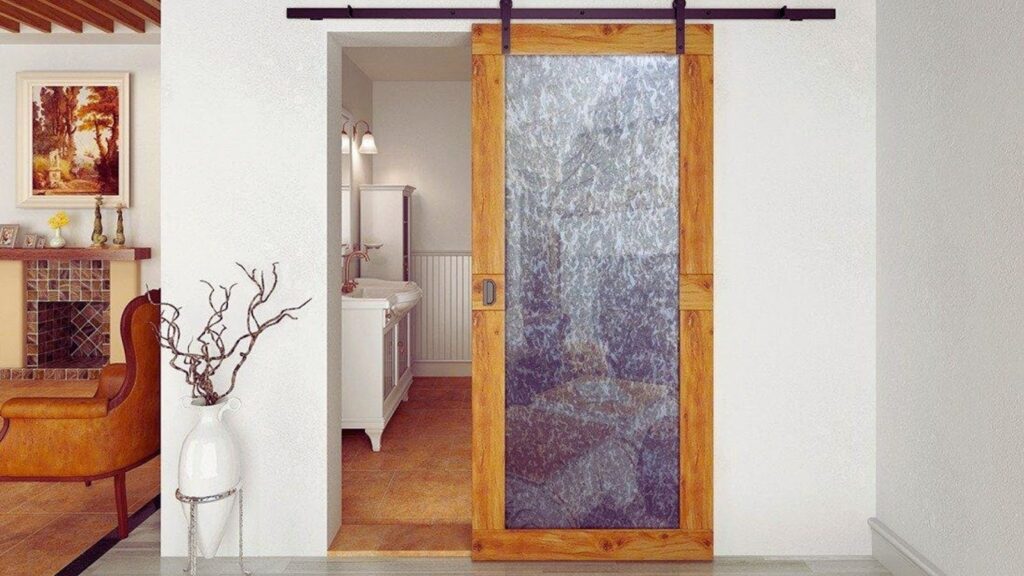
A sliding barn door hangs from a track mounted above the opening and glides sideways using rollers. The track needs to be longer than your door width, and most systems include a floor guide to keep the bottom stable.
Your wall needs enough space for the door to slide completely open. For a 36 inch opening, you need 36 inches of clear wall space next to it. Make sure there are no light switches or outlets in that area, and leave about 2 inches of clearance behind the door.
Building your own barn door costs $100 to $200 compared to $300 to $800 for premade options. You get complete control over size, style, wood type, and finish while saving money.
Tools and Materials You’ll Need
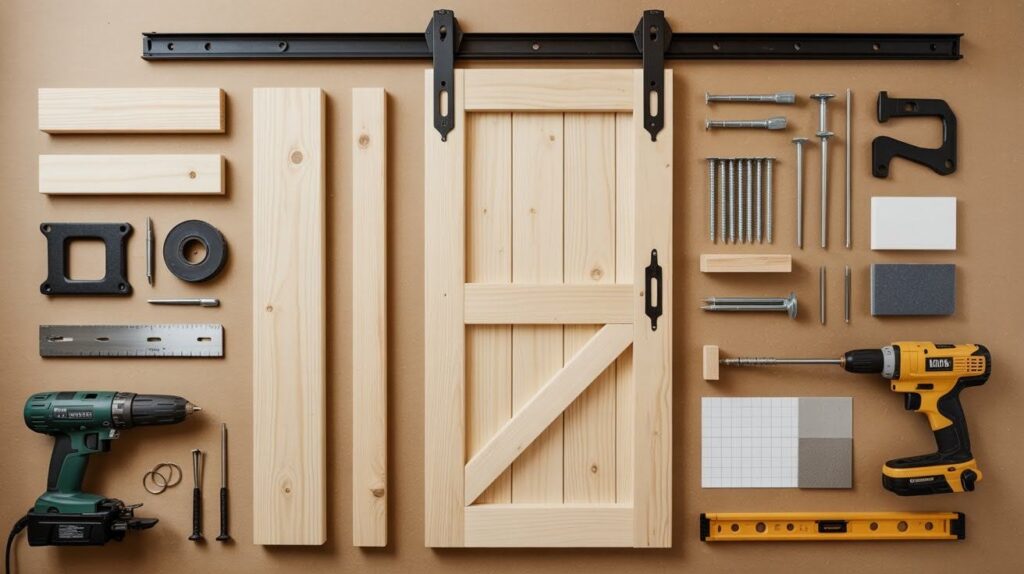
For lumber, use 1×6 boards for the main door (6 to 8 boards for a standard door) and 1×4 boards for the frame pieces. Pine is budget-friendly and easy to work with.
Select boards without too many knots if you’re painting. You’ll need a sliding barn door hardware kit with track, rollers, and mounting brackets ($50 to $150), plus wood glue, 1.5 inch brad nails, 1.5 inch wood screws, wood filler, sandpaper (80, 120, and 220 grit), and a handle ($10 to $40).
For tools, you need a miter saw, drill with bits, orbital sander, brad nailer, tape measure, square, level, and clamps if available. Most DIYers already own these basic tools.
Step-by-Step DIY Barn Door Building Guide
Complete building instructions from measuring your opening through final installation, with detailed tips for each construction phase and technique.
Step 1: Measure Your Door Opening
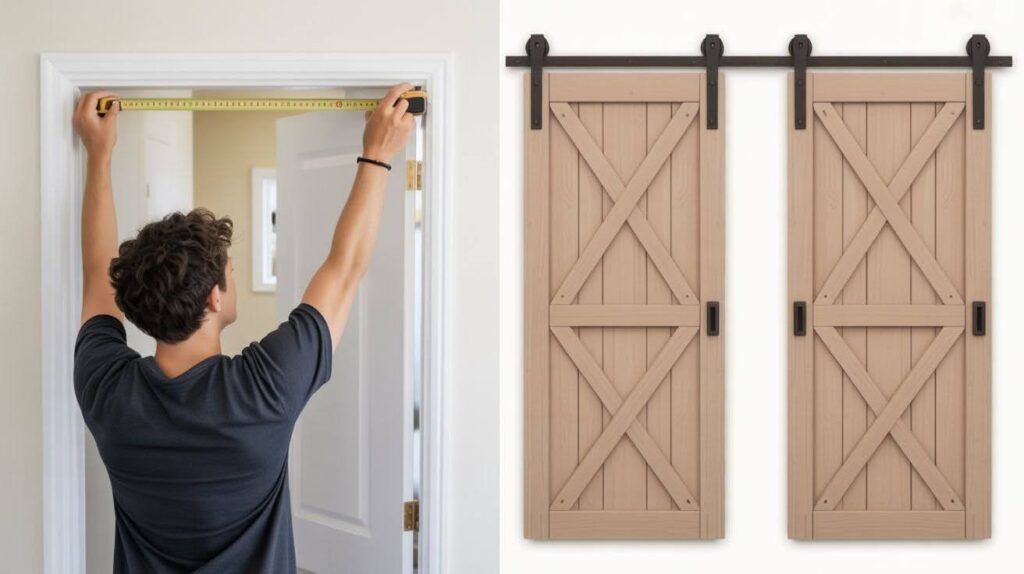
Measure the width of your door opening at three points: top, middle, and bottom. Use the largest measurement. Measure the height the same way. Most people add 2 to 4 inches to both measurements for overhang that blocks light and drafts.
Add 2 inches on each side for 4 inches extra width total. Add 2 to 4 inches to the height to ensure the door covers the opening completely when hung. A single door slides to one side and is simpler.
Double doors meet in the middle and slide apart. They look impressive but cost more. For openings wider than 48 inches, consider double doors.
Step 2: Cut and Lay Out the Boards
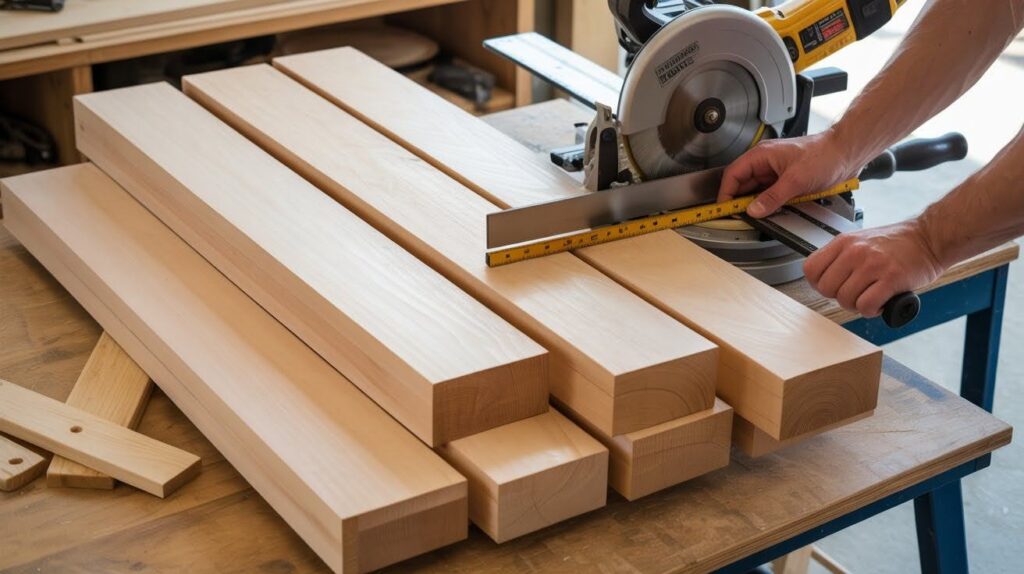
Cut all your vertical boards to the same length (your door height). Use your miter saw for clean cuts. For a 36 inch wide door, you need about 7 boards since 1×6 boards are actually 5.5 inches wide.
Lay the boards face down in a row on a flat surface. Push them tight against each other with no gaps. The edges should line up perfectly at top and bottom.
Before gluing, measure the total width again. Use a square to check that corners are 90 degrees. Replace any warped boards now.
Step 3: Build the Base Layer

Run a bead of wood glue along the edge of the first board. Press the second board against it firmly. Wipe away excess glue. Keep edges flush as you work across the entire door width.
Use heavy objects like books or paint cans to hold boards while glue dries. Or tack a scrap board across the middle temporarily. Some builders use ratchet straps wrapped around the whole door.
After gluing, shoot brad nails through the joints every 12 inches. These hold boards while glue sets. Let the glue dry for at least an hour.
Step 4: Add the Top Frame Design
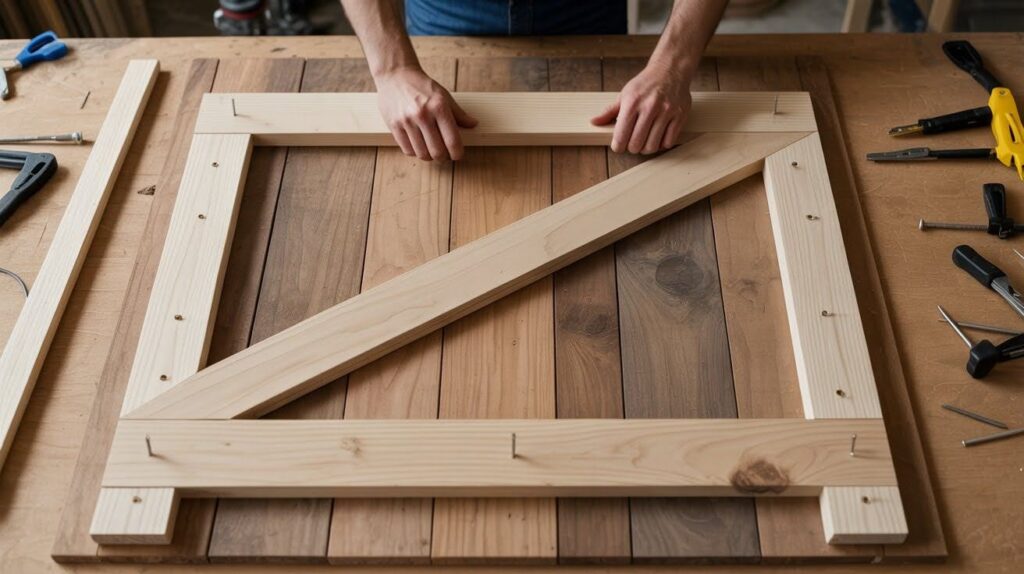
Cut two horizontal pieces to run across the width near top and bottom. Cut vertical pieces for the sides. The classic barn door has a Z pattern or X pattern.
For a Z pattern, measure corner to corner diagonally. Most diagonals are cut at 45 degrees on each end. For an X pattern, you need two diagonals that cross in the middle.
Apply glue to the back of each frame piece. Press it firmly onto the base layer. Use brad nails every 8 to 10 inches. Let this layer dry completely.
Step 5: Reinforce With Screws
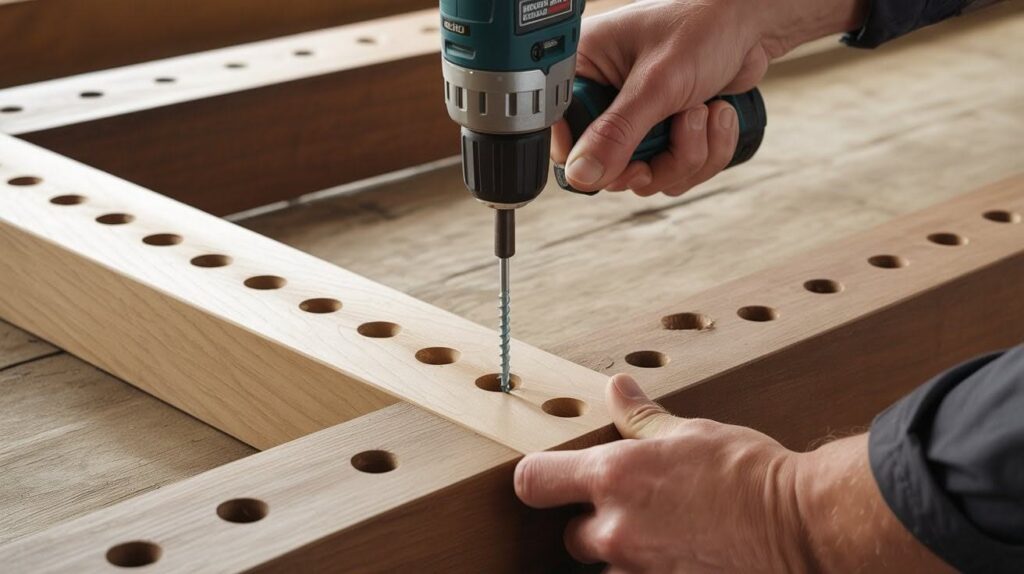
Drill pilot holes first using a drill bit slightly smaller than your screw shaft. Space pilot holes about 12 inches apart along each frame piece.
Use 1.5 inch screws for most of the project. Don’t use screws longer than 2 inches or they might poke through.
Drive screws slightly below the surface to create a small dimple. You’ll fill these holes with wood filler later for a smooth look.
Step 6: Sand, Fill, and Smooth
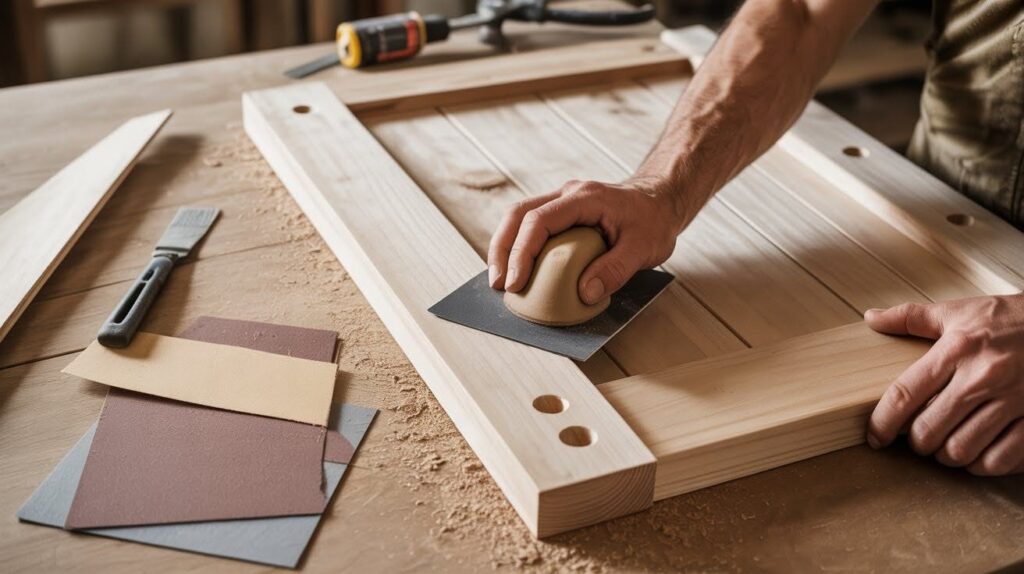
Apply wood filler with a putty knife into every screw hole and gap. Overfill slightly because the filler shrinks as it dries.
Let it dry for 30 minutes to 2 hours. Start with 80 grit sandpaper on rough spots. Move to 120 grit for overall smoothing. Finish with 220 grit for a super smooth surface.
Sand all edges until they’re rounded. Use a paintable caulk for gaps wider than 1/8 inch. Run a thin bead and smooth with your finger.
Step 7: Paint or Stain the Barn Door
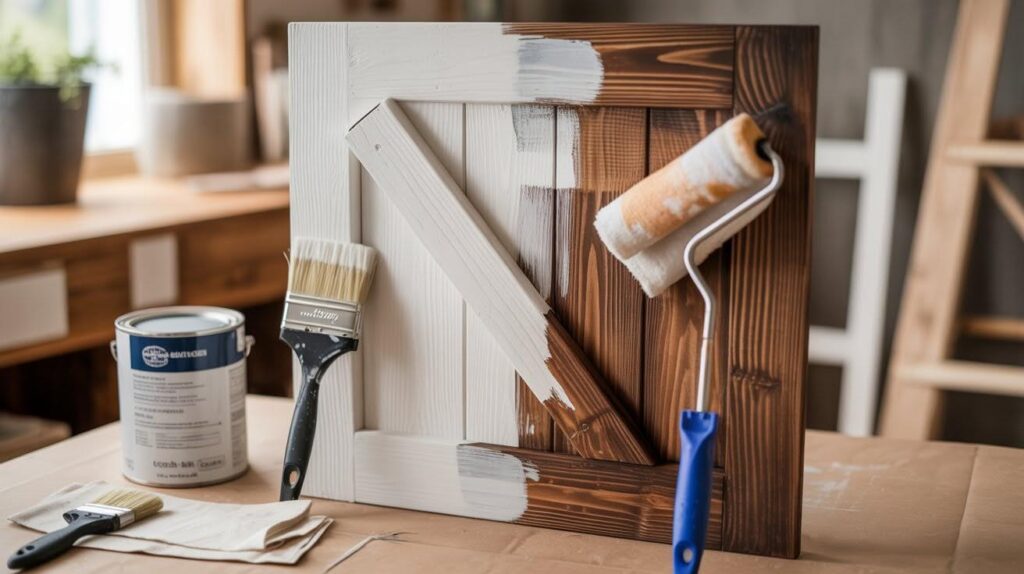
Use a stain-blocking primer first. Apply with a brush or roller. Let it dry for 1 to 2 hours. For painting, use semi-gloss or satin finish.
White, black, and gray are popular. For staining, choose an oil-based or gel stain. Apply with a rag or brush. Paint needs 2 coats minimum. Wait 4 hours between coats.
Stain usually needs 1 to 2 coats. Wait 8 hours between stain coats. Add a clear topcoat over the stain. Let everything dry for 24 hours.
Step 8: Attach the Handles and Hardware

Position handles about 36 inches from the floor. Mark mounting holes, drill pilot holes, and screw the handle on tight.
Mount the track to wall studs about 1 inch above the door opening. Mark a level line, drill pilot holes into studs, and screw the track mounting brackets in place.
Some guides need a shallow groove cut into the bottom edge of your door. Use a router or chisel to cut a 1/4 inch deep groove if needed.
Step 9: Hang the Door and Test Movement
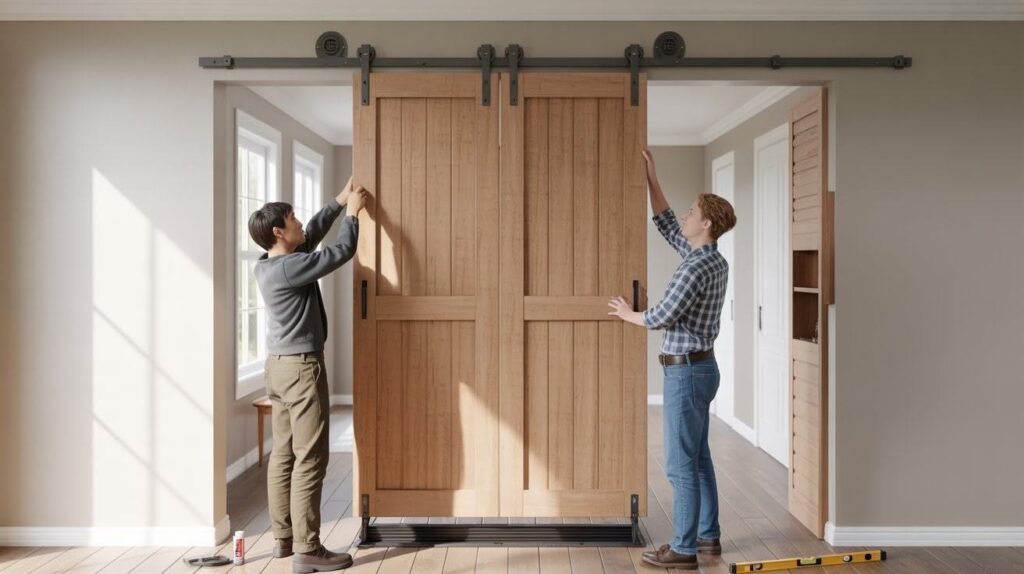
Attach the rollers to the top edge of your door. Lift the door and hook the rollers onto the track. This takes two people for heavy doors.
Slide the door back and forth to test. If the door scrapes or won’t slide straight, adjust the roller height. Tightening raises the door. Loosening drops it.
Use a level to check if the door hangs straight. Install the floor guide last. Test the door several times. Check for debris in the track and add lubricant if needed.
Tips for Success
Expert advice on wood selection, budget-friendly hardware choices, and common construction errors to avoid a better finished product.
- Select grade pine or poplar has fewer knots and takes paint better than common grade lumber
- Buy hardware kits online to save 30% to 50% compared to retail stores
- Always drill pilot holes before screwing to prevent wood from splitting
- Don’t rush drying time between coats or the finish will smear and look messy
- Measure twice and cut once, and always ensure your door has enough wall space to slide fully open
Conclusion
Building your own DIY barn door is totally doable, and I hope this guide gives you the confidence to start. I remember my first build.
I was nervous about getting the measurements right, but it turned out better than expected. Yours will too. Take it one step at a time and don’t stress over small imperfections. They add character.
Now grab your materials and start building. When you finish, leave a comment below and tell me how it went. I’d love to hear your story. Happy building!
Frequently Asked Questions
How much does it cost to build a DIY barn door?
Building your own costs $100 to $200 for materials. Buying premade costs $300 to $800, so you save a lot.
What size should my barn door be?
Your door should be 2 to 4 inches wider and taller than your opening to block light and cover the frame completely.
Can I install a barn door by myself?
You can build alone, but hanging is easier with two people. The door can be heavy and awkward to lift.
Do I need special tools to build a barn door?
You need basic tools like a miter saw, drill, sander, and tape measure. Hardware stores often cut wood if you don’t have a saw.
How long does it take to build a barn door?
Building takes 4 to 6 hours spread over 2 to 3 days including drying time for paint or stain.