You might want to transform your floor without breaking the bank. In this case, removing old vinyl flooring yourself is a fantastic way to save money on your renovation project. While it requires some effort and patience, it’s a project that any homeowner can complete over a weekend.!
This guide will walk you through the process, offering practical tips and tricks to make the job easier. From gathering essential tools to dealing with stubborn adhesives, we’ll cover everything you need to know.
How to Remove Old Vinly Flooring
It is not difficult to remove vinyl floors. Of course, you can do it yourself with the right steps. The right tools should be used then followed by the removal of the old floor. Go slow and be methodical in your approach.
Step 1: Preparation to Remove Flooring
A few preparations are required prior to the actual process of vinyl flooring removal. Chances are you already have most of the tools with you. Otherwise, you can purchase or rent them at a comparatively low cost at a home improvement store.
Tools You Need to Remove Flooring
- Safety gear
- Work gloves
- Pliers
- Flat pry bar
- Utility knife
- Knee pads
- Face mask
- Floor scraper
- Chisel
- Long pants
- Sturdy shoes
- Putty knife
As an additional tip, you may rent a 10-yard dumpster. Linoleum sheets are very massive and come in sizes that cannot fit in the regular trash bin. You will need this, especially in the case of a large room. Also, if you are doing other renovations in your kitchen, such as changing cabinets and tables, a dumpster will be useful in disposing of large items. Interestingly, your regular garbage collector is not going to collect these at your doorstep.
Step 2: Ripping Up the Flooring Baseboards
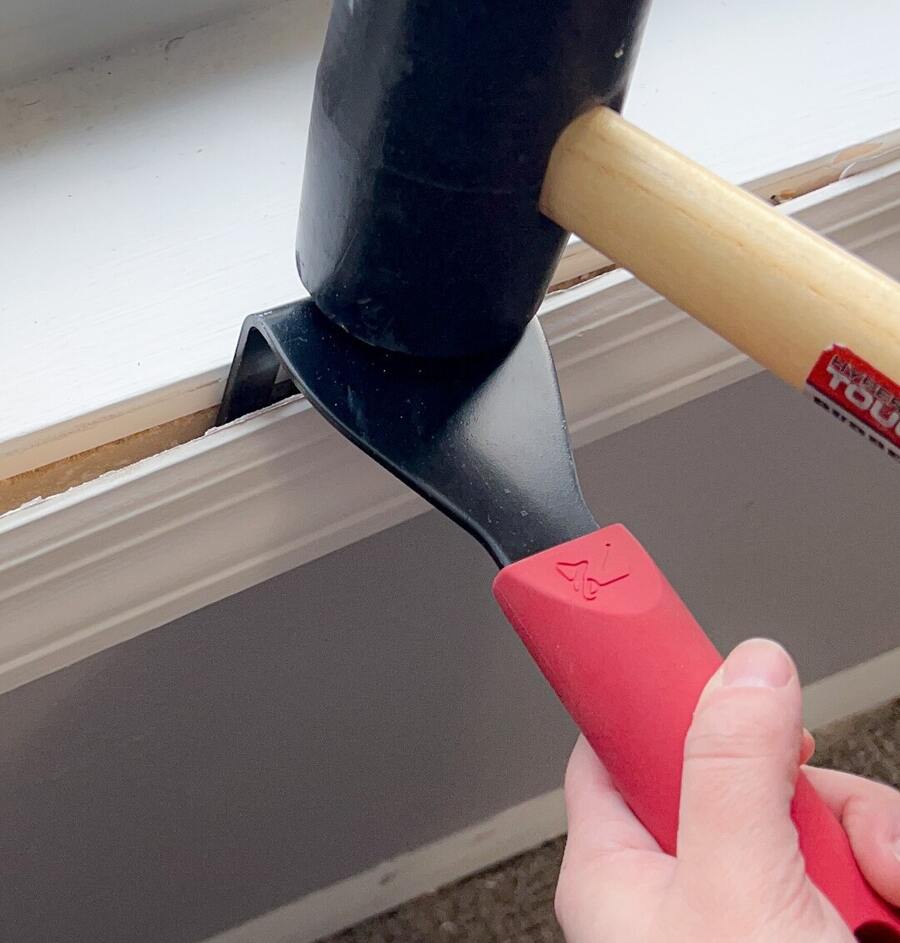
In preparation for ripping up the flooring, you should also take off all baseboards in the room. First, work the pry bar or chisel back and forth between the baseboard and the wall. Start in a corner. Place the piece of wood or cardboard on the side where your tool is located. This will assist in preventing the scratching of the wall. When you can reach the nail with your pliers, pull it out and take it off completely. If you intend to reuse baseboards, then make sure you store them in a safe place.
Precaution Tip: If your floor was installed before the 1980s, then the adhesive may contain asbestos. As for safety, put on gloves and take a small piece of the flooring as a sample. When pulling it up, wet the piece and the adhesive underneath with water. Seal it and then transport it to an asbestos abatement company for analysis.
Step 3: Cutting Out the Center of the Flooring
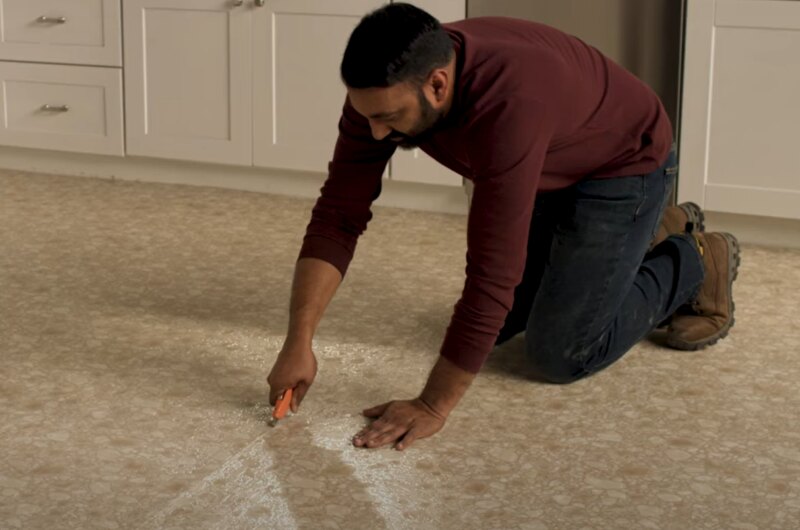
As a rule, vinyl, and linoleum are fixed only along the perimeter of the room, with special glue applied to the edges. This makes removal quite simple. First, cut a line 10 inches from the wall. Next, score through the vinyl or linoleum using your utility knife. Subsequently, cut the center part with your utility knife in strip form.
Make sure that the strips are not wider than 18 inches and should be a few feet in length. This is because they can easily become too heavy to lift or take up a lot of space to store. While cutting, discard the strips of flooring into your dumpster as well. Pursue this process until all the flooring is pulled out.
Step 4: Tearing Up Edge Flooring
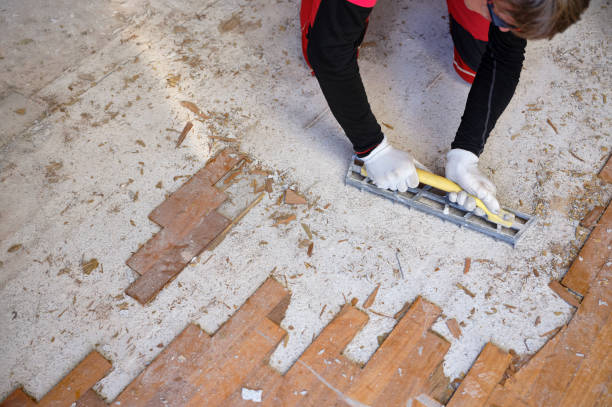
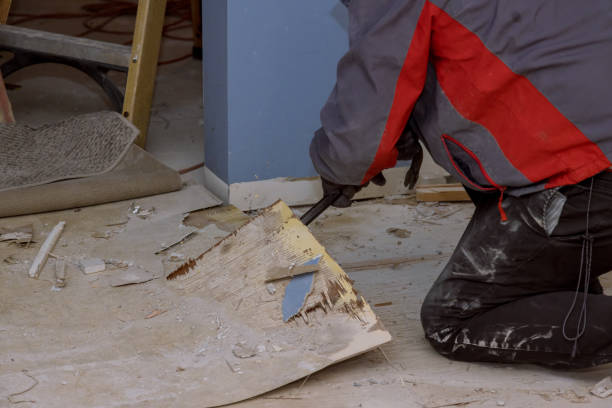
Now, it is high time to unwrap the glued-down part of your vinyl or linoleum. First, slide your pry bar along a particular portion of the flooring. This will ease the tension. Afterward, you will need to remove even more adhesive using your chisel or putty knife. Once you have wedged it enough to get it under the edge, give it a good grip. When this is no longer possible, use your utility knife to trim off the loose strip of skin. Take it away from where you work most of the time. Continue these steps until all the flooring has been removed.
Remember, if the adhesive is too hard to get rid of, use a chisel or putty knife, use your heat gun. This involves heating the adhesive until it becomes soft. Then, you can remove the floor covering or keep on dismantling it as per your desire.
Step 5: Removing The Leftover Adhesive
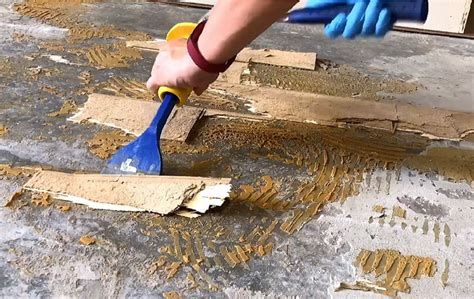
After that, there will be a process of removing the leftover adhesive once the flooring has been taken off. To do this, you need to strip the linoleum glue off the plywood surface. If you don’t, laying your new floor shall be difficult. The most time-consuming step will be this one: use breaks if necessary.
Before removing the vinyl flooring glue, switch the heat gun to low and allow it to heat up. You may raise the heat later on if required. Begin at one corner of the room. Place the heat gun on a part of the adhesive until it gets tacky and soft. Then, it would be best to peel off the softened adhesive using your putty knife. If necessary, walk around the room carefully until you have scraped off all the glue.
When to Get Professional Help
Although it’s relatively easy to strip and remove vinyl flooring, there are occasions when you may require assistance. Huge areas need a lot of time and effort, and this is where the help of professionals comes in handy. It makes the work easier and faster when you are working in a large room. Furthermore, old vinyl floors are not easy to strip or pull out. Floors with multiple layers of adhesive are also difficult. In such instances, pros know the course of action to take.
Moreover, health factors have to be taken into account. However, if your vinyl flooring contains asbestos, do not attempt to remove it yourself. Professionals have equipment to use and protective gear to wear. Also, if you detect damage to the subfloor, it is advisable to hire a professional contractor. They can repair the damage and ensure that the new floor is laid properly.
Conclusion
Stripping vinyl flooring is one of those projects that most people would wish to handle on their own with the help of tools and preparations. If you take advantage of our guide below, you will be able to enjoy the best outcomes and get your area ready for stunning new floors. However, if the job becomes tough or dangerous, one should not hesitate to consult a professional. Taking the right approach to your home improvement project will make good results.
FAQs
How to Know if My Vinyl Flooring Has Asbestos?
Your vinyl flooring might contain asbestos if it was installed before the 1980s. Asbestos is typically used in old vinyl floor backing. This backing resembles felt. It was used to soften the floor. Indications that a building has asbestos floors include installation prior to 1980, a slippery appearance, black or colored adhesive, and squares of 9×9, 12×12, or 18×18 inches.
What’s the Cost to Remove Vinyl Flooring?
Labour expense incurred in hiring a professional to remove the laminate flooring ranges from $0. 60 and $4. $1.00 per square foot according to the trusted source. Self-removal is less costly than outsourcing the work to a professional. Another factor is the price of your new flooring material, be it hardwood tile or any other material compared to vinyl or carpet, so as to determine your budget.
How Do You Soften Vinyl Adhesive?
To make it easier to remove vinyl adhesive, use a heat gun or hair dryer to apply heat directly on the adhesive. Begin with a low level and work your way up if necessary. Heat is also used in the area to soften the glue so that it can be scraped or peeled easily.
Is It Safe to Remove Old Vinyl Flooring?
Yes, it is generally safe to remove old vinyl flooring. However, if the flooring was installed prior to the 1980’s then it may contain asbestos that is hazardous to human health. In such circumstances one has to be very cautious or else consult a professional in the matter.
- 10 Luxury Vinyl Plank Flooring Installation Pattern Ideas
- 10 Best Luxury Vinyl Plank Flooring Brand for 2024

