
Sanding forms the foundation of any successful furniture makeover, creating smooth surfaces that allow stains, paints, and finishes to adhere properly while achieving professional-looking results.
This critical step removes old finishes, eliminates imperfections, and prepares wood surfaces for transformation.
Without proper sanding, even the highest-quality paint or stain will appear uneven and may fail prematurely.
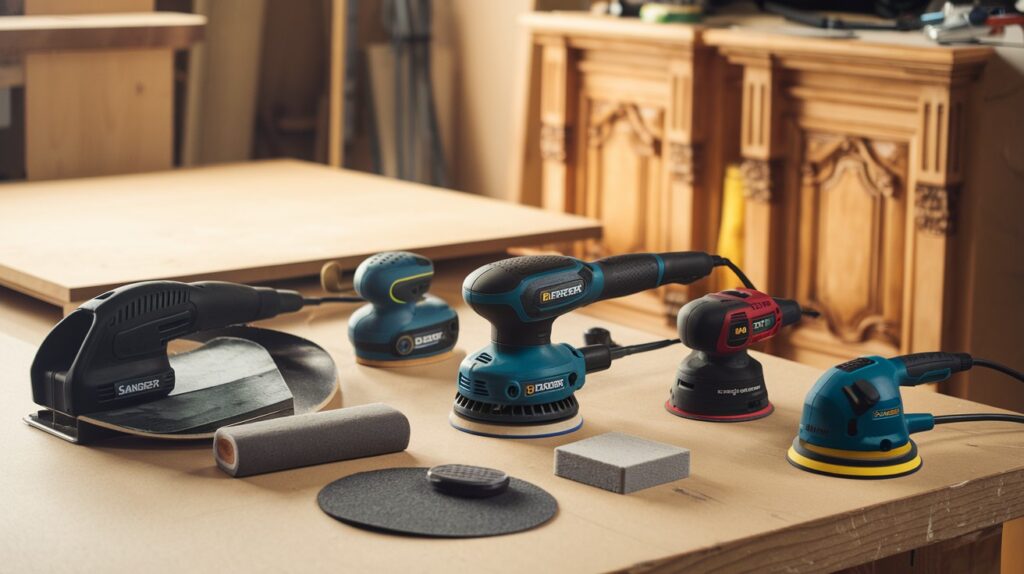
Different furniture projects require specific sander types to achieve optimal results efficiently.
Orbital sanders excel at general surface preparation, while detail sanders handle intricate curves and tight corners.
Belt sanders quickly remove material from large flat surfaces, and mouse sanders provide precision control for delicate work.
Understanding which tool matches your project needs saves time, reduces effort, and ensures superior outcomes for your furniture restoration efforts.
What to Consider Before Choosing a Sander
Choose the right sander by evaluating your furniture’s surface complexity, establishing a realistic budget, and matching tool capabilities to your specific project requirements.
Flat or Detailed Furniture?
The shape and complexity of your furniture pieces directly influence your sander selection.
Flat surfaces like tabletops, dresser sides, and cabinet doors offer flexibility in tool choice, allowing you to use orbital, belt, or sheet sanders effectively.
However, furniture with curves, grooves, or intricate details requires specialized tools such as detail sanders, mouse sanders, or sanding blocks that can access tight spaces and follow contoured surfaces without damaging delicate areas.
What’s Your Budget?
Sanders range from basic models under $50 to professional-grade tools costing several hundred dollars.
High-end sanders typically offer superior durability, better dust collection, and smoother operation, while budget-friendly options can handle occasional projects adequately.
Focus on value rather than price alone by considering how frequently you’ll use the tool and matching features to your actual needs.
Type of Project
Your project scope determines the power and precision requirements for your sander.
Light scuff sanding to prepare surfaces for fresh paint requires minimal material removal and gentle action.
Complete paint or stain removal demands more aggressive sanders with higher material removal rates.
Consider whether you need fine control for delicate work or robust power for heavy-duty stripping tasks.
Best Sanders for Furniture Projects
SurfPrep 3×4″ Sander – Best Overall
This versatile sander excels across various surface types and furniture shapes, making it an excellent choice for serious furniture restoration enthusiasts.
Its vacuum attachment capability ensures clean work environments by capturing dust during operation.
While the price point sits higher than basic models, the performance and versatility justify the investment for those prioritizing quality results over budget constraints.
Ryobi Detail Sander – Budget Pick
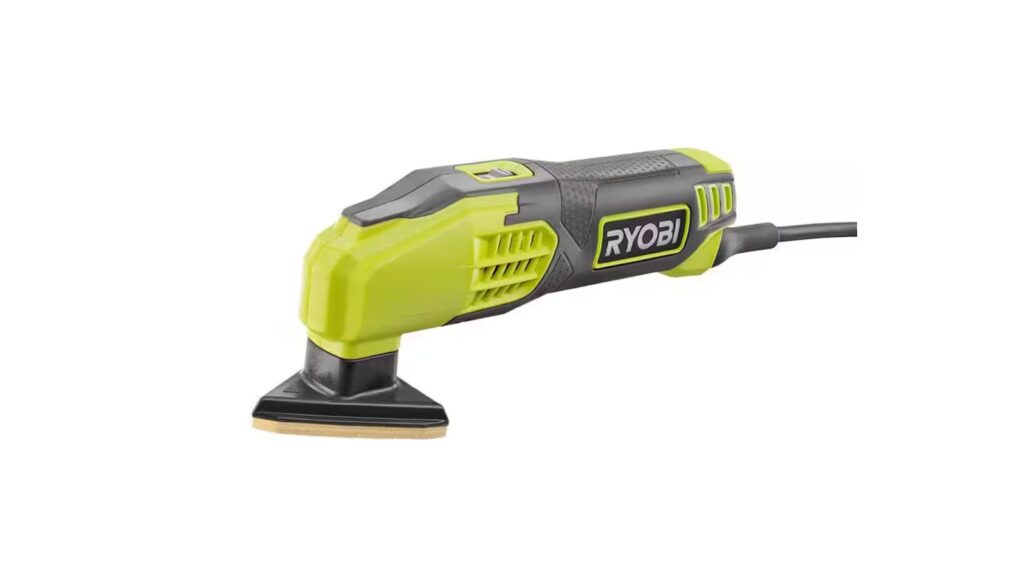
The Ryobi detail sander offers exceptional value for furniture refinishers working within tight budgets.
Its compact design and specialized attachments make it particularly effective for reaching corners, crevices, and small surface areas that larger sanders cannot access.
This affordable option provides reliable performance for occasional projects without requiring significant financial commitment.
Dewalt Orbital Sander – Best for Flat Surfaces
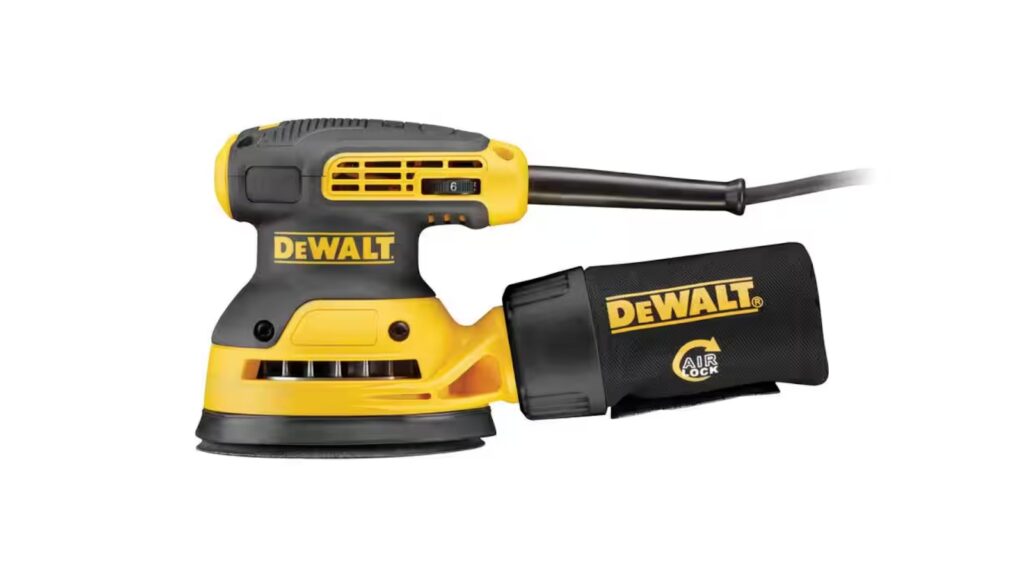
When tackling large flat surfaces requiring paint or stain removal, the Dewalt orbital sander delivers impressive power and efficiency.
Its balanced combination of performance and affordability makes it a popular choice among DIY enthusiasts and professionals alike.
The tool handles demanding material removal tasks while maintaining reasonable operating costs and replacement part availability.
Festool Rotex 125 – Heavy Duty Option
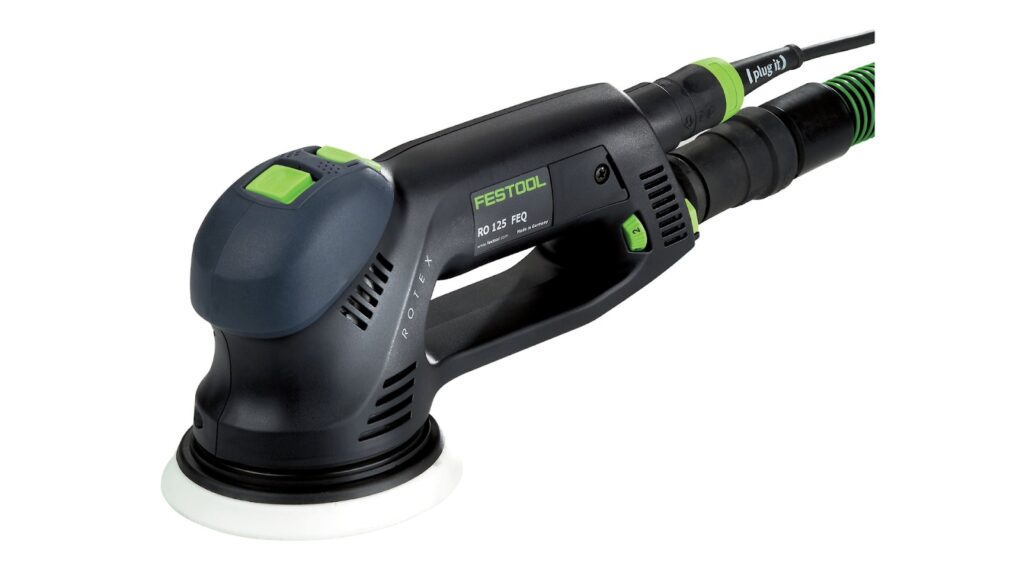
This robust sander handles extensive furniture projects with remarkable speed and consistency.
Its superior build quality and powerful motor make quick work of challenging restoration tasks, though the premium pricing reflects its professional-grade construction and performance capabilities.
Festool RTS 400 REQ – Runner-Up
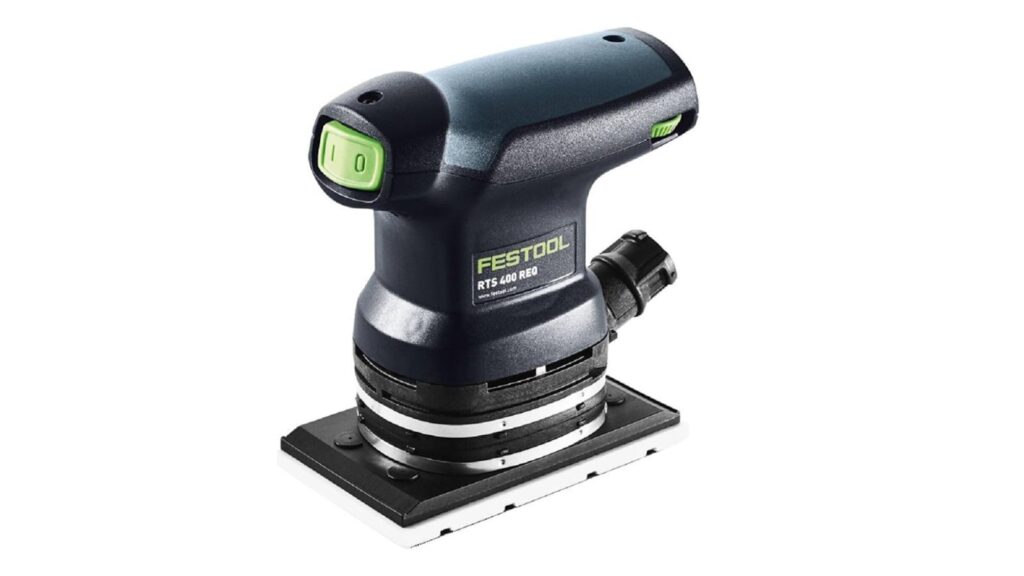
The rectangular sanding pad design provides excellent edge access and corner reach while maintaining smooth operation.
This model balances quality construction with reasonable working speed, offering reliable performance for furniture makers who need precision control and consistent results across various project types.
Choosing the Right Sandpaper Grit
Select appropriate sandpaper grits based on your project needs, from light scuff sanding with fine grits to complete finish removal using coarse-to-fine grit progressions.
For Scuff Sanding Before Painting
When preparing previously finished surfaces for new paint application, 220 grit sandpaper provides the ideal balance between surface preparation and material preservation.
This fine grit effectively removes the existing finish’s glossy sheen, creating the slight texture needed for proper paint adhesion without causing unnecessary damage to the underlying wood or creating deep scratches that show through the new finish.
For Removing Paint or Stain
Complete finish removal requires a systematic approach using progressively finer grits for optimal results.
Begin with 80 grit sandpaper to strip away the bulk of old paint or stain efficiently.
Progress to 120 grit to smooth out the coarse scratches from the initial sanding, then advance to 180 grit for further refinement.
Complete the process with 220 grit to achieve the smooth surface necessary for applying new finishes.
For furniture with veneer surfaces, exercise greater caution due to the thin wood layer.
Start with the less aggressive 100 grit to avoid sanding through the veneer, then progress through the standard sequence ending with 220 grit.
This modified approach protects the valuable veneer while still achieving proper surface preparation for refinishing.
Common Sanding Mistakes to Avoid
Selecting inappropriate sandpaper grit causes either surface damage from overly coarse options or inadequate preparation from grits that are too fine.
Match your grit choice to the specific task, whether light scuffing or complete finish removal, to achieve optimal results without compromising the wood.
Skipping proper surface preparation leads to clogged sandpaper and uneven finishes. Always clean furniture thoroughly, removing dust, grease, and old wax before sanding.
This simple step extends sandpaper life and ensures consistent, professional results across the entire surface.
Sanding against the wood grain creates visible scratches that show through stains and finishes.
Always follow the natural grain direction using consistent pressure and overlapping strokes to achieve a smooth, uniform texture that accepts new finishes beautifully.
Final Thoughts
Selecting the right sander requires careful consideration of your specific project requirements and available budget.
Match your tool choice to the furniture type you’re working with, whether flat surfaces needing powerful orbital sanders or detailed pieces requiring precision tools.
Investing in quality equipment appropriate for your needs ensures better results and long-term satisfaction.
Success depends heavily on using correct sandpaper grits and appropriate attachments for each task.
Start with coarser grits for heavy material removal, then progress through finer options for smooth finishing.
Always work with the wood grain direction rather than against it, maintaining consistent pressure and taking adequate time for each step.
Rushing through the sanding process compromises your final finish quality, while patience and proper technique produce professional-looking results that enhance your furniture’s beauty and value.
Frequently Asked Questions
What type of sander works best for furniture with curves and details?
Detail sanders and mouse sanders excel at reaching tight corners, grooves, and curved surfaces that larger tools cannot access. These compact tools offer precision control and specialized attachments for intricate furniture restoration work.
How much should I spend on a sander for occasional furniture projects?
Budget-friendly sanders in the $50-150 range handle occasional projects adequately without breaking the bank. Focus on reliable brands with good dust collection and variable speed control for better value and results.
What sandpaper grit should I start with for paint removal?
Begin with 80 grit sandpaper for efficient paint and stain removal from most furniture surfaces. Progress through 120, 180, and finish with 220 grit for smooth surfaces ready for new finishes.
Can I use the same sander for both flat surfaces and detailed areas?
While orbital sanders work well on flat surfaces, you’ll need a separate detail sander for corners and intricate areas. Having both tools ensures complete coverage and professional results across all furniture surfaces.
How do I prevent sanding marks from showing through my finish?
Always sand with the wood grain direction using consistent pressure and overlapping strokes. Progress through appropriate grit sequences and avoid skipping steps to achieve smooth surfaces that accept stains and paints evenly.