
Have you ever stood upon a ladder, staring at your ceiling air filter, also wondered if those little arrows actually matter? You’re not alone.
Now, HVAC filters are replaced amid uncertainty by most homeowners. Incorrect direction can compromise indoor air quality then cut your system’s efficiency by 30%.
In this guide, we will clear up confusion about air filter arrows. It also shows you in exact detail how an air filter is installed in the ceiling.
Find some foolproof tips for the avoidance of costly mistakes, and also how proper installation has a direct impact on HVAC performance, plus your home’s air quality.
Understanding Air Filters in the Ceiling
Your ceiling air filter acts as the lungs of your home’s HVAC system. Airborne particles such as dust, pollen, pet hair, and others are caught prior to circulating.
Consider that as a barrier that protects since it keeps your family breathing cleaner air, while it protects the HVAC equipment from that buildup, which harms it.
at
You should replace your ceiling air filter every 1-3 months. The conditions within your home will determine the exact time frame.
For homes that have pets or a family that is allergic, monthly changes may be needed. Hold up your filter to the light for inspection every month.
It must be replaced if seeing through it is not easy. A dirty filter blocks airflow in addition to your system working overtime, so this leads to higher energy bills.
How to Tell Which Way the Air Filter Goes in the Ceiling

Reading the Arrow on the Filter
Look for the small arrow printed on your filter’s frame. This arrow shows the direction air should flow through the filter and always points toward your HVAC unit. If you can’t find an arrow, check all four sides – manufacturers sometimes print it in different locations.
Understanding Air Flow Direction
Air flows from your living spaces back to your HVAC system through the ceiling filter. This means the arrow should point up toward the ceiling when you install the filter. Think of it simply: air travels from your room, through the filter, and into the ductwork above.
Ceiling vs. Wall Placement Differences
The key rule applies regardless of filter location: the arrow points toward your HVAC equipment. For ceiling filters, this means pointing up. For wall filters, the arrow points into the wall where your return duct connects. Installing it backward reduces effectiveness and can damage your system.
Step-by-Step Guide to Replacing an Air Filter in the Ceiling
Replacing the air filter is the trickiest part, lets understand that:
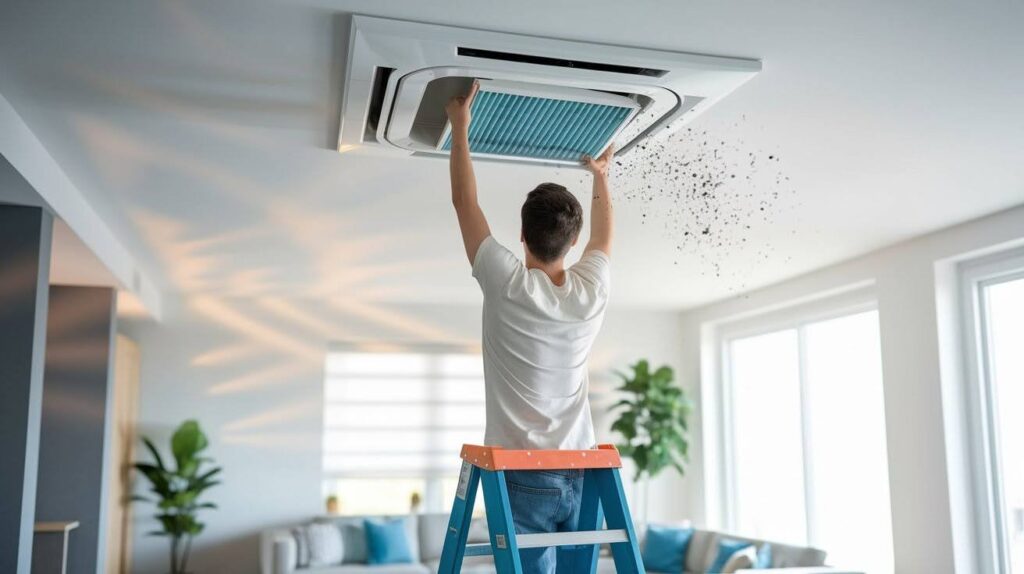
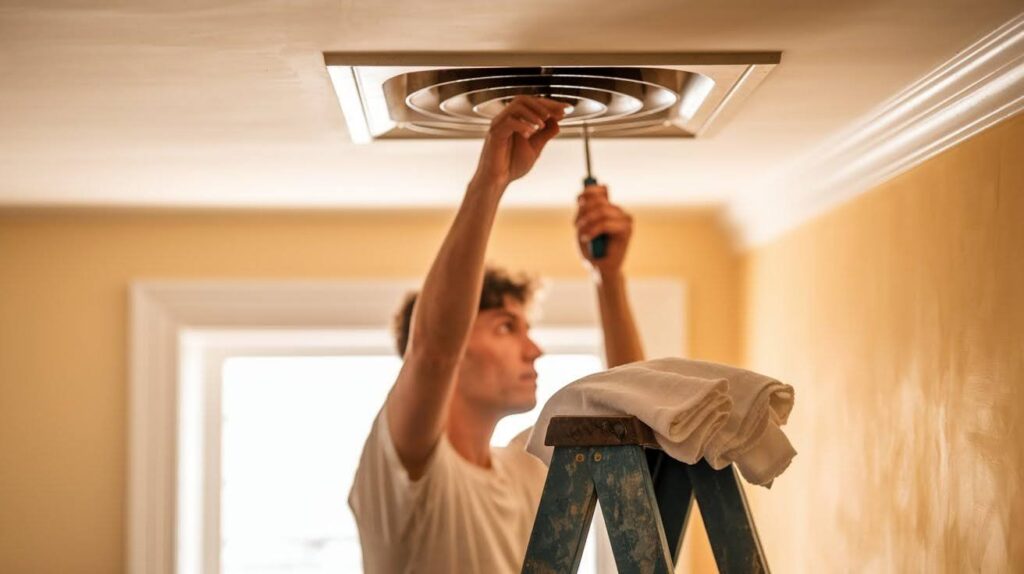
Step 1: Gather Your Tools (Ladder, Screwdriver, New Filter)
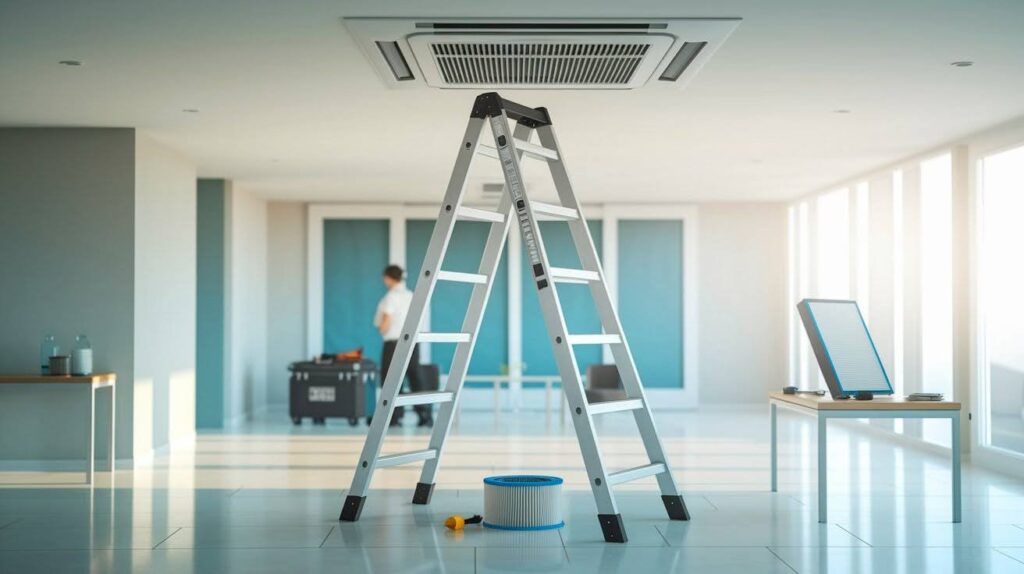
You’ll need a sturdy ladder, a screwdriver (usually Phillips head), and your new filter. Make sure your ladder is stable and positioned directly under the vent.
Have someone spot you if possible. Keep your tools within easy reach to avoid multiple trips up and down.
Step 2: Safely Open the Vent Grille
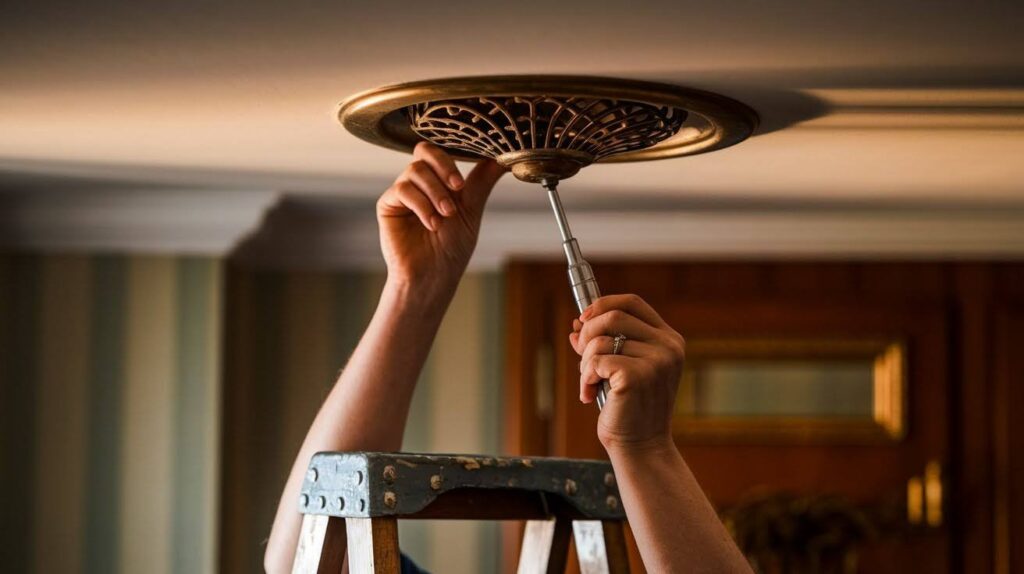
Turn off your HVAC system before starting. Locate the screws holding the grille in place – usually two to four screws around the edges.
Remove them carefully and set them aside where they won’t roll away. Gently lower the grille, supporting its weight to prevent it from falling.
Step 3: Remove the Old Filter and Note Its Size
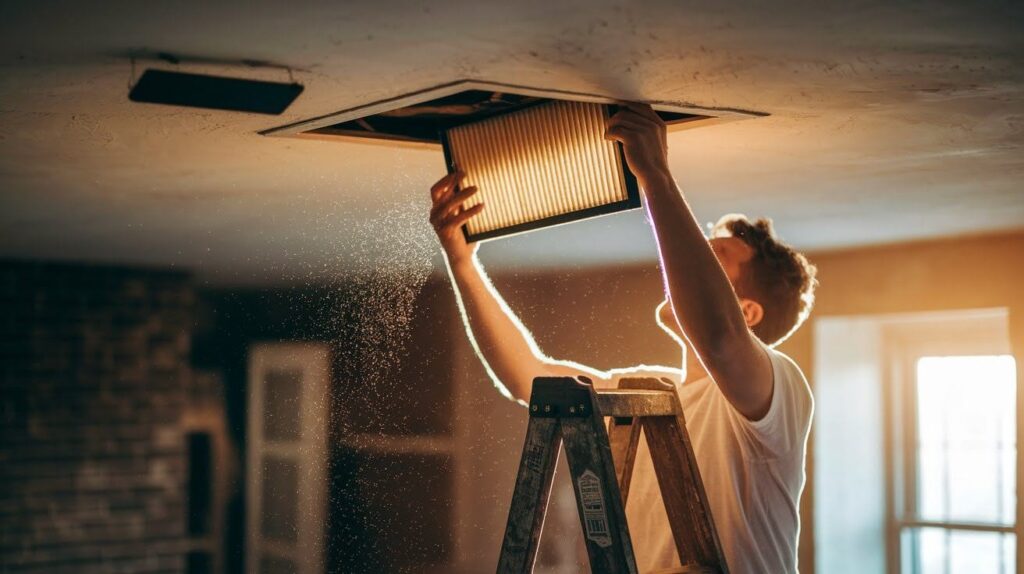
Pull out the old filter slowly to avoid shaking loose debris into your room. Check the size printed on the filter’s frame – common sizes include 16x25x1 or 20x20x1.
Take a photo of the old filter’s position if you’re unsure about the arrow direction.
Step 4: Position the New Filter Correctly (Arrow Toward the Unit/Ceiling)
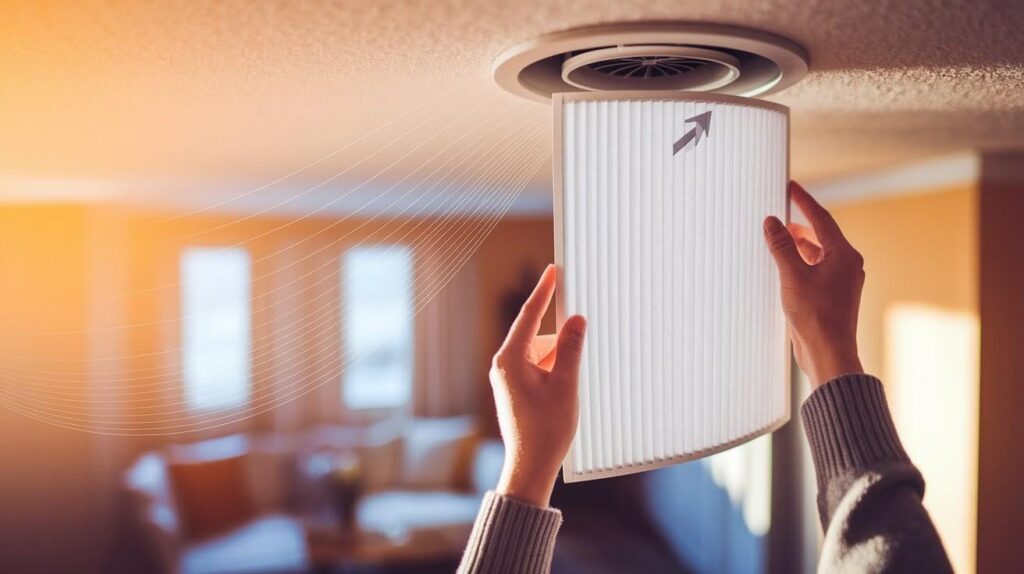
Hold your new filter with the arrow pointing up toward the ceiling opening. Slide it into the slot where the old filter was located.
Make sure it fits snugly without forcing it. The arrow should point into the ductwork, not down toward your room.
Step 5: Secure the Grille and Clean Around the Vent
Replace the grille by lining up the screw holes and tightening the screws. Don’t overtighten, as this can crack the grille.
Wipe down the vent cover with a damp cloth to remove any dust or fingerprints. Turn your HVAC system back on and listen for normal operation.
What If Your Filter Has No Arrow?
![]()
Some filters don’t have arrows, but you can still install them correctly. Look for the side with wire or metal support frames – this reinforced side should face down toward your room in ceiling installations.
The wire frame provides structural support against incoming airflow. You can also feel the difference between the two sides, as the upstream side typically feels rougher than the smooth downstream side.
When there’s no arrow, remember this simple rule: the reinforced or wire-frame side goes toward the air source.
For ceiling filters, this means the wire side faces down into your room, while the smooth side faces up into the ductwork.
If you’re still unsure, check your old filter’s position before removing it completely, as most filters follow the same orientation principles.
Tips for Keeping Your Ceiling Air Filters in Top Shape
- Mark Replacement Dates on the Filter: Write installation and replacement dates on the frame with a permanent marker.
- Order the Right Size in Bulk to Save Time: Buy a 6-month supply to avoid last-minute store trips.
- Vacuum or Wipe Down the Vent Grille After Installation: Clean the grille cover each time you change the filter.
- Check the Filter Monthly for Early Warning Signs: Hold your filter up to the light to see if it needs replacing.
- Turn Off HVAC Before Filter Changes: Always shut off your system before opening ceiling vents.
Troubleshooting Common Air Filter Problems
- Weak Airflow After Installing a New Filter: Check if the filter is installed backward. The arrow should point toward the ceiling.
- No Space for the Filter or Incorrect Size: Measure your filter slot carefully before buying. Don’t force an oversized filter into the space.
- When to Call a Professional: Contact a technician for strange noises, burning smells, or persistent airflow issues after correct installation.
Conclusion
Now you know exactly how to place an air filter inside the ceiling. The arrow always points to your HVAC system, remember, instead of down into your room. This simple rule will protect all of your equipment. It also ensures cleaner air for your family.
Changing filters regularly, every 1-3 months, will save money on energy bills. Also, such routine replacements forestall expensive fixes. The reward for your HVAC system will be years of reliable service.
Is better home air something you want? Breathe with more ease knowing that you have done it right, and then replace that old filter today.
Frequently Asked Questions
Should the arrow on my ceiling air filter point up or down?
The arrow should always point up toward the ceiling and into your HVAC system. This follows the natural airflow direction from your room into the return ductwork.
What happens if I install my ceiling filter backward?
Installing it backward reduces filtration efficiency and can strain your HVAC system. Your equipment will work harder, leading to higher energy bills and potential damage.
How do I know what size filter to buy for my ceiling vent?
Check the measurements printed on your current filter’s frame, usually something like 16x25x1. You can also measure the filter slot opening with a tape measure for accuracy.
Can I wash and reuse my ceiling air filter?
Most standard pleated filters are disposable and should not be washed as this damages the material. Only specialized washable filters can be cleaned and reused safely.
How often should I check my ceiling air filter?
Check your filter monthly by holding it up to light – if you can’t see through it clearly, replace it. Most filters need changing every 1-3 months, depending on your home’s conditions.