
Oh no! Spotted water pooling beneath your water heater? Nothing triggers home emergency panic quite like discovering your water heater’s drain valve is leaking.
You’re right to be concerned, this common but troublesome issue needs your immediate attention to prevent potential water damage and higher utility bills.
Don’t worry, though, you’ve come to the right place. Whether you’re facing a minor drip or a more significant leak, this guide will walk you through quick diagnostic steps and practical solutions.
From simple DIY fixes to knowing when to call a professional, we’ve got you covered with everything you need to stop that leak and restore peace of mind to your home.
Understanding Drain Valve Leak Causes
Common Causes of Drain Valve Leaks
Loose Valve Connections Vibrations from your water heater can gradually loosen drain valve connections. You might notice drops forming at the threading between the valve and tank. This happens more in homes with older plumbing systems or water heaters installed near washing machines.
Damaged or Worn Components The brass or plastic valve parts deteriorate over time. Small cracks develop in the housing or the internal washer hardens. Have you checked the valve seat for mineral scoring? This damage creates tiny pathways for water to escape.
Sediment Buildup Issues Minerals from hard water collect around the valve seal. These deposits prevent complete closure when you turn the handle. Your first sign might be a valve that feels “gritty” when operated or requires extra force to close.
Pressure-Related Problems Excessive water pressure pushes against valve seals. This constant force wears down components faster than normal. Do you hear water hammer sounds in your pipes? This could indicate pressure fluctuations affecting your drain valve.
Age and Deterioration Most drain valves last 5-8 years before materials begin to fail. Plastic valves often crack while metal valves corrode. The connection point between tank and valve becomes a natural weak spot in older systems.
Identifying the Source Accurately
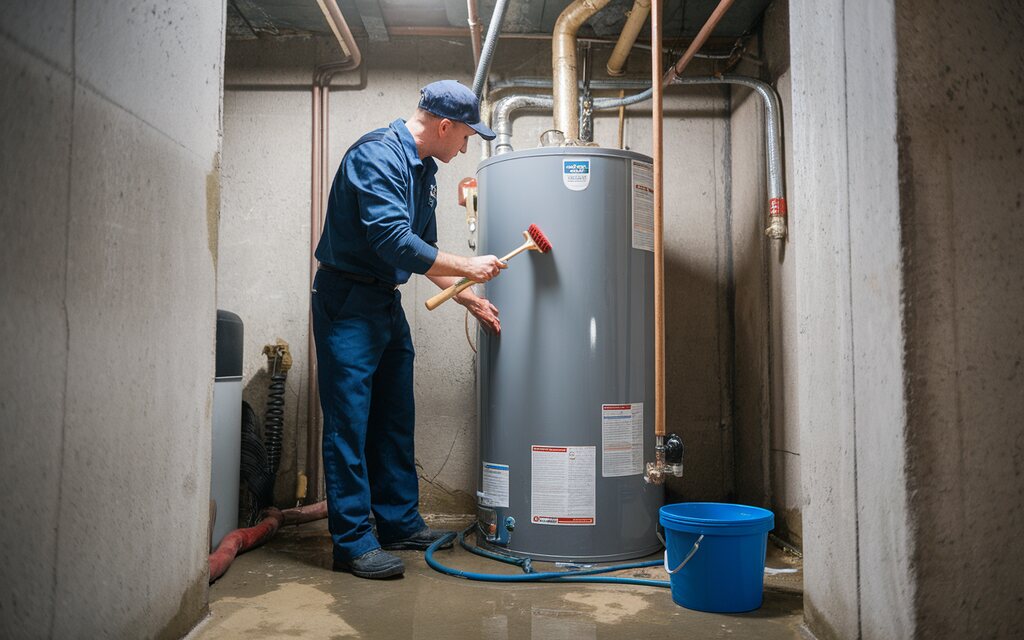
Location Guide for Drain Valves The drain valve sits near the bottom of your water heater tank. Water appearing directly beneath this valve differs from leaks at pipe connections above. Run your finger around the valve opening to feel for moisture when the valve is closed.
The Tissue Test Method Place a dry paper towel under the suspected leak area. Check after 30 minutes to see where moisture appears. This simple test reveals even slow leaks that might otherwise evaporate before forming visible drops.
Common Misdiagnoses Cold water pipes often create condensation that drips onto the floor. This moisture can be mistaken for valve leaks. Similarly, the temperature-pressure relief valve may discharge water through its own separate pipe, creating confusion about the leak source.
Signs Specific to Drain Valves Mineral stains forming in a distinctive pattern below the valve indicate a long-term issue. The valve handle might feel loose or turn too easily. Does water appear only after pressure changes in your plumbing system? This timing suggests a drain valve leak.
Safety First: Immediate Steps
Closing The Inlet Valve
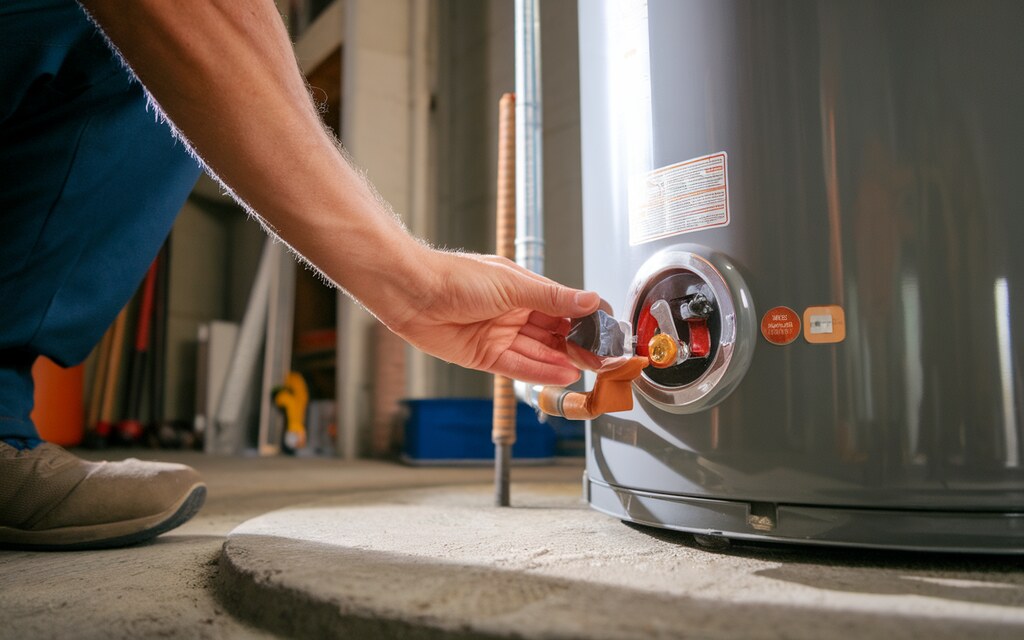
Look for the cold water inlet valve on top of your water heater. Turn this valve clockwise until it stops. You’ll feel resistance when it’s fully closed. This stops new water from entering the tank and continuing the leak.
Power Disconnection
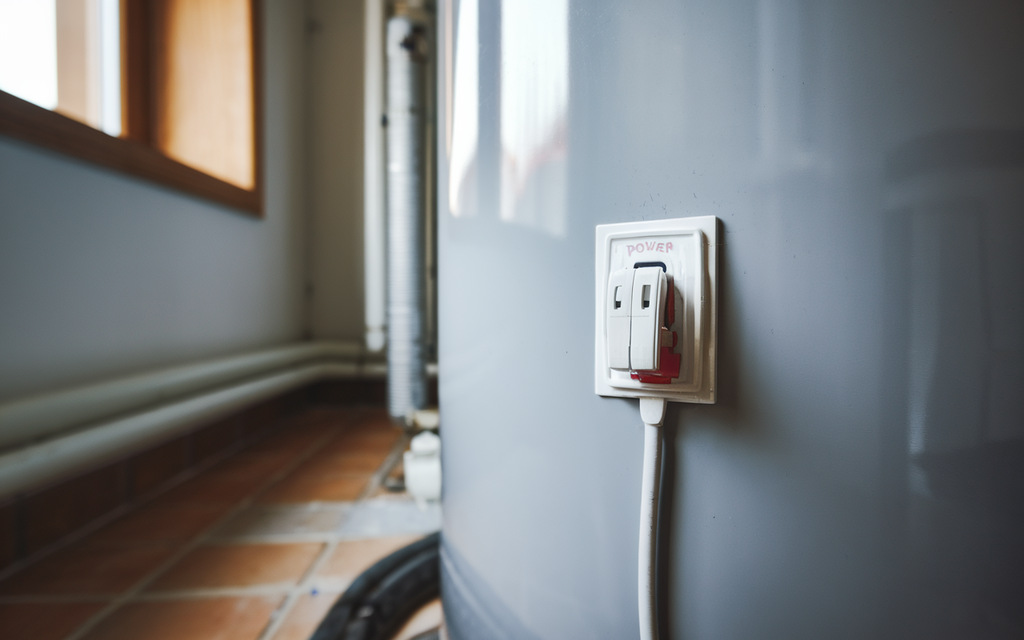
For electric heaters, flip the dedicated breaker in your electrical panel to OFF. Gas heaters require turning the gas control valve to the PILOT position. Never just unplug an electric water heater as this bypasses important safety circuits.
Shutdown Verification
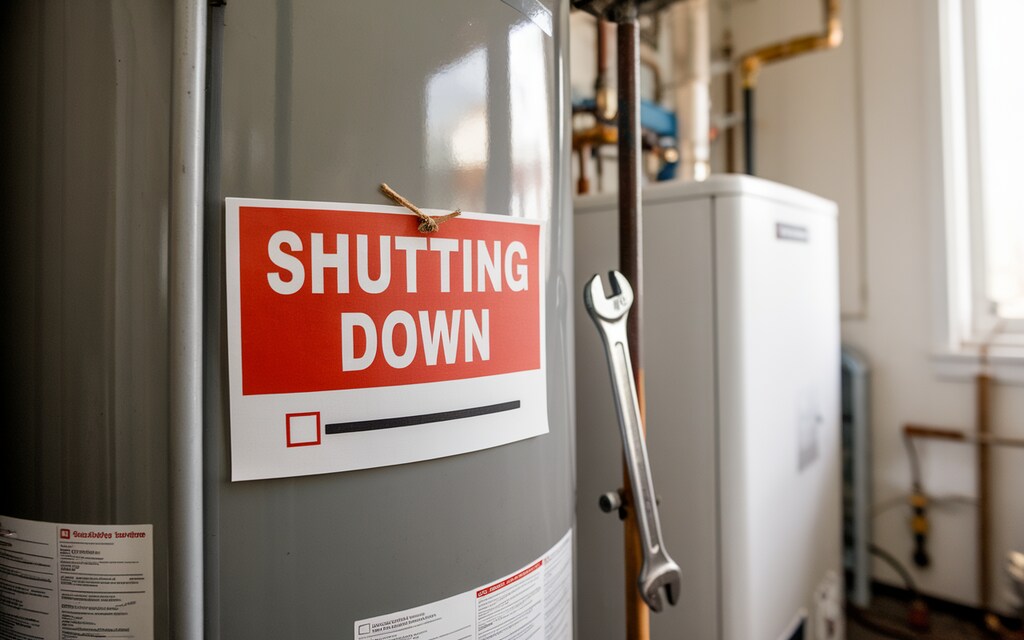
Check that water flow has stopped by opening a hot water faucet in your home. The flow should quickly reduce to drips and stop. Place your hand near electric heating elements or the gas burner area to confirm no heat production.
Containing Leakage
Place buckets or shallow containers directly under the leak point. Use towels as barriers to direct water flow away from walls and valuable items. Empty containers regularly to prevent overflow that could spread damage.
Proper Cleanup
Dry all wet areas with absorbent towels. Use fans to circulate air through the space. Remove wet materials like cardboard or fabrics that could develop mold. A dehumidifier helps extract moisture from surrounding walls and floors.
Insurance Documentation
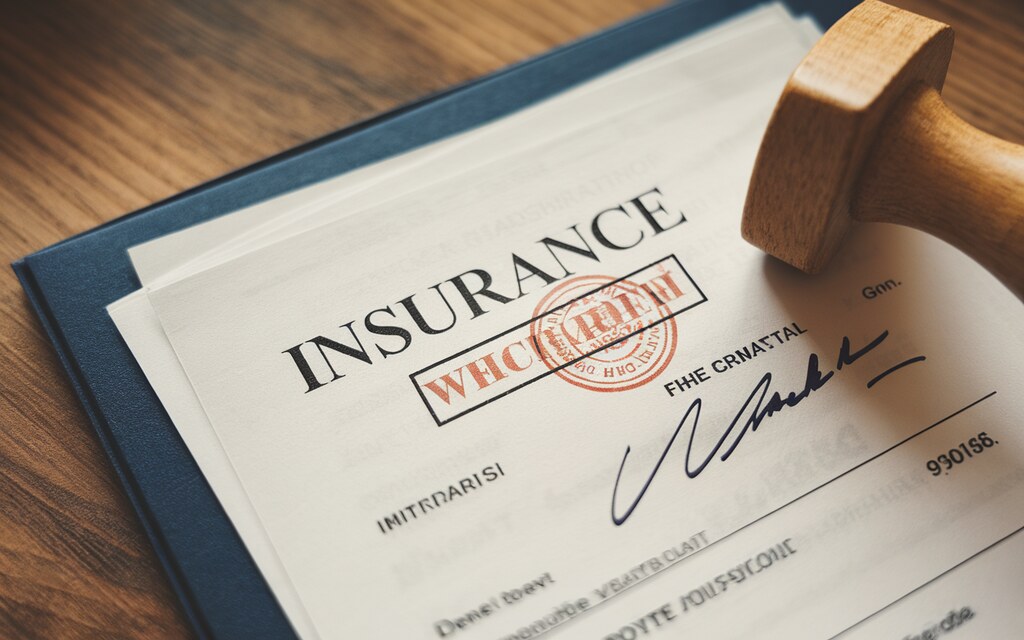
Take clear photos of the leak source, water heater model information, and all affected areas. Record the date and time you discovered the problem. Save receipts for cleanup supplies or emergency service calls for your insurance claim.
Quick Fix Solutions
Required Tools
Grab an adjustable wrench for standard valves or a pipe wrench for stubborn connections. Keep a backup wrench ready for leverage. Use plumber’s tape if you need to remove and reattach the valve. Your toolbox should also include a small flashlight to inspect threading damage.
Tightening Procedure
Support the water heater pipe with one hand while turning the valve clockwise with your wrench. Make quarter turns, then check for leaks. Stop immediately when resistance increases. Overtightening cracks plastic valves and strips metal threads.
Torgue Consideration
Finger-tight plus one-quarter turn works for most plastic valves. Metal valves tolerate slightly more force. The connection should feel snug but not strained. Does the valve body flex during tightening? This indicates you’ve reached maximum safe pressure.
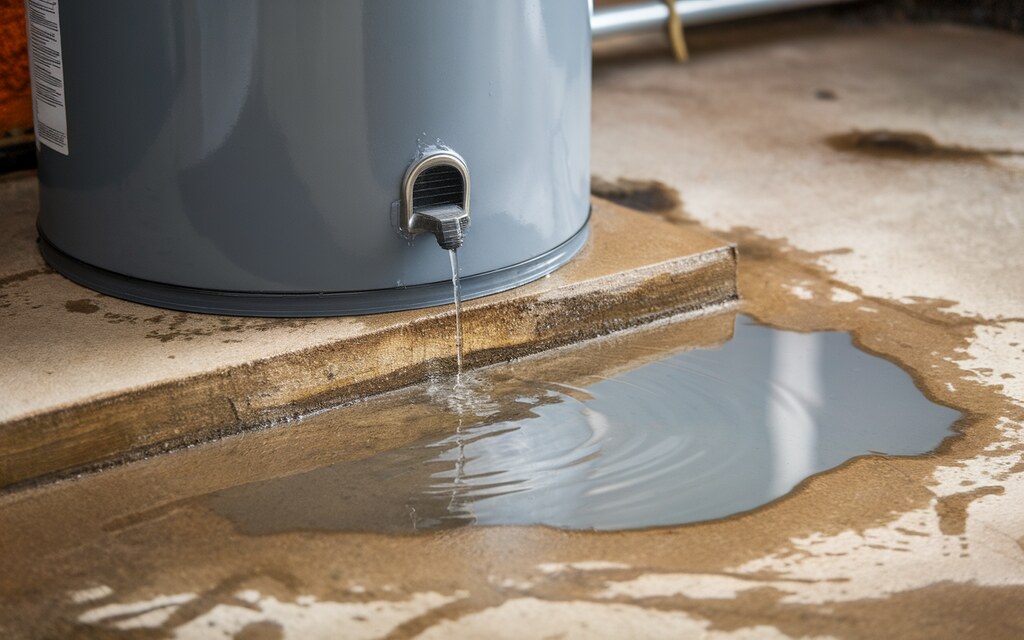
Partial Drain Procedure
Connect a garden hose to the drain valve. Place the other end in a bucket or drain. Open the valve slowly and let water flow for 30 seconds. This short burst pushes out loose debris without emptying your tank. Close the valve when water runs clearer.
Flusing Techines
Open and close the drain valve in quick pulses to dislodge stubborn sediment. Try three open-close cycles, each lasting five seconds. This creates pressure changes that break apart mineral deposits blocking the valve seal. The water often changes color as debris clears.
Testing After Cleaning
Close the drain valve firmly when finished. Wipe the valve area completely dry with a paper towel. Wait ten minutes, then check with a fresh dry towel for any moisture. Look for improved valve operation when turning the handle. Does it move more smoothly now?
Permanat Repair Options
Tools And Materials
Gather pipe wrench, adjustable wrench, thread tape, bucket, and towels. Purchase a new drain valve before starting. Add pipe joint compound to your supplies for metal connections. Keep a garden hose ready for draining the tank.
Replacement Instructions
Shut off water and power to your heater. Drain the tank completely. Use your pipe wrench to remove the old valve with counterclockwise turns. Apply thread tape to the new valve threads. Insert and tighten the new valve clockwise until snug.
Selecting Replacements
Standard plastic valves cost $8-15 and match original equipment. Brass ball valves cost $25-35 but resist sediment clogs. Full-port brass valves cost $40-60 and drain tanks faster. Would faster draining benefit your annual maintenance routine?
Cost Comparison
Basic plastic valves serve adequately for 3-5 years. Brass valves last 10+ years with less maintenance. The $20-50 premium for better valves saves replacement labor costs. Premium valves pay for themselves after one avoided service call.
Skill Assessment
Rate your comfort with pipe wrenches and water shutoffs. Have you completed other plumbing repairs successfully? DIY works well if you can drain the tank completely and access the valve without obstacles. Professional help makes sense for tight spaces.
Cost Comparision
DIY costs include only parts: $10-60 depending on valve quality. Professional installation ranges $150-300 based on location and accessibility. Emergency weekend service often doubles these rates. Do you have time to complete the project without rushing?
Risk Factors
DIY risks include water damage from incomplete draining. Thread damage creates expensive leaks if valves cross-thread. Older tanks sometimes develop leaks at new connection points. Consider professional help for water heaters over 8 years old.
Pressure Testing
Restore water to the tank slowly. Listen for hissing sounds near the new valve. Watch the valve connection for droplets while the tank fills. Run hot water at a faucet to release air from the system. Check pressure at multiple full/empty cycles.
Leak Verification
Dry the valve area completely after filling the tank. Place white tissue paper below the connection. Inspect after 1 hour for discoloration or dampness. Test the valve operation by opening it slightly then closing firmly.
Monitoring Period
Check the valve area morning and evening for three days. Temperature changes cause expansion that reveals slow leaks. Place a shallow pan under the valve during this period. Empty and dry the pan daily to detect even minor seepage.
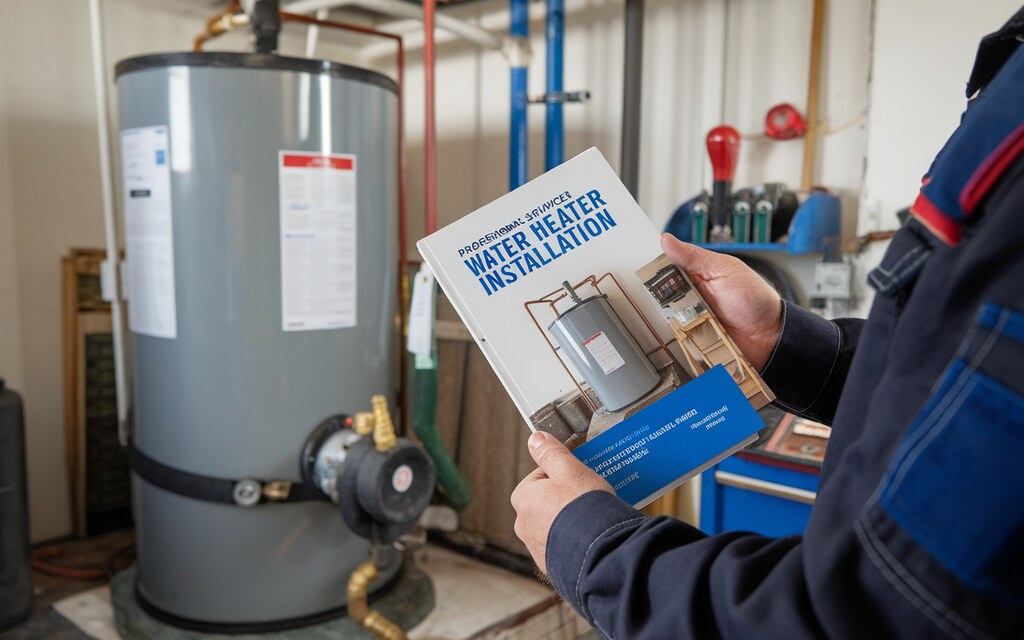
Professional Services Guide
Certification Criteria
Look for plumbers with specific water heater training certificates. North American Technician Excellence (NATE) certification indicates specialized knowledge. Ask about years of experience with your specific heater brand. Manufacturers often certify technicians on their equipment.
Questions Before Hiring
Ask how many drain valve replacements they perform monthly. Request photographs of recent similar jobs. Inquire about their warranty period on parts and labor. Do they bring replacement valves with them or need to order parts?
Diagonis Fees
Expect to pay $75-150 for initial inspection. Some companies waive this fee if you proceed with their repairs. Weekend or evening emergency visits often cost $125-200. Ask if the diagnosis charge includes basic repairs like valve tightening.
Repair Costs Breakdown
Drain valve replacement typically costs $150-300 including parts and labor. Expect to pay $50-100 for valve parts and $100-200 for labor. Additional costs apply if they must relocate pipes for access. Water cleanup services add $75-150 if damage occurred.
Replacement Estimates
Standard 50-gallon tank replacements cost $850-1,200 installed. Premium models with extended warranties range $1,200-1,500. Tankless systems cost $2,000-3,000 but last twice as long. Your location affects labor rates by up to 30% based on local cost of living.
Conclusion
Don’t underestimate a small drip from your water heater drain valve. These seemingly minor leaks signal bigger problems ahead. Fix them promptly to save money, conserve water, and extend your heater’s life. Remember that early intervention prevents emergency replacements and protects your home from water damage. You now have the knowledge to assess the severity, implement fixes, and make informed decisions about professional help. Your quick action today means reliable hot water tomorrow.
FAQs
Can I use my water heater if the drain valve is leaking?
While you can temporarily use a water heater with a minor valve leak, it’s not recommended for more than a few days. Place a container beneath to catch drips and plan to fix it promptly. Continued leaking wastes energy, increases utility bills, and risks floor damage.
What factors can worsen a drain valve leak?
Temperature fluctuations cause materials to expand and contract, potentially worsening leaks. High water pressure puts additional stress on valve seals, and sediment buildup prevents complete valve closure. Regular maintenance helps prevent these issues.
Is it normal to see dripping after flushing my water heater?
A small amount of dripping for 5-10 minutes after flushing is normal as residual water exits the valve. If dripping continues beyond 30 minutes, this indicates valve damage requiring repair or replacement.
Does homeowner’s insurance cover water damage from a leaking valve?
Most homeowner policies cover sudden water damage but typically exclude damage from gradual leaks that show neglect. Document when you discovered the leak, take photos before repairs, and save all receipts. Remember that your deductible applies, so minor damage often falls below coverage thresholds.
How often should I check my water heater’s drain valve?
Inspect your drain valve during regular water heater maintenance, ideally every 6-12 months. Look for mineral buildup, corrosion, or moisture around the valve. Regular inspection helps catch minor issues before they become major problems.
Can I replace the drain valve myself if I have basic DIY skills?
Yes, drain valve replacement is manageable for those with basic plumbing experience. The key requirements are proper tools (pipe wrench, thread tape), the ability to fully drain the tank, and careful technique to avoid cross-threading the new valve. Consider professional help for older tanks (8+ years) where connections may be more difficult to work with.