
I remember the first time I tried spray painting an old chair. I was nervous, but the results amazed me.
If you’re looking to breathe new life into your furniture or tackle a home project, spray painting is your friend.
It gives you that smooth, professional finish without spending hours with a brush. You can transform almost anything quickly.
I created this guide specifically for beginners like you who want to try spray painting but aren’t sure where to start.
Let me share what I’ve learned so your first project goes smoothly.
Why Spray Painting Is Perfect for Beginners
Spray painting is one of the easiest ways to refresh old items or finish a DIY project quickly. You don’t need a bunch of tools or a lot of effort to get great results.
It gives you a smooth finish that’s hard to achieve with brushes. I love using spray paint for furniture makeovers, home décor, and small projects around the house.
It dries fast, covers evenly, and creates way less mess than traditional painting methods. Plus, you can get a professional-looking result even if you’ve never painted before.
It’s honestly the perfect starting point for building your DIY skills.
What You Need Before You Start
Get the right tools and paint before you begin. Having everything ready saves time and helps you avoid mistakes.
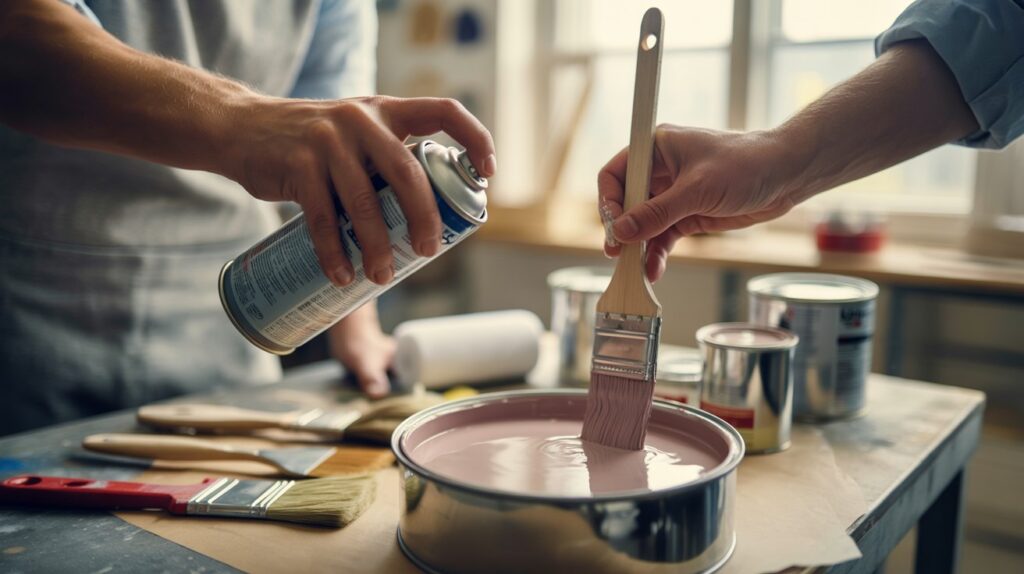
Essential Tools & Supplies
Getting your supplies ready makes the whole process easier. Here’s what you need:
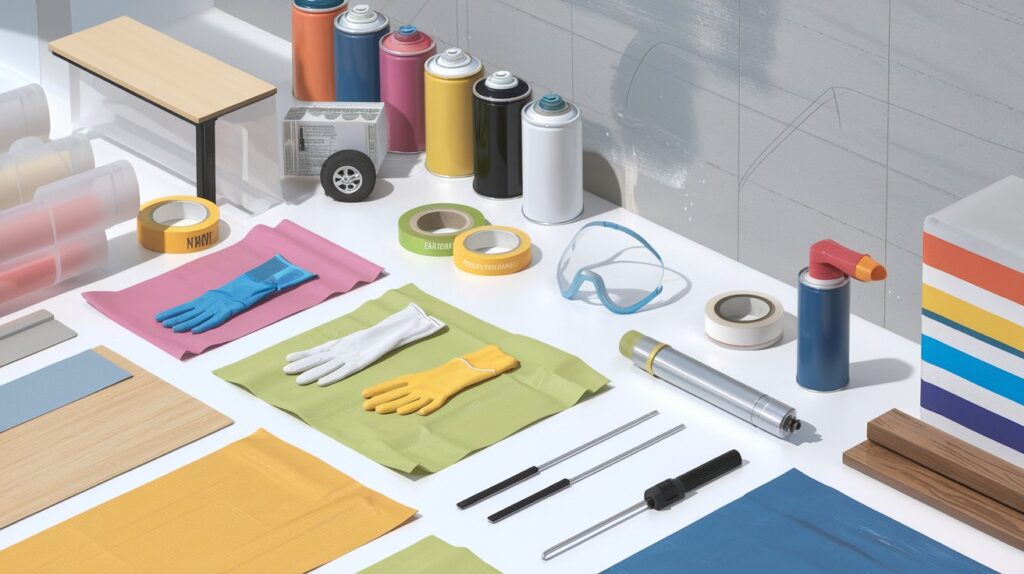
First, grab your spray paint or a sprayer machine. You’ll also need primer to help the paint stick better. Drop cloths and masking tape protect the areas you don’t want painted. And please don’t skip safety gear. A mask, goggles, and gloves keep you safe from fumes and overspray.
Choosing the Right Spray Paint
Not all spray paints work the same way. Oil-based paints are durable and great for outdoor items. Acrylic dries fast and works well indoors. Enamel gives you a hard, glossy finish that lasts.
Your surface matters too. Metal needs a paint that prevents rust. Wood absorbs paint differently than plastic. Walls require specific formulas. Check the can label to make sure it matches what you’re painting. This simple step saves you from redoing the job later.
Prep Work: The Key to a Smooth Finish
Most painting problems happen because people skip the prep work. Spend time on these steps and your paint will look professional.
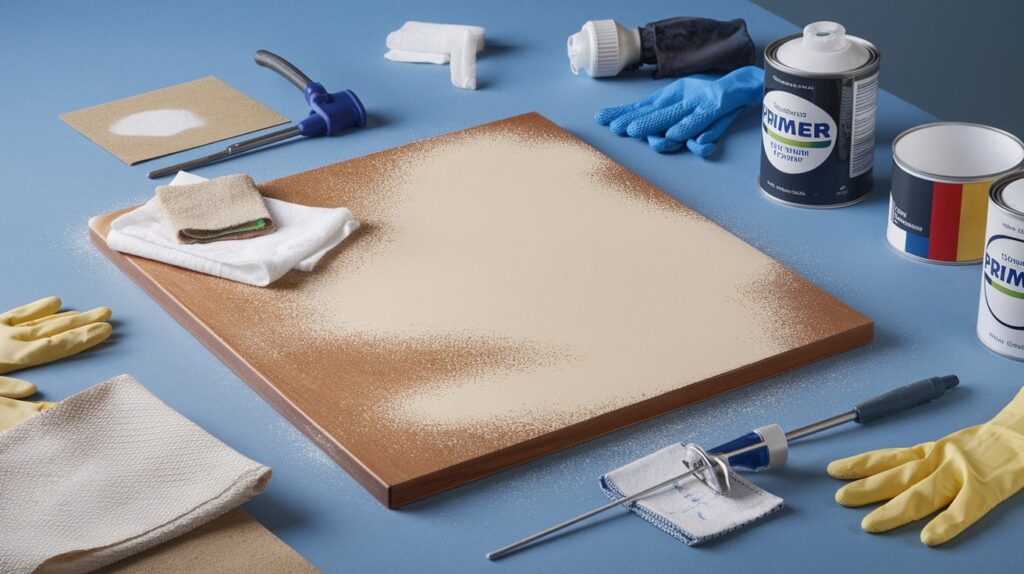
Clean the Surface Thoroughly
Start with a clean surface. Wipe away all dust, grease, and dirt. I use a damp cloth with mild soap for most jobs. Let everything dry completely before moving forward.
Why does this matter? Paint can’t stick to dirty surfaces. Even invisible oils from your hands can cause problems. If the paint doesn’t bond properly, it will peel or chip later. A quick cleaning now saves you from repainting later.
Sanding for Better Paint Grip
Light sanding makes a huge difference. It creates tiny grooves that help paint hold on better. For furniture and metal, use 220-grit sandpaper. Walls do fine with 150-grit. You’re not trying to strip the surface. Just rough it up a little.
Wipe away the dust after sanding. A tack cloth works great for this.
Prime When Needed
Primer isn’t always necessary, but it helps in many situations. Use it on bare wood, metal, or when you’re making a big color change. Going from dark to light? Primer stops the old color from showing through.
The benefits are worth it. You get better coverage with fewer coats. Your final color looks true and even. Plus, primer adds a protective layer that makes your paint job last longer.
Foundational Spray Painting Tips for Beginners
These core techniques separate good results from amateur mistakes. Master these basics and your projects will look professionally done every time.
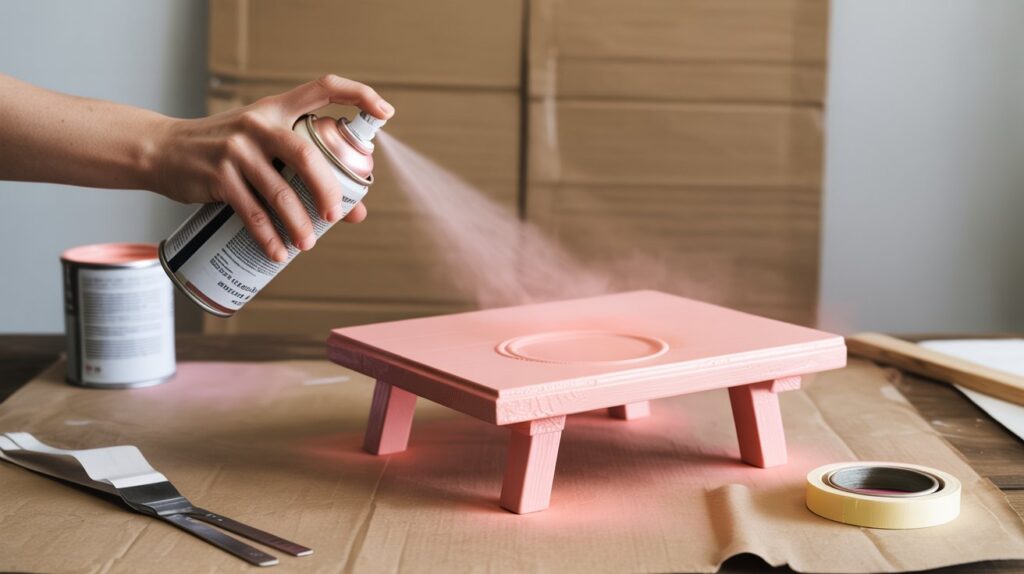
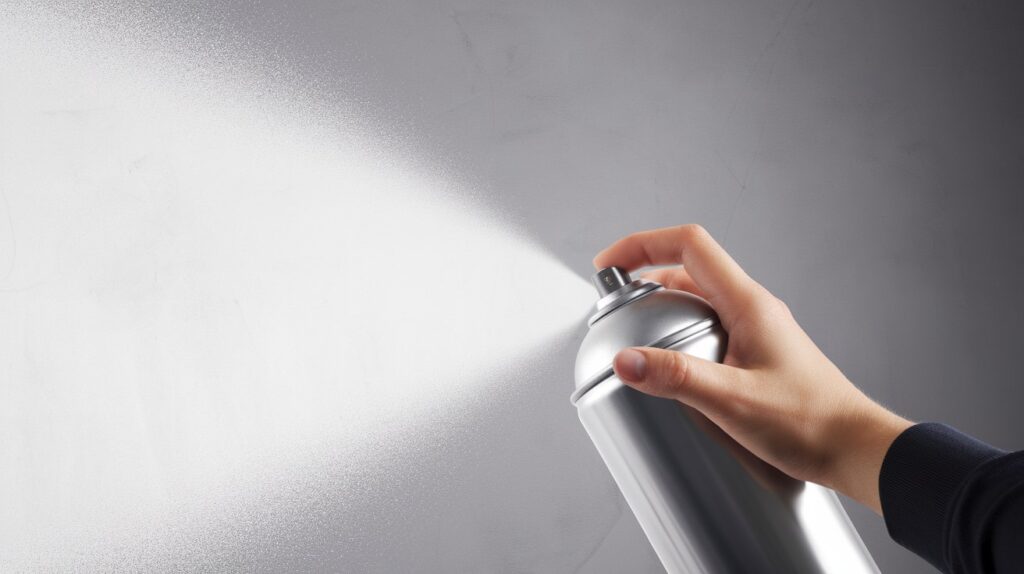
Tip #1: Maintain the Right Distance (Around 25-30 cm)
Hold your spray can about 25 to 30 centimeters from the surface. This distance prevents drips and patchy spots.
Too close and the paint pools. Too far and it dries before hitting the surface. Keep this distance consistent as you spray for the smoothest finish possible.
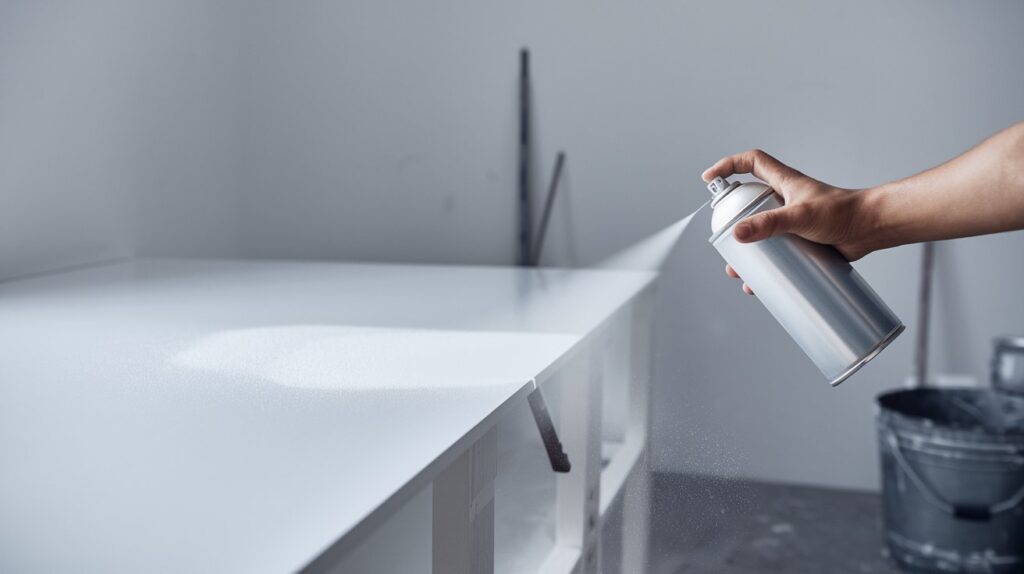
Tip #2: Keep the Sprayer or Can Perpendicular
Point the nozzle straight at your surface, not at an angle. This gives you even coverage across the entire spray pattern.
Angled spraying creates streaks and shadows that look unprofessional. Think of it like taking a straight-on photo versus a tilted one. Straight always looks better.
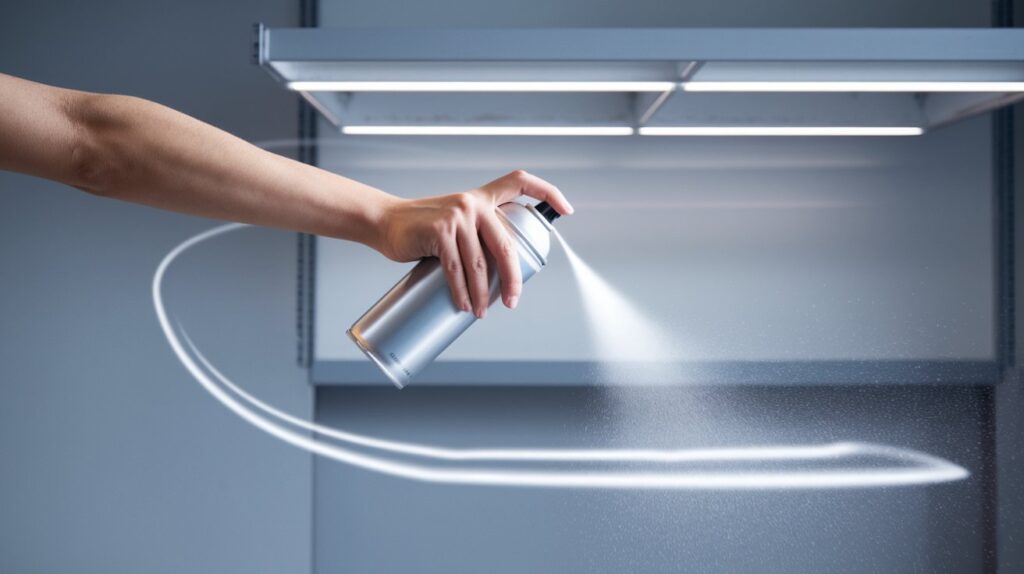
Tip #3: Move First, Then Spray
 Use Light, Even Coats
Start moving your arm before you press the trigger. Keep moving after you release it. This technique prevents heavy spots at the start and end of each pass.
If you spray while standing still, paint builds up in one spot and creates drips. Motion first, spray second.
Tip #4: Use Light, Even Coats

Thin layers always beat one thick coat. Multiple light passes prevent runs and dry faster. I usually wait 15 to 20 minutes between coats.
Yes, it takes longer, but the final result looks so much better. Patience here really pays off with a professional-looking finish.
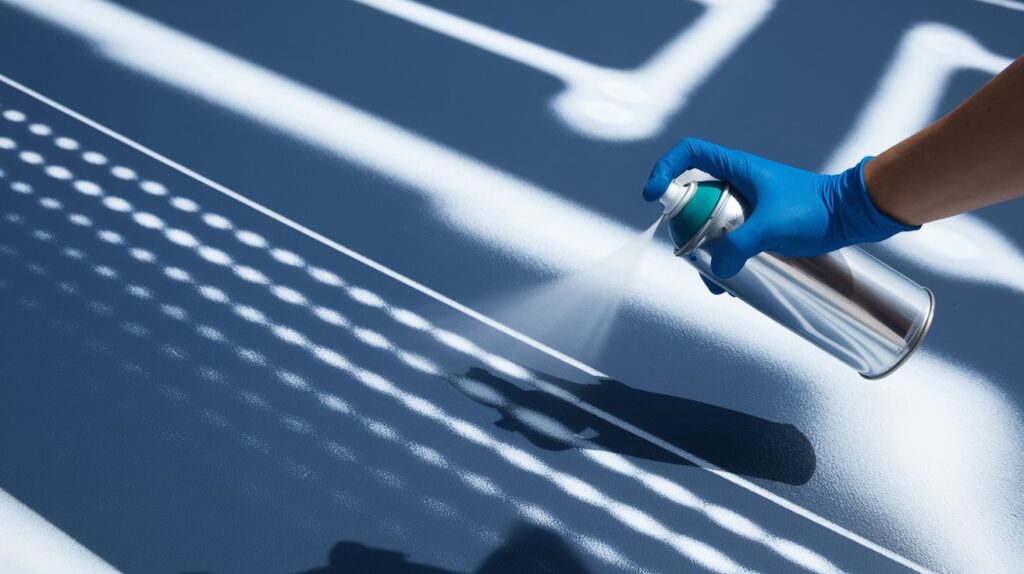
Tip #5: Overlap Each Pass by 50%

Each stroke should cover half of your previous pass. This creates uniform color without stripes or light spots.
Think of mowing a lawn where you overlap slightly with each row. Same principle here. Consistent overlapping equals consistent color.
Tip #6: Spray at a Controlled Speed
Find your rhythm. Moving too fast leaves thin, patchy coverage. Going too slow causes drips and runs.
Aim to cover about one meter in three seconds. This pace gives the paint time to land evenly without pooling. Practice on cardboard until the speed feels natural.
Tip #7: Work in a Well-Ventilated Area
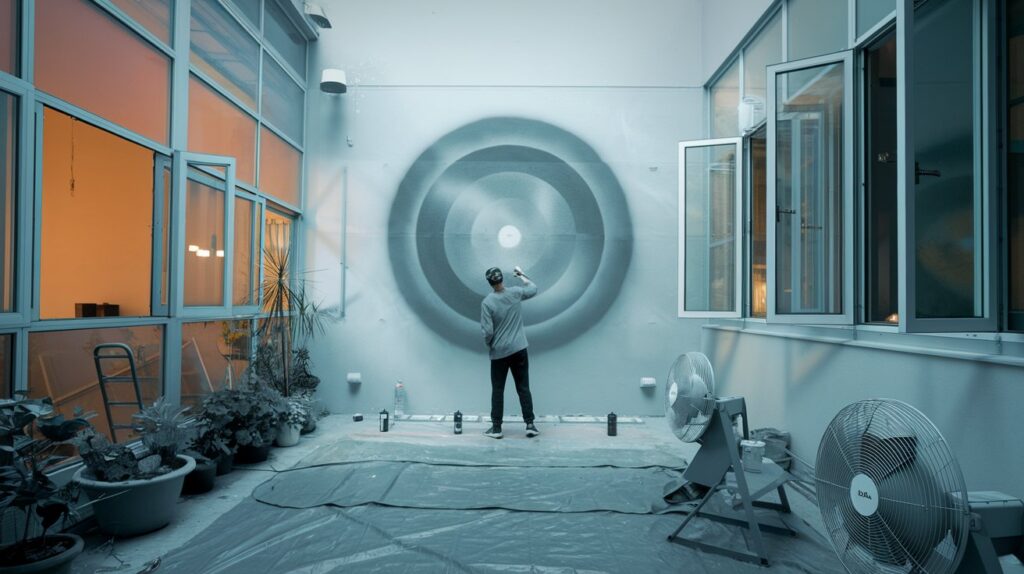
Spray outdoors when possible. If you’re inside, open windows and use fans. Good airflow protects your lungs from fumes and helps paint dry properly.
I learned this the hard way with a headache that lasted hours. Fresh air isn’t optional, it’s essential for safety and quality.
Tip #8: Adjust Pressure Carefully (If Using a Sprayer)

Start with low pressure and gradually increase it. High pressure wastes paint and creates overspray. Test your pattern on cardboard first.
Adjust until you get a nice, even fan shape. The right pressure gives you control and saves paint. Take a minute to dial this in properly.
Tip #9: Shake the Can or Mix Paint Properly
Shake aerosol cans for at least one minute. You’ll hear the ball rattling inside. This mixes the pigment with the solvent for consistent color.
With a sprayer, stir your paint thoroughly. Unmixed paint comes out streaky and uneven. This simple step makes a noticeable difference.
Technique Tips for Different Surfaces
Different materials need different approaches. Here’s how to handle the most common surfaces you’ll work with.
- Wood: Sand first to smooth the grain. Apply a wood primer to stop the grain from showing through your paint. This prevents that blotchy look where darker lines appear. Sand lightly between coats for the best finish.
- Metal: Remove rust before anything else. Use a wire brush or sandpaper to get it clean. Metal primer helps paint stick and prevents future rust. Make sure the surface is completely dry before you start spraying.
- Plastic: Regular paint won’t stick well to plastic. You need a specialty plastic primer designed for this surface. Pay attention to temperature too. Plastic expands and contracts, so let it cure fully for 24 to 48 hours before using the item.
- Walls and trim: Spray corners first, then move toward the center. Use masking tape and plastic sheeting to protect floors, ceilings, and adjacent walls. Take your time with the tape. Crisp edges make the whole room look professional.
Conclusion
You now have the foundational spray painting tips that took me months to figure out on my own.
Remember the basics: keep your distance consistent, use thin coats, and always prep your surface properly.
These simple techniques make all the difference between an amateur job and professional results.
Start with something small like a picture frame or an old stool. Practice builds confidence. Don’t be afraid to make mistakes.
That’s how you learn. Your next DIY project is waiting, and you’re ready to tackle it. Grab that spray can and get started today.
Frequently Asked Questions
How far should I hold the spray can from the surface?
Keep the can about 25 to 30 centimeters away from what you’re painting. This distance prevents drips and gives you smooth, even coverage.
Do I really need to use primer before spray painting?
Primer isn’t always required, but it helps on bare wood, metal, and dark surfaces. It makes your paint stick better and last longer.
How long should I wait between coats?
Wait 15 to 20 minutes between light coats. Check your spray can label since drying times vary by brand and paint type.
Can I spray paint indoors?
You can, but only in a well-ventilated space with open windows and fans running. Outdoor painting is always safer and easier for beginners.
Why is my spray paint dripping or running?
You’re either holding the can too close, moving too slowly, or applying coats that are too thick. Use light passes and keep moving at a steady pace.