
Getting shower valve height right is crucial for comfort and safety. I’ve installed hundreds of showers, and poor valve placement always causes problems.
Too high? People struggle to reach. Too low? Everyone bends awkwardly.
This guide solves that problem. You’ll learn the standard measurements, how to customize for different users, and mistakes to avoid. I’m sharing practical tips from my years of professional installations.
We’ll cover tub combos, accessibility needs, and building codes. Trust me, getting this right the first time saves you from costly fixes later.
Let’s make your installation perfect.
What Is the Standard Shower Valve Height?
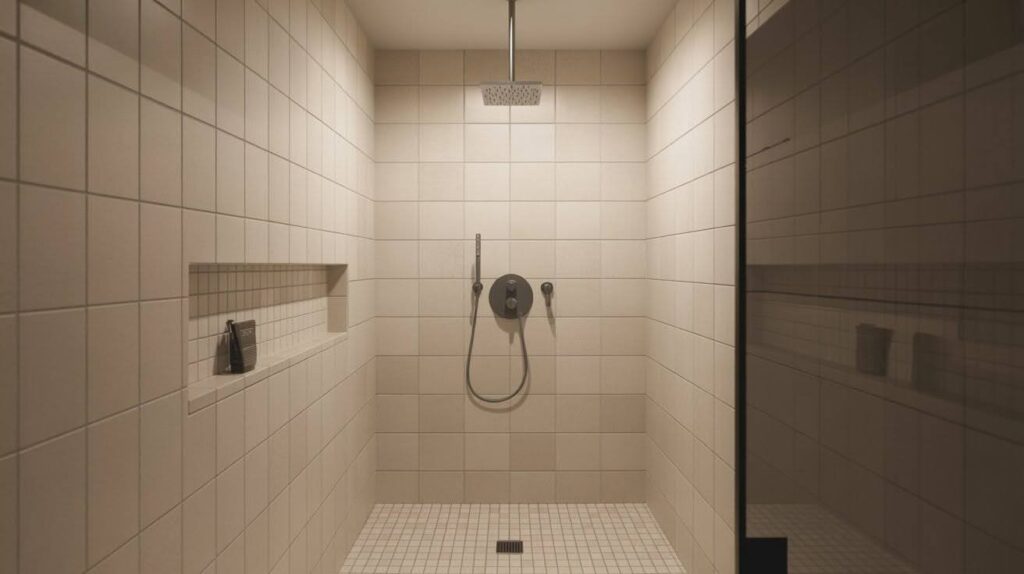
Understanding standard measurements helps you start every installation right. The sweet spot for most shower valves sits 38 to 48 inches from the finished floor. I typically aim for 42 to 46 inches in standard showers. It lets users reach the controls easily without bending or stretching.
Tub and shower combinations need different thinking. Install the valve around 28 to 30 inches above the tub floor so users can reach controls when standing or sitting in the tub. Most local codes follow general plumbing standards.
Check your area’s specific requirements before starting work. The International Plumbing Code provides baseline guidelines. Always verify local codes first.
Why Shower Valve Height Matters
Proper valve placement affects everyone who uses the bathroom. Getting it wrong creates frustration that lasts for years, and changing the height after installation requires extensive wall demolition and replumbing work.
Ensuring Accessibility for All Users
Different people have different needs. Children struggle with high valves. Elderly users need easy reach. People with mobility challenges require specific heights. Universal design principles suggest 38 to 48 inches works for most. Consider who will use the shower daily.
ADA guidelines recommend controls placed between 38 and 48 inches for accessible showers. This range accommodates wheelchair users and people of varying heights. Think about household members who may age in place or future buyers with different abilities.
Enhancing Safety and Preventing Scalding
Safety starts with smart placement. Users should adjust temperature before stepping under the spray. Valves placed too high force people to reach dangerously while water runs. Those set too low make quick adjustments harder during emergencies.
The right height lets users control water safely. Modern thermostatic valves provide anti-scald protection, but only if positioned correctly.
Users need comfortable access to temperature controls without reaching awkwardly or losing balance on wet surfaces.
Improving User Comfort and Convenience
Comfort matters every single day. Nobody wants to stretch uncomfortably in the morning. Easy access to controls makes showers more pleasant. The valve should feel natural to reach. This small detail improves daily life significantly.
Proper ergonomic placement reduces shoulder strain and awkward movements. Consider that users operate controls multiple times during each shower.
The valve should sit at a comfortable height for adjusting water flow and temperature without effort.
Achieving a Clean and Functional Bathroom Design
Good installations look intentional. Proper valve height creates visual balance. It aligns nicely with other fixtures. The bathroom feels professionally designed. Function and appearance work together perfectly.
The valve trim should align visually with tile patterns, niches, and accent bands. Professional installers plan valve placement to coordinate with horizontal grout lines.
This attention to detail separates quality work from rushed installations.
Factors Installers Must Consider
Every bathroom presents unique challenges. Smart installers think through these variables before measuring. Take time during the planning phase to assess all factors that influence valve placement.
User Height and Household Differences:
Who lives in the home? A household of tall adults needs different placement than one with children. Ask about the primary users. If possible, have them stand where the shower will be. This helps you visualize the best height.
Custom installations should serve the actual people using them. I recommend asking clients about their height and any physical limitations.
Document these requirements before roughing in plumbing. Some families prefer placement that splits the difference between the tallest and shortest regular users.
Type of Shower (Walk-In, Enclosure, Tub Combo):
Walk-in showers allow standard heights between 42 and 46 inches. Enclosed showers might have space constraints from fixed glass panels or built-in benches. Tub combos definitely need lower placement at 28 to 30 inches. Consider how users will enter and exit.
The valve should never be awkward to reach from the entry point. Curbless showers may benefit from slightly higher placement since users don’t step over a threshold.
Corner showers need valves positioned for easy access without hitting glass enclosures.
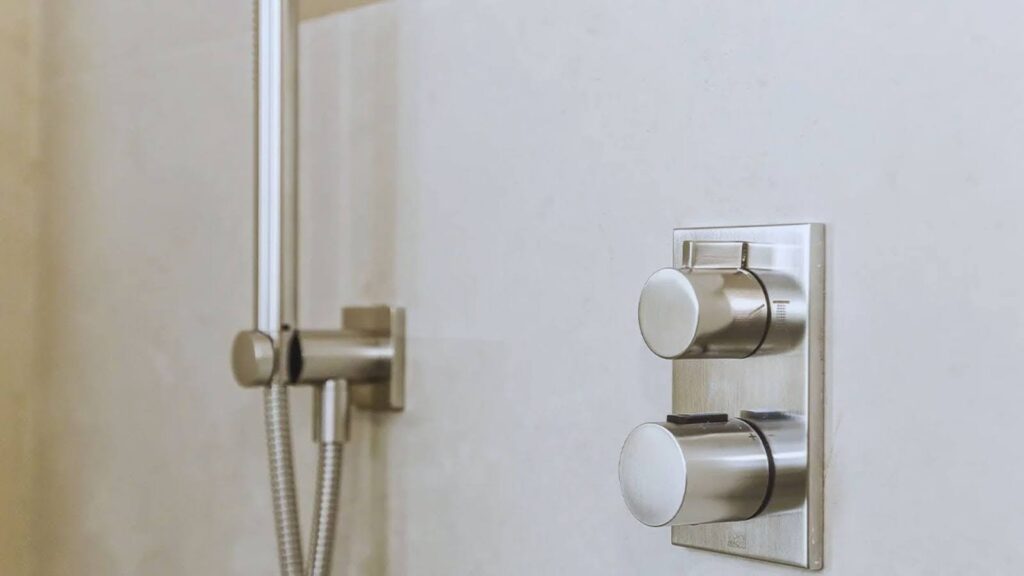
Valve Type (Concealed, Thermostatic, Diverter Included):
Different valves have different requirements. Concealed valves sit flush with the wall and require precise depth calculations. Thermostatic valves might need specific depths and clearances for internal mechanisms.
Diverter valves control multiple outlets and may have larger bodies. Each type affects installation height and rough-in measurements. Know your valve before measuring. Pressure-balancing valves need different rough-in specs than thermostatic models.
Check manufacturer specifications for minimum and maximum installation depths. Some digital shower systems require specific mounting heights for control panels.
Compatibility With Selected Shower Fixtures:
Your valve needs to work with the showerhead and other fixtures. Check the manufacturer’s specifications. Some systems require specific spacing between the valve and showerhead. Digital controls might have placement rules for optimal wireless signal reception.
Everything should coordinate as a complete system. Rain showerheads mounted in the ceiling work differently than wall-mounted heads.
Body sprays require separate valve considerations. Multi-function systems need valves that can handle the flow demands of simultaneous outlets.
Customizing Shower Valve Height
Standard measurements don’t fit every situation. Sometimes you need to adjust for specific users. Custom heights solve real problems for real people.
Adjusting Height for Tall or Short Users
Very tall people benefit from valves at 48 inches or slightly higher. Shorter users do better around 40 to 42 inches. I once installed a valve at 50 inches for a 6’5″ client. Customization makes bathrooms truly functional.
For households with significant height differences, consider placing the valve at a compromise height around 44 inches that both users can reach comfortably.
Recommendations for Universal Design Bathrooms
Universal design serves everyone well. Aim for 42 to 46 inches in these spaces. This height works for seated and standing users. ADA-compliant showers specify controls at 38 to 48 inches maximum height.
Position valves on the side wall rather than the back wall for easier wheelchair access. Include a handheld showerhead with a slide bar for maximum flexibility.
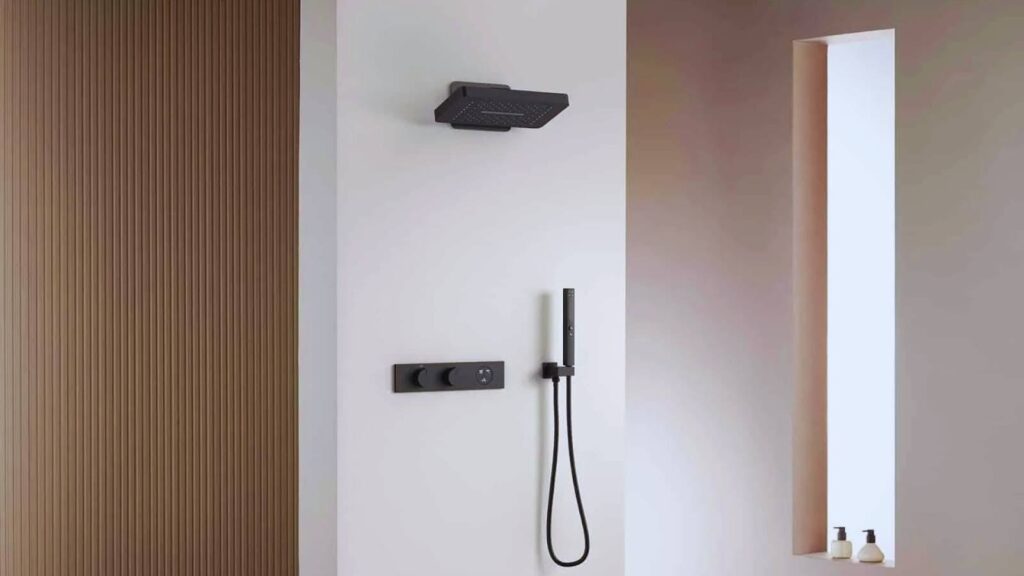
Placement Tips for Multiple Outlet Valves
Multi-outlet systems need thoughtful planning. The main control should sit at standard height around 42 to 46 inches. Secondary controls can adjust based on their function. Diverter handles might go slightly lower at 40 inches for easy reach.
Temperature control should always be the primary valve at standard height. Diverter controls for switching between showerhead and handheld can sit 2 to 4 inches below.
Installation Tips for Professionals
Good preparation prevents problems later. These tips come from real-world experience.
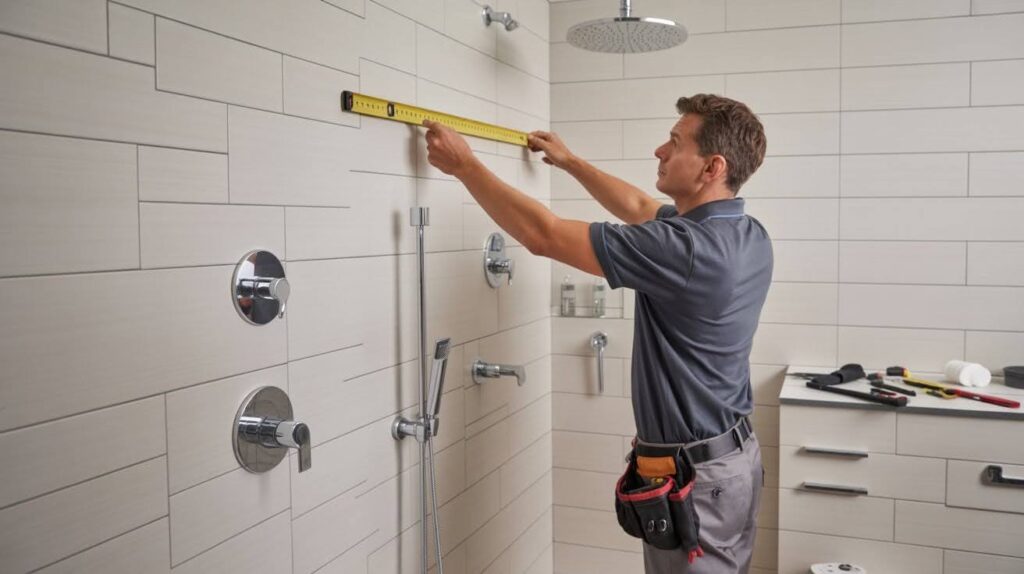
- Measure twice, cut once. Mark your valve location before installing wall materials and use a level to ensure straight placement. Accuracy now saves major headaches during trim-out.
- Calculate total wall thickness before setting the valve. Standard drywall is different from cement board plus tile. Getting this wrong means exposed or recessed trim.
- Plan for future access. Valves eventually need service. Some installers create removable panels on the back side so cartridge replacement stays possible.
- Don’t rush the rough-in. Setting valves too shallow or too deep creates trim issues. Always pressure test your work before closing walls.
- Take photos of the rough-in for future reference. Document valve placement, measurements, and any custom adjustments you made for the installation.
Conclusion
Getting shower valve height right makes a real difference in everyday comfort. I’ve installed hundreds of valves, and I can tell you those few inches truly matter.
Start with the standard range, then adjust for your actual users. Consider accessibility, safety, and future maintenance needs.
Measure carefully and test everything before closing those walls. Your attention to detail creates bathrooms people genuinely love using.
Got questions about your specific installation? Drop a comment below. I read every one and love helping fellow installers get it right.
Frequently Asked Questions
What is the ideal shower valve height for most adults?
Install between 42 to 46 inches from the finished floor for easy reach without bending or stretching.
Should shower valve height differ for tub and shower combos?
Yes, install at 28 to 30 inches above the tub floor for comfortable access when standing or bathing.
How do I determine valve height for a household with children?
Use the lower standard range at 40 to 42 inches to accommodate children while still working for adults.
Can I adjust valve height after installation?
No, you cannot change valve height after walls are finished without major replumbing work.
What building codes govern shower valve installation?
Check your local plumbing codes as requirements vary by region based on International Plumbing Code standards.