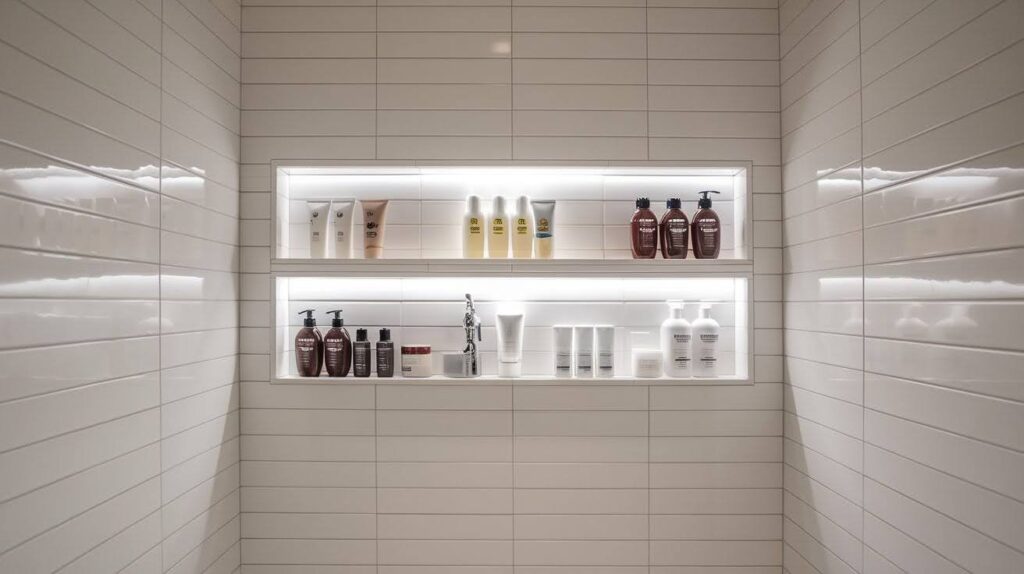
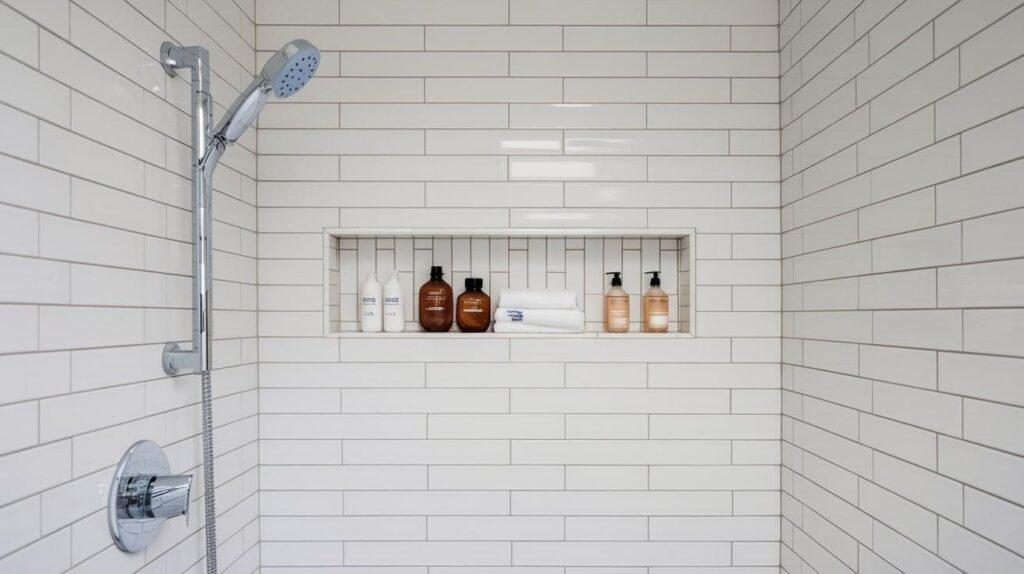
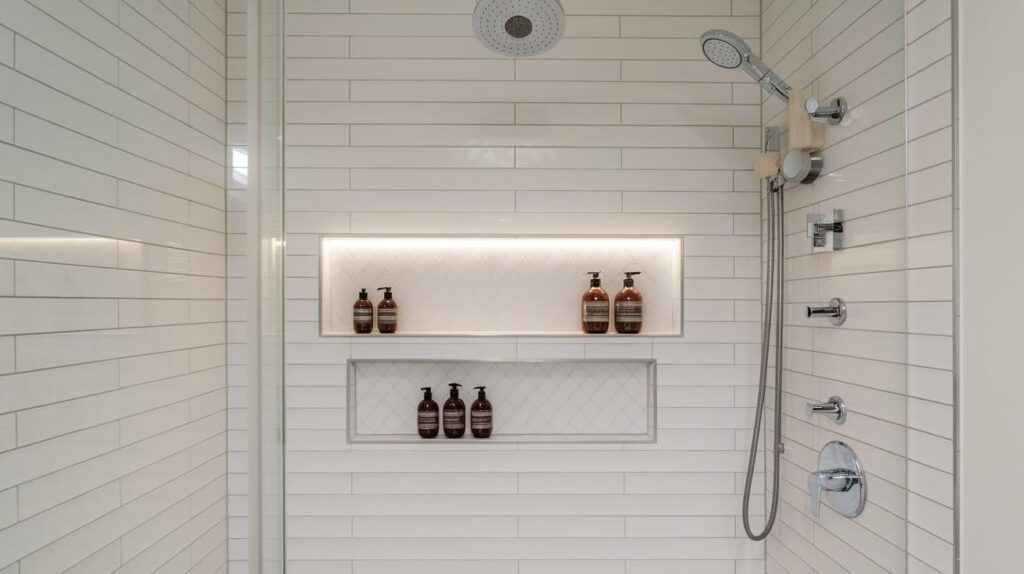
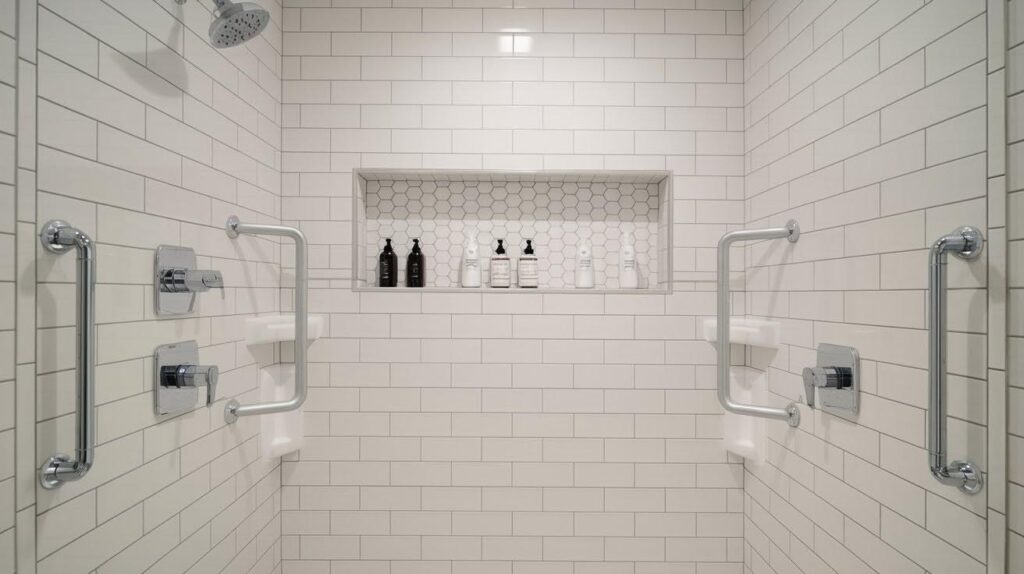
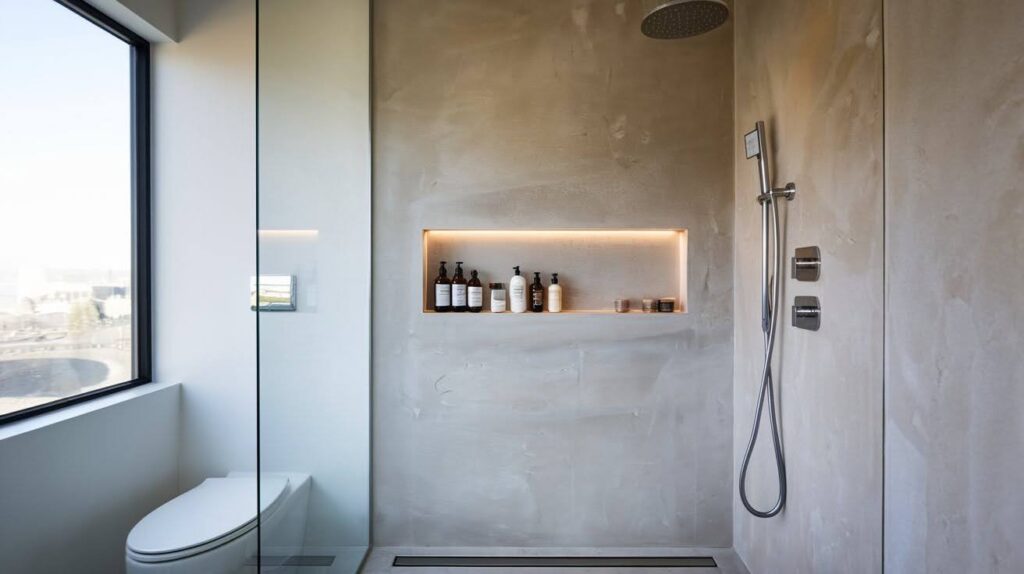
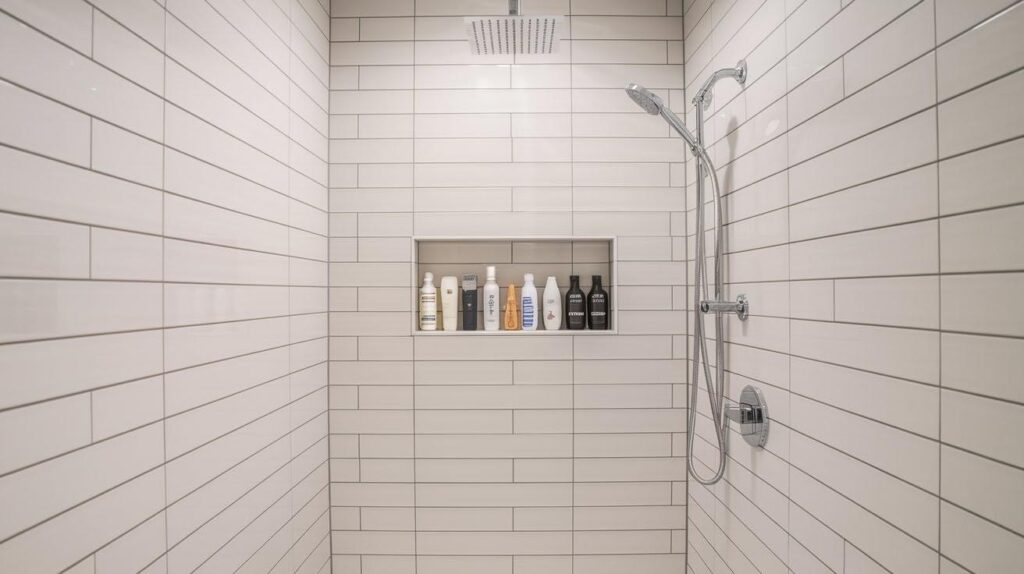
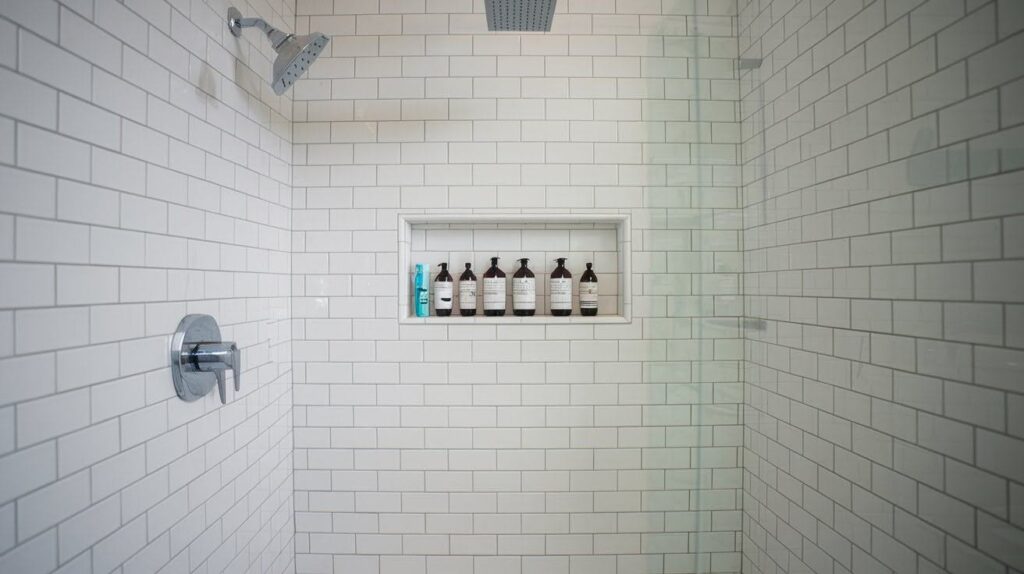
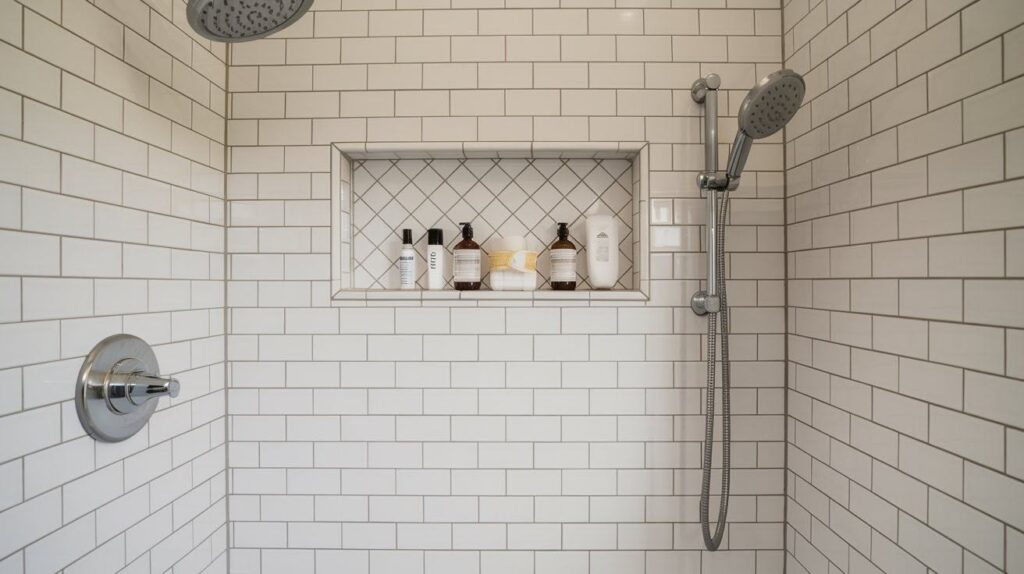
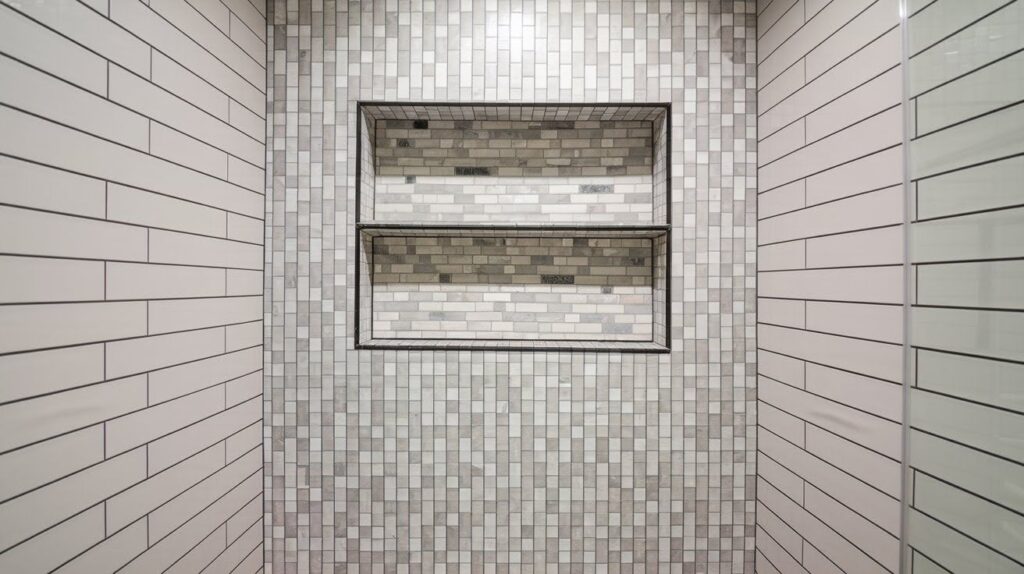
Planning the perfect shower niche can feel overwhelming when you’re staring at those bathroom walls. I get it you want a spot that holds your shampoo bottles without looking awkward or causing water damage down the road. The height and placement of your shower niche make all the difference between a functional storage solution and a costly mistake.
I’ve helped countless homeowners figure out the ideal niche placement, and I’m here to share what works. In this guide, I’ll walk you through the exact measurements, common placement errors to avoid, and practical tips that ensure your niche looks great while actually serving its purpose. You can trust this advice because it comes from real experience fixing what doesn’t work.
Ready to get your shower storage right the first time? Let’s dive in.
Is A Shower Niche A Good Idea For Every Bathroom?
Not every bathroom needs a niche, but most benefit from one when done right.
Pros Of Adding A Shower Niche
I love how shower niches clean up that cluttered look. No more bottles sitting on your tub edge or hanging caddies that rust and fall.
Built in storage looks so much cleaner than temporary solutions. Your bottles have a proper home, and everything stays organized.
Water damage becomes less of a worry. When bottles sit directly on surfaces, water gets trapped underneath. A well built niche lets water flow away naturally.
Here’s what surprised me most: niches increase your home’s value. Buyers see them as an upgrade, not just basic storage.
When It May Not Be The Best Option
Sometimes I have to talk clients out of niches. If your shower is really small, a niche might make it feel cramped.
Plumbing in the walls can be a dealbreaker. If pipes run exactly where you want your niche, moving them costs serious money.
Rental properties present another challenge. Most landlords won’t approve major tile work for storage that only benefits one tenant.
Tight budgets matter too. A quality niche requires proper waterproofing and skilled installation. Cheap shortcuts lead to expensive water damage later.
How High Should A Shower Niche Be Placed?
Getting the height right prevents daily frustration and keeps your niche functional for years.
Standard Height Range
I typically install niches between 36 to 48 inches from the floor. This range works for most adults without creating awkward reaching.
But here’s the thing. Standard doesn’t mean perfect for your family.
Factors That Affect Placement
Your height matters most. I’m 6 feet tall, so what feels comfortable for me might be too high for someone who’s 5’2″.
A tub versus a shower makes a big difference. Shower floors sit lower than tub edges, so I adjust my measurements accordingly.
Family use changes everything. If kids use the shower regularly, I place the main niche lower so they can reach their bottles safely.
Shower Niche Height From Floor
Most niches work best between 36 to 48 inches, but your family’s needs should guide the final decision.
Common Recommended Measurements
36 to 48 inches works for the majority of homes I work on. This puts bottles at chest level for most adults.
The sweet spot? I find 42 inches hits the mark for mixed height families.
Adjustments For Different Users
Kids need their own consideration. I often add a second lower niche at 24 inches for families with young children.
Older adults benefit from niches placed slightly lower, around 36 to 40 inches. Reaching overhead becomes harder with age.
Taller individuals appreciate niches at the higher end. 48 inches feels natural when you’re over 6 feet tall.
Shower Niche Height Cautions
Poor placement creates daily annoyance and potential water problems that cost money to fix.
Avoiding Awkward Reach
Too high means stretching every time you need shampoo. I’ve seen people install step stools just to reach poorly placed niches.
Too low forces you to bend down constantly. Your back will remind you of this mistake every morning.
Ensuring Water Doesn’t Pool Inside
Here’s what many people miss: niche placement affects drainage. Water should flow out naturally, not collect in corners.
I always slope the niche bottom slightly forward. This tiny angle prevents standing water that leads to mold and soap buildup.
The worst mistake? Placing niches where shower spray hits them directly. Water bounces back and creates a mess outside your shower.
Shower Niche Placement Tips
Smart placement balances visual appeal with daily use, making your shower both beautiful and practical.
Centered Vs. Offset Placement
I see homeowners stress over this choice constantly. Centered niches look perfectly balanced, but they’re not always the most functional spot.
Here’s what I tell my clients: function beats symmetry every time.
If centering your niche puts it right where you stand, you’ll bump into it daily. I’d rather have a slightly offset niche that you can actually use comfortably.
Offset placement often works better anyway. It keeps your bottles within easy reach without blocking your shower space.
Balancing Symmetry With Functionality
The best approach? Find the sweet spot between both needs.
I start by marking where you naturally stand in the shower. Then I look for the closest spot that still maintains visual balance.
Sometimes this means placing the niche slightly to one side. Your daily routine matters more than perfect center alignment.
Visual tricks help too. If your niche sits off center, I balance it with other elements like grab bars or shower controls.
Shower Niche In Splash Zone
Direct water exposure creates maintenance headaches and potential damage that smart placement can prevent.
Risks Of Water Exposure
Constant water spray turns your niche into a cleaning nightmare. I’ve seen soap scum build up so thick it becomes permanent.
Water hits your bottles and bounces everywhere. This creates puddles outside your shower and slippery floors.
The real problem? Mold loves wet niches that never fully dry. Once it starts growing, it’s incredibly hard to eliminate completely.
How To Minimize Mold And Maintenance Issues
Proper drainage makes all the difference. I always slope niche bottoms so water flows out instead of pooling.
Choose your location wisely. Areas that get indirect water exposure stay cleaner and dry faster.
Good ventilation helps too. Make sure your exhaust fan can pull moisture away from the niche area.
Here’s a pro tip: smooth, non porous materials resist mold better than textured surfaces where soap can hide.
Opposite Wall Niche Placement
Placing niches away from direct water spray reduces maintenance while keeping storage accessible.
When It Makes Sense To Place The Niche Away From The Showerhead
Heavy water pressure makes splash zone niches impractical. If your shower feels like a fire hose, consider opposite wall placement.
Large showers give you this flexibility. When you have room to move around, the niche doesn’t need to be right next to you.
Multiple users often prefer opposite wall niches. Everyone can reach the storage without crowding the main shower area.
Additional Design Considerations
Getting the size, waterproofing, and niche type right prevents costly mistakes and creates storage that actually works.
Width And Depth Of The Niche
I always start with 12 inches wide by 6 inches deep as my baseline. This fits most standard bottles without wasting space.
But here’s what matters more: what you actually use in your shower.
Large shampoo bottles need extra width. Families with multiple products benefit from 16 inch wide niches that hold everything in one spot.
Ideal Dimensions For Storage And Function
Standard bottles fit comfortably in a 12x6x4 inch niche. I measure your actual products before finalizing dimensions.
Think about bottle shapes too. Pump dispensers need more height than regular bottles. Wider products like body wash containers require extra depth.
Multiple niches often work better than one giant opening. I prefer two smaller niches over one oversized cavity that looks awkward.
Waterproofing And Tiling
Proper waterproofing prevents expensive water damage that can cost thousands to repair.
Preventing Leaks
Waterproof membrane goes behind every niche I install. This creates a barrier that stops water from reaching your wall structure.
The corners need special attention. I use waterproof sealant at every joint where different materials meet.
But here’s what many contractors skip: proper slope on the bottom surface. Even tiny angles help water flow out instead of sitting inside.
Choosing Tile Styles For Durability And Design Flow
Matching your shower tile creates the most cohesive look. The niche feels like part of the original design instead of an afterthought.
Smaller tiles work better inside niches. Mosaic or subway tiles are easier to cut and fit around corners than large format pieces.
Non slip surfaces matter for niche bottoms. Smooth tiles get slippery when wet, causing bottles to slide around.
I avoid highly textured tiles inside niches. They collect soap residue and become impossible to clean properly.
Quick Tips for Perfect Shower Niche Placement
- Measure your actual bottles first before deciding on niche size. Standard 12x6x4 inches works for most families, but your products should guide the final dimensions.
- Place niches 42 inches from floor for mixed height families. This comfortable reach works for most adults without being too high for shorter users.
- Avoid the direct splash zone to reduce cleaning and mold issues. Opposite wall placement keeps storage accessible while minimizing water exposure.
- Always slope the niche bottom slightly forward so water flows out naturally instead of pooling inside where mold can grow.
- Install waterproof membrane behind every niche to prevent expensive water damage to your wall structure over time.
- Choose smaller tiles like subway or mosaic for niche interiors. They’re easier to cut and fit properly around corners than large format pieces.
- Test your reach before final placement by standing in your shower and checking if the location feels natural for daily use.
- Consider two smaller niches instead of one large opening for better organization and a more balanced visual appearance.
- Match your shower tile inside the niche to create a cohesive look that feels intentional rather than added as an afterthought.
Conclusion
Getting your shower niche height right makes all the difference in daily comfort and long term satisfaction. The 42 inch sweet spot works for most families, but your specific needs should always guide the final decision.
Taller users benefit from 48 inch placement, while families with children often need lower options around 36 inches.
Remember that your bathroom layout, user heights, and personal preferences matter more than standard rules. A well placed niche at the right height becomes invisible in your routine, while poor placement creates daily frustration.
Take time to measure, test your reach, and consider how your whole family uses the shower. The extra planning upfront saves you from expensive corrections later. Your perfect niche height exists you just need to find what works best for your unique situation and space.
Frequently Asked Questions
What Is The Standard Height For A Shower Niche?
The standard height ranges from 36 to 48 inches from the floor, with 42 inches being the most popular choice. This height works comfortably for most adults without requiring awkward reaching or bending.
Can I Install Multiple Niches At Different Heights?
Yes, multiple niches work great for families with varying heights or storage needs. I often install a main niche at 42 inches and a lower one at 24 inches for children’s products.
Should I Place My Niche In The Splash Zone?
It’s better to avoid direct water spray when possible to reduce cleaning and mold issues. Placing your niche on a side wall or opposite the showerhead minimizes constant water exposure while keeping storage accessible.
How Deep Should A Shower Niche Be?
Most niches work best at 4 to 6 inches deep, which keeps bottles stable without making items hard to reach. Deeper niches create dead space in the back, while shallow ones cause bottles to fall out easily.
Do I Need Professional Installation For A Shower Niche?
Yes, proper waterproofing and structural considerations make professional installation worth the cost. Poor installation can lead to water damage that costs thousands more to repair than the original installation.

