
Looking for the complete process to paint unfinished cabinets? You’re in the right place.
I’ll walk you through every step. From choosing the right tools to applying that final coat.
Here’s what you’ll learn: proper sanding techniques, the best primers and paints, common mistakes that ruin finishes, and creative color ideas that work.
I’ve painted over 50 cabinet sets in my years as a contractor. My clients save thousands while getting great results.
This guide solves your biggest challenge: turning raw wood cabinets into attractive pieces that last for years.
No confusing terms. No expensive shortcuts that fail later. Just proven methods that work on your first try.
Why Choose Unfinished Cabinets?
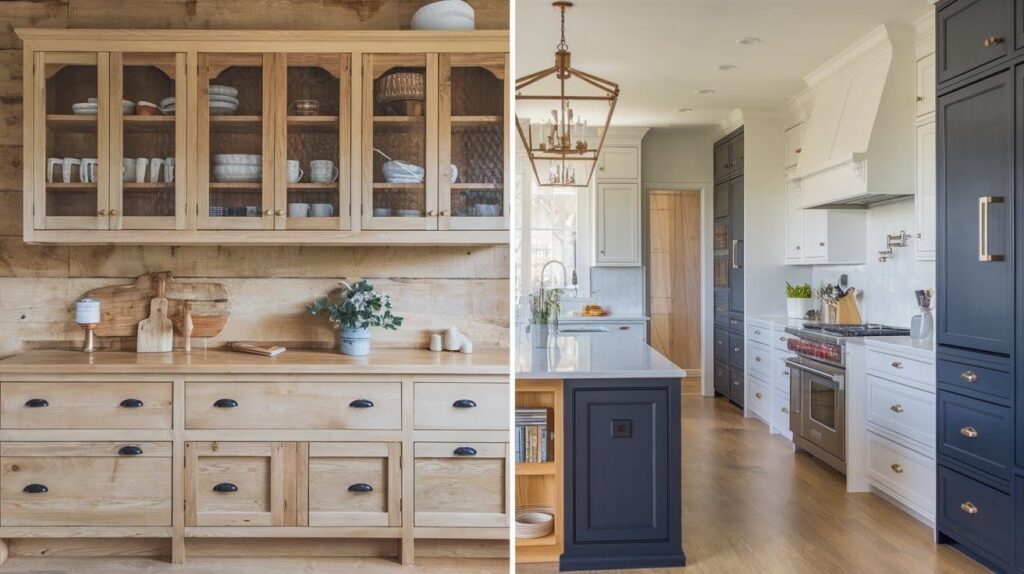
Cost savings are huge. Unfinished cabinets cost 30-50% less than pre-finished ones. But that’s just the beginning.
You get complete control over the final look. Want a specific shade of navy blue? You got it. Dreaming of that sage green? No problem.
Quality matters too. Most unfinished cabinets use solid wood or good plywood. You’re getting better materials for less money.
Plus, painting them yourself means no wait times. No back-orders. No “sorry, that color is gone.”
The biggest advantage? Perfect color matching. You can match your exact paint colors to walls, trim, or decor.
Tools & Materials You’ll Need
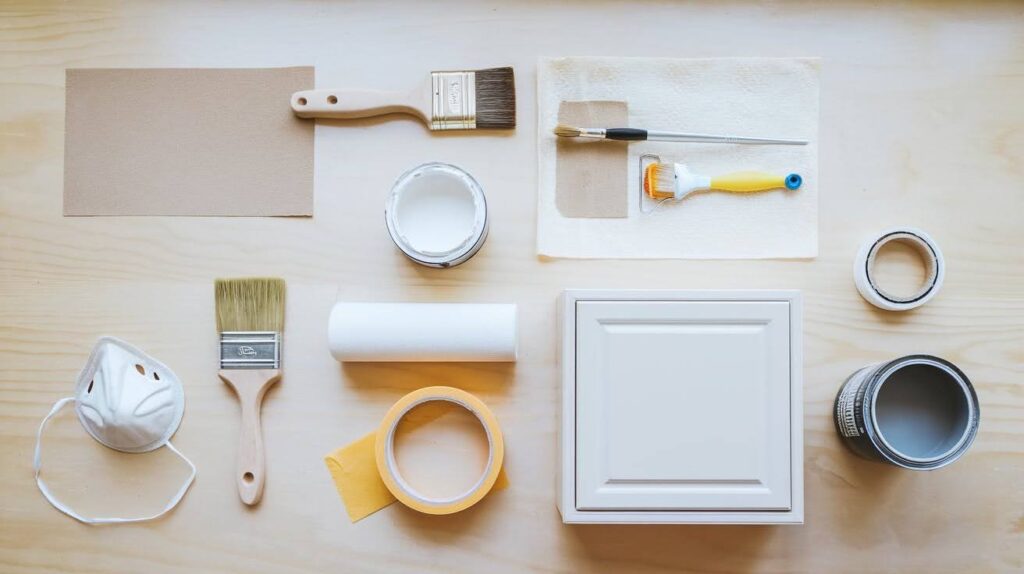
- 120-grit sandpaper
- 220-grit sandpaper
- Electric sander
- Dust mask
- Tack cloth
- High-quality primer
- Cabinet paint
- 2-inch angled brush
- 4-inch foam roller
- Drop cloths
- Painter’s tape
- Polycrylic topcoat
Don’t skimp on paint quality. I learned this the hard way on my first few jobs.
Step-by-Step Process: Painting Unfinished Cabinets Like a Pro
Lets finish painting those unfinished cabinets fast:
Step 1: Prep and Sanding
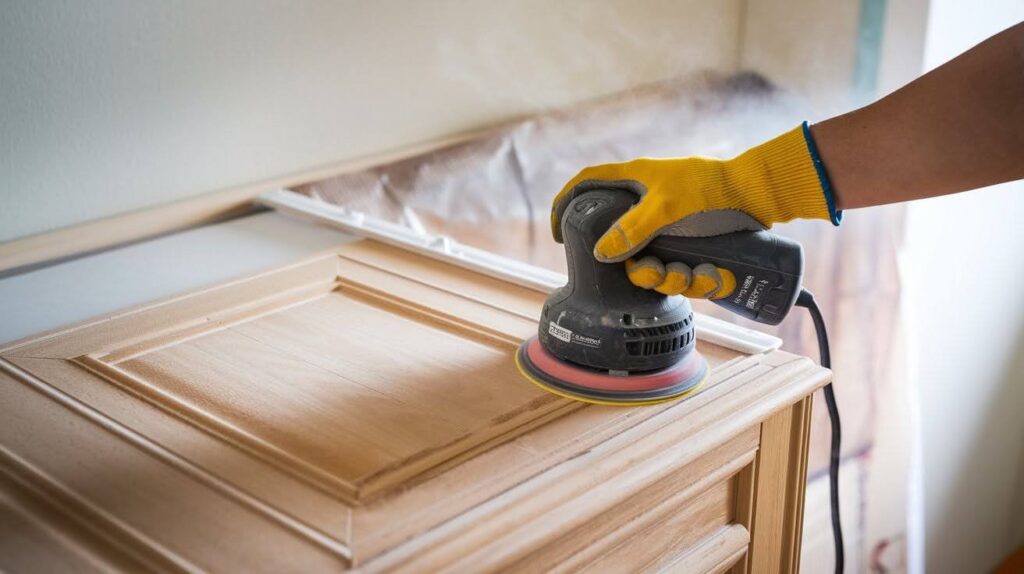
Remove all doors and drawers first. Label everything with painter’s tape and a marker. Start with 120-grit sandpaper. Sand with the grain, not against it. You’re just roughing up the surface so paint sticks better. Switch to 220-grit for the final pass. This creates a smooth base for painting.
Key points:
- Remove all hardware
- Sand with the grain
- Focus on raised panels and edges
- Electric sander saves time
Step 2: Cleaning and Dust Removal
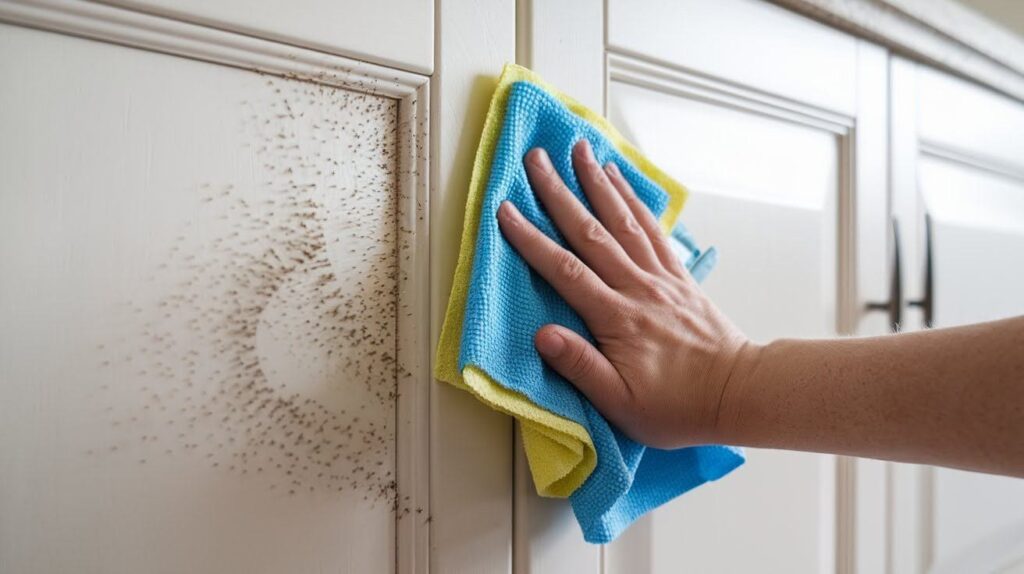
Use a tack cloth to wipe down every surface. Get into all the grooves and corners. Follow up with a slightly damp microfiber cloth. Let everything dry completely. Blow compressed air into all the joints and crevices. Dust hides in there.
Key points:
- Use tack cloth first
- Clean work area thoroughly
- Check for hidden dust in joints
- Let surfaces dry completely
Step 3: Priming the Cabinets
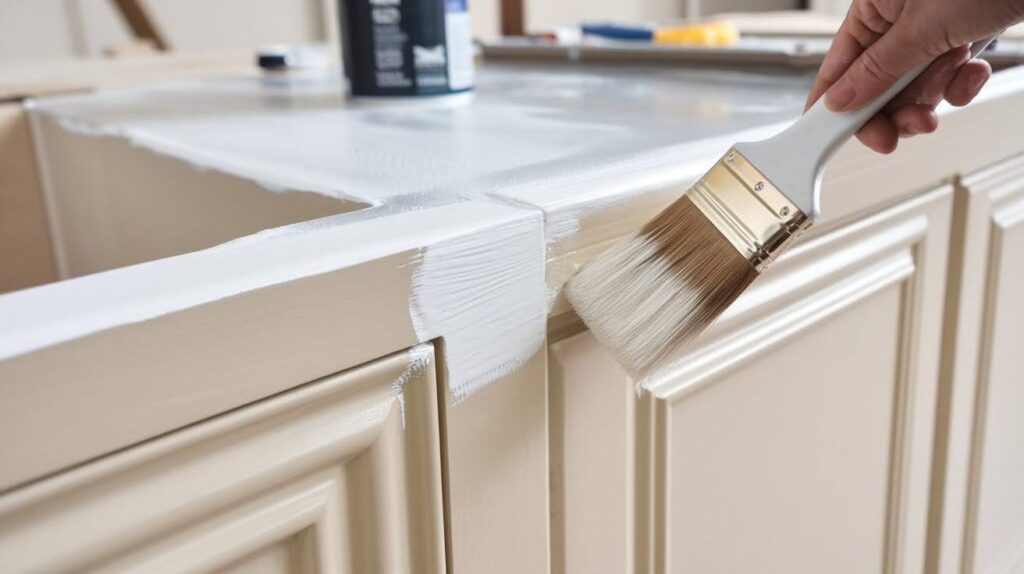
Never skip primer. Use a high-quality bonding primer. Apply primer with a brush first. Work it into all the details and edges. Then use a foam roller for the flat areas. Watch for drips. Brush them out immediately.
Key points:
- Brush details first
- Roll flat areas second
- Fix drips while wet
- Let dry 4-6 hours minimum
Step 4: Applying Paint
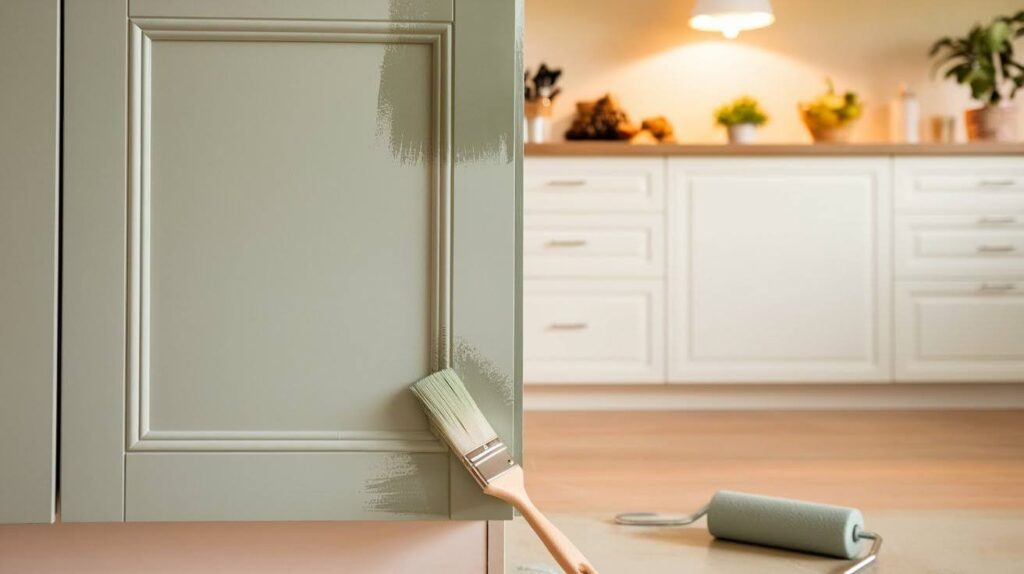
Paint when it’s 65-75°F with low humidity. Start with the detailed areas using your angled brush. Roll the flat areas last with light, even pressure. Two thin coats beat one thick coat every time.
Key points:
- Check temperature and humidity
- Brush details, then roll flats
- Keep a wet edge
- Apply thin coats only
Step 5: Sealing and Protecting the Paint
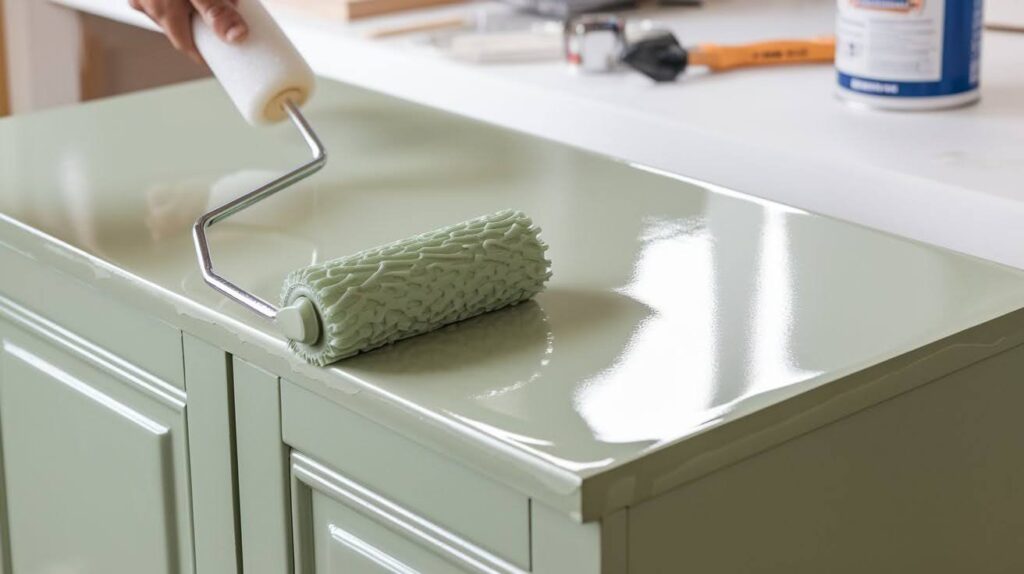
Cabinet doors get lots of handling. They need protection. Apply a polycrylic topcoat just like paint. Brush the details first, then roll the flats. Use light coats. Two coats give you restaurant-level durability.
Key points:
- Apply like paint
- Use light, even coats
- Two coats minimum
- Cure 48 hours before use
Creative Ideas & Popular Colors for Painted Unfinished Cabinets
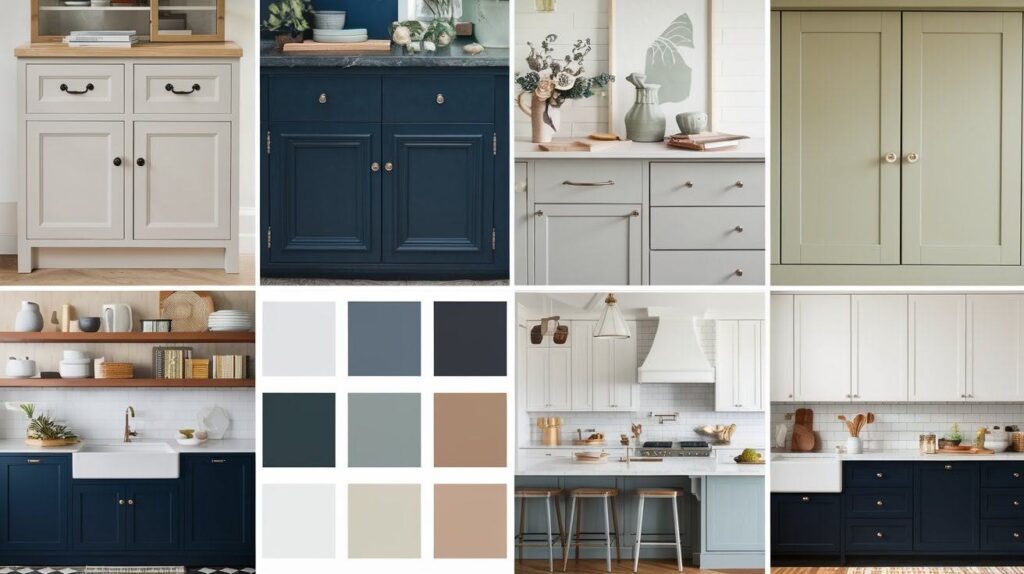
Classic white never goes out of style. Benjamin Moore Cloud White or Sherwin Williams Pure White are safe bets.
Navy blue creates drama. Try Hale Navy or Naval for a polished look. Sage green feels fresh and modern. Retreat or Clary Sage work well.
Warm grays add refinement. Agreeable Gray or Classic Gray complement any decor. Two-tone designs are trending. Paint upper cabinets lighter than lower ones.
Consider your lighting. North-facing kitchens need warmer colors. South-facing rooms can handle cooler tones.
Test colors first. Paint a sample board and live with it for a week. The best color is the one you’ll love for years to come.
Common Mistakes to Avoid
Here are few common mistakes to prevent the hassle:
- Rushing the prep work – good sanding makes or breaks the job
- Using cheap paint – cabinet paint takes a beating, spend extra for quality
- Painting in bad weather – avoid high humidity, extreme heat or cold
- Reassembling too soon – wait full cure time before heavy use
- Applying thick coats – thin coats look better and last longer
Conclusion
You now have everything needed to paint unfinished cabinets like a pro. I’ve shared the exact methods that saved my clients thousands over the years.
Remember the key steps. Proper sanding creates lasting adhesion. Quality primer prevents future problems. Thin paint coats give smooth, attractive finishes.
Take your time with each step. Rushing leads to mistakes that cost more later.
Your kitchen makeover starts with the first piece of sandpaper. The results will amaze you and your family for years to come.
Start your project this weekend. Choose your favorite color from our suggestions. Gather your tools and materials.
Need specific advice? Drop a comment below. I personally respond to every question about cabinet painting challenges.
Frequently Asked Questions
How long does it take to paint unfinished cabinets?
A typical kitchen takes 3-5 days with proper drying time between coats. Most of this time is waiting for paint and primer to cure completely.
Can I paint cabinets without removing doors?
You can paint them in place, but results won’t be as smooth or professional. Removing doors gives you better access and prevents drips on hinges.
What’s the best paint for kitchen cabinets that get heavy use?
Benjamin Moore Advance or Sherwin Williams ProClassic work best for durability. These paints cure to a hard, scratch-resistant finish that handles daily wear.
Do I need to sand between every coat of paint?
Light sanding with 220-grit paper between coats removes imperfections and helps the next coat stick. It’s worth the extra 30 minutes per coat.
How long should I wait before using painted cabinets normally?
Paint feels dry in hours but needs 48-72 hours to fully cure. Wait the full cure time before heavy use or your paint may get damaged.