
After dealing with peeling paint in my basement three times before figuring out the real culprit, I learned that mold under paint affects far more homes than most people realize.
You might notice bubbling or discoloration and think a fresh coat will fix everything, but painting over hidden mold creates a ticking time bomb that’ll cost you more money and headaches down the road.
This guide is for homeowners who’ve faced mysterious paint problems, DIY enthusiasts tackling their first major project, and property managers tired of recurring maintenance issues.
I’ll share the hard-won lessons that could save you from repeating my costly mistakes and help you create lasting, beautiful results.
Understanding Mold Growth Behind Painted Surfaces
Mold thrives in moisture-rich environments behind walls, making prevention essential before applying any protective coatings to surfaces.
What Causes Mold to Grow Under Paint?
Mold thrives in the hidden spaces behind your walls when specific conditions align. Moisture intrusion stands as the primary trigger, whether from roof leaks, plumbing issues, or condensation buildup around windows and doors.
I’ve seen this countless times in homes where a small, unnoticed leak created the perfect breeding ground.
Poor ventilation compounds the problem significantly. Bathrooms without exhaust fans, basements with limited airflow, and rooms with blocked vents trap moisture that feeds mold colonies.
Additionally, homes lacking proper vapor barriers or adequate insulation create temperature differentials that lead to condensation within wall cavities.
High-humidity climates present ongoing challenges. Coastal areas and cities like Tampa experience year-round moisture that can penetrate building materials, making prevention crucial rather than optional.
Why Paint Alone Can’t Stop Mold
Many homeowners mistakenly believe that applying paint creates an impermeable barrier against mold.
Unfortunately, paint seals moisture inside wall cavities, creating ideal conditions for fungal growth. Even mildew-resistant paints offer limited protection when underlying moisture problems persist.
The reality is that mold spores can establish colonies beneath any painted surface when humidity levels exceed 60% and organic materials like drywall paper provide food sources.
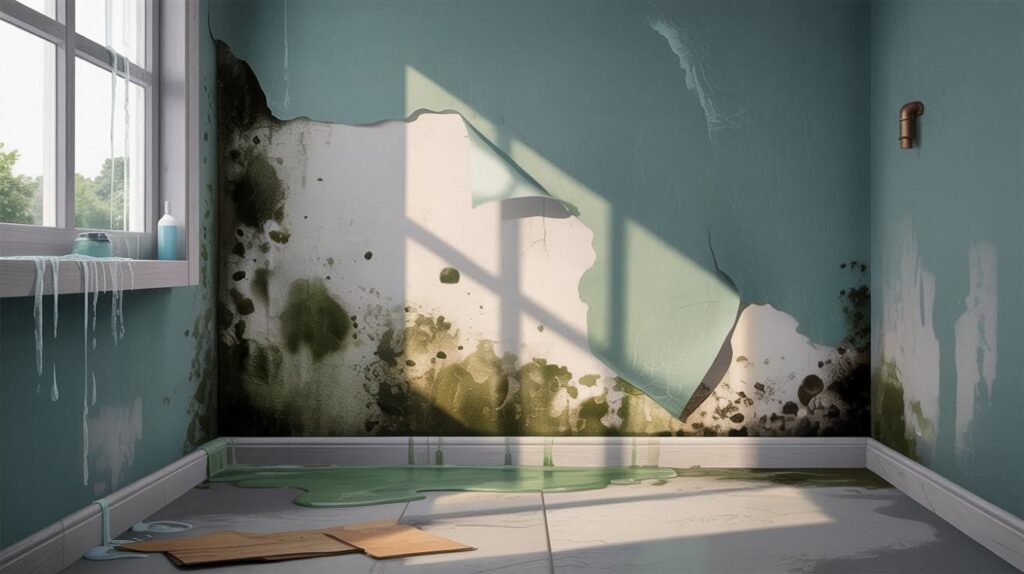
Warning Signs of Mold Beneath Paint
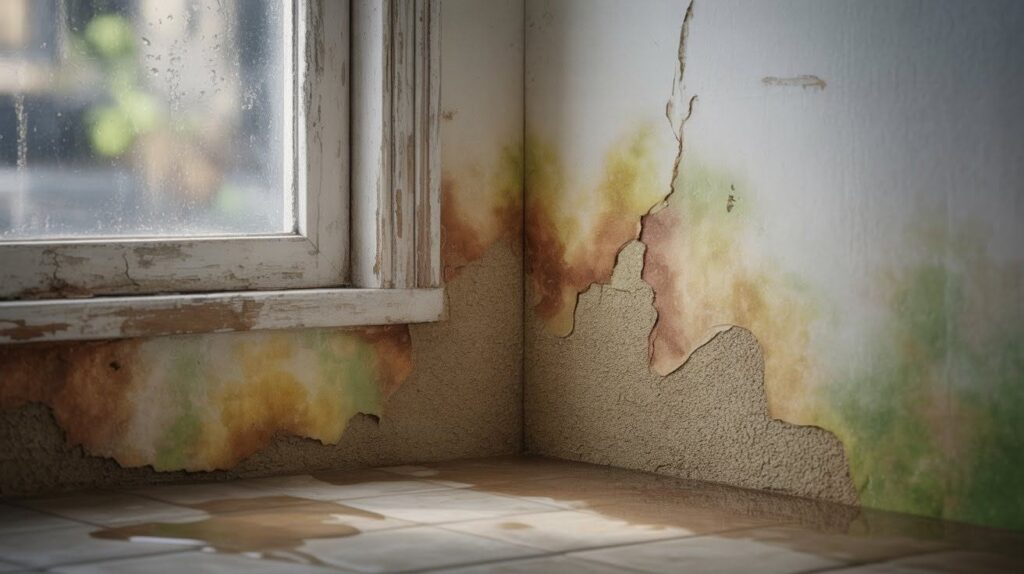
Visual and Physical Clues
Watch for bubbling, peeling, or cracking paint – these signal trapped moisture underneath. Trust your nose when you detect musty odors, even if the walls look normal.
Discolored patches appearing as brown, yellow, or greenish spots often indicate hidden problems. Check for soft or warped drywall that feels spongy when pressed, as this shows prolonged moisture damage.
When to Investigate Further
Always inspect areas after roof or plumbing leaks, even months later.
Focus on windows where condensation occurs naturally, bathrooms with ongoing steam exposure, and basements or exterior walls facing temperature changes and potential water intrusion.
Steps to Prevent Mold Growth Before You Paint
Essential steps to address moisture sources, improve airflow, and select proper materials for long-lasting mold prevention success.
Step 1: Inspect and Repair Moisture Sources
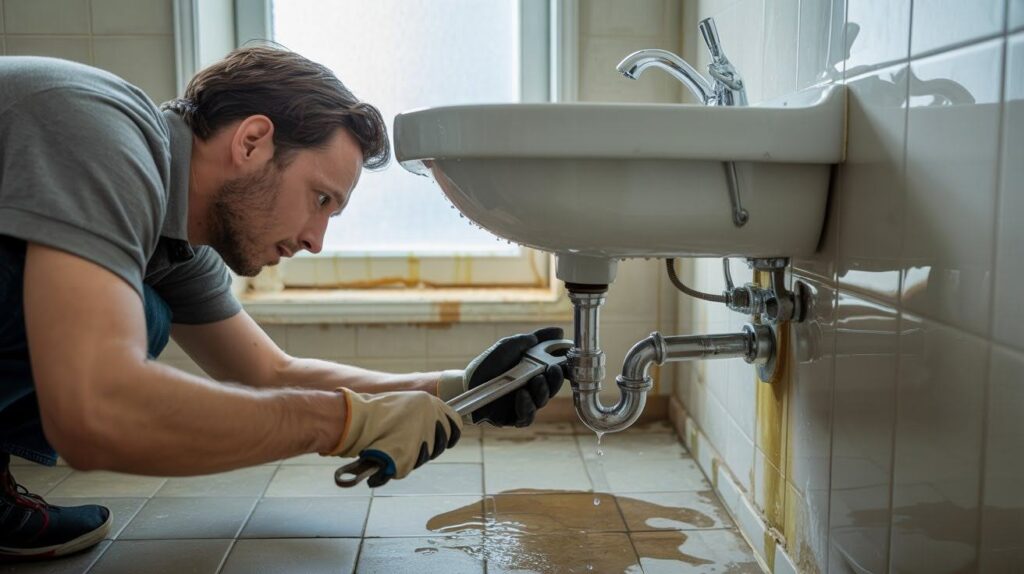
Start by addressing the root cause – moisture intrusion. Fix any leaks in roofs, pipes, and windows immediately, as even minor drips create ideal conditions for mold.
Properly reseal or flash windows to prevent water penetration. Install gutters or redirect water flow away from your foundation to stop moisture from reaching interior walls.
Step 2: Improve Ventilation
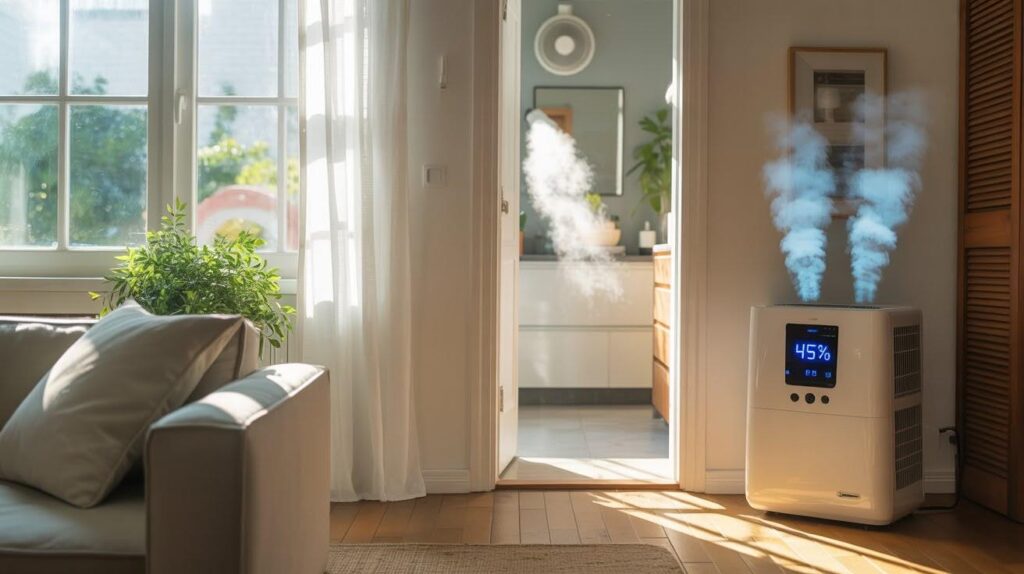
Install exhaust fans in bathrooms and kitchens to remove humidity at the source. Open windows whenever the weather permits to promote air circulation.
In consistently humid climates, consider installing a whole-house dehumidifier to maintain optimal moisture levels year-round.
Step 3: Test Moisture Levels

Use a moisture meter to check wall moisture content before applying any coatings.
Ensure all surfaces are completely dry – rushing this step leads to trapped moisture and future problems.
Step 4: Remove Existing Mold Safely
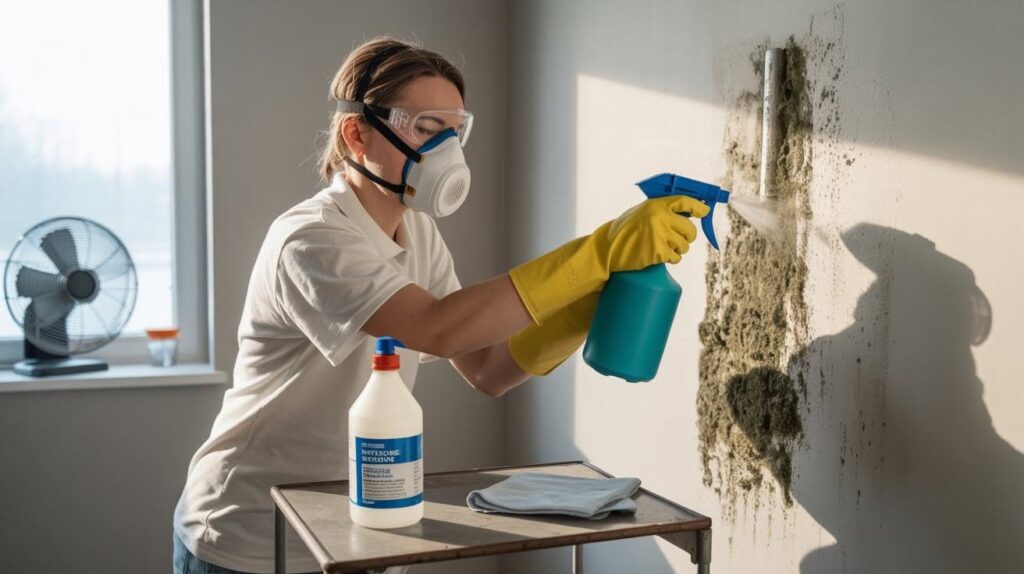
Clean affected areas using EPA-recommended solutions like hydrogen peroxide, vinegar, or commercial mold cleaners.
Always wear protective gloves, masks, and maintain proper ventilation during cleanup. Remove and replace mold-damaged drywall when contamination runs deep.
Step 5: Use the Right Primer and Paint
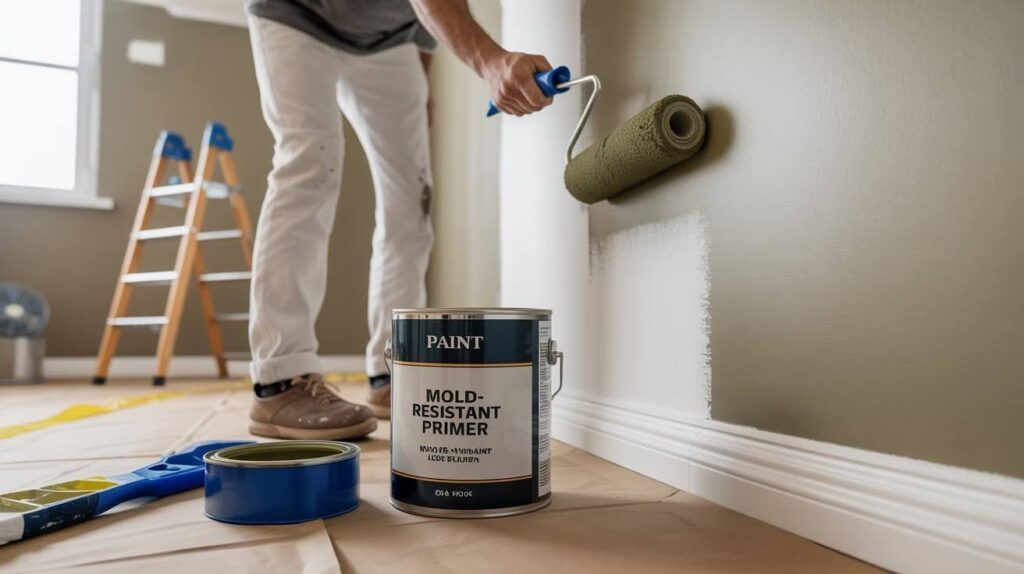
Apply mold-resistant primers like Zinsser Mold Killing Primer or Kilz Premium before painting.
Select interior paints containing mildew-resistant additives for long-term protection. Never paint in damp conditions, as trapped moisture negates all prevention efforts.
Pro Tips for Long-Term Mold Prevention
- Select mold-resistant drywall and insulation in moisture-prone areas to create a stronger foundation against fungal growth.
- Install proper vapor barriers based on your specific climate requirements, as different regions need different protection levels.
- Maintain indoor humidity between 30-50% consistently throughout your home for optimal mold prevention.
- Use a hygrometer to monitor moisture levels, paying special attention to basements, bathrooms, and other problem areas.
- Check all caulking and seals annually, replacing cracked or missing sections that allow moisture penetration.
- Clean vents, exhaust fans, and drains regularly to maintain proper airflow and effective water removal systems.
- Plan to repaint every few years using mold-resistant formulas, since protective additives lose effectiveness over time.
- Take immediate action with dehumidifiers or increased ventilation when humidity levels exceed the recommended range.
Conclusion
After years of helping homeowners fix preventable mold problems, I can’t stress enough how protecting your family’s health and your home’s value starts with proper preparation.
The most expensive paint job in the world won’t save you if moisture issues remain unaddressed underneath.
I’ve watched too many people skip the prep work only to face the same problems months later, along with much higher repair bills.
The time and money you invest in moisture control, proper ventilation, and quality materials today will pay dividends for years to come.
Trust me, dealing with these issues proactively is far easier than explaining to your family why they need to move out during extensive remediation. Take action now, and your future self will thank you.
Frequently Asked Questions
How do I know if there’s mold behind my paint?
Look for bubbling, peeling, or cracking paint, along with musty odors that persist even after cleaning. Discolored patches and soft, warped drywall also indicate moisture problems that support mold growth.
What’s the most important step before painting to prevent mold?
Fix all moisture sources first, including leaks in roofs, pipes, and windows, then ensure complete drying. Without addressing water intrusion, even the best mold-resistant products will fail.
Can I use regular primer, or do I need something special?
Use a mold-killing primer specifically designed to prevent fungal growth beneath paint layers. Regular primers don’t contain the antimicrobial additives necessary for long-term mold prevention.
How long does mold-resistant paint protection last?
Most mold-resistant paint additives remain effective for 3-5 years under normal conditions. Plan to repaint with fresh mold-resistant formulas to maintain protection over time.
Should I hire a professional, or can I handle mold prevention myself?
Small areas and basic prevention steps can be DIY projects with proper safety equipment. However, extensive mold contamination or major moisture issues require professional assessment and remediation.