
The dancing flames cast a warm glow across our faces as we huddled around our newly completed fire pit, marshmallows at the ready. Just three weekends ago, this corner of our backyard was an overlooked patch of weeds.
Now it’s our family’s favorite gathering spot. Our low-cost fire pit landscape design transformed our ordinary yard into a cozy retreat where memories are made nightly. No contractor required, just some sweat equity, creativity, and surprisingly little cash.
I’ll never forget my husband’s shocked expression when I showed him professional quotes for outdoor fire features. “$3,000 for rocks in a circle?” he joked.
Challenge accepted! With some strategic planning and elbow grease, we created our dream outdoor space for less than the cost of a fancy dinner out. Our DIY journey wasn’t just budget-friendly it became a passion project that brought our vision to life exactly as we imagined it.
Planning Low-Cost Fire Pit Project
Location scouting became our weekend mission. We paced the yard with measuring tape, marking spots exactly 20 feet from our house and fence. The perfect spot needed visibility from the kitchen window but privacy from neighbors.
We checked our city’s website for fire codes before buying materials. Rules vary widely. Our town allows fire pits but restricts the size to 3 feet in diameter. Did you know some neighborhoods ban them completely?
Your budget dictates your choices, not the other way around. We splurged on quality pavers that complemented our home’s exterior. The fire pit itself? Simple concrete blocks from a big box store at $1.65 each.
I tracked every expense in a spreadsheet and found creative alternatives. Nursery plants cost too much, so we transplanted perennials from our front yard. Used furniture marketplaces yielded perfect seating at a quarter price. What existing resources can you repurpose for your project?
Materials and Cost Breakdown
Material selection makes or breaks your budget. We researched options extensively. Reclaimed bricks from a neighbor’s demolished patio saved us $75. Natural stone looks stunning, but it costs triple what concrete pavers do.
Metal fire rings add safety and structure. We found our galvanized ring for $20 at a yard sale. The previous owner upgraded to a gas pit. Their upgrade became our treasure. We spent exactly $142 on bricks, sand, gravel, and weed barrier from the home improvement store.
Where do you find these deals? Start close to home. Ask neighbors about leftover materials from their projects. We scored free mulch this way. Check Facebook Marketplace and Craigslist daily. Timing matters at retail stores, too.
We purchased end-of-season clearance pavers at 40% off. The store manager told us when new inventory arrives. This insider tip saved us $30. Local stone yards offer better prices than chain stores. Bring your measurements and buy only what you need. Can you mix materials for a custom look that costs less?
Step-by-Step Construction Process
Site Preparation
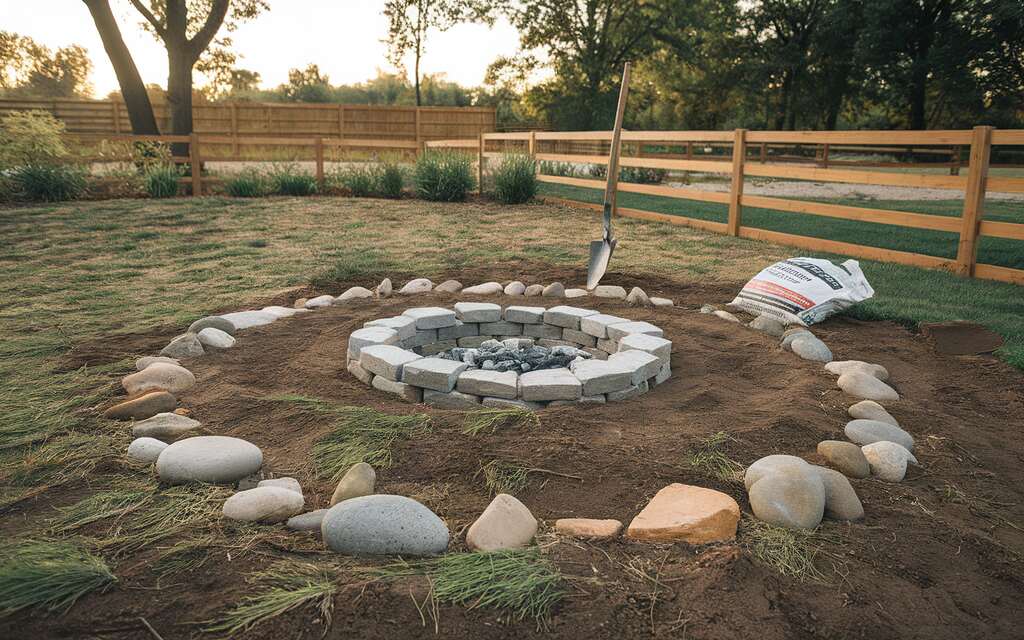
Step 1: Remove all vegetation and mark your fire pit area with stakes and string, creating a perfect outline for your project.
Step 2: Dig a 6-inch deep hole with a slight slope away from your house to ensure proper drainage during rainy weather.
Step 3: Test the drainage by pouring water in the center and confirming it flows outward evenly in all directions.
Step 4: Spread a 2-inch layer of gravel across the base, creating a stable foundation that prevents settling and allows water filtration.
Step 5: Use a hand tamper to firmly pack down the gravel until you have a solid, level base ready for the fire pit construction.
Building the Fire Pit
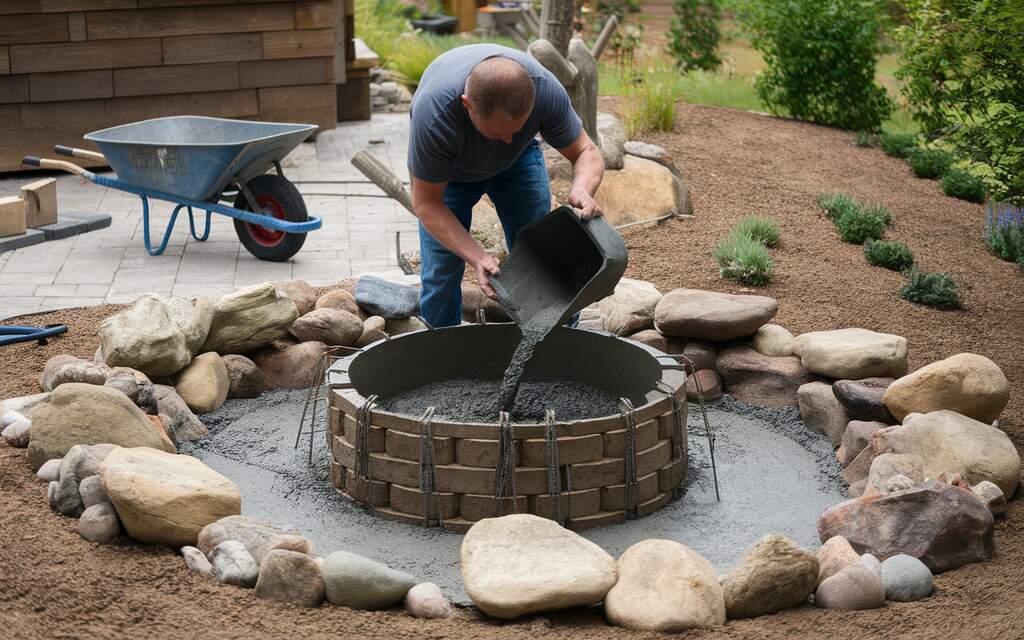
Step 1: Position your metal fire ring in the center of the prepared area and check that it sits perfectly level on the gravel base.
Step 2: Arrange the first row of bricks tightly around the ring with no gaps, tapping each one with a rubber mallet to secure it firmly.
Step 3: Create the second row in a staggered pattern for structural strength, offsetting each brick to distribute weight evenly.
Step 4: Cut weed barrier fabric to fit between the pit and seating area, then cover completely with decorative gravel for a clean finish.
Plant Selection for Safety and Aesthetics
Fire-Resistant Native Plants
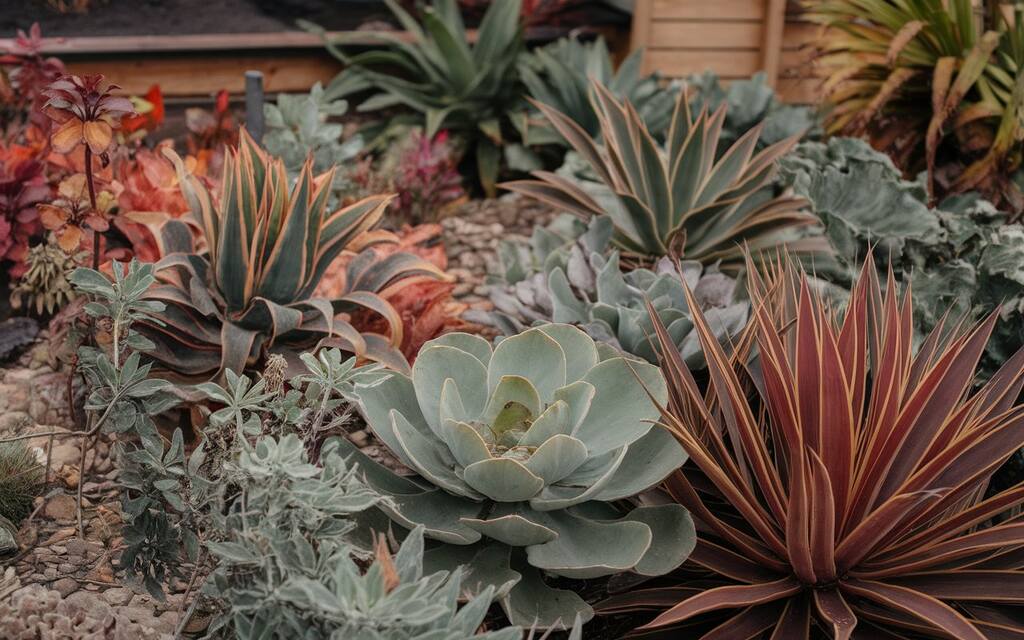
Your local nursery holds hidden gems perfect for fire pit surroundings. Think hardy sedums, cheerful yarrows, and aromatic lavender that naturally resist catching fire even when embers fly.
These tough plants thrive in your specific climate with minimal fuss. No more struggling with exotic varieties that demand constant attention! Your weekends are suddenly free for actually enjoying that fire pit instead of babysitting delicate plants.
Perennials for Long-Term Value
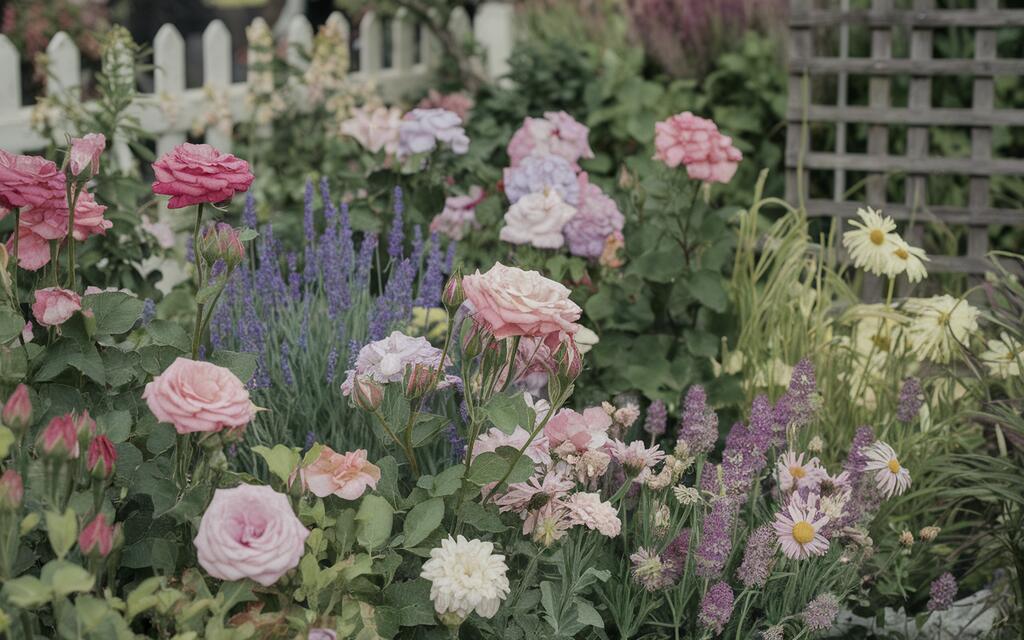
Smart gardeners invest once and enjoy for years. That’s the magic of perennials like coneflowers, Russian sage, and ornamental grasses around your fire pit.
Each season brings new surprises as these plants change color, bloom, and create different textures. Your friends will wonder how your outdoor space looks refreshed every time they visit, yet you haven’t spent a dime since the initial planting.
Affordable Seating Solutions
Log Benches and Repurposed Materials
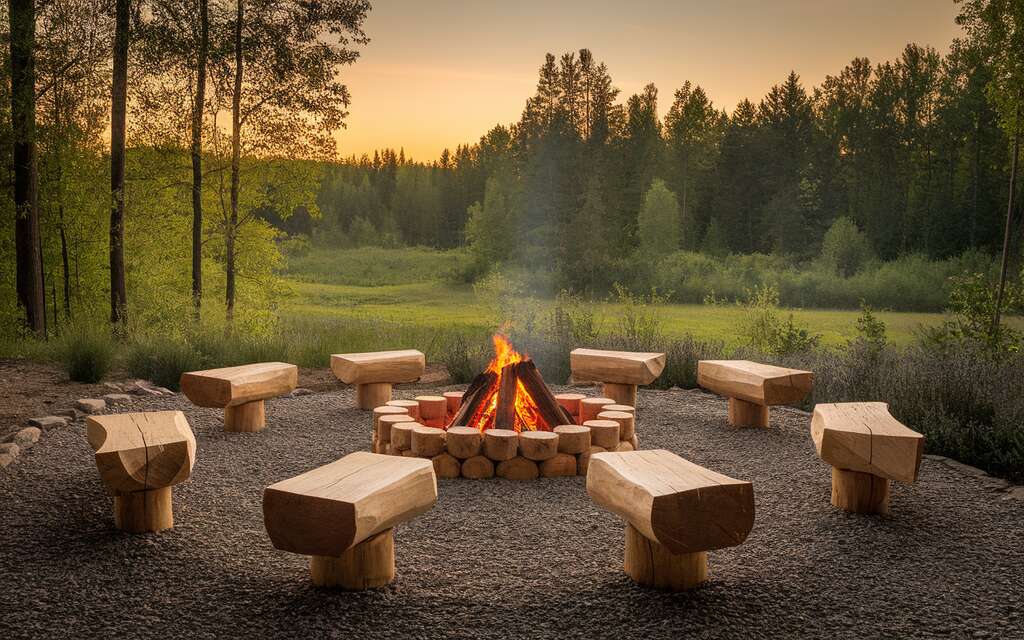
That fallen oak in your backyard isn’t yard waste, it’s premium seating waiting to happen! Cut, sand, seal, and you’ve got unique benches with character that expensive stores can’t match.
Have you checked Facebook Marketplace lately? Someone’s discarding those concrete blocks that make perfect bench bases. Pair them with weather-resistant boards and suddenly you’ve created custom seating that costs next to nothing.
Budget-Friendly Movable Furniture
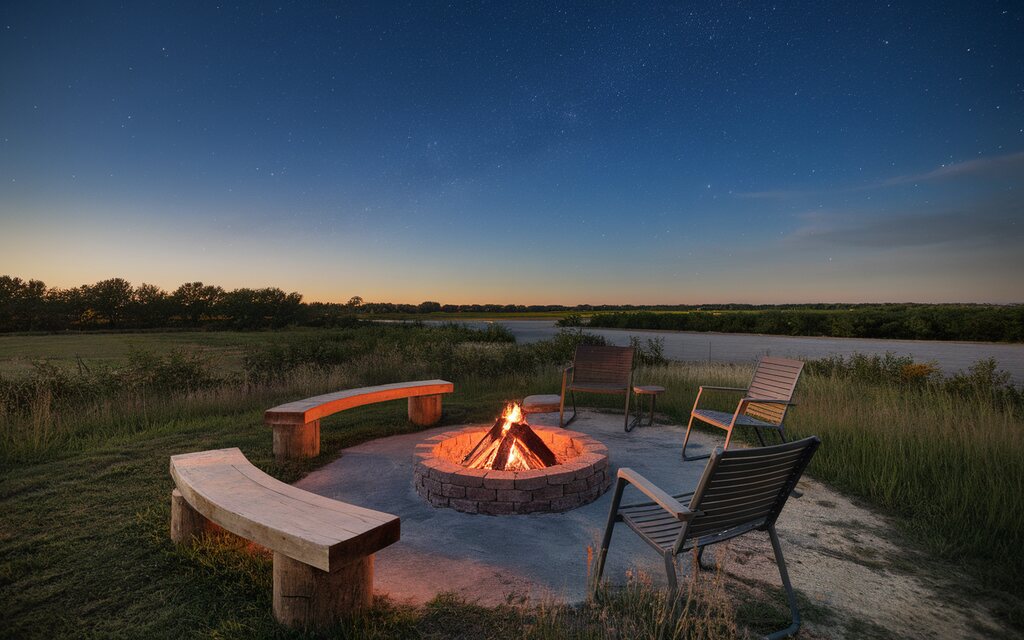
End-of-season sales transform your seating options. Those $80 Adirondack chairs often drop to $20 in October perfect timing for fire pit season!
Weather-resistant floor cushions offer flexibility that no fixed seating can match. Pull them close on chilly nights or spread them out for larger gatherings. They store easily in your shed when summer downpours threaten.
Creating Atmosphere with Minimal Investment
Simple Pathways
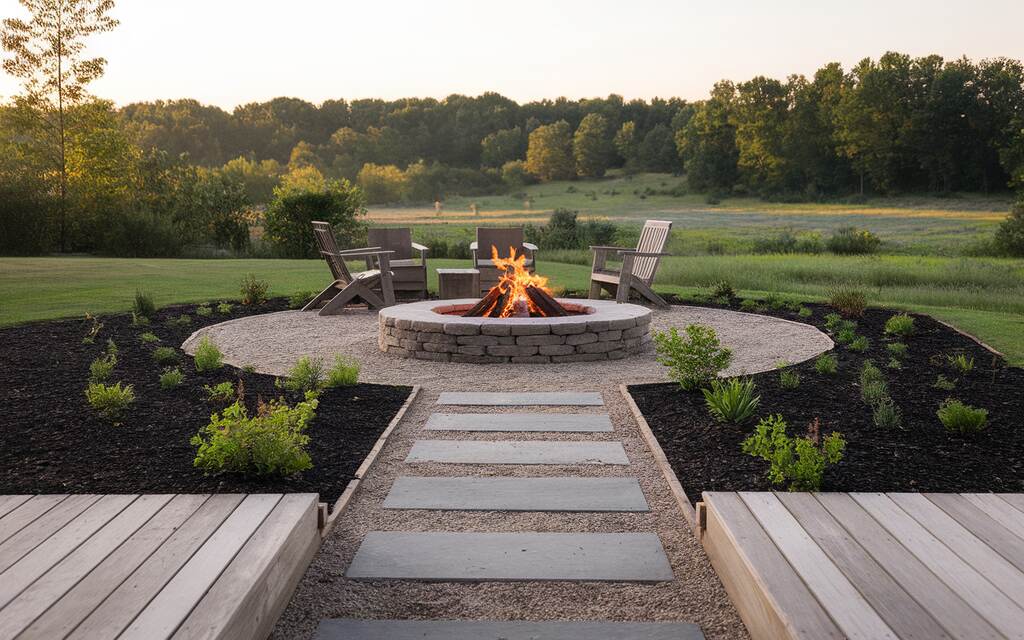
Transform how guests experience your backyard with a simple gravel path that crunches pleasantly underfoot. This sensory detail adds immediate charm while guiding visitors to your fire pit area.
Reclaimed brick or stone creates instant character without the designer price tag. Check construction site discard piles or community swap pages. One person’s leftover materials become your pathway masterpiece that looks established and intentional.
Inexpensive Lighting Options
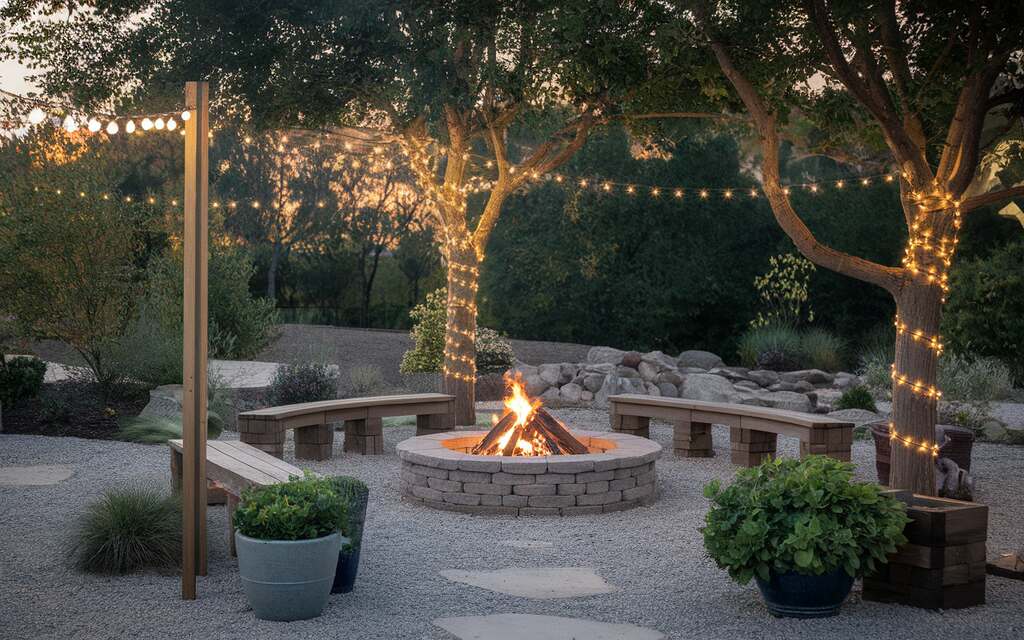
The warm glow of string lights transforms ordinary trees into magical canopies above your fire pit. Solar versions keep your electric bill unchanged while creating nightly ambiance.
Thrift store teacups holding tea lights create personalized lighting no one else will have. Place them on nearby surfaces or hang from branches with wire for a floating light effect that complements your fire’s dancing flames.
Conclusion
Your hands built it. Your budget remained intact. Now your backyard fire pit stands ready for memories that outvalue any expensive renovation. For less than $200, you’ve created a gathering spot where marshmallows toast and stories unfold. Children will remember these flames more vividly than any video game.
Friends will linger longer when offered a comfortable spot beside your fire. Why wait for “someday” when affordable materials sit ready at your local store? Start this weekend. Dig the first hole.
FAQs
How long does a DIY fire pit project typically take?
Most DIY fire pits take a weekend to complete. The simplest ring designs might only need 3-4 hours. Complex paver or stone designs could stretch to 2-3 days. Your experience level matters too. First-timers should add extra time for learning and adjustments. Planning saves significant time during the actual build.
Do I need special tools to build a low-cost fire pit?
Basic garden tools handle most fire pit needs. You’ll want a shovel, tape measure, level, and tamper. No power tools required for simple designs! A wheelbarrow helps move materials. Many home improvement stores rent specialty tools if needed. Gloves and safety glasses protect you during construction.
What’s the best way to make my fire pit child and pet safe?
Create a wide, non-flammable perimeter using gravel or pavers. Install a spark screen to catch flying embers. Consider a deeper pit with higher walls to prevent accidental contact. Keep a water source nearby. Establish clear family rules about fire pit usage. Supervise constantly. Never leave embers unattended.
What are the most common mistakes to avoid when building a budget fire pit?
Skipping proper foundation work causes shifting and cracking later. Using regular concrete blocks can explode when heated! Building too close to structures violates safety codes. Making the pit too large wastes fuel. Forgetting drainage creates a future mud pit. Not checking local regulations might result in fines.