Got problem areas in your yard that drive you crazy? I’ve helped hundreds of homeowners fix their worst landscape spots using liriope.
In this guide, you’ll learn proven design ideas that solve common yard problems. I’ll show you step-by-step planting techniques, creative layout ideas, and maintenance secrets.
After years of landscape design, I trust liriope more than any other plant for difficult areas. It works where grass fails and looks good year round.
You’ll learn choosing the right varieties, proper spacing techniques, and avoiding costly mistakes. Plus creative design ideas for pathways, slopes, and problem areas.
Your landscape headaches end today.
Why I Always Recommend Liriope for Gardens
Here’s what happened when I first tried liriope in my own yard.
I had this problem under my oak tree. Grass wouldn’t grow. The soil was terrible. Nothing seemed to work,so I planted liriope muscari.
Two years later, it looked like a professional landscape design. The area that used to embarrass me became my favorite part of the garden.
The Real Benefits You’ll Get
Liriope isn’t just another plant. It’s a problem solver.
You’ll love how it handles tough conditions. Drought? No problem. Deep shade? It thrives. Poor soil? Liriope doesn’t care.
The plant creates its own mulch as older leaves die back. This means fewer weeds and less work for you.
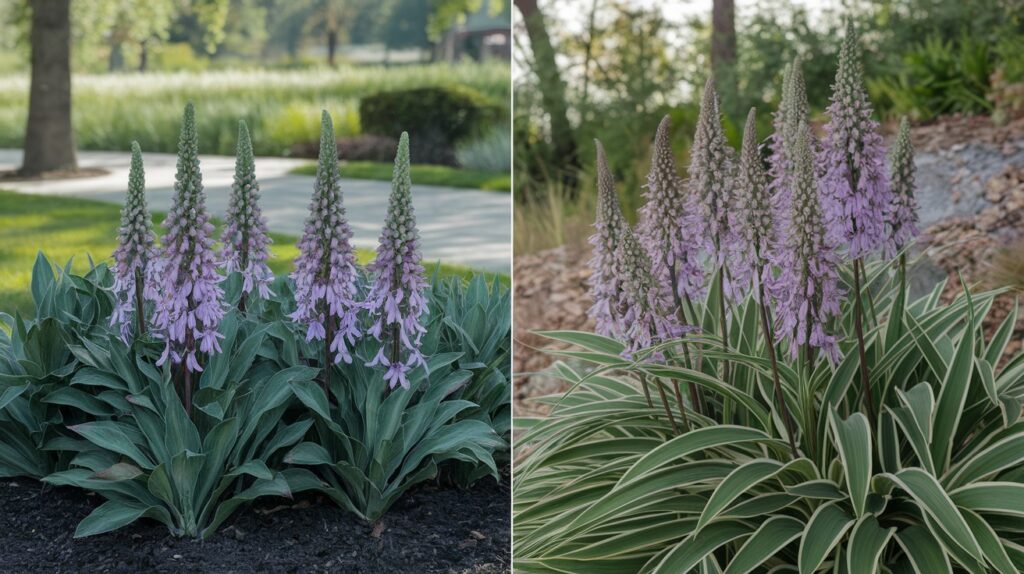
Plus, you get beautiful purple flowers in late summer. Most people don’t expect flowers from what looks like ornamental grass.
Ground Cover That Works
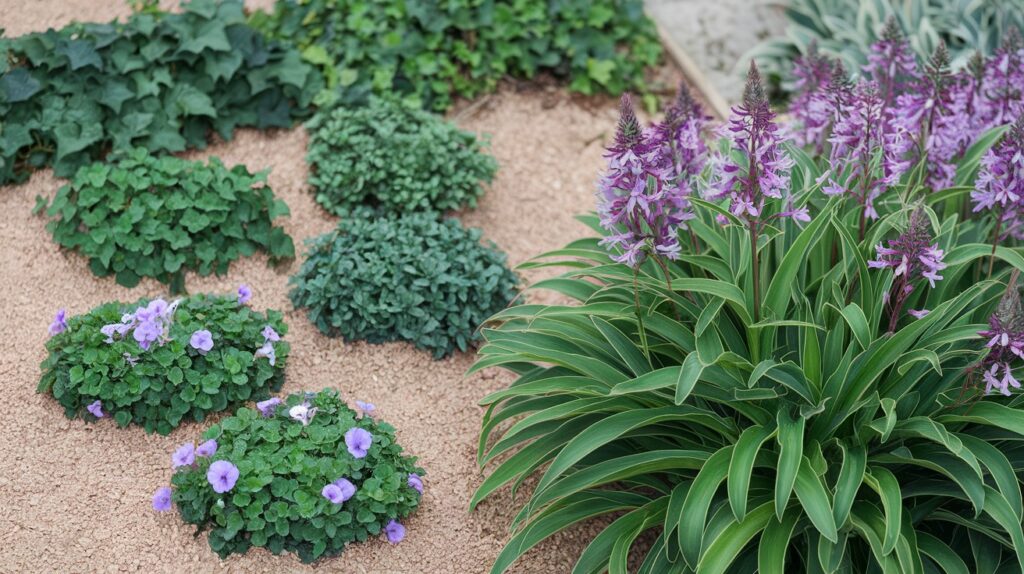
I’ve tried dozens of ground covers over the years. Most disappoint you,Ivy takes over everything. Pachysandra gets diseases. Vinca dies in winter,Liriope is different.
It stays where you put it. The clumping varieties won’t invade your neighbor’s yard. The spreading types fill in gaps without becoming weeds.
You can walk on it occasionally. Kids can play near it. And it bounces back from almost any damage.
My System for Liriope Design
I’ve refined this process through years of trial and error. Follow these steps, and you’ll avoid the mistakes that cost me time and money.
Step 1: Map Your Space
Don’t just walk around your yard and guess where to plant,Get specific measurements. I use a simple measuring tape and sketch pad.
Here’s what you need to document:
Areas that get morning sun vs afternoon sun, spots where water collects after rain, places where grass struggles or dies, traffic patterns where people actually walk.
Take photos from different angles. You’ll reference these later when choosing plants.Walk your property at different times of day. Sun patterns change dramatically from spring to fall.
Step 2: Choose Your Liriope Type
This decision makes or breaks your design.
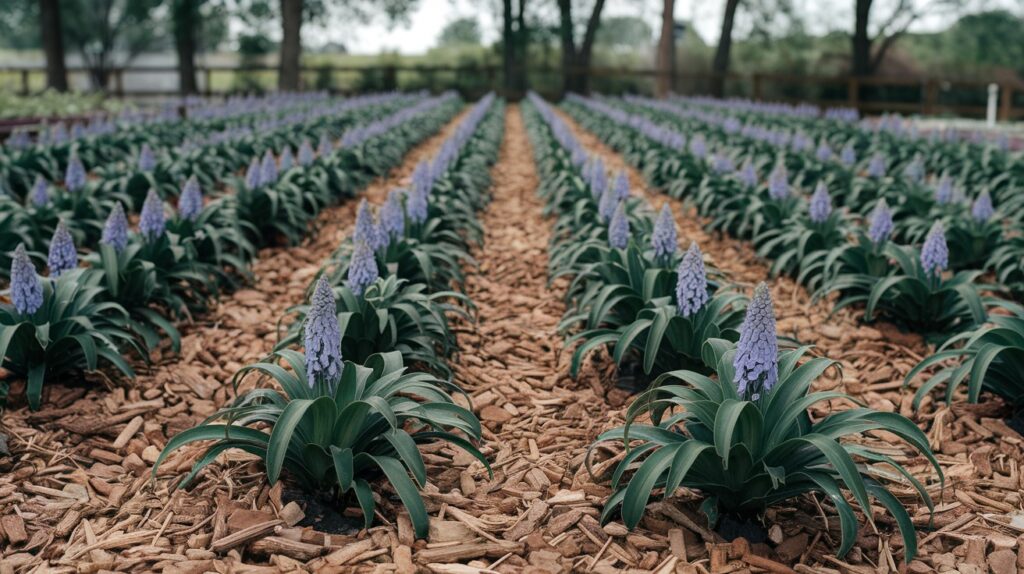
I use Liriope muscari for borders and defined areas. It forms neat clumps that slowly get bigger. Perfect for edging walkways or surrounding trees.
Liriope spicata works for large areas where you want coverage fast. It spreads underground and fills in gaps. Great for slopes and problem areas.
Here’s how I decide:
Need neat, controlled growth? Choose muscari. Want to cover large areas quickly? Pick spicata. Extremely cold winters? Spicata handles cold better. Hot, humid summers? Muscari performs better.
Step 3: Soil Prep That Works
Most people skip this step. Then they wonder why their plants struggle,Don’t plant in bad soil.
You don’t need perfect soil for liriope. But you need soil that drains. Standing water kills these plants faster than anything else.
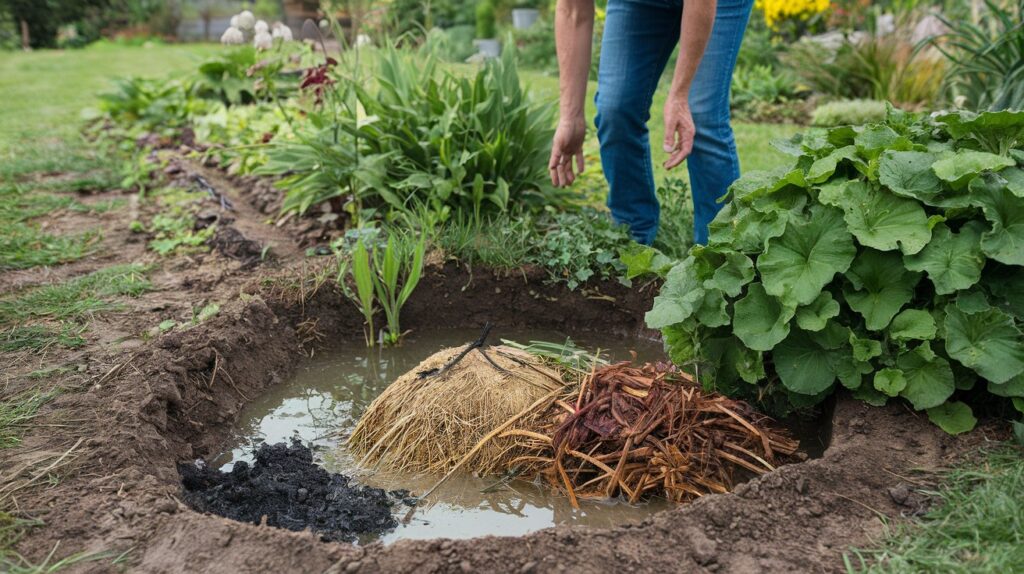
Here’s my simple soil test:
Dig a hole one foot deep. Fill it with water. Come back in 24 hours,Still has water? You need to improve drainage.
Add compost or aged manure. Mix it into the top 6 inches of soil. This improves both clay and sandy soils,Skip the fertilizer. Liriope grows better in average soil than rich soil.
Step 4: Plant at the Right Time
Timing matters more than you think,Spring planting works best for beginners. Plants have all growing season to establish.
Fall planting is my preference. Cooler weather reduces stress. Plants develop strong roots before summer heat.
Avoid planting in summer unless you can water religiously for the first month.
Step 5: Spacing That Looks Good
Here’s where most people mess up,They plant too close because they want instant results. Or too far apart because they’re cheap.
For muscari varieties, space them 15 inches apart. They’ll touch within two years,For spicata varieties, space them 20 inches apart. They’ll fill in the first growing season.
Yes, it looks sparse at first. Trust the process.
Fill gaps temporarily with annual flowers or extra mulch. Your patience pays off with healthier, longer lasting plants.
Creative Ways I Use Liriope
These ideas come from real projects I’ve completed. Each one solves specific problems while creating beautiful landscapes.
Pathway Borders
Traditional edging looks rigid and boring,Liriope creates soft, natural borders that define paths without looking artificial.
I plant liriope 2-3 feet back from paved paths. This creates a buffer zone that looks intentional. People naturally stay on the path without feeling restricted.
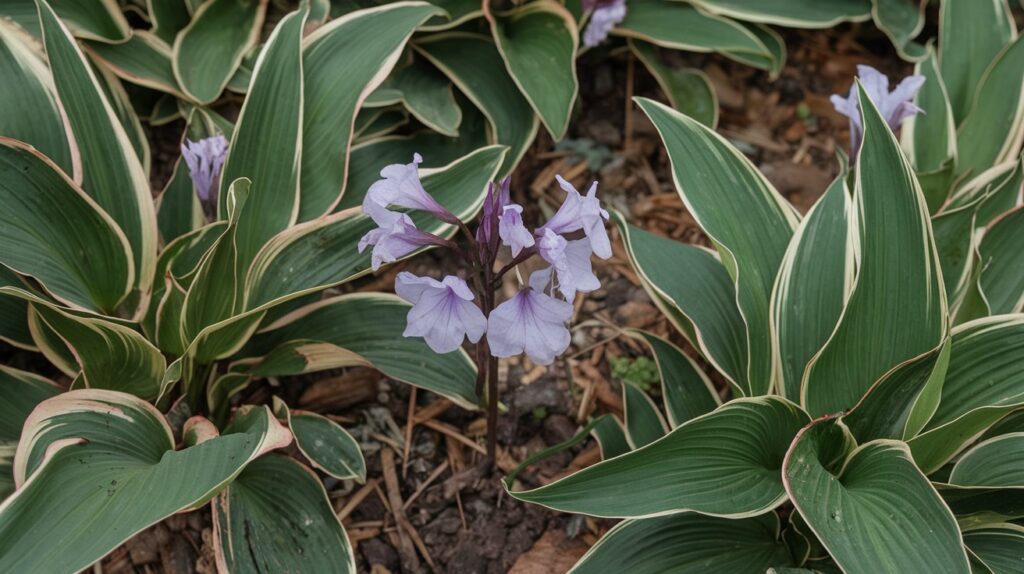
Use variegated liriope every fifth plant in the border. The cream and green leaves catch light and draw attention to important areas.
Curved borders work better than straight lines. Follow natural contours of your landscape for the most pleasing effect.
Tree Surrounds
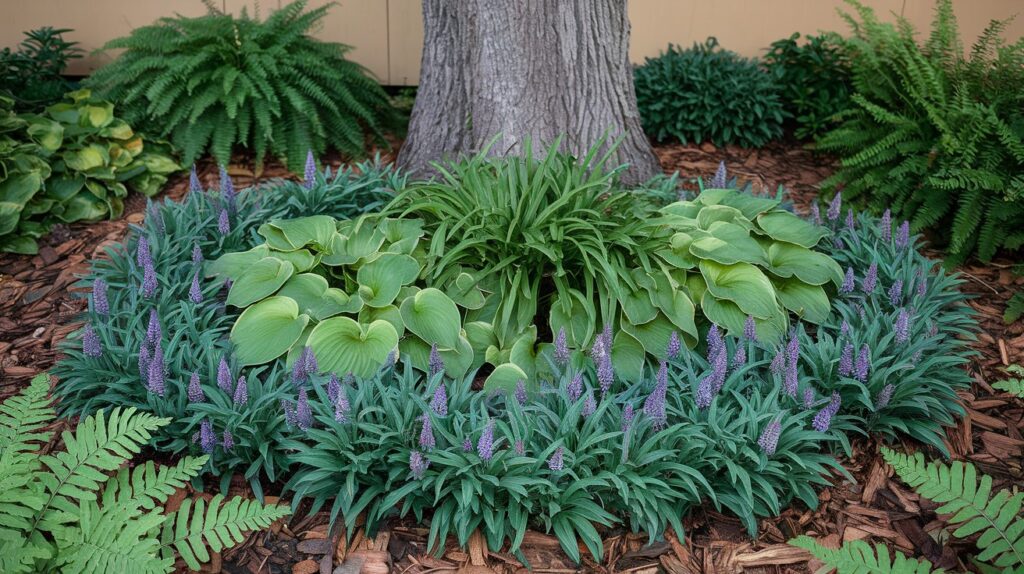
That area under your trees drives you crazy, right?Grass won’t grow because of shade and root competition. Bare soil looks terrible. Mulch washes away.
Liriope thrives in these conditions.
I start planting 3 feet from tree trunks. This gives you room to maintain the tree while protecting liriope from trunk diseases.
Create graduated circles around trees. Taller plants near the tree, shorter ones toward the edges. This creates natural-looking transitions.
Mix in other shade plants for more interest. Hostas, coral bells, and ferns complement liriope perfectly.
Slope Solutions
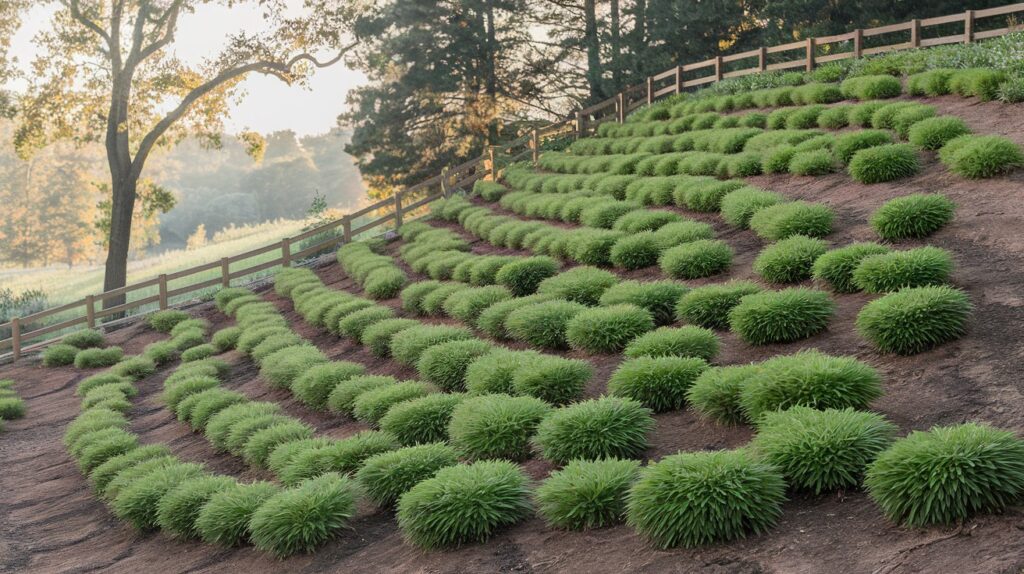
Steep slopes scare most gardeners. They shouldn’t scare you anymore,Liriope’s root system holds soil better than almost any other plant. Plus it looks good doing it.
Plant in staggered rows, not straight lines. This looks more natural and provides better erosion control.
I use spicata varieties for slopes because they spread and knit together quickly. The underground runners create a living net that holds everything in place.
Conclusion
Growing liriope successfully comes down to avoiding the mistakes I’ve already made. Don’tplant too close, crowded plants struggle, attract disease, and become nearly impossible to manage. Pay attention to drainage, because standing water can wipe out your entire planting in one season. And remember, low maintenance isn’t the same as no maintenance. Cut back old foliage each spring with clean, sharp tools, leaving 2-3 inches above the ground. Skip fall cutting so the leaves can protect and beautify your garden through winter. Follow these simple steps, and your liriope will stay healthy, resilient, and attractive year after year.
Frequently Asked Questions
Will liriope survive harsh winters?
Most liriope varieties handle cold down to zone 5 without problems. The foliage may brown in extremely cold weather but bounces back in spring.
Does liriope attract pests or animals?
Liriope is naturally pest resistant and deer usually avoid it completely. Slugs occasionally nibble leaves but rarely cause serious damage.
Can I grow liriope in containers?
Yes, liriope works well in large containers and raised beds. Choose muscari varieties for containers since they stay compact and won’t spread aggressively.
How do I divide overgrown liriope clumps?
Dig up the entire clump in early spring before new growth starts. Use a sharp spade to cut through the root mass and replant healthy sections immediately.
Will liriope choke out my other plants?
Muscari varieties stay in neat clumps and won’t overtake nearby plants. Spicata can spread aggressively, so plant it away from plants you want to protect.


