
Learning how to remove silicone caulk is easier than you think. I’ve completed this job dozens of times over the years, and I’m sharing what I know to help you succeed.
This guide walks you through each step of the process. You’ll learn which tools to use, how to soften stubborn caulk, and the best methods for cleaning different surfaces without damage.
I’ll share time-saving tricks and common mistakes to skip. We’ll cover bathrooms, kitchens, and more.
By the end, you’ll have the confidence to handle this yourself and get great results.
Understanding Silicone Caulk and Why Removal Can Be Tricky
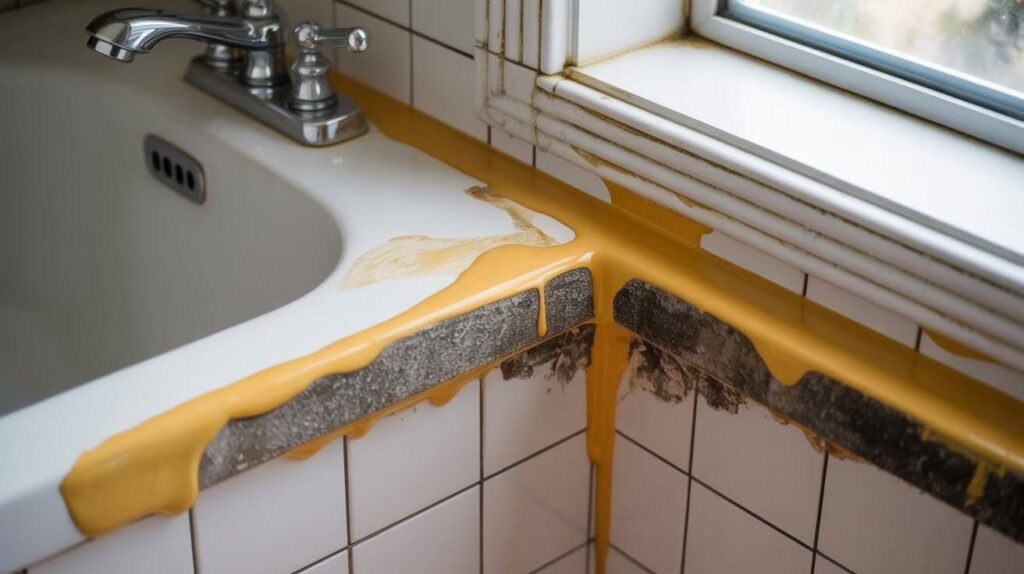
Silicone caulk is a waterproof sealant used around tubs, sinks, windows, and anywhere moisture needs to stay out. It’s incredibly durable, which is great for keeping water away but tough when you need to remove it.
The material bonds strongly to surfaces and leaves behind a slippery residue that fights against new caulk. You’ll need to remove the old caulk when it gets damaged, turns yellow or moldy, starts peeling, or simply looks outdated.
Re-caulking over old silicone never works because the two layers won’t bond properly. Complete removal is the only way to get a fresh, long-lasting seal.
Tools and Materials You’ll Need

Getting the right supplies makes this job much easier and protects your surfaces from damage.
Essential Tools:
You’ll need a plastic scraper or razor blade for lifting the old caulk without scratching. A utility knife helps cut through thick sections. I always keep a caulk removal tool on hand because it’s designed specifically for this job and makes the work faster.
Cleaning Agents:
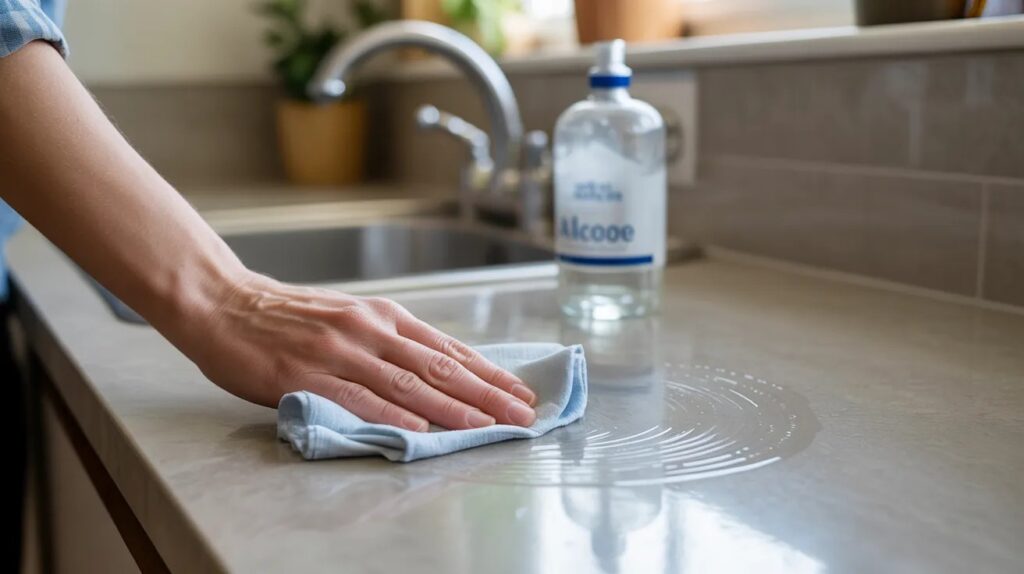
Rubbing alcohol is my go-to for softening silicone. It’s cheap and effective. Mineral spirits work well for tougher jobs. Commercial silicone removers are worth buying if you have a lot to remove. Keep dish soap and water ready for the final cleanup.
Safety Items:
Wear gloves to protect your hands from chemicals and sharp tools. If you’re using solvents in a small space, grab a ventilation mask. Fresh air matters when working with strong products.
Step-by-Step Guide: How to Remove Silicone Caulk
Follow these five steps for smooth, complete removal that prepares your surface for a new caulk.
Step 1: Soften the Existing Silicone
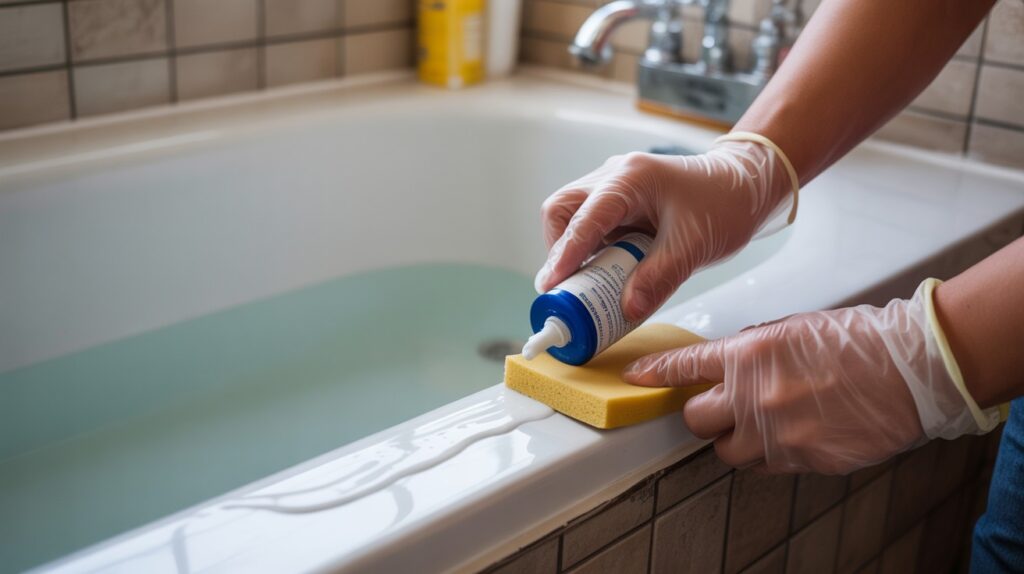
Start by applying rubbing alcohol or mineral spirits directly onto the caulk. Soak it well. Let it sit for 10 to 15 minutes so the silicone loosens up.
Test a small section by pressing it with your finger. If it feels slightly mushy, you’re ready to move on.
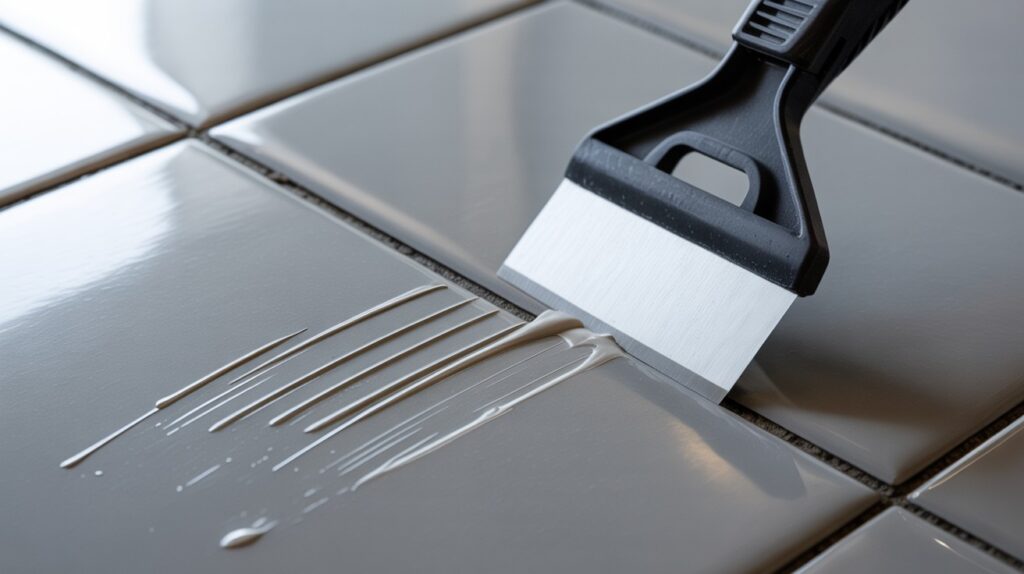
Step 2: Lift and Scrape the Silicone
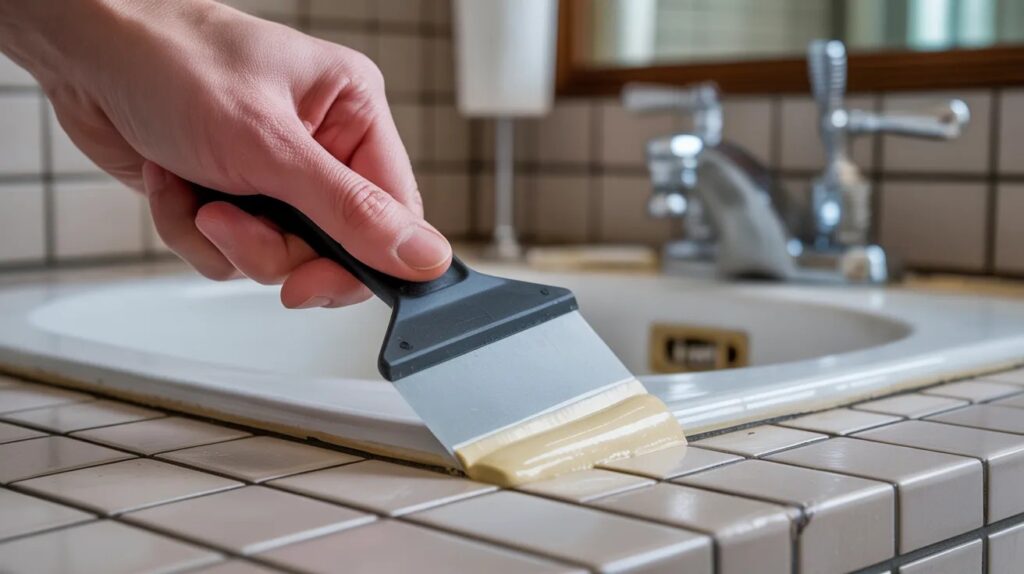
Hold your plastic scraper at a 45-degree angle. Push it under the caulk edge and work slowly. Don’t rush this part. Quick movements can scratch tile, fiberglass, or painted surfaces.
For curved areas or tight corners, use a smaller tool or the tip of your utility knife. Keep the blade flat against the surface.
Step 3: Apply Heat for Stubborn Areas
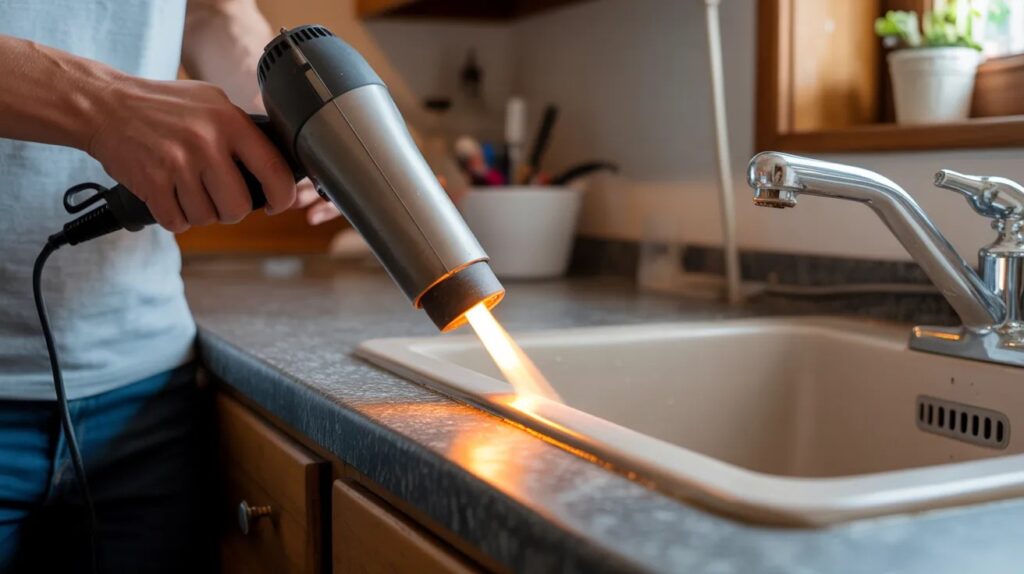
Some silicone just won’t budge. Grab a hairdryer and apply heat for 30 to 60 seconds. Keep it moving so you don’t damage the surface underneath.
The warmth makes the silicone pliable. If heat alone doesn’t work, switch to a commercial silicone removal product. Follow the label instructions carefully.
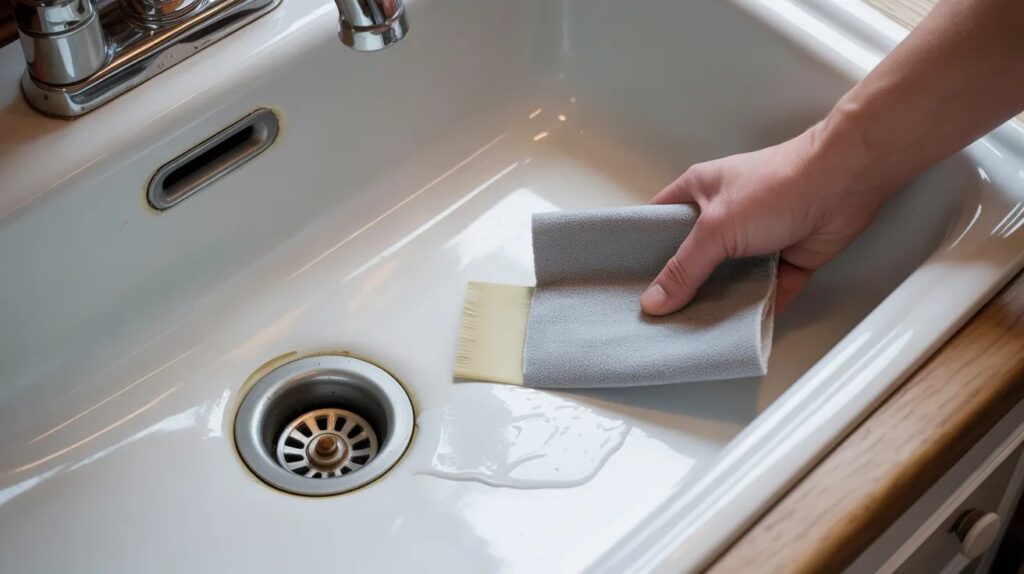
Step 4: Remove Residue Thoroughly
After scraping off the bulk, you’ll notice a thin film left behind. Do a second round of gentle scraping. Then wipe the area with alcohol or your chosen remover.
That oily residue is silicone too. Keep wiping with fresh cloth until the surface feels clean to the touch.
Step 5: Clean and Prepare the Surface
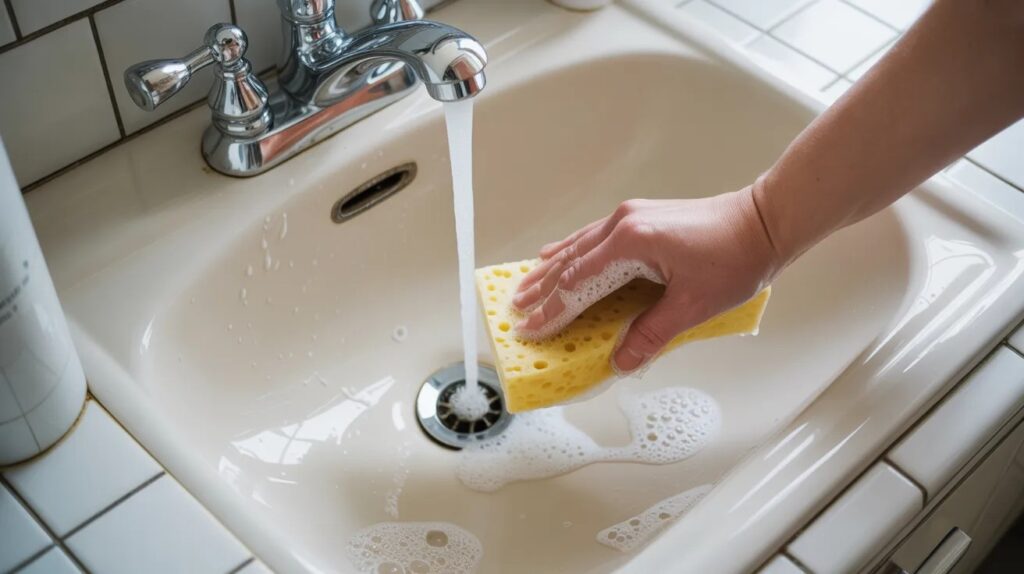
Wash everything with soap and warm water. This removes any remaining chemicals. If you spot mold, treat it with diluted bleach (one part bleach to ten parts water).
Let the surface dry completely before applying a new caulk. Moisture will ruin your fresh seal.
Removing Silicone Caulk from Different Surfaces
Each material needs specific care to avoid damage during removal.
Fiberglass or Gelcoat (RVs, Boats, Showers)

These surfaces scratch easily, so stick with plastic scrapers only. Use rubbing alcohol or a gentle commercial remover designed for fiberglass. Metal tools will leave permanent marks you’ll regret. Work slowly and check your progress often.
Enamel or Porcelain Sinks
Alcohol and heat work well here. Apply alcohol first, then use low heat from your hairdryer. Scrape carefully with plastic tools. Porcelain chips if you’re too aggressive, so use light pressure. Check for scratches as you go.
Tile, Glass, and Smooth Surfaces
This is the easiest combo to clean. Glass and glazed tile are durable. You can use slightly more pressure here. Alcohol is usually enough, but mineral spirits handle stubborn spots. A razor blade works fine on glass if you keep it flat.
Wood and Painted Surfaces
Be extra careful here. Test any solvent on a hidden spot first to make sure it won’t damage the finish. Use minimal liquid and work fast. Plastic tools only. Wood can absorb solvents and stain, while paint may soften or peel.
Tips to Avoid Future Silicone Caulk Messes
Prevention saves hours of cleanup later.
- Apply painter’s tape along both edges before caulking, press firmly, then remove it immediately after smoothing for clean, professional lines
- Choose silicone caulk for wet areas like bathrooms and showers where water resistance matters most
- Use acrylic latex caulk for dry spaces and anywhere you need to paint over the seal later
- Cut the tube tip at a 45-degree angle and start with a small opening (you can always make it bigger)
- Practice your technique on cardboard first if this is your first time caulking
- Smooth the bead with your finger within a few minutes before it starts to set up
Common Mistakes to Avoid
Learn from these errors so you don’t repeat them.
- Never use metal scrapers on anything except glass, they leave permanent scratches on tubs, sinks, and tile
- Don’t apply new caulk over old silicone residue, it won’t bond and will peel off within weeks
- Avoid rushing the softening process, give alcohol or solvent at least 10-15 minutes to work properly
- Stop trying to scrape too soon, you’ll just tear the silicone into tiny pieces that are harder to clean
- Don’t skip the final cleaning step, that invisible residue will ruin your fresh caulk job
Recommended Products for Easy Silicone Removal
These products make the job faster and easier.
- DAP Silicone-Be-Gone works well on most surfaces and won’t break your budget
- McKanica Silicone Remover handles industrial-strength silicone when regular products fail
- DeBond Marine Formula is specifically designed for boats, RVs, and gelcoat surfaces
- Rubbing alcohol (70% or 91%) costs under $5 and works surprisingly well for most jobs
- Mineral spirits are another affordable household option available at any hardware store
- A basic hairdryer provides enough heat for stubborn sections without buying special tools
Conclusion
Removing silicon caulk is not a quick project, but you can do it. I have used these processes on everything from adjusting the height of a shower curb to resealing kitchen sinks.
The steps are simple: make it soft, work slowly, clean thoroughly.
Last month I spent an afternoon removing a 20-year-old caulk from my guest bathroom. Seeing that fresh and clean seal was worth every minute!
Now you need to do it, questions, or want to share what your experience is? Please leave a comment below, I can’t wait to hear how your project goes!
Frequently Asked Questions
How long does it take to remove silicone caulk?
Most small jobs take 30 to 60 minutes. Larger areas or stubborn old caulk can take two to three hours. The softening time is what slows you down.
Can I use vinegar to remove silicone caulk?
Vinegar doesn’t work well on silicone. It’s too weak to break down the bonds. Stick with rubbing alcohol, mineral spirits, or commercial removers for better results.
Will a razor blade scratch my bathtub?
Yes, on most surfaces. Only use razor blades on glass. For fiberglass, acrylic, porcelain, or enamel tubs, use plastic scrapers to avoid permanent scratches.
How do I know if all the residue is gone?
Run your finger across the surface. If it feels slick or greasy, there’s still residue. The surface should feel completely clean and slightly rough to the touch.
Can I apply a new caulk immediately after removing the old?
No. Clean the area thoroughly with soap and water, treat any mold, and let it dry completely. Wait at least a few hours or overnight for best adhesion.