
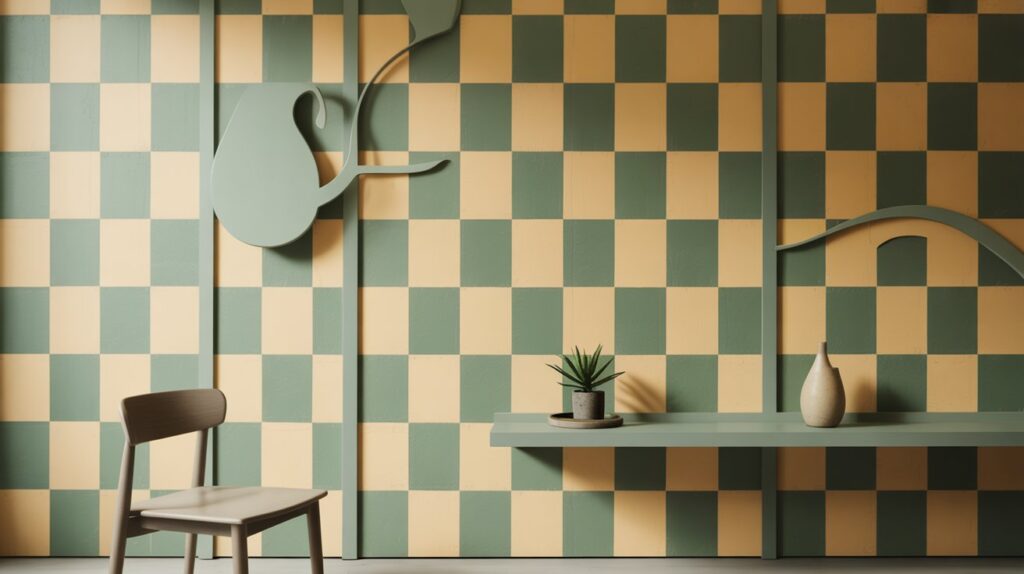
A checkerboard pattern features alternating squares in two colors, creating a classic grid design. This timeless look has become a favorite for walls, floors, and furniture makeovers.
Why do people love it? It adds instant visual interest to any room. The bold geometric style works in kitchens, bathrooms, and even outdoor spaces. Plus, it’s surprisingly simple to create yourself.
You don’t need to be an expert painter to pull this off. With basic supplies and a clear plan, you can change a plain surface into something special.
The process involves measuring, taping, and painting in stages. The result? A professional-looking pattern that makes any space stand out.
Why Paint a Checkerboard Pattern?
Checkerboard designs add structure and visual interest to any space. They work on walls, floors, furniture, and even outdoor surfaces.
This project is budget-friendly. You only need two paint colors and basic supplies. Plus, the pattern hides wall imperfections while making rooms look more polished.
You can customize it to match your style. Choose bold contrasts or subtle tones. The pattern adapts to any room and decor.
What You’ll Need for Painting a Checkerboard Wall
Getting your supplies ready first makes the job easier. Here’s everything you should have on hand before you start.
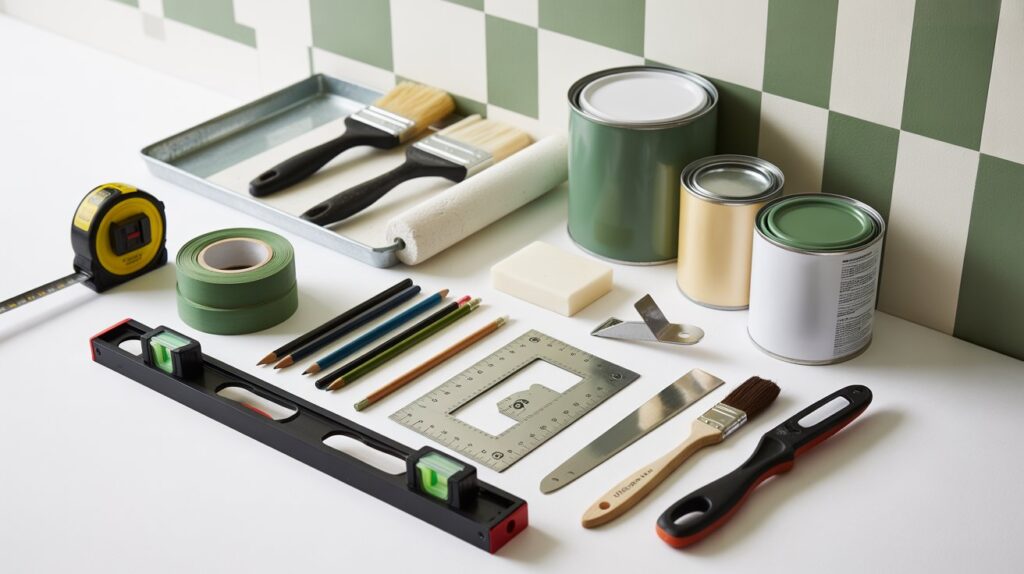
Tools
You’ll need a tape measure to mark your squares accurately. A laser level or spirit level keeps your lines straight. FrogTape or decorator’s tape creates clean edges between colors.
Grab a set square to check your corners are perfect. Keep a pencil and eraser nearby for marking. A craft knife helps remove tape without damaging your work.
Paint Supplies
Start with a primer to prepare your surface. Choose two paint colors that work well together.
A large roller covers big areas quickly. Use a small roller for tighter spots. Paint brushes help with edges and touch-ups. Don’t forget paint trays for easy access to your colors.
Having everything ready means you won’t need to stop halfway through your project.
How to Paint a Checkerboard (5 Simple DIY Steps)
Follow these five straightforward steps to create your checkerboard pattern. Each one builds on the last for a clean, professional finish.
Step 1: Prep the Wall
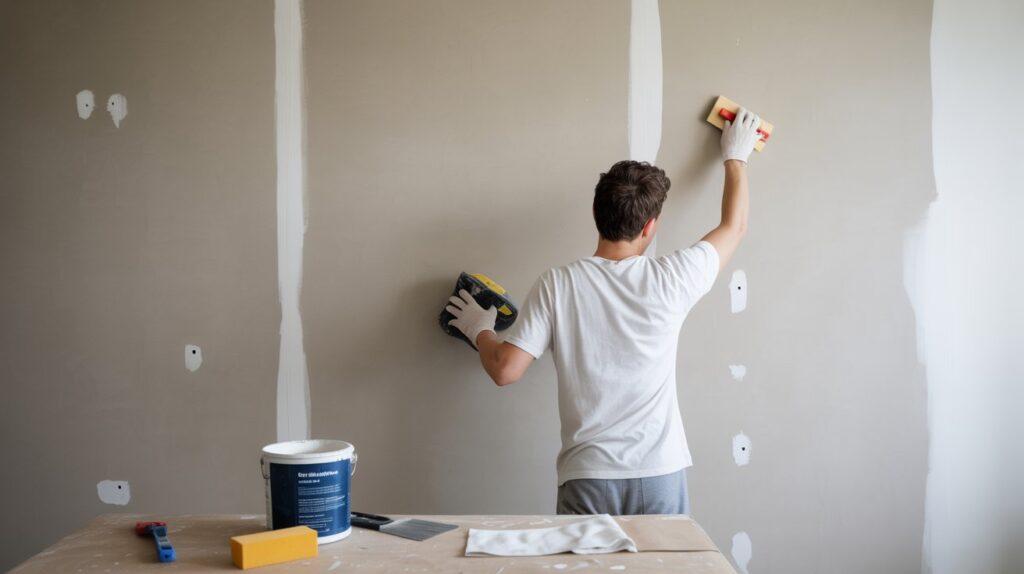
Start with a clean surface. Wipe down your wall to remove dust and dirt. Fill any holes or cracks with spackle. Let it dry, then sand lightly until smooth.
If your wall has dark colors or stains, apply primer. This helps your paint look better and last longer. Wait until everything is completely dry before moving forward.
Step 2: Paint the Base Coat
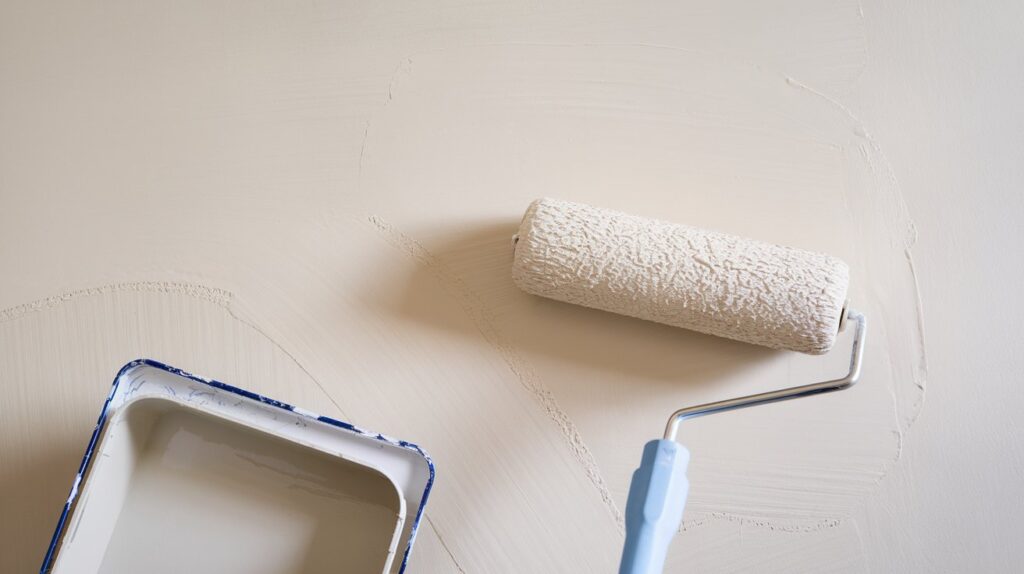
Choose your lighter color for the base. This will be half of your checkerboard squares. Roll on your first coat evenly across the entire wall.
Let it dry fully, then add a second coat. Two coats give you solid coverage without streaks. Wait at least 24 hours before you start taping. Rushing this step can ruin your pattern.
Step 3: Measure and Mark the Checkerboard Grid
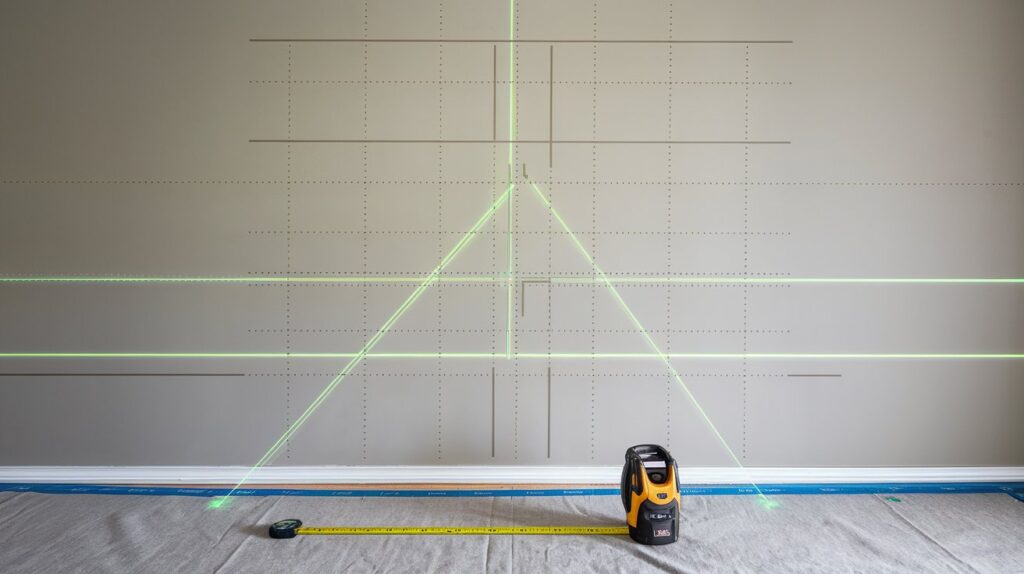
Pick your square size based on your wall dimensions. Common sizes are 6, 8, or 12 inches. Use your laser level to draw straight horizontal lines. Space them evenly from top to bottom.
Now add vertical lines the same distance apart. Double-check your measurements as you go. Mark lightly with pencil so you can erase mistakes easily.
Step 4 – Tape the Pattern and Seal the Edges
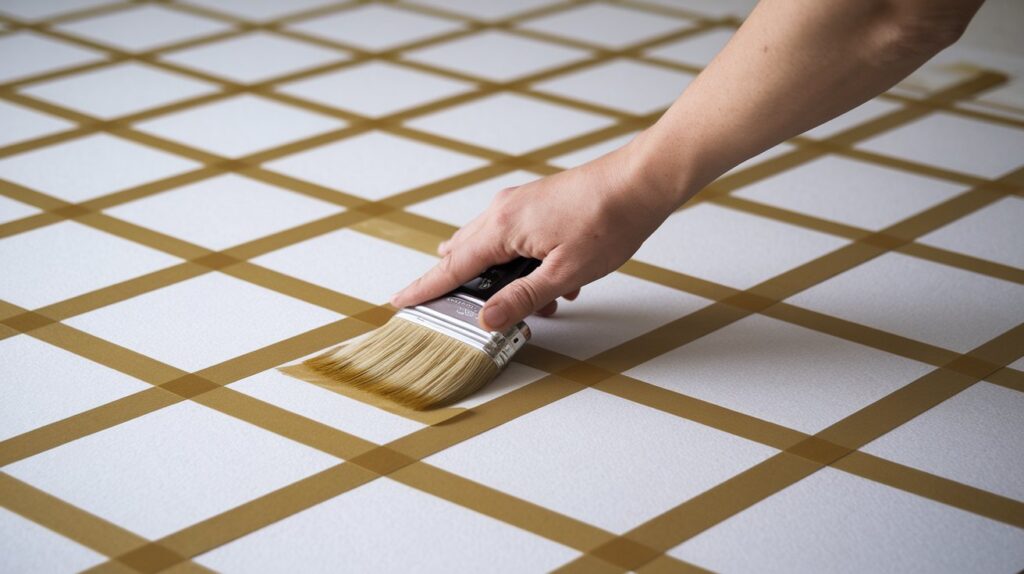
Place tape along your pencil lines carefully. You’ll tape off every other square in a checkerboard pattern. Press the tape down firmly so paint won’t seep underneath.
Here’s a pro tip: paint over the tape edges with your base color first. This seals any gaps. When you apply your second color, the lines will be perfectly crisp and clean.
Step 5: Paint the Checkerboard Squares & Reveal
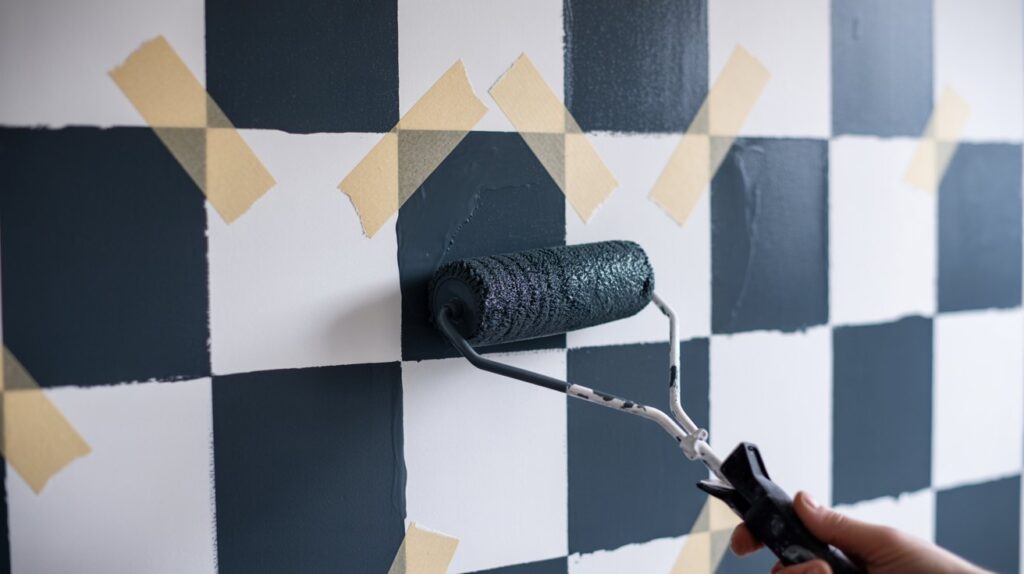
Use your darker color to fill in the taped squares. A small roller works best for control. Apply two or three thin coats rather than one thick coat.
Remove the tape while your final coat is still slightly damp. Pull it back slowly at an angle. Fix any small bleeding with a thin brush. Stand back and admire your finished checkerboard wall.
Pro Tips for a Perfect Checkerboard Pattern
- Invest in good-quality painter’s tape. Cheap tape often bleeds or leaves residue that ruins your clean lines.
- Work on one section at a time instead of the whole wall. This keeps you focused and reduces the chance of errors.
- Turn on all your lights while measuring and painting. Bright lighting helps you spot mistakes before they become problems.
- Pick colors with strong contrast for the best visual impact. Light and dark combinations make your pattern stand out clearly.
- Let each layer dry completely before adding tape or more paint. Patience prevents smudging and keeps your edges sharp.
- Step back frequently to check your progress from a distance. What looks good up close might need adjustment from far away.
Popular Checkerboard Color Ideas
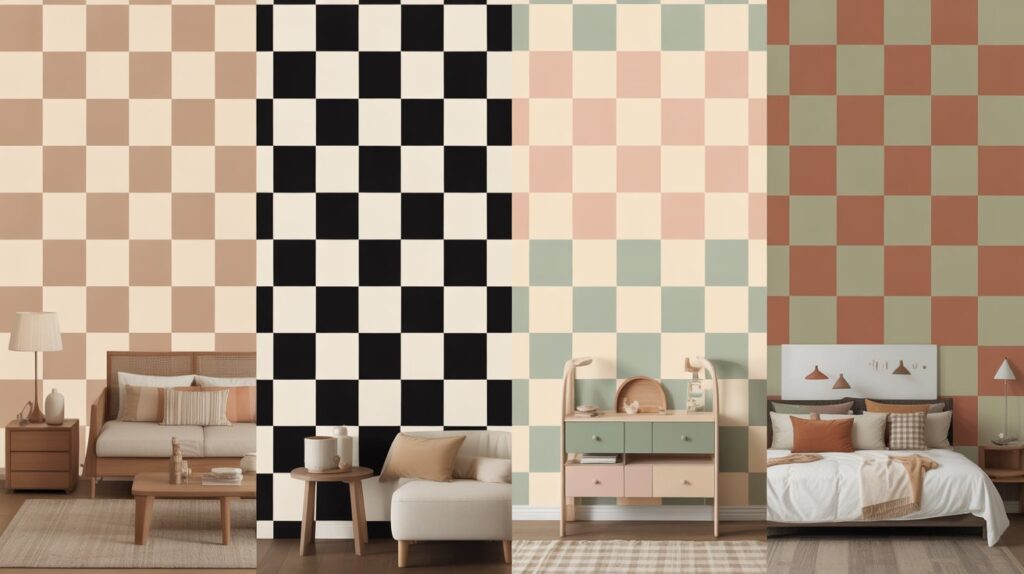
Your color choice sets the mood for your entire space. Here are four popular combinations that work in different rooms and styles.
1. Classic neutrals
Beige and cream create a subtle, timeless look. These soft tones work in any room without overwhelming your space. They pair well with wood furniture and natural textures for a warm, inviting feel.
2. Bold black & white
This high-contrast combo makes a strong statement. It’s perfect for modern kitchens, bathrooms, or accent walls. The sharp lines give any room a clean, graphic feel that never goes out of style.
3. Soft pastels
Try mint green and white or blush pink and cream. Pastel checkerboards add a gentle, playful touch to nurseries and bedrooms. They feel fresh and cheerful without being too loud or overwhelming.
4. Earthy modern tones
Terracotta and sage green bring warmth to your walls. These natural colors feel current and calming at the same time. They work beautifully in living rooms and dining spaces for a grounded aesthetic.
Conclusion
You now have the complete five-step process to create your own checkerboard wall. Prep your surface, apply the base coat, measure your grid, tape carefully, and paint those alternating squares.
If you’re new to painting projects, don’t worry. This technique is more forgiving than it looks. Take your time with each step and the results will speak for themselves.
Here’s my final tip: always seal your tape edges with the base color before applying your second shade. This one trick makes all the difference between okay lines and razor-sharp ones.
Grab your supplies and get started. Your room is about to get a whole lot more interesting.
Frequently Asked Questions
What size should I make my checkerboard squares?
The ideal square size depends on your wall dimensions. Most people choose between 6 to 12 inches, with 8 inches being the most common for standard walls.
Can I paint a checkerboard on textured walls?
Yes, but smooth walls give the best results. If your wall has a heavy texture, consider sanding it down first or applying a skim coat for cleaner lines.
How long does the entire project take?
Plan for 2 to 3 days total. This includes drying time between coats, measuring, taping, and painting your pattern with proper breaks in between.
Do I need to use a primer before painting?
Primer is recommended if your wall is dark, stained, or unpainted. It helps your base coat cover evenly and makes your colors look true to their shade.
What’s the best tape to prevent paint bleeding?
FrogTape or quality painter’s tape works best. Press it down firmly and seal the edges with your base color before applying the second shade for perfect lines.