
Wondering if you can really install a backsplash yourself? You absolutely can.
I’ve installed dozens of peel and stick backsplashes in my own home and helped friends with theirs. This guide shows you exactly how to do it right the first time.
You’ll learn what tools you need, how to prep your walls, and the step-by-step installation process. I’ll also share common mistakes that ruin installations and how to avoid them.
No confusing jargon. No skipped steps. Just clear instructions that work.
I’ve made every mistake in the book so you don’t have to. Your kitchen makeover starts here with a method that actually works for regular people like us.
What is Peel and Stick Backsplash?
Think of it as the smart cousin of traditional tile.
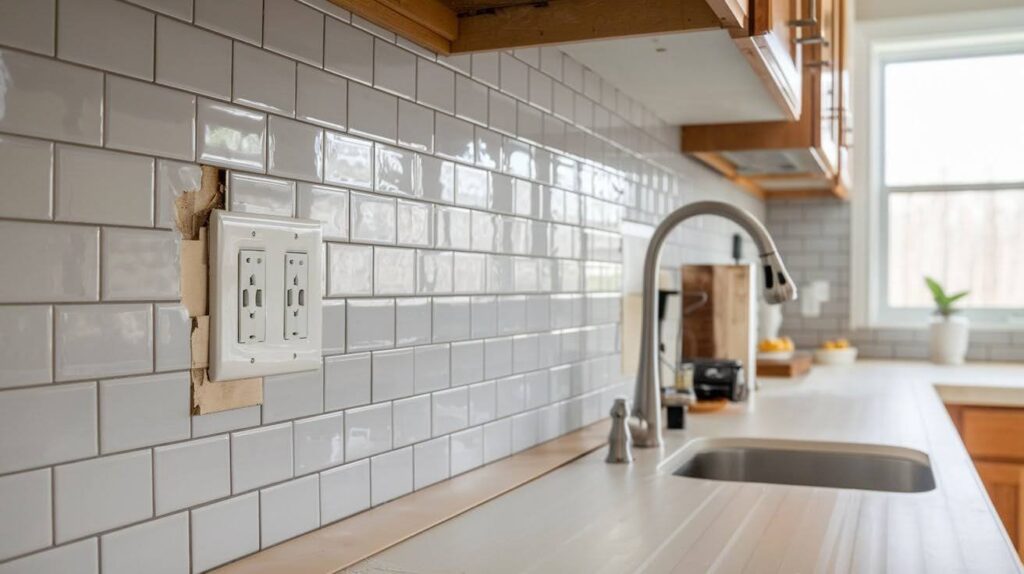
Peel and stick backsplash tiles have a strong adhesive backing. You literally peel off the paper and stick them to your wall. No mortar, no grout, no professional installation needed.
They come in tons of styles. Stone looks, subway tiles, metal finishes. You name it.
Here’s what I love most: guests can’t tell the difference from real tile.
Tools and Materials You’ll Need
Don’t worry. You won’t need a truck full of equipment.
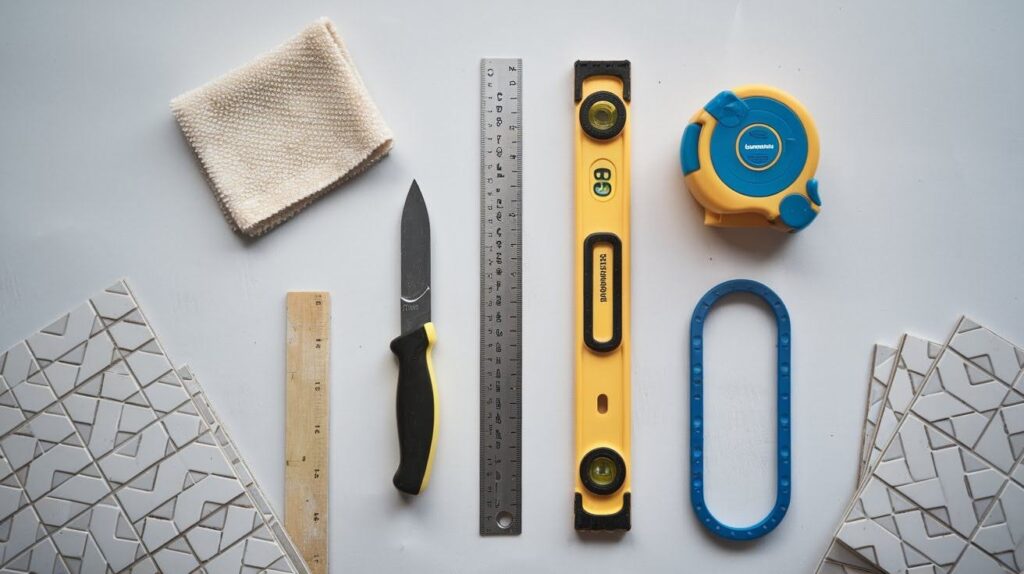
Essential tools:
- Utility knife with sharp blade
- Metal ruler or straight edge
- Small level
- Smoothing tool or plastic card
- Clean cloth
- Measuring tape
Materials:
- Your peel and stick tiles
- Primer if your walls are textured
- Degreaser or TSP cleaner
That’s it. No tile saw, no mixing buckets, no sore knees.
Preparing Your Wall for Installation
This step makes or breaks your project.
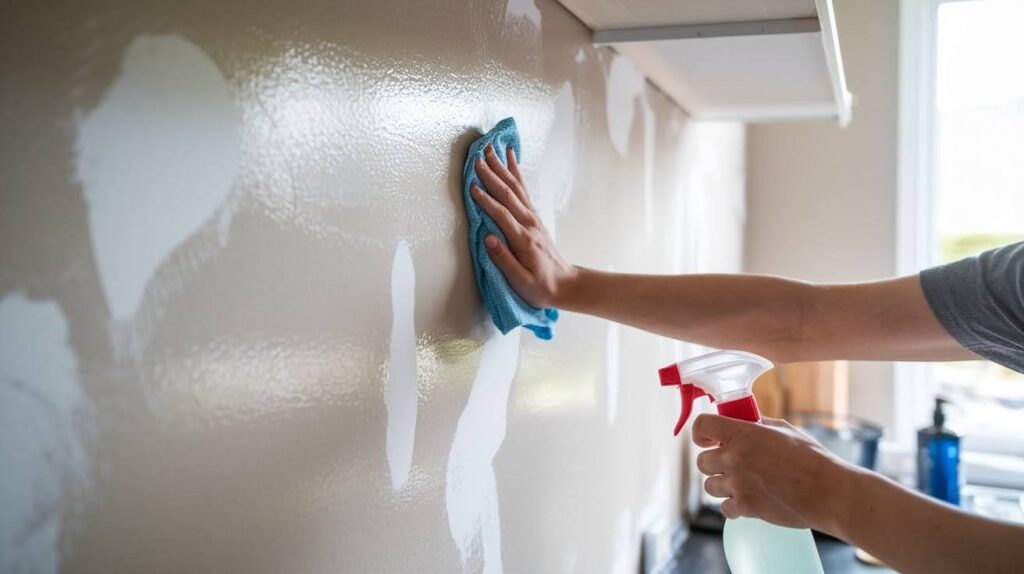
Start with a clean wall. I mean really clean. Grease, dust, and grime will make your tiles fall off faster than you can imagine.
Use a degreaser around the stove area. I learned this the hard way when my first tiles started peeling within weeks.
Check your wall texture. Smooth walls work perfectly. If yours are textured, you’ll need primer to create a smooth surface.
Fill any holes or cracks with a spackling compound. Sand smooth when dry.
Here’s what I missed on my first try: let everything cure completely before moving forward.
Step-by-Step Guide: How to Install Peel and Stick Backsplash
Ready to change your kitchen? Let’s do this.
Step 1: Measure and Plan Your Layout
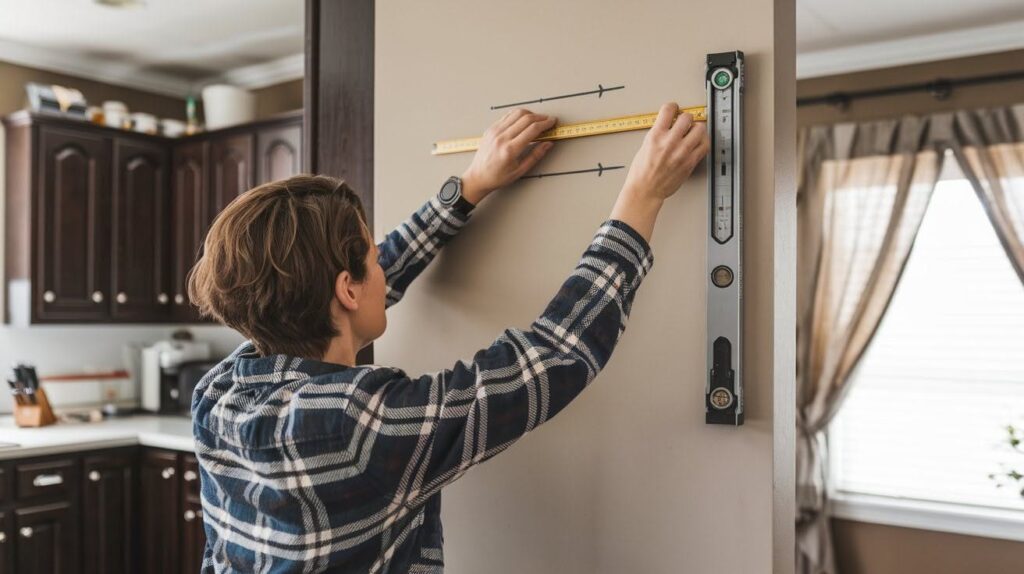
Start from the center of your wall and work outward. This prevents tiny slivers at the edges.
- Mark your center point with a pencil
- Use your level to draw a vertical line
- Dry fit a few tiles first to see where cuts fall
Step 2: Cut the Tiles to Size
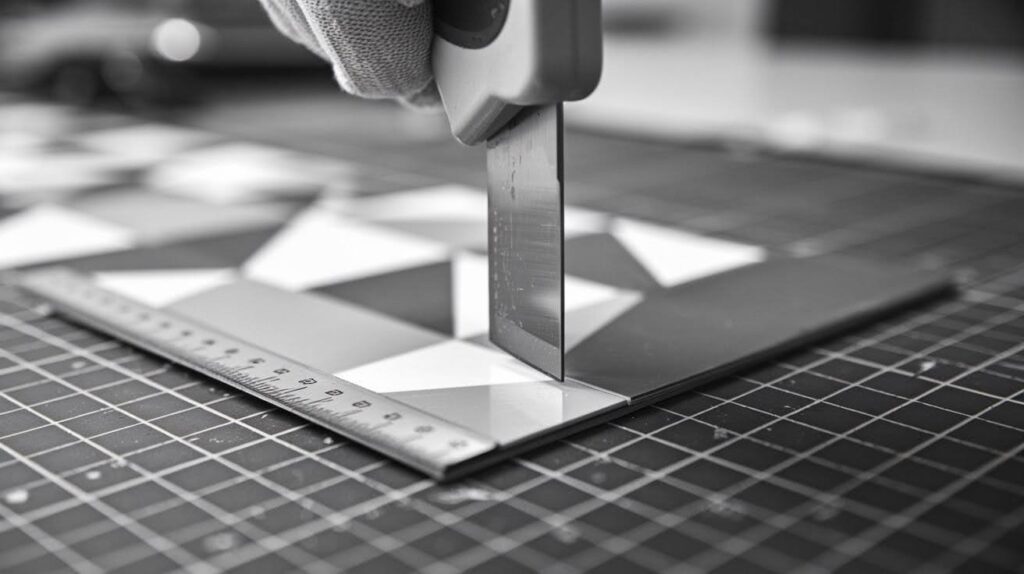
Sharp blade equals clean cuts.
- Use utility knife for straight cuts
- Score the tile face, then snap clean
- Use sharp scissors for curves around outlets
- Change your blade often for clean edges
Step 3: Peel Off Backing Paper Carefully
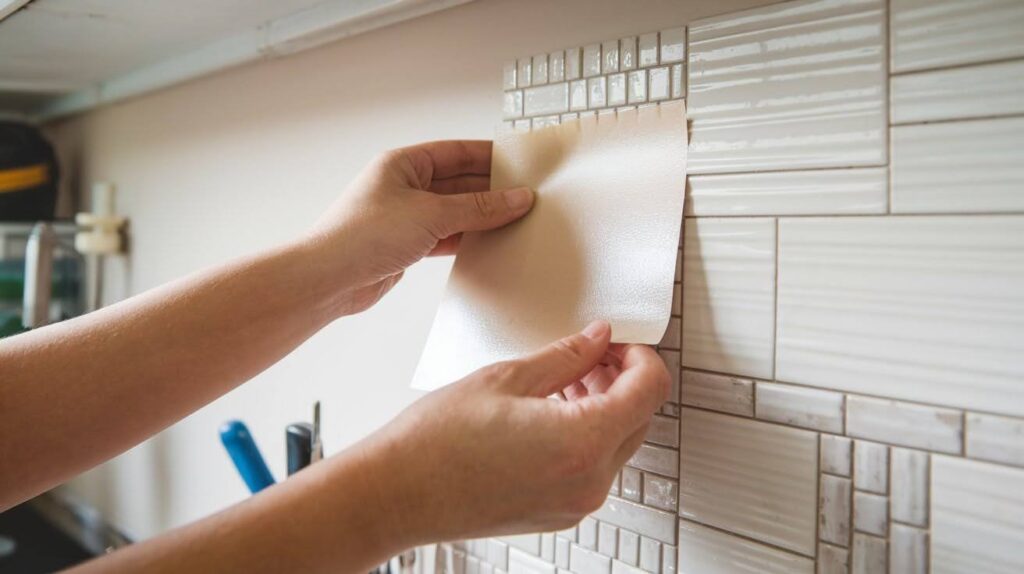
Go slow here. Once the adhesive hits your wall, you get one shot at placement.
- Don’t rip off the entire backing at once
- Peel back just enough to start positioning
- Keep backing paper pieces for templates
Step 4: Align and Stick From Bottom Up
Start at the bottom center of your installation area.
- Press exposed adhesive to wall
- Slowly remove more backing while pressing down
- Work from center outward to avoid bubbles
- Check alignment every few tiles with your level
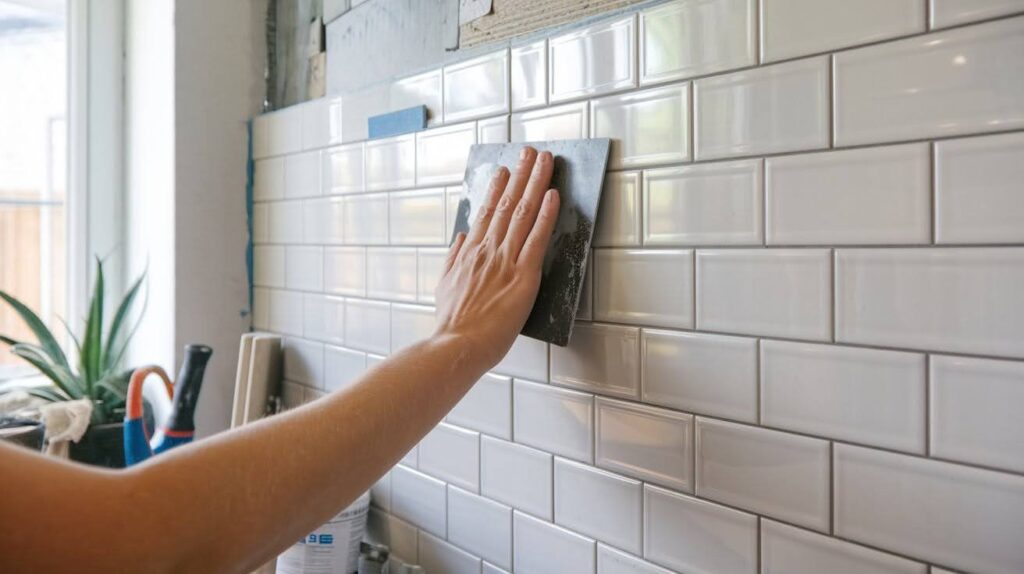
Step 5: Smooth Out Air Bubbles
Bubbles will ruin your finish.
- Use smoothing tool or plastic card
- Push air toward edges from center
- Prick stubborn bubbles with a pin
- Small bubbles often disappear as adhesive sets
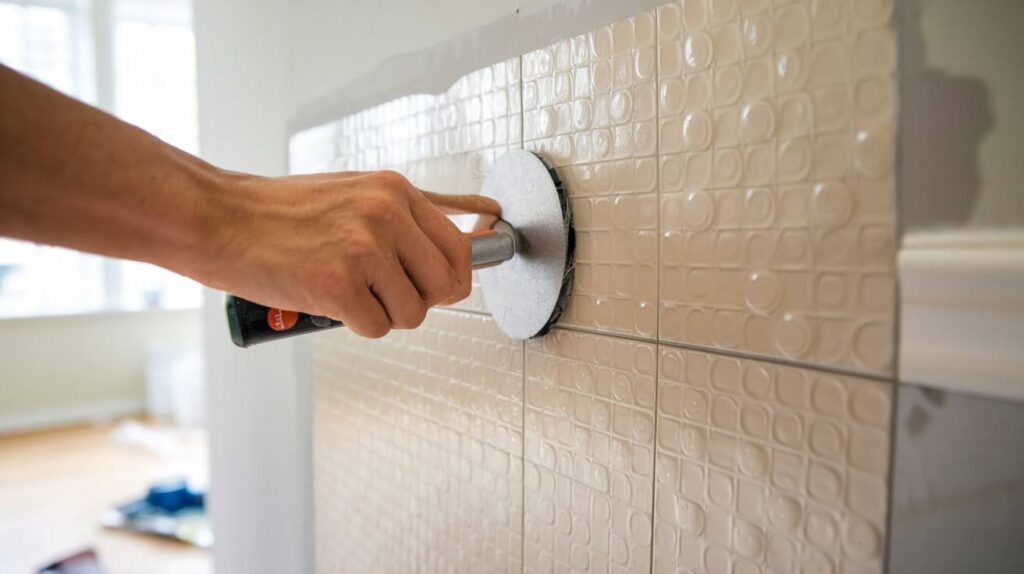
Step 6: Continue Row by Row
Work your way up one row at a time.
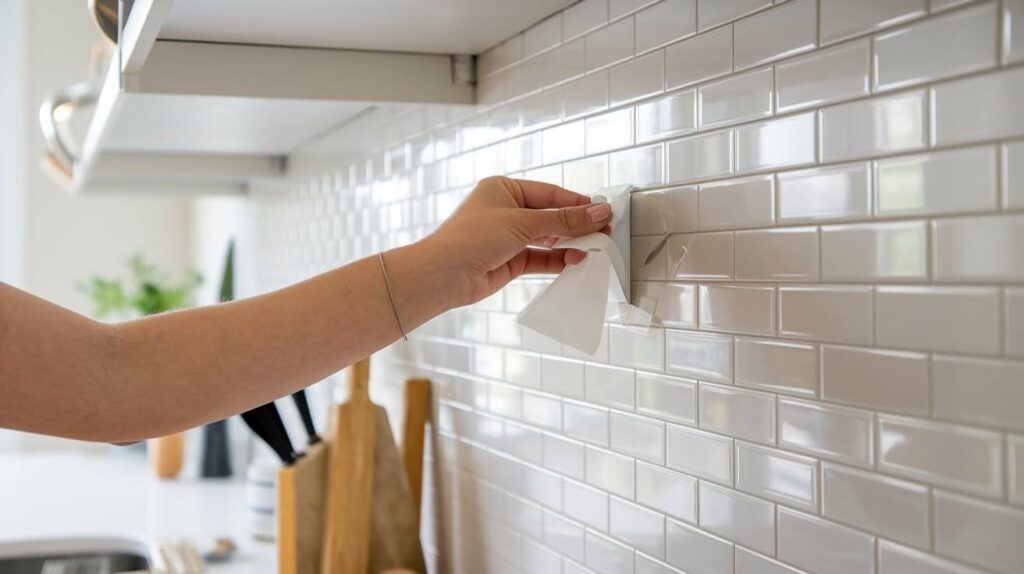
- Turn off power before working around outlets
- Remove outlet covers first
- Cut tiles smaller rather than bigger
- Measure each corner piece individually
Common Mistakes to Avoid
I’ve made these mistakes so you don’t have to.
Rushing the prep work. Clean walls are everything. I skipped this once and spent a weekend redoing tiles that fell off.
Not checking for level. Crooked first rows mean crooked entire installations.
Stretching tiles during installation. This causes them to pull away later.
Installing in cold weather. Adhesive works poorly below 65 degrees.
The biggest mistake? Not planning for partial tiles at edges. Always start from center.
Tips for a Great Looking Finish
Want your DIY job to look professional?
- Keep consistent spacing. Even tiny gaps between tiles should match.
- Use a template for repeated cuts around outlets and switches.
- Install outlet covers last. New covers often look better anyway.
- Take photos as you go. This helps if you need to remove tiles later for repairs.
- Work in good lighting. You’ll catch mistakes before they become problems.
Maintenance and Longevity
Good news: peel and stick backsplashes are low maintenance.
- Clean with mild soap and water. Avoid harsh chemicals that might weaken the adhesive.
- How long do they last? Quality tiles can look good for 5-10 years with proper installation.
- Worried about removal? They usually come off cleanly if you need to change styles later.
- Keep hot pots away from the backsplash. High heat can soften the adhesive.
Cost and Time Comparison
Let’s talk numbers.
| Factor | Traditional Tile | Peel and Stick |
| Materials | $200-800 | $50-300 |
| Labor | $400-1,200 | Free |
| Time | 2-3 days | 4-8 hours |
| Total Cost | $600-2,000 | $50-300 |
You can finish a peel and stick backsplash in one weekend.
Here’s the tradeoff: traditional tile typically lasts longer and adds more home value.
Conclusion
You now have everything you need to install your own peel and stick backsplash. I’ve walked you through every single step from prep to final touches.
You can finish this project in one weekend and save hundreds of dollars.
Remember what I learned the hard way: clean walls and careful measuring make all the difference. Take your time with prep work and you’ll get great results.
Your kitchen is waiting for this upgrade. Pick your favorite tile style and get started this weekend. You’ve got this.
Ready to change your space? Grab your measuring tape and let’s make it happen.
Frequently Asked Questions
Can peel and stick backsplash be used in bathrooms?
Yes, but only in low-moisture areas away from direct water exposure. I wouldn’t recommend it in shower areas, but it works fine around sinks with proper sealing.
How do I remove peel and stick tiles if I want to change them?
Use a hair dryer to warm the tiles, then peel slowly from one corner. Any leftover adhesive comes off with adhesive remover or warm soapy water.
Will peel and stick tiles work on textured walls?
Not without prep work. You’ll need to apply primer to smooth out the texture first. I learned this after my first attempt failed on bumpy drywall.
Can I install peel and stick backsplash over existing tile?
Yes, as long as the surface is clean, flat, and well-adhered. Sand any glossy areas lightly to help the new tiles stick better.
How heat resistant are peel and stick backsplash tiles?
Most can handle normal kitchen heat, but keep hot pots and pans away. The adhesive can soften around 150-200 degrees, which direct heat from cookware can reach.