
Aluminum fencing has become a popular choice for homeowners who want the look of wrought iron without the hassle. It’s tough enough to handle weather, requires almost no upkeep, and comes in styles that work with any home.
If you’re thinking about installing aluminum fencing yourself, you’re in the right place. This guide breaks down everything you need to know, from planning your project to setting the final post.
We’ll walk you through each step so you can avoid common mistakes and get professional results. You’ll learn how to measure your space, choose the right materials, and handle the fence installation process with confidence.
By the end of this post, you’ll have the knowledge to tackle your fencing project and save money on professional installation costs.
Why Choose an Aluminum Fence?
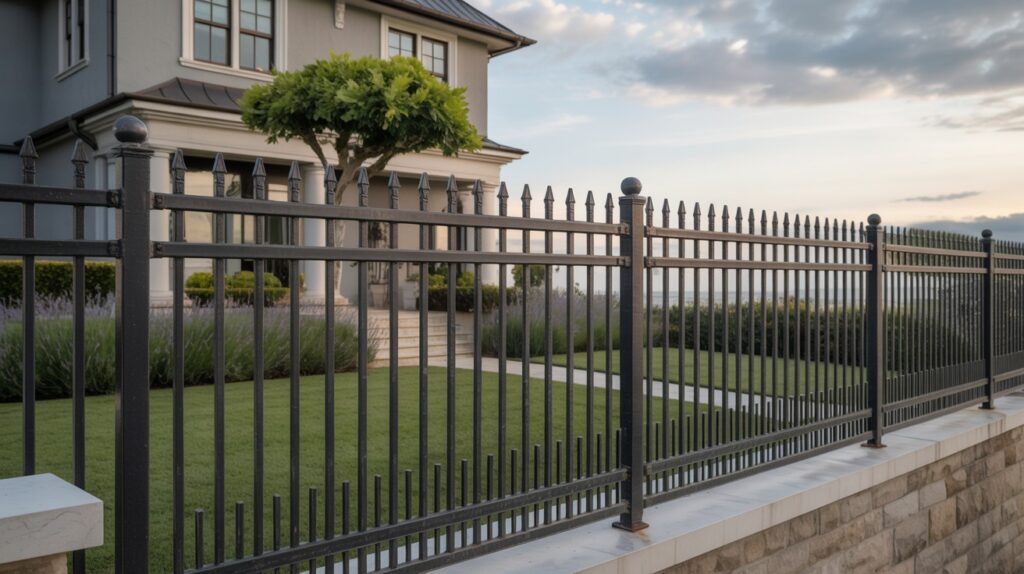
Aluminum fencing gives you the best of both worlds. You get the classic look of wrought iron without the rust problems that come with it.
Here’s what makes aluminum stand out:
- It won’t rust or corrode, even in wet climates
- Lightweight but strong enough to handle wind and weather
- Clean, modern appearance that works with any home style
- No painting or staining needed
Let me compare it to your other options:
Wood looks great, but it needs regular maintenance. You’ll spend weekends staining and replacing rotted boards. Vinyl is low-maintenance but can crack in cold weather and fade over time. Steel is incredibly strong but heavy and prone to rust.
Aluminum hits the sweet spot.
It’s perfect for pool areas since it meets most safety codes. Works great for property lines, too. And if you want to add curb appeal without constant upkeep, aluminum delivers.
Tools and Materials You’ll Need
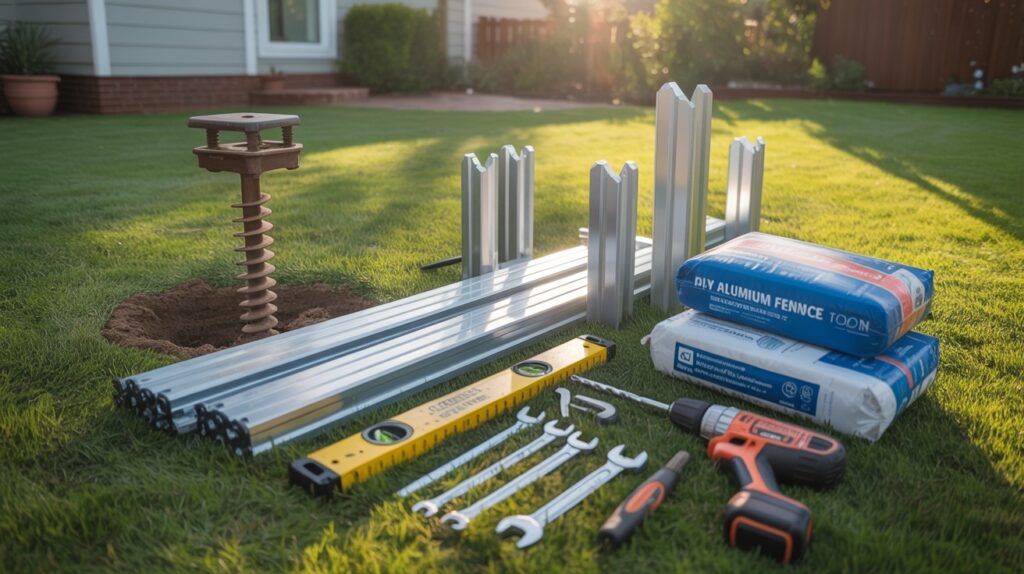
Don’t start digging until you have everything ready. Missing tools halfway through your project is frustrating.
Essential tools you’ll need:
- Post hole digger or shovel
- Level
- Tape measure
- Rubber mallet
- Drill with bits
- Socket wrench set
Your materials checklist:
- Aluminum fence panels
- Fence posts
- Post caps
- Brackets and screws
- Quick-set concrete
- Gravel for drainage
I always tell people to buy 10% more materials than they think they need. Better to have extras than make another trip to the store.
Steps to be followed on How to Install Aluminum Fence
In this I am going to show you how you can install the Aluminum Fence Step-by-step:
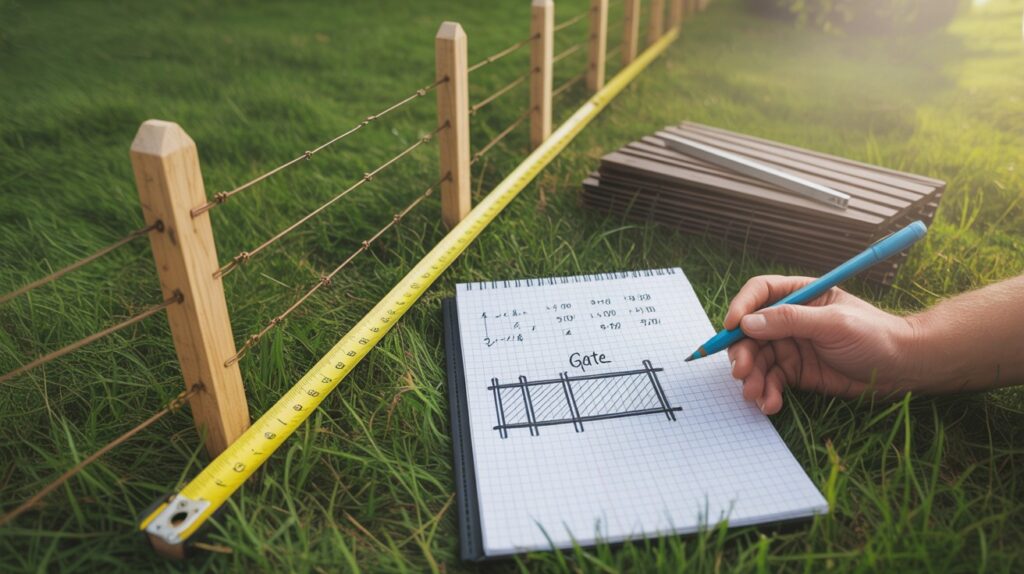
Planning Your Fence Layout
This step saves you headaches later. Trust me on this one.
Start by walking your property line with a tape measure. Mark every corner and change in direction. Take notes as you go.
Check your local building codes first. Some areas have height restrictions. Others require permits for fences over a certain height.
Here’s how I plan post spacing:
Most aluminum panels come in 6 or 8-foot sections. Measure your total fence length and divide by your panel width. This tells you how many panels you need.
Don’t forget about gates. Decide where you want them now, not after you’ve dug all your holes.
Call 811 before you dig. They’ll mark underground utilities for free. It takes a few days, so plan.
Prepping the Ground
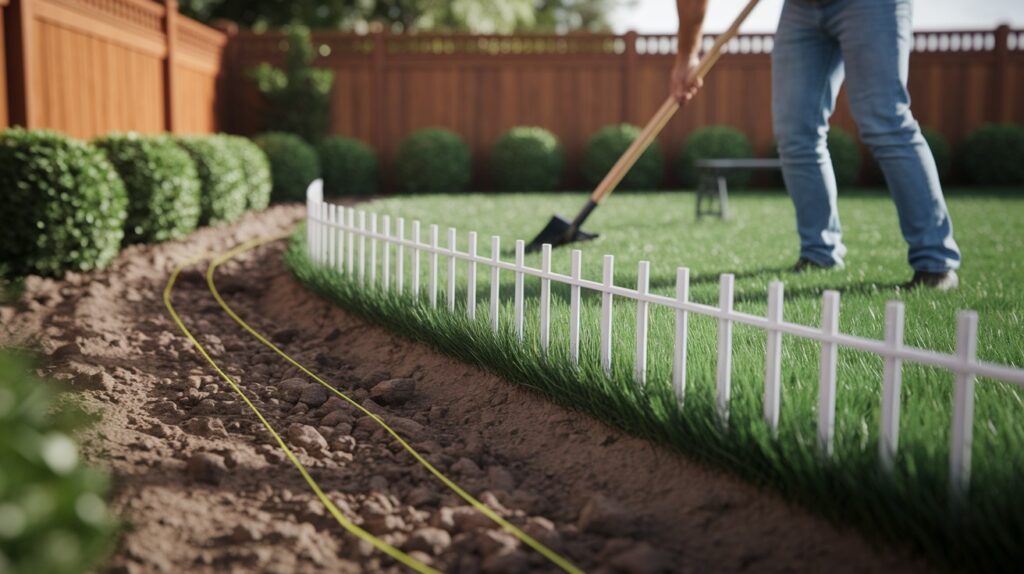
Good prep work makes installation smooth. Skip this step and you’ll pay for it later.
Clear everything from your fence line. Remove rocks, roots, and debris. Cut back any bushes or tree branches that might get in the way.
Got slopes? Don’t panic. Aluminum fencing can follow gentle grades. For steep slopes, you might need to step the panels down.
Here’s my marking system:
Drive a stake at each post location. Run string between stakes to keep your line straight. Use spray paint to mark the exact spot where each post goes.
Double-check your measurements. It’s easier to move a stake than to fill in a hole and start over.
Installing Fence Posts
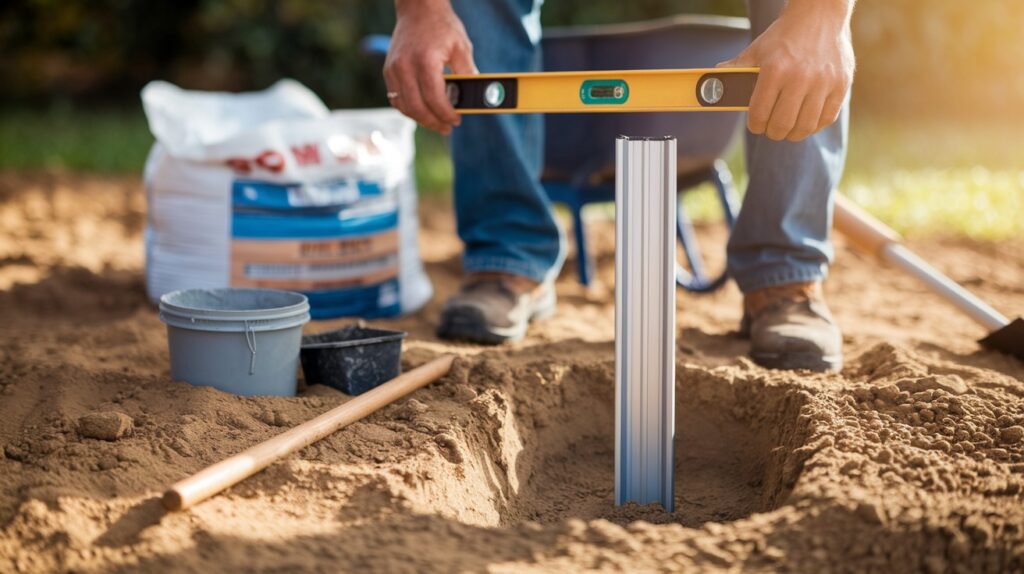
This is where the real work begins. Take your time here because crooked posts mean crooked fences.
Dig holes 2 feet deep for standard residential fencing. Make them about 3 times wider than your post. Sandy soil? Go deeper. Clay soil? Add some gravel at the bottom for drainage.
Set your first post and make it perfectly level. This post sets the standard for all the others.
Mix your concrete according to package directions. Pour it around the post, leaving 3-4 inches of space at the top. Fill that space with soil later.
Use your level constantly. Check the post from two sides before the concrete sets. You have about 20 minutes to make adjustments.
Let the concrete cure for at least 4 hours before moving to the next step.
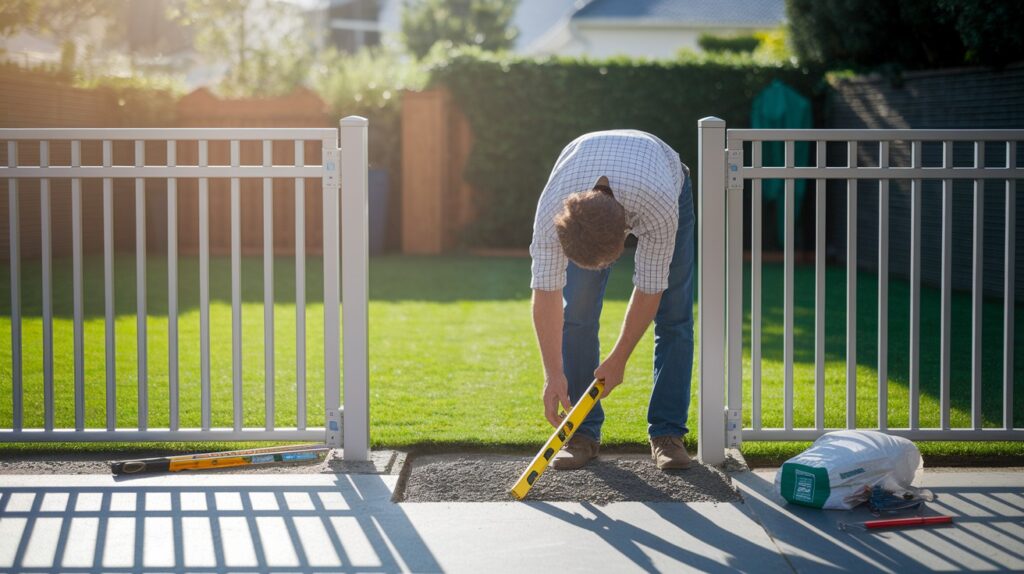
Attaching Fence Panels

Now you’ll see your fence take shape. This part is pretty fun.
Start with your straightest run of fence. It builds confidence and gives you a reference line for the rest.
Most aluminum panels use bracket systems. Attach brackets to posts first, then slide panels into place. Some systems use screws that go directly through the panel into the post.
Working on a slope?
Don’t try to make panels perfectly level. Let them follow the ground’s natural contour. It looks better and causes fewer problems.
Keep a tape measure handy. Check that the panels are the same height as you go. Small adjustments now prevent big problems later.
Installing the Gate
Gates are the trickiest part of any fence project. But you’ve got this.
Install the gate post first. Make sure it’s perfectly plumb and give the concrete extra time to cure. A wobbly gate post ruins everything.
Most aluminum gates come with hinges already attached. Line up the gate with your fence height and mark your hinge locations on the post.
Drill pilot holes for screws. This prevents the aluminum from cracking.
Test the swing before you install the latch. Gates should open and close smoothly without dragging on the ground.
Add your latch hardware last. I prefer self-closing latches for pool areas since they meet safety codes.
Open and close the gate several times to make sure everything works properly. Adjust the hinges if needed.
Final Checks and Cleanup
Quick Inspection Checklist:
- Tighten all screws and brackets
- Check panel alignment and height
- Test the gate swing and latch function
- Ensure post caps are secure
- Look for sharp edges or loose parts
Site Cleanup:
- Remove all construction debris
- Fill extra holes with soil
- Take down string lines and stakes
- Store leftover materials
- Rinse fence panels clean
Simple Maintenance Tips:
- Hose down twice yearly
- Tighten screws annually
- Clear debris from posts
- Oil gate hinges as needed
Your aluminum fence will last decades with minimal effort.
Conclusion
You did it. What started as an empty yard now has a professional-looking aluminum fence that adds value and security to your home.
This project probably took you a weekend, maybe two. Compare that to waiting weeks for contractors and paying thousands more for installation.
Your fence will protect your family and property for years to come. No rust to worry about. No annual painting or staining. Just occasional cleaning and you’re set.
Take a step back and admire your work. You learned new skills, saved money, and created something that improves your daily life.
Got neighbors asking questions about your fence? Share what you learned. DIY projects work better when we help each other succeed.
Now go enjoy your newly fenced space. You earned it.
Frequently Asked Questions
How long does aluminum fencing typically last?
Aluminum fencing can last 20-30 years or more with minimal maintenance. Unlike wood or steel, it won’t rot, rust, or need regular painting. The powder coating protects it from weather and UV damage.
Do I need a permit to install an aluminum fence?
It depends on your local building codes. Most areas require permits for fences over 6 feet tall or near property lines. Call your city’s building department before you start. The permit process usually takes 1-2 weeks and costs $50-200.
Can I install aluminum fencing on uneven ground?
Yes, aluminum fencing works well on slopes up to about 10 degrees. The panels can follow the ground’s natural contour, or you can step them down for steeper grades. Avoid trying to force panels to be perfectly level on sloped ground.
What’s the best way to cut aluminum fence panels if needed?
Use a fine-tooth metal cutting blade on a circular saw or reciprocating saw. Mark your cut line clearly and go slowly to prevent rough edges. File or sand cut edges smooth and touch up with matching paint to prevent corrosion.
How deep should fence posts be set in the ground?
Standard residential aluminum fence posts should go 2 feet deep, or about one-third of the above-ground height. In areas with freeze-thaw cycles, go 6 inches below the frost line. Use quick-set concrete around posts for maximum stability.