Got curtains that are too long? You’re not alone.
I’ve hemmed dozens of curtains over the years. Some for my own home, others for friends who were frustrated with ill-fitting window treatments.
This guide shows you exactly how to hem curtains using three different methods. No-sew options for quick fixes. Hand-sewing for beginners. Machine techniques for good results.
You’ll learn what tools you need, step-by-step instructions, and mistakes to avoid. I’ve made these errors so you don’t have to.
Here’s what makes this different: Real experience from someone who’s actually done this work. Not just theory.
By the end, your curtains will hang perfectly. Your rooms will look more polished.
Let’s get those curtains fitting properly.
What Does Hemming Curtains Mean?
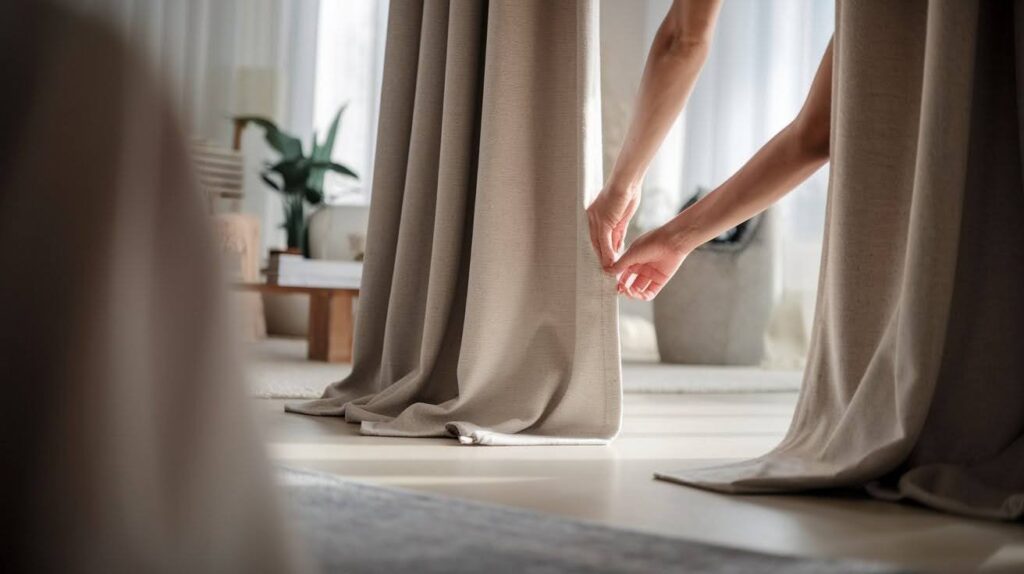
Hemming curtains means shortening them to the right length. You fold the bottom edge and secure it with stitches or special tape.
Think of it as giving your curtains a custom fit. Just like pants that are too long, curtains need the right length to look their best.
Why hem matters:
- Prevents fabric from touching the floor
- Creates clean, finished edges
- Makes rooms look neat
- Protects curtains from wear and dirt
Most store-bought curtains come in standard lengths. But your windows? They’re different. That’s where hemming saves the day.
Tools and Materials You’ll Need
I always gather everything before starting. Trust me, it makes the whole process smoother.
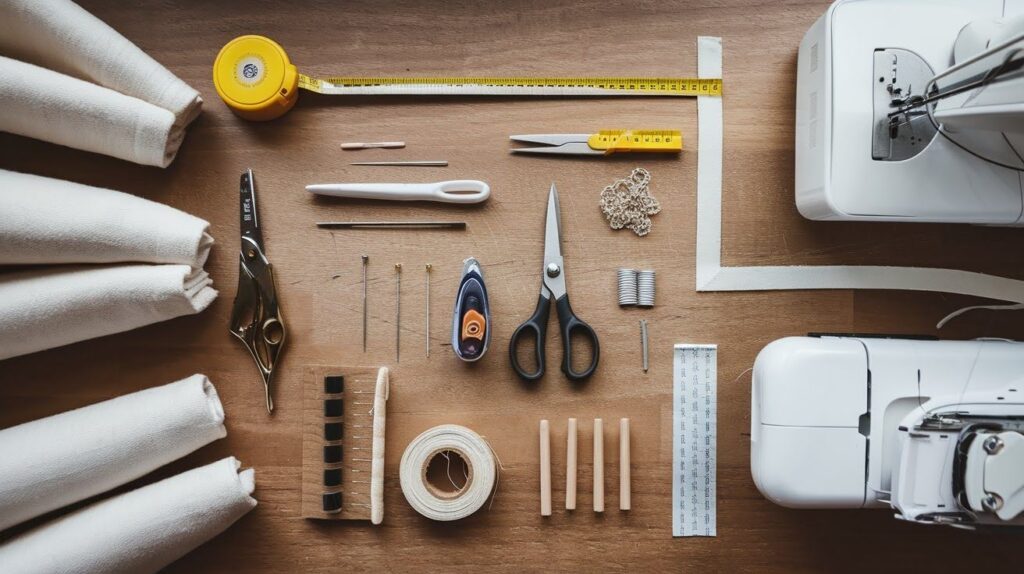
Essential tools:
- Measuring tape
- Fabric scissors
- Iron and ironing board
- Pins or clips
- Chalk or fabric marker
For sewing methods:
- Thread matching your curtain color
- Sewing machine (if using)
- Hand-sewing needles
- Seam ripper (for fixing mistakes)
For no-sew options:
- Hem tape or fabric glue
- Paper towels
You probably have most of these already. The measuring tape is your best friend here.
How to Hem Curtains: Step-by-Step
Before jumping into specific methods, let’s cover the basics that apply to all approaches.
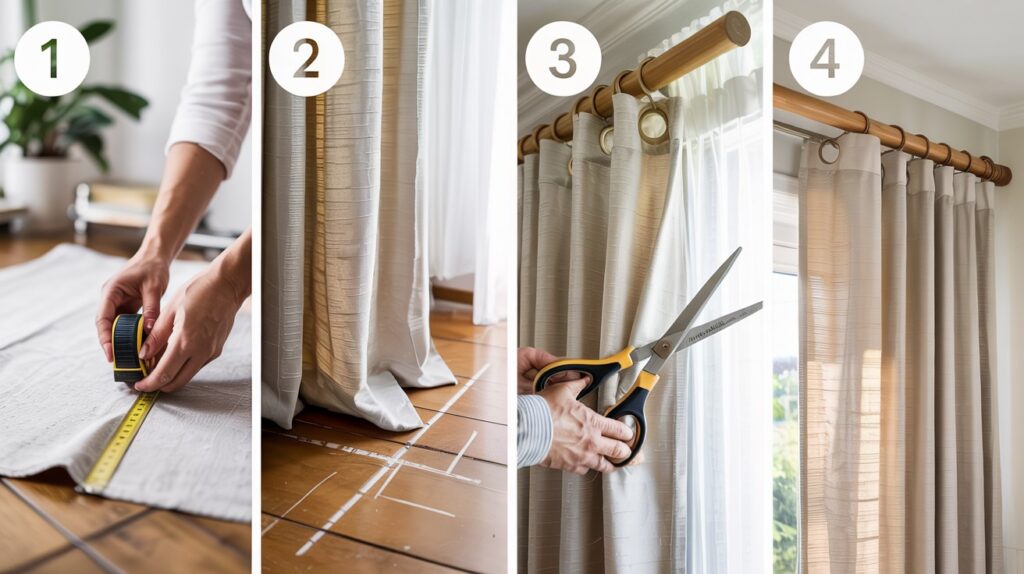
Step 1: Hang your curtains first
This sounds backward, but it’s crucial. You need to see exactly how they fall naturally.
Step 2: Measure twice, cut once
Decide your ideal length. I prefer curtains that just kiss the floor or hover half an inch above it.
Mark the desired length with chalk. Add extra fabric for the hem fold (usually 3-4 inches).
Step 3: Take curtains down
Now you can work comfortably on a flat surface.
Step 4: Cut carefully
Use sharp fabric scissors. Dull ones create jagged edges that show in the final result.
Ready for the specific methods? Let’s start.
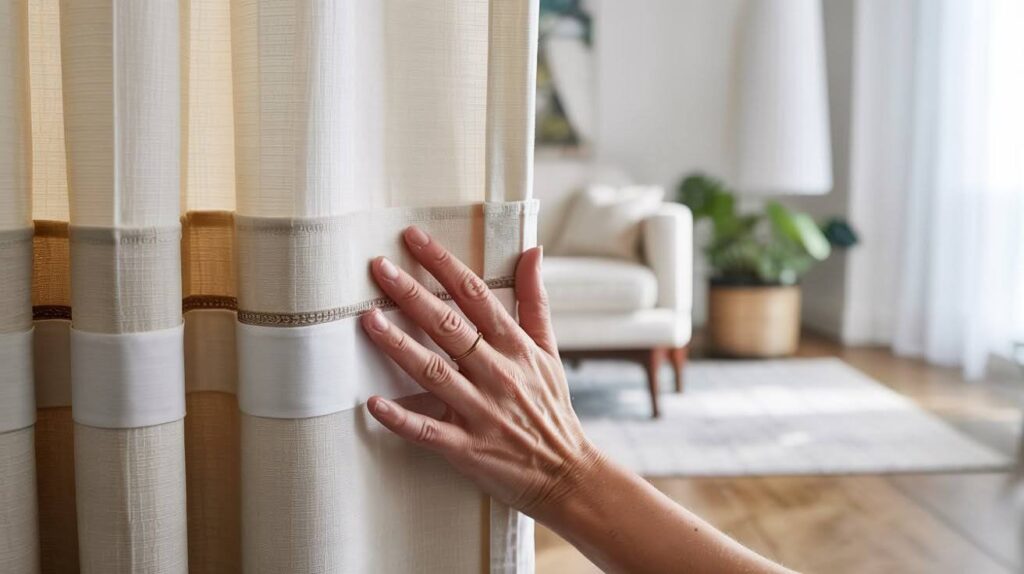
Method 1: Hem Curtains Without Sewing (Quick No-Sew Hack)
This method saved me when I needed curtains hemmed fast for guests arriving.
What you’ll need:
- Hem tape (iron-on adhesive strips)
- Iron
- Measuring tape
Step-by-step process:
- Fold the hem to your marked length
- Press with iron to create a sharp crease
- Insert hem tape between the fold layers
- Iron over the hem for 10-15 seconds per section
- Let cool completely before moving curtains
The adhesive activates with heat. Make sure your iron is on the correct setting for your fabric. Test the hem tape on a hidden area first. Some fabrics don’t play well with adhesives.
This method works great for lightweight to medium-weight fabrics. Heavy drapes might need reinforcement.
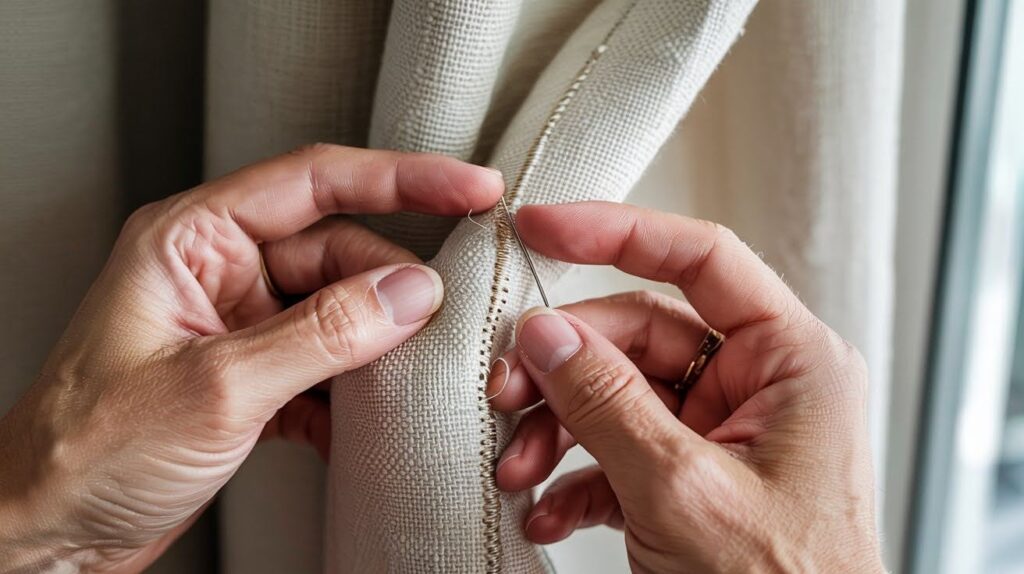
Method 2: Hand-Sewing Curtain Hems (Beginner-Friendly)
Hand-sewing gives you complete control. Great if you’re new to hemming or working with fine fabrics.
The blind hem stitch:
This creates nearly invisible hems from the front.
- Fold your hem and pin in place
- Thread your needle with matching thread
- Start from inside the fold so the knot stays hidden
- Take tiny stitches through just a few threads of the front fabric
- Move forward quarter inch and repeat
Key points:
- Keep stitches loose to avoid puckering
- Don’t pull thread too tight
- Work in good lighting to see clearly
Hand-sewing takes time but gives great results. I often hand-hem my favorite curtains because the finish looks so good.
Finishing touches:
- Press the hem lightly with iron
- Trim any loose threads
- Hang and admire your work
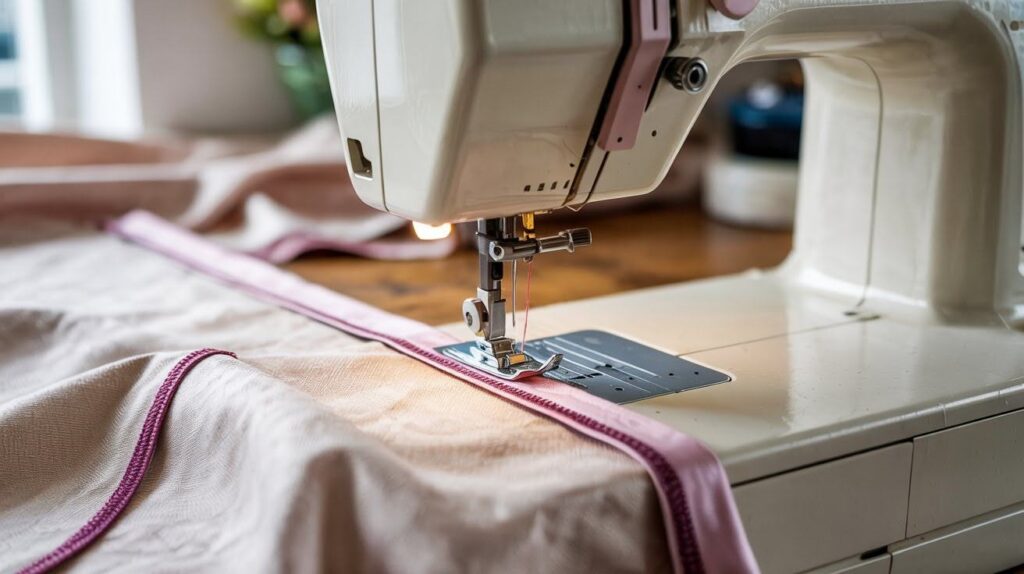
Method 3: Machine-Sewing Curtains for a Good Finish
Machine sewing works best for straight hems on medium to heavy fabrics.
Setting up your machine:
- Use thread that matches your curtain color
- Choose appropriate needle for your fabric weight
- Set stitch length to medium (about 2.5mm)
Sewing process:
- Pin your hem every 4-6 inches
- Start at one end and sew slowly
- Keep fabric flat against the machine bed
- Backstitch at beginning and end to secure
For thick fabrics:
- Use a longer stitch length
- Go slowly to avoid jamming
- Consider a heavy-duty needle
Machine sewing creates strong, durable hems. Good for curtains that get opened and closed frequently.
Common Mistakes to Avoid When Hemming Curtains
I’ve made these mistakes so you don’t have to.
- Not hanging curtains first to see their natural fall
- Forgetting to add extra fabric for the hem fold
- Using dull scissors that create jagged edges
- Measuring while curtains are bunched up instead of flat
- Skipping the test run on fabric scraps before starting
Tips for a Good Curtain Hem
These tips come from years of hemming curtains for my home and helping friends.
- Always measure from the floor up, not from the top down
- Use double-fold hems on heavy drapes for better weight and drape
- Keep hems narrow (1-2 inches) on sheer curtains to maintain lightness
- Pre-cut all hem tape pieces before starting to save time
- Press hems lightly with iron after completing for a crisp finish
The right hem makes your entire room look more expensive. It’s worth taking time to get it right.
Practice makes good results. Your first hem might not be flawless, but each one gets better.
Your curtains are an investment in your home. Good hemming ensures they look their best for years to come.
Conclusion
You now have three proven methods to hem curtains well. I’ve shared everything I learned from years of trial and error.
Pick the method that fits your skills and timeline. No-sew for quick results. Hand-sewing for precision. Machines work for durability.
Don’t wait for the right moment. Your curtains won’t fix themselves. Start with one panel as practice. Get comfortable with the process. Then tackle the rest.
I believe you can create good-looking results at home. The tools are simple. The techniques work.
Take action today. Measure those curtains and choose your approach. Your windows deserve to look good.
Frequently Asked Questions
How much fabric should I cut off when hemming curtains?
Add 3-4 inches to your desired finished length for the hem fold. This gives you enough fabric to create a proper hem without cutting too much off permanently.
Can I hem curtains that are lined?
Yes, but treat the lining and main fabric separately. Hem the lining about 1 inch shorter than the main curtain to prevent it from showing at the bottom.
What’s the best hem width for different curtain weights?
Lightweight curtains need 2-3 inch hems, medium weight fabrics work with 3-4 inches, and heavy drapes look best with 4-6 inch hems. Wider hems add weight and help curtains hang better.
Do I need to wash curtains before hemming them?
Always wash and dry curtains first if they’re washable. Fabrics can shrink up to 3-5%, which would ruin your careful measurements if you hem before washing.
Can I fix a hem that’s too short after cutting?
You can add decorative trim, fabric bands, or coordinating fabric strips to lengthen short curtains. I’ve saved many “oops” moments this way with creative solutions.

