Struggling with bay window curtains? You’re not alone. I’ve hung curtains in dozens of bay windows over the past years.
Here’s what you’ll learn: proper measuring techniques, choosing the right rod system, step-by-step installation, and styling tips that work. Plus common mistakes to avoid and other solutions.
I’ll solve your bay window curtain problem with simple, proven methods. No confusing jargon. No expensive tools you don’t need.
Why trust me? I’ve made every mistake possible so you don’t have to. From crooked rods to gaps at corners, I’ve fixed it all.
This guide gives you exactly what you searched for: clear instructions to hang curtains in your bay window properly. Let’s turn that frustrating project into something you’re happy with.
Why Bay Windows Need Special Curtain Solutions
Regular curtains just don’t cut it for bay windows. Here’s why:
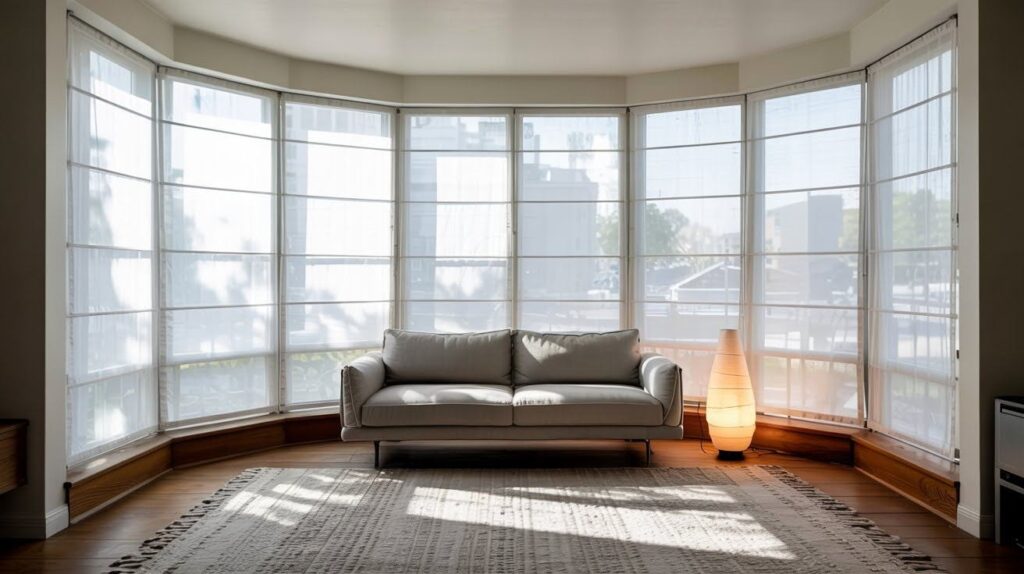
Bay windows stick out from your wall. They create angles that standard straight rods can’t handle. You need a system that bends and curves with your window shape.
The main challenges you’ll face:
- Multiple angles to work around
- Uneven measurements
- Finding rods that actually fit
- Getting curtains to hang properly at corners
Most people try to use three separate rods. Big mistake. This creates gaps and looks messy.
Tools & Materials You’ll Need
Let me save you a trip back to the store. Grab everything on this list before you start:
Tools:
- Drill with bits
- Level (seriously, don’t skip this)
- Measuring tape
- Pencil for marking
- Stud finder
- Screwdriver
Materials:
- Bay window curtain rod system
- Wall brackets (usually 3-5 depending on your window)
- Screws and wall anchors
- Your curtains
- Optional: curtain rings or clips
Quick tip: Buy a proper bay window rod system. Don’t try to DIY this with separate rods. You’ll thank me later.
Step-by-Step Guide: How to Hang Curtains in a Bay Window
Ready to tackle this project? Let’s break it down into simple steps that actually work.
Step 1: Measure Your Bay Window Correctly
This is where most people mess up. Bay window measuring isn’t like measuring regular windows.
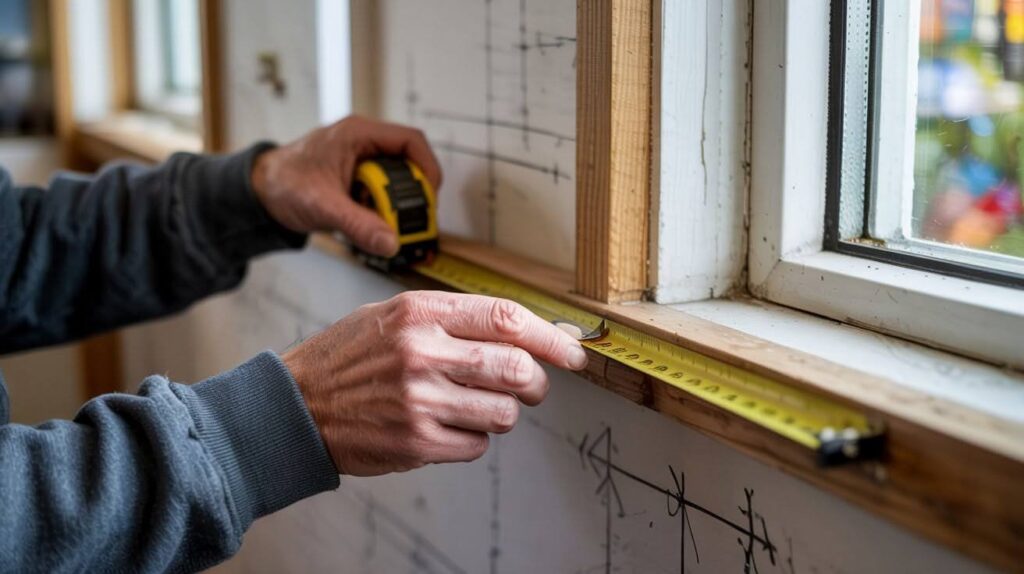
Measure each section of your bay window separately. Note the angles between sections. Take three measurements for each section: left side, center, and right side. Windows aren’t always perfectly square.
Write everything down as you go. Your memory isn’t as good as you think it is.
For height, measure from where you want your rod to sit down to where curtains will end. Add 6-8 inches if you want curtains to pool on the floor.
Step 2: Choose the Right Curtain Rod Style
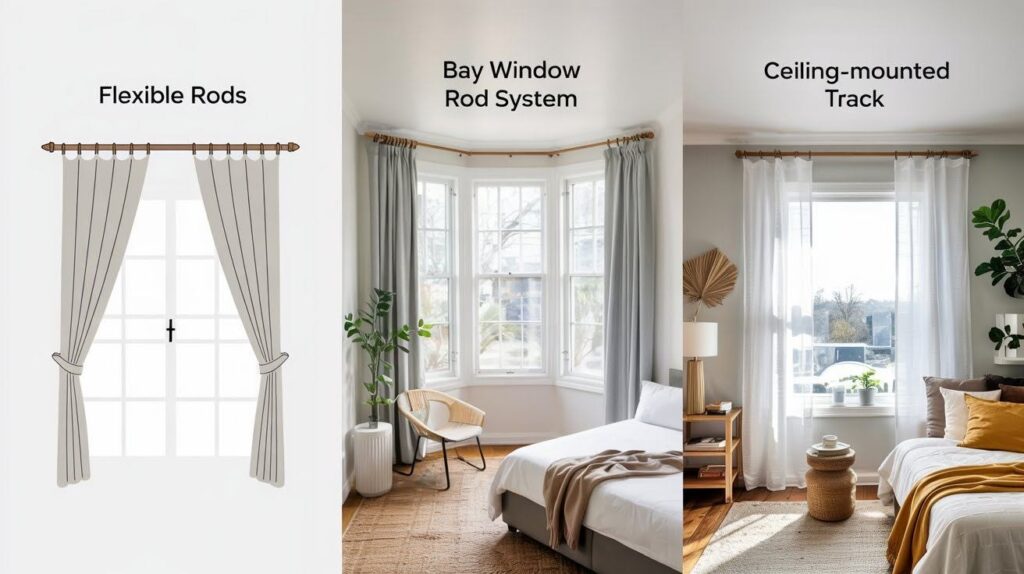
You’ve got three main options here.
Flexible curtain rods bend to fit your bay window shape. Great for lightweight curtains but not heavy drapes.
Bay window rod systems come with connecting pieces for the angles. My top pick for most situations. They look professional and handle heavier curtains.
Ceiling-mounted tracks work if you want curtains that extend past the window frame.
I usually recommend bay window rod systems. They’re the sweet spot between easy installation and great results.
Step 3: Mark and Install Brackets
Time to get those brackets on the wall. This step makes or breaks your project.
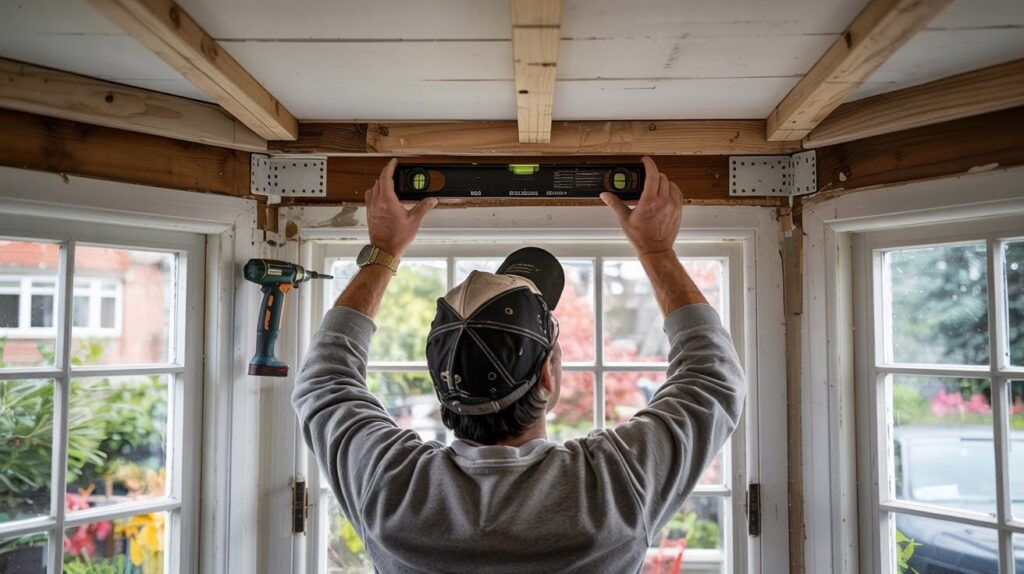
Use your stud finder to locate wall studs. Mark bracket positions with your pencil. Double-check everything with your level.
Mount brackets about 4-6 inches above your window frame. This makes your windows look taller.
Place one bracket at each end of your bay window. Add brackets at each corner where sections meet. Add extra brackets if your rod span is over 4 feet.
Drill pilot holes first. This prevents your wall from cracking.
Step 4: Attach Curtain Rods & Connect Sections
Now for the fun part. Getting those rods up and connected.
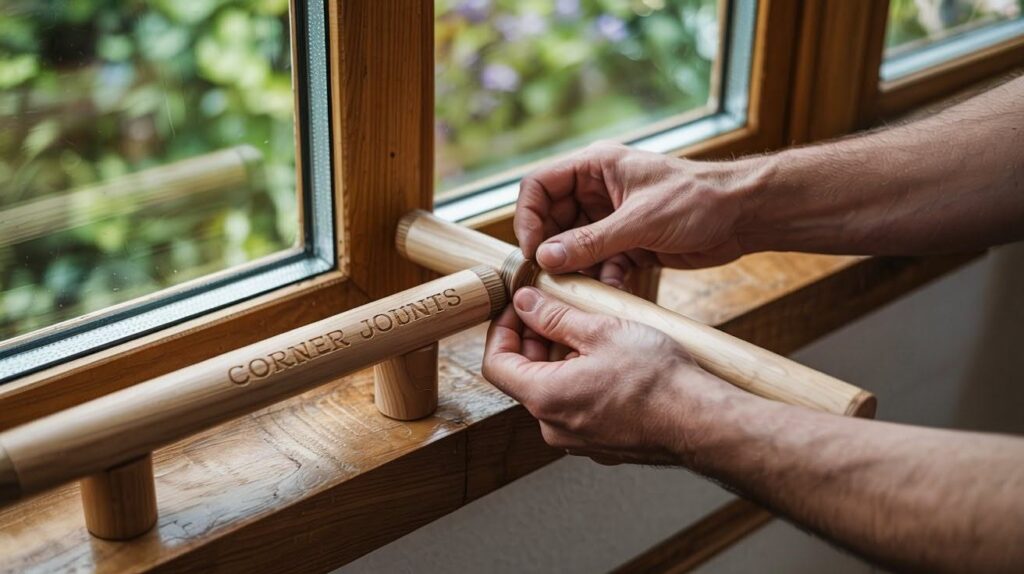
Connect the rod sections using the joining pieces. The joints should sit right at your window corners. Make sure everything lines up before tightening.
Don’t overtighten the connections. Check that your rod sits level across all brackets. Test the rod by sliding something along it before hanging curtains.
Step 5: Hang Curtains and Adjust for Style
Finally! Time to see this whole thing come together.
Start from one end and work your way around. Make sure curtains can slide smoothly around corners. Adjust the height so everything looks even.
Stand back and look at the whole window. Do your curtains hang evenly? Any weird bunching at the corners?
If something looks off, don’t panic. Small adjustments make a big difference.
Styling Tips for Bay Window Curtains
Want your bay window to look magazine-worthy? Try these tricks.
Choose the right curtain length: Floor-length curtains make bay windows look refined. Sill-length works for casual spaces.
Consider your fabric: Light fabrics work better around curves. Heavy fabrics can bunch up at corners.
Layer for depth: Try combining sheer curtains with heavier drapes. You get privacy when you need it and light when you don’t.
Color coordination: Keep colors consistent across all window sections. Different patterns or textures can look messy.
Don’t forget tiebacks: They help you show off your bay window during the day.
Common Mistakes to Avoid
I’ve seen these mistakes over and over. Don’t be that person.
Mistake 1: Using separate rods for each window section. This creates gaps and looks amateur.
Mistake 2: Mounting brackets too low. Your curtains will block light and make windows look smaller.
Mistake 3: Forgetting to account for corner curves. Your curtains need to slide smoothly around bends.
Mistake 4: Choosing rods that are too thin. Bay windows need sturdy support, especially for heavy curtains.
Mistake 5: Not checking wall studs. Brackets need solid mounting points to support the weight.
Learn from other people’s mistakes. It’s cheaper that way.
Alternative Solutions for Bay Windows
Sometimes traditional curtains aren’t the answer. Here are other options that work great.
Cellular shades: These mount inside each window section. Clean look, great insulation.
Roman shades: Add a classic touch. Work especially well in traditional homes.
Shutters: Expensive but impressive. They add serious value to your home.
Cafe curtains: Cover just the bottom half of your windows. Great for kitchen bay windows.
Valances only: Sometimes you just want to frame the window without blocking light.
Window film: For privacy without losing light. Modern options look great and are easy to install.
Each option has its place. Think about your needs, budget, and style before deciding.
Conclusion
You now have everything needed to hang curtains in your bay window like a pro. I’ve walked you through every step from measuring to final styling.
The secret? Take your time with measurements. Use proper bay window rod systems. Don’t rush the installation process.
I promise this works. I’ve used these exact steps in countless homes. Your frustrating bay window will become your favorite feature.
Here’s what to do next: Grab your measuring tape and start with Step 1. Mark your calendar for this weekend project.
Don’t wait another month staring at bare windows. Your bay window curtains are just one afternoon away.
Ready to get started? Those measurements won’t take themselves. Time to change your space.
Frequently Asked Questions
Can I use regular curtain rods for bay windows?
No, regular straight rods won’t work around bay window angles. You need flexible rods or bay window rod systems that connect at corners for proper coverage.
How much do bay window curtain rods cost?
Basic flexible rods start around $30-50, while quality bay window rod systems range from $80-200. The investment is worth it for durability and appearance.
Do I need professional installation for bay window curtains?
Most homeowners can install bay window curtains themselves with basic tools. Professional installation costs $100-300 but ensures perfect results if you’re not comfortable with drilling.
What’s the best curtain length for bay windows?
Floor-length curtains look most refined and make windows appear larger. Leave 1-2 inches above the floor to prevent dragging and allow for easy cleaning underneath.
How do I clean curtains in bay windows?
Remove curtains section by section for washing or use a vacuum with upholstery attachment. Steam cleaners work great for in-place cleaning without taking everything down.

