
I’ve built hundreds of shaker cabinet doors over the years. I know exactly what works and what doesn’t.
You want to build your own cabinet doors. Maybe you’re renovating your kitchen. Or building custom cabinets from scratch. This guide will solve your problem. I’ll walk you through every single step. From choosing materials to final installation.
Here’s what you’ll learn:
- Tools and materials you actually need
- Step-by-step building process
- Common mistakes to avoid
- Finishing techniques that last
These methods work. I use them in my own shop every day. You can build professional-quality doors at home. Even if you’re a beginner. The process is simpler than you think.
Let me show you how.
Choose Your Shaker Door Style (Modern, Rustic, or Classic?)
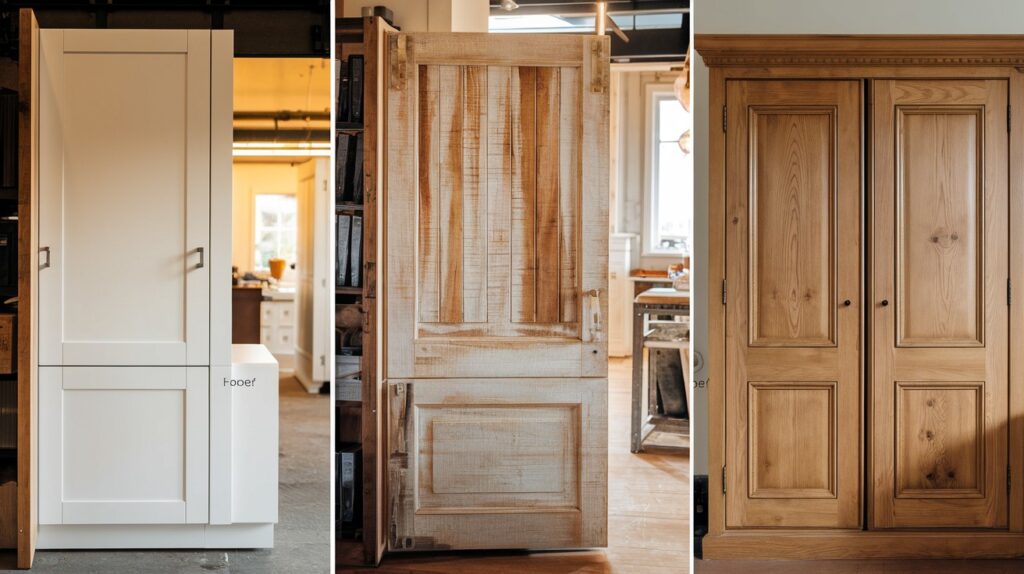
Here’s what most people get wrong: They think all shaker doors are the same. They’re not.
Modern Shaker Style
- Flat panel center
- Sharp, crisp edges
- Usually painted white or gray
- Minimal grain showing
Rustic Shaker Style
- Reclaimed wood look
- Visible wood grain
- Natural stains
- Sometimes distressed
Classic Shaker Style
- Traditional proportions
- Natural wood finish
- Slight roundover on edges
- Timeless appeal
Pick your style first. It affects everything else.
Tools and Materials You’ll Need
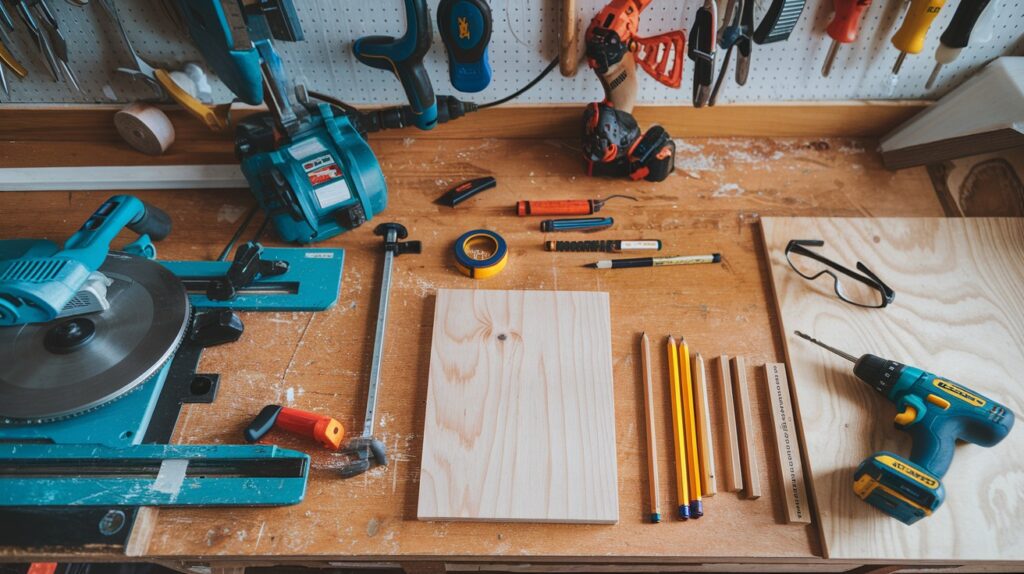
Essential Tools
- Table saw or circular saw
- Router with 1/4″ straight bit
- Drill with bits
- Clamps (at least 4)
- Measuring tape
- Pencil
- Safety glasses
Materials List
- 1×3 or 1×4 boards for frame (pine, oak, or maple)
- 1/4″ plywood for center panel
- Wood glue
- 1 1/4″ pocket screws
- Sandpaper (120, 150, 220 grit)
- Wood stain or paint
- Hinges and hardware
Pro tip: Buy 20% more wood than you calculate. Trust me on this.
How to Build Shaker Cabinet Doors: Step-by-Step Guide
Step 1: Measure and Plan Your Cabinet Doors
This step makes or breaks your project. Measure twice. Cut once. I can’t stress this enough.
What You Need to Measure:
- Cabinet opening width
- Cabinet opening height
- Existing door overlap (if replacing)
Calculate Your Door Size: Most doors overlap the opening by 1/2″ on all sides. For example, if your opening is 12″ wide x 16″ tall, your door size should be 13″ wide x 17″ tall.
Plan Your Frame Pieces: Rails are horizontal pieces (top and bottom). Stiles are vertical pieces (left and right). The panel is the center piece. Standard proportions work best – rails and stiles should be 2″ to 2.5″ wide.
Step 2: Cut the Frame Pieces (Rails and Stiles)
Safety first. Always wear eye protection.
Cutting the Stiles: Stiles run the full height of your door. The formula is simple – door height equals stile length. Cut two pieces to this exact measurement.
Cutting the Rails: Rails fit between the stiles. Use this formula: door width minus twice the stile width equals rail length. For example, if your door width is 13″ and stile width is 2.25″, your rail length is 8.5″. Cut two rails to this length.
Check Your Work: Dry fit the pieces together. They should form a perfect rectangle with no gaps and no overlaps.
Step 3: Cut the Center Panel
The center panel sits in a groove around the inside of your frame.
Calculate Panel Size: Width should be the distance between stile grooves plus 1/2″. Height should be the distance between rail grooves plus 1/2″. The extra 1/2″ allows the panel to “float” in the grooves. This prevents cracking as wood expands and contracts.
Cut the Panel: Use 1/4″ plywood or solid wood. Plywood won’t crack or split, stays flat, and costs less. Solid wood gives better grain match, looks more authentic, and can be stained beautifully. Your choice depends on your finish and budget.
Step 4: Assemble the Frame
This is where precision pays off.
Create the Grooves: You need a 1/4″ groove, 3/8″ deep, centered on the inside edge of each frame piece. For the router method, set up a fence, make multiple light passes, and test on scrap wood first.
Dry Fit Everything: Put it together without glue first. Check that corners are square, the panel fits loosely in grooves, and there’s no binding or forcing.
Apply Glue and Clamp: Less is more with wood glue. Apply a thin, even coat on rail ends only. Don’t glue the panel, it needs to move. Clamp firmly but don’t over-tighten or you’ll squeeze out all the glue.
Step 5: Attach the Center Panel
The panel should slide easily into the grooves.
Important: Don’t glue the panel in place. It needs room to expand and contract.
Center the Panel: Make sure there’s equal space on all sides within the grooves.
Secure If Needed: If using plywood, you can add a small brad nail through the frame into the panel center. Only in the center. This allows movement while preventing rattling.
Step 6: Sand and Prep the Door for Finishing
This step separates amateur work from professional results.
Sanding Sequence: Start with 120 grit to remove tool marks and glue squeeze-out. Move to 150 grit to smooth the surface. Finish with 220 grit for final smoothing.
Pay Attention to Details: Round over sharp edges slightly. Sand with the grain, never against it. Clean dust between grits.
Final Prep: Wipe down with a tack cloth. No dust or debris should remain.
Step 7: Paint, Stain, or Seal the Door
Your finish choice changes everything.
For Painted Doors: Prime with high-quality primer first. Sand lightly between coats. Apply 2-3 thin paint coats. Use a brush for texture or roller for smooth finish.
For Stained Doors: Apply pre-stain conditioner, especially on pine. Stain with the grain. Wipe excess after 5-10 minutes. Apply 2-3 coats of polyurethane.
Pro Finishing Tips: Thin coats dry better than thick ones. Light sanding between finish coats helps adhesion. Take your time because rushing ruins everything.
Step 8: Install Hinges and Hardware
Mark Hinge Locations: Use standard placement – 3″ from top and 3″ from bottom. Add a third hinge in center for doors over 30″ tall.
Cut Hinge Mortises: Use a sharp chisel or router. Depth should equal hinge leaf thickness.
Install Hardware: Pre-drill all screw holes to prevent splitting. Test fit before final installation.
Common Mistakes to Avoid
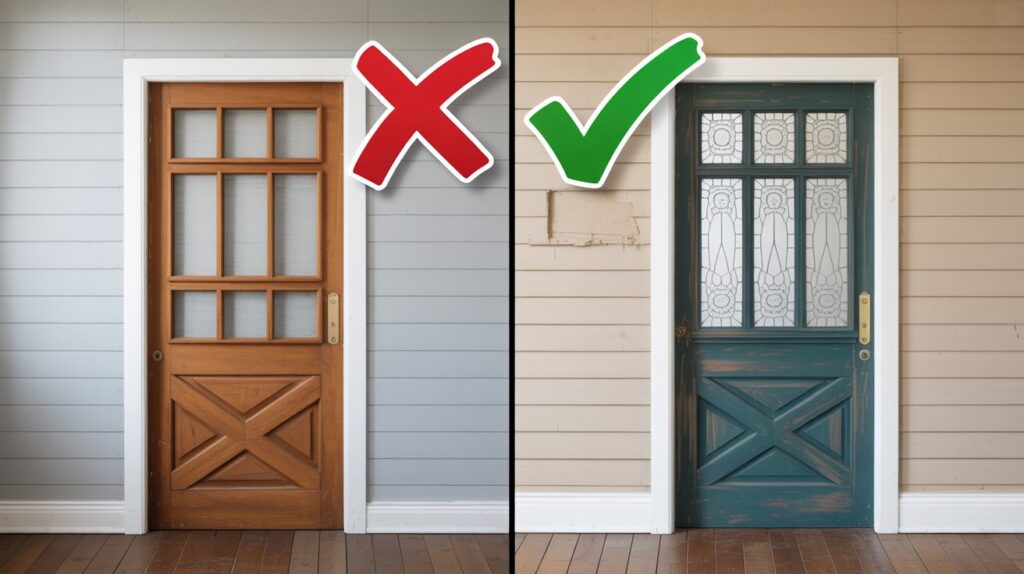
I’ve seen these errors countless times:
Mistake #1: Rushing the Measurements
Measure three times. Cut once. Seriously.
Mistake #2: Over-Gluing
Too much glue creates weak joints. Less is more.
Mistake #3: Skipping the Dry Fit
Always test fit before gluing. Fix problems when they’re easy to fix.
Mistake #4: Forcing Pieces Together
If it doesn’t fit easily, something’s wrong. Don’t force it.
Mistake #5: Gluing the Panel
The center panel must float. Gluing it will cause cracks.
Shaker Door Variations and Design Upgrades
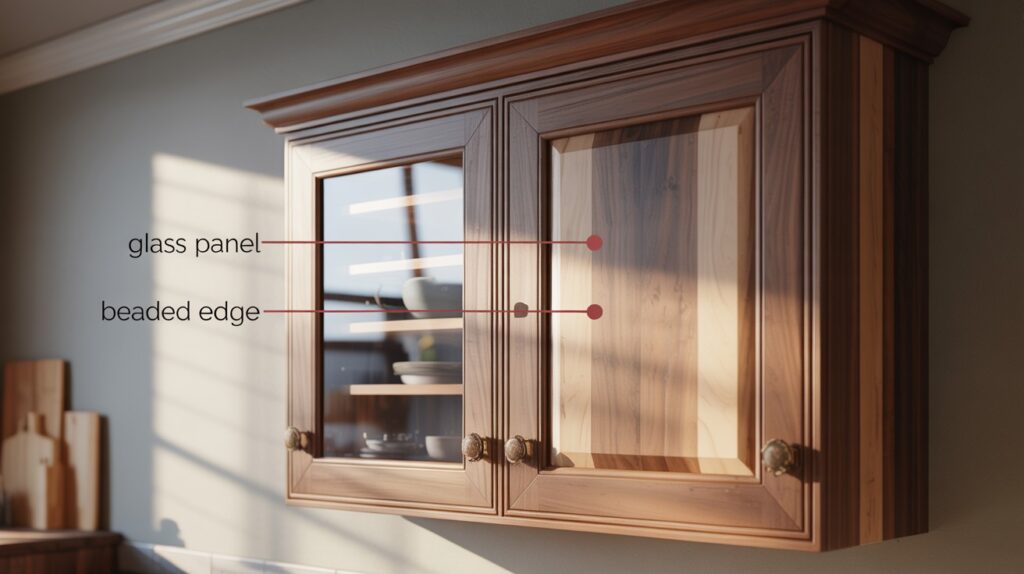
Add Glass Panels
Replace the wood center with glass for display cabinets.
Use tempered glass. It’s safer and stronger.
Create Beaded Edges
Add a small roundover or bead to the inside frame edges.
Subtle but refined.
Try Different Wood Species
- Oak: Classic grain pattern
- Maple: Clean, tight grain
- Pine: Budget-friendly option
- Cherry: Rich color that darkens with age
Experiment with Proportions
Wider rails and stiles create a bolder look.
Standard: 2″ to 2.5″ Bold: 3″ to 4″
Conclusion
You now have everything you need to build shaker cabinet doors. The process is straightforward when you follow the right steps. I’ve shown you the exact method I use in my shop. These techniques work. They’ll work for you too.
Start with one door. Get comfortable with the process. Then build the rest.
Your biggest challenge? Taking accurate measurements. Get this right and everything else falls into place. Don’t rush. Quality takes time.
The money you’ll save is huge. But that’s not the best part. You’ll have doors built exactly how you want them.
Custom fit. Your choice of wood. Your finish.
Most importantly? You built them yourself. That satisfaction never gets old.
Now grab your tools and get started.
Frequently Asked Questions
What’s the strongest joint for shaker door frames?
Mortise and tenon joints are strongest but require advanced skills. Pocket screws with glue work great for beginners and create doors that last decades.
Can I build doors if my cuts aren’t perfectly straight?
Small imperfections can be sanded out. Focus on getting your measurements right first. A slightly wavy cut is fixable, but wrong dimensions aren’t.
Should I seal the doors before or after installation?
Always seal before installation. This prevents moisture damage and makes touch-ups easier. Seal all six sides including the edges.
What’s the biggest difference between cheap and expensive hinges?
Quality hinges stay aligned and operate smoothly for years. Cheap hinges sag, bind, and wear out quickly. Spend extra on hinges – you’ll thank yourself later.
How do I prevent my cabinet doors from sagging over time?
Use proper support and quality hardware. Doors over 24″ tall need three hinges instead of two. Also, seal all surfaces to prevent moisture absorption