
A well-constructed driveway improves your home’s first impression while boosting property value by up to 10%.
You’ve probably stood at your front window, thinking how much better your home would look with a proper driveway instead of that worn gravel path or cracked asphalt.
Should you tackle this project yourself or call in the pros? The answer depends on your skill level, available time, and budget.
While concrete and asphalt driveways often require professional expertise, gravel and paver options can be excellent DIY projects for determined homeowners.
From budget-friendly gravel to premium brick pavers, each driveway type offers unique benefits.
This guide will help you select the right option and show you the construction process step by step.
Step-by-Step Guide to Building a Driveway
Complete instructions for constructing a functional driveway from planning and excavation through final paving and finishing touches for homeowners.
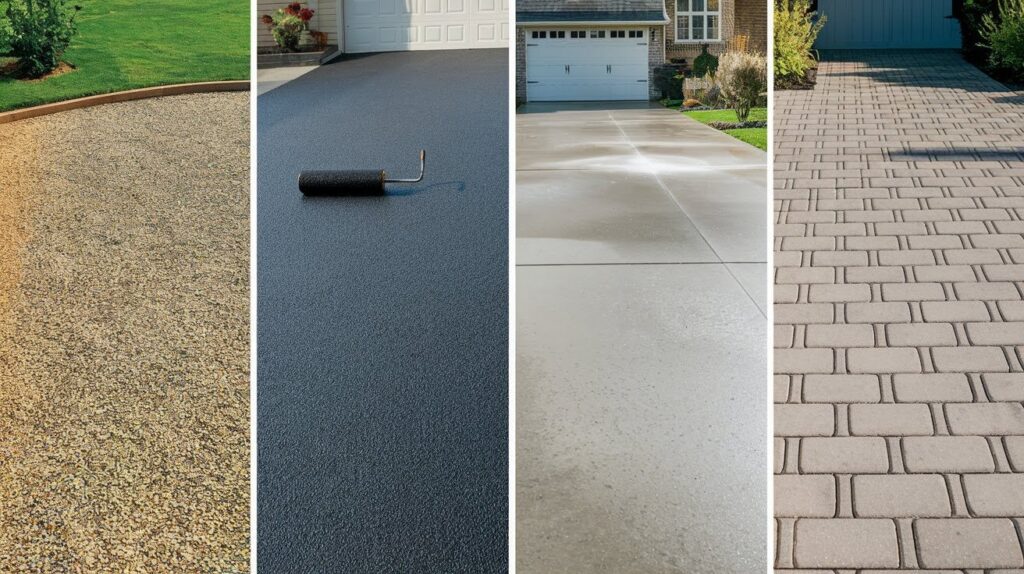
Step 1: Choose Your Driveway Type

Your material choice affects everything from your budget to maintenance time.
Gravel costs the least upfront. You can install it yourself in a weekend. But expect to add fresh gravel and fix ruts every few months.
Asphalt offers good value for money. It lasts 15-20 years with proper care and maintenance. Hot summers and freezing winters can cause it to crack, though.
Concrete gives you the strongest surface. It handles heavy trucks and lasts decades.
Pavers cost the most but look amazing. Individual stones mean easy repairs.
Step 2: Get Your Paperwork Right

Call your city planning office first. Some areas require permits for new driveways.
Here’s what matters: call 811 before you dig. They’ll mark underground utilities for free. Hit a gas line and you’ll face thousands in repair costs.
Step 3: Mark Your Space
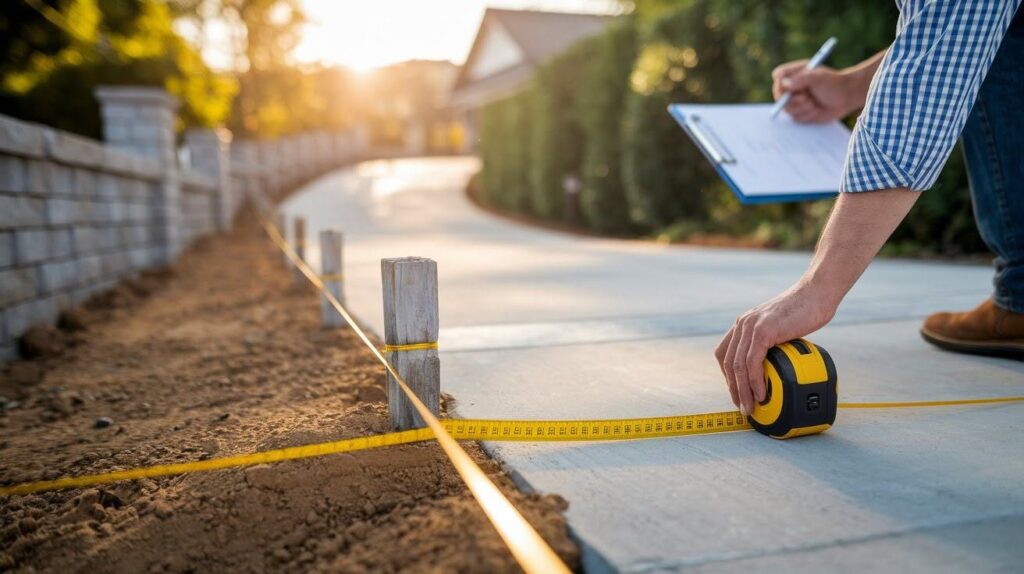
Grab some wooden stakes and string. Outline where your driveway will go. Measure twice, dig once.
A single car needs 8-10 feet of width. Two cars need 16-20 feet. Add extra space for opening doors.
Check your property lines. Building on your neighbor’s land creates legal problems.
Step 4: Calculate Depth and Materials
Depth determines how long your driveway lasts. Gravel driveways need 12-18 inches of material. Concrete needs about 10 inches total.
Multiply length times width times depth to get cubic yards. Most suppliers sell by the cubic yard or ton. Order 10% extra for waste.
Step 5: Start Digging
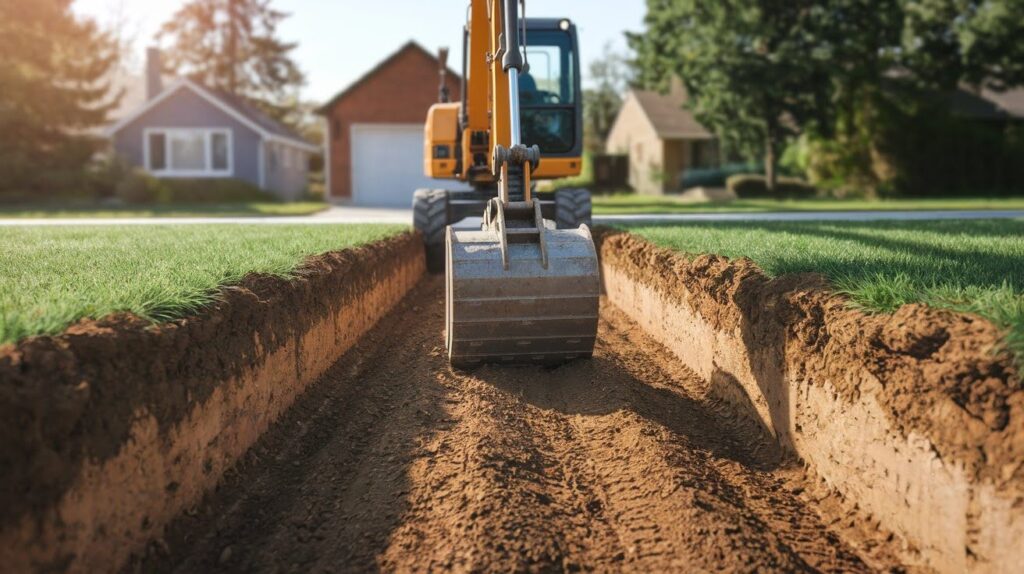
Rent a mini excavator for large driveways. Use a shovel for small ones. Remove all grass, roots, and topsoil. Organic matter rots and creates soft spots.
Rent a laser level or use a long board with a level on top. The surface should slope slightly toward the street for drainage.
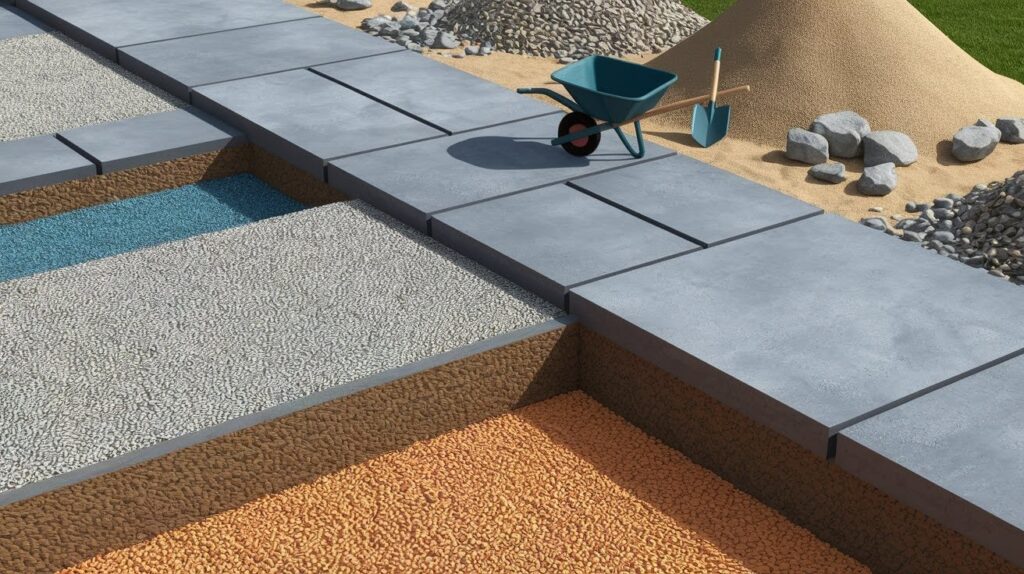
Step 6: Build Your Foundation
This step makes or breaks your project. Spread crushed stone or road base material. Use 3/4-inch stone for the bottom layer. Add 1/4-inch stone on top.
Compact every 3-4 inches with a plate compactor. Rent one from your local equipment shop. Hand tamping won’t work for driveways.
For gravel driveways, lay landscaping fabric first. It stops weeds and prevents stone from mixing with dirt.
Step 7: Add Structure
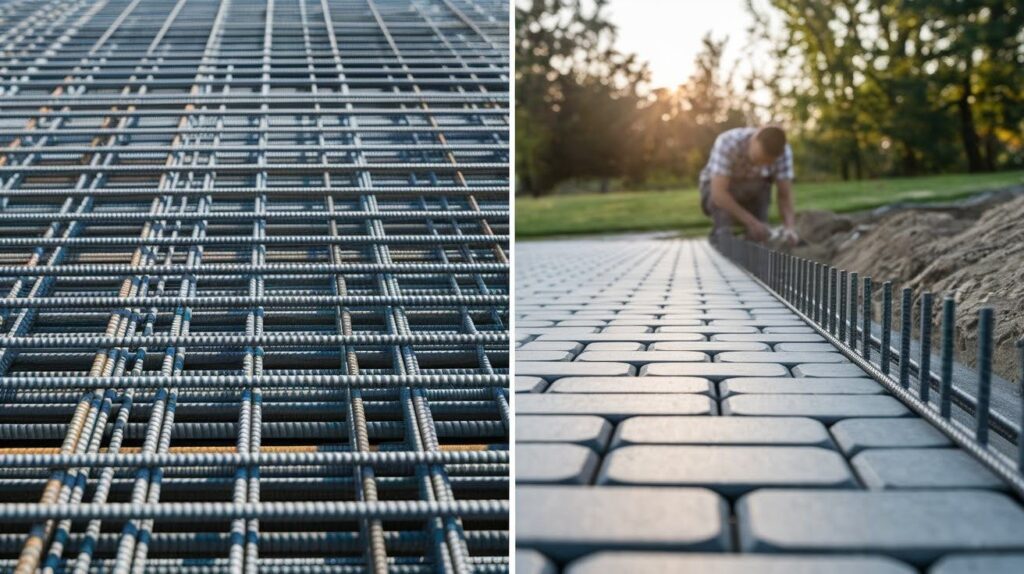
Concrete needs reinforcement. Place rebar or wire mesh before pouring. This prevents large cracks.
Pavers need solid edges. Install metal or plastic edging around the perimeter. Without it, your pavers will spread apart over time.
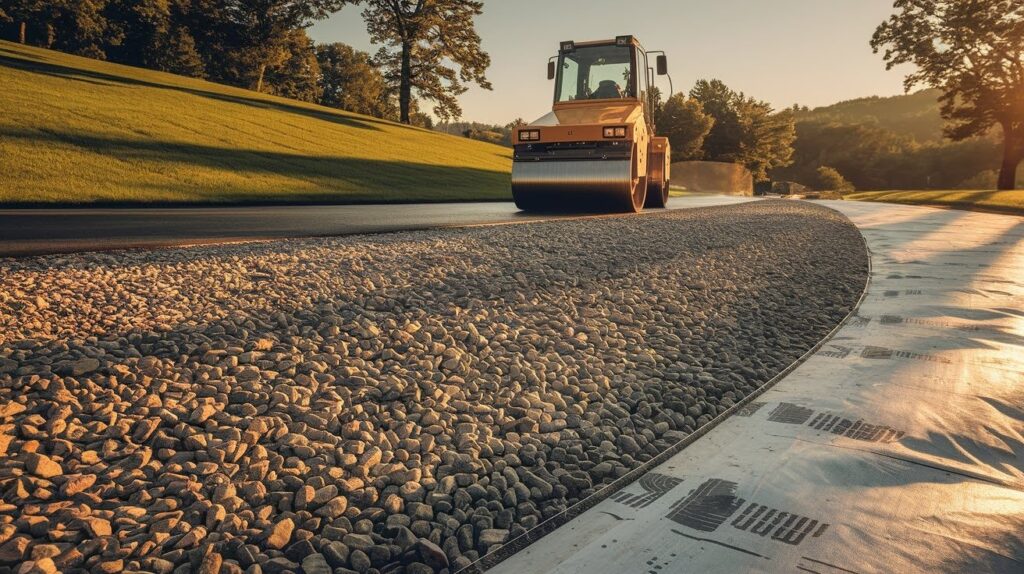
Step 8: Install Your Surface

For Gravel: Add stone in 3-inch layers. Start with larger stones at the bottom. Finish with a smaller decorative stone on top. Compact each layer.
For Asphalt: This requires professional equipment. Hot asphalt must be rolled while warm. Most homeowners hire contractors for this step.
For Concrete: Pour sections at a time. Level with a screed board. Add control joints every 8-10 feet. Finish with a broom for traction.
For Pavers: Spread sand over the compacted base. Lay pavers in your chosen pattern. Sweep sand into the joints. Compact the surface.
Step 9: Let It Set

Patience saves money here. Concrete needs 7 days before driving on it. Full strength takes 28 days. Keep it moist during hot weather.
Fresh asphalt stays soft for days. Avoid sharp turns that can scuff the surface.
Gravel needs final grading for proper water runoff. Crown the center slightly higher than the edges. Pavers are ready immediately after sand application.
Step 10: Keep It Looking Good
Every driveway needs regular maintenance. Gravel requires the most attention. Add fresh stone yearly. Re-grade after heavy rains.
Asphalt benefits from crack sealing and resurfacing every few years. Clean oil stains quickly to prevent permanent damage.
Concrete lasts longest with minimal care. Seal it every 2-3 years to prevent water damage. Fix small cracks before they grow.
Pavers need joint sand replacement. Weeds will grow if you skip this step. Power wash annually to maintain appearance.
Common Mistakes to Avoid When Building a Driveway
• Shallow Excavation
You think 6 inches deep is enough. It’s not. Your car weighs 4,000 pounds. That weight needs proper support underneath.
Gravel driveways need 12-18 inches of material. Concrete needs 10 inches total. Go shallow and watch your driveway crack within two years.
• Skipping the Compactor
Jumping on loose gravel with your boots doesn’t count as compacting. Neither does driving your truck over it.
Rent a plate compactor. Yes, it costs $50 per day. But loose material settles and creates potholes.
• Forgetting About Water
Water is your driveway’s biggest enemy. It finds every crack and makes it bigger during freeze cycles.
Your driveway needs to slope away from your house. Even a slight grade works. Standing water causes more damage than heavy trucks.
• Using It Too Soon
You spent three days building your driveway. Now you want to park on it immediately. Bad idea.
Concrete takes 7 days before it can handle car weight. Fresh asphalt stays soft for days. Plan and arrange other parking for the first week.
Conclusion
After helping hundreds of homeowners build driveways over the years, I’ve learned one thing: the foundation makes all the difference.
Skip the planning phase or cut corners on your base, and you’ll be fixing problems for years to come.
Your driveway will only be as strong as the ground beneath it. Take time to excavate properly and compact each layer.
Yes, it’s tedious work, but it separates driveways that last five years from those that last fifty.
Regular maintenance keeps small problems from becoming expensive repairs. A little attention each season saves thousands down the road.
Most importantly, choose the material that fits your specific situation. Consider your budget, local weather, and how you use your driveway. The perfect choice varies for every homeowner.
Frequently Asked Questions
How long does it take to build a driveway?
A simple gravel driveway can be completed in 2-3 days by a motivated DIYer. Concrete driveways typically require 4-5 days of active work, plus curing time before you can drive on them.
Do I need a permit to build a driveway?
Most areas require permits for new driveways, especially if they connect to public roads. Contact your local planning office before starting work to avoid costly fines or having to redo the project.
What’s the cheapest driveway material?
Gravel offers the lowest upfront cost at $1-3 per square foot installed. However, it requires more frequent maintenance than concrete or asphalt, so factor in long-term costs when making your decision.
How thick should my driveway be?
Gravel driveways need 12-18 inches of total material depth for proper support. Concrete driveways require 4 inches of concrete over 6 inches of compacted base material.
Can I build a driveway in winter?
Concrete and asphalt installations work best in temperatures above 50°F for proper curing and setting. Gravel driveways can be installed year-round, though frozen ground makes excavation much more difficult.