
After fifteen years of painting everything from kitchen cabinets to entire home exteriors, I’ve learned that timing separates amateur results from professional-quality finishes.
Early in my career, I made the costly mistake of rushing between coats, only to watch paint bubble and peel within weeks.
The frustration taught me a valuable lesson: painting success isn’t just about choosing the right color or mastering brush technique, it’s about patience and precision timing.
Many homeowners don’t realize there’s a crucial difference between dry time, recoat time, and cure time. Understanding these distinctions has saved me countless do-overs and helped my clients achieve the smooth, durable results they expect.
Let me share the timing strategies that have transformed my painting projects.
Why Timing Your Paint Coats Matters
I’ve seen too many weekend warriors rush through their painting projects, only to call me weeks later asking why their walls look like a disaster. The culprit? Poor timing between coats.
When you apply that second coat too early, you’re essentially trapping moisture underneath, which leads to those unsightly bubbles that make your walls look like they have chicken pox.
Getting the timing right does three critical things for your project. First, it prevents those frustrating defects we all dread, no more streaky walls or paint that starts peeling off in sheets.
Second, proper timing allows each layer to bond correctly with the previous one, giving you that rock-solid finish that won’t chip at the first sign of daily wear and tear.
Most importantly, patience with your timing is what separates a DIY job that looks homemade from one that makes your neighbors ask which professional crew you hired. The difference really is noticeable.
Understanding Paint Drying Stages
Let me break down the three stages of paint drying that every painter needs to know. I used to think paint was ready for the next coat as soon as it felt dry, but that assumption cost me several botched jobs early on.
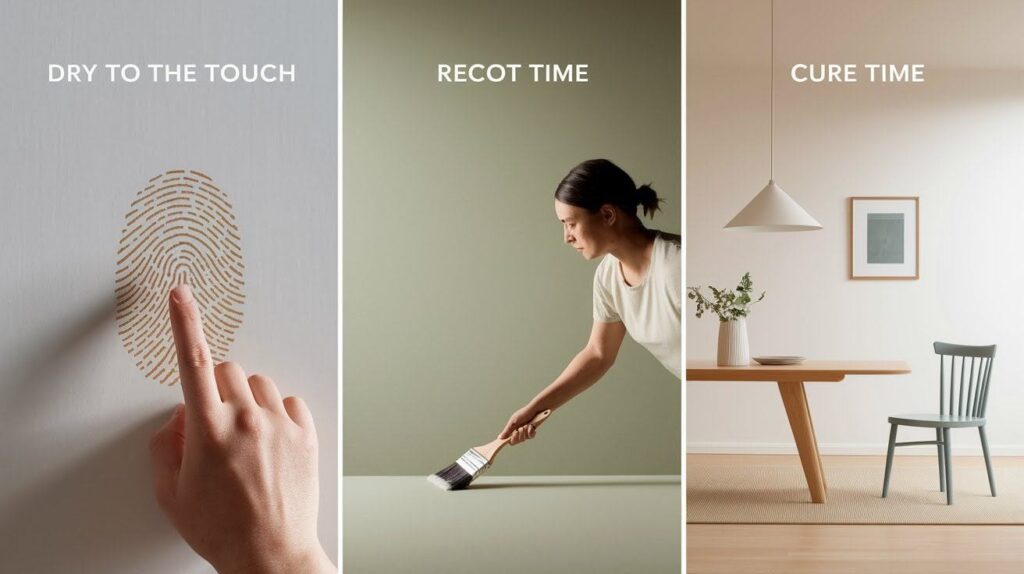
Dry to the Touch
When paint feels dry to a light finger touch, it’s only surface-dry. The solvents are still evaporating underneath, and applying another coat now will disturb this delicate process. For latex paints, this usually happens within 1-4 hours, while oil-based paints need 6-8 hours.
Don’t let this fool you into thinking you’re ready for round two, you’re not even close.
Recoat Time
This is your green light for the next coat. Latex paints typically allow recoating after 4-6 hours, while oil-based paints demand 12-16 hours of patience. Rush this stage, and you’ll create drag marks, streaks, and poor color coverage that no amount of additional coats can fix.
Cure Time
Full curing takes weeks, not hours. Latex paint reaches maximum hardness in about 30 days, oil-based in 7-30 days. Only after curing should you return furniture to walls or scrub surfaces clean.
I learned this the hard way when a client’s dining table left permanent impressions in week-old paint.
General Recoat Guidelines by Paint Type
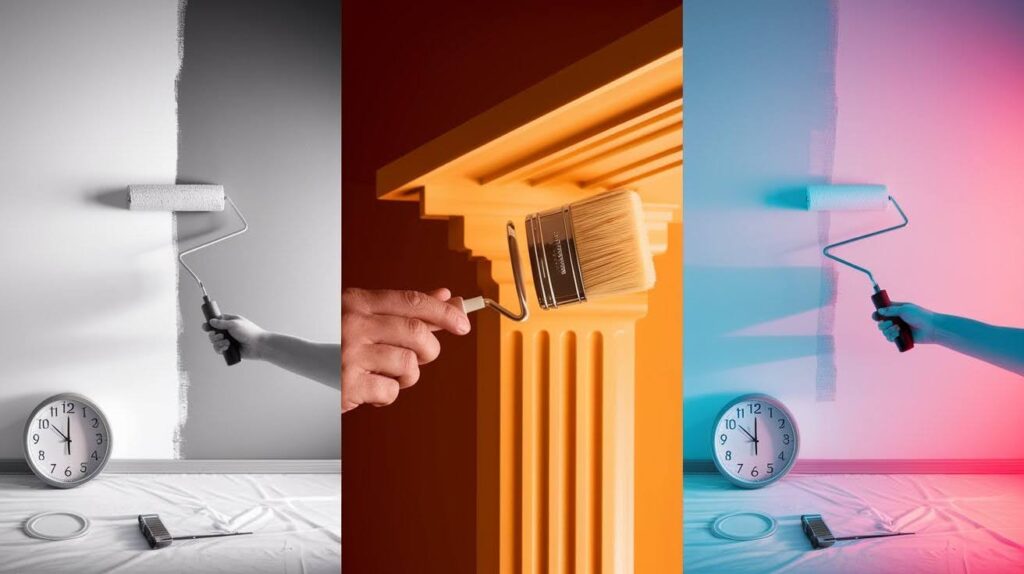
Over the years, I’ve developed a mental clock for different paint types. Here’s what experience has taught me about timing each one correctly.
Water-Based Latex Paint
Latex is the workhorse of interior painting, and for good reason. You can usually apply your second coat after about 4 hours, with most surfaces feeling dry to the touch within an hour.
I love latex for busy homeowners because it moves faster than oil-based options, but don’t let that speed fool you into cutting corners. Even though it dries quickly, those 4 hours between coats are non-negotiable if you want professional results.
Oil-Based Paint
Oil-based paint tests your patience but rewards you with incredible durability. I tell my clients to plan for a full 24-hour wait between coats, even though the surface feels dry after 6-8 hours.
This longer timeline is why I often recommend oil-based paint for high-traffic areas like trim and doors – the wait is worth the longevity.
Primers
Primers are speed demons compared to topcoats. Most become dry to the touch in just 30 minutes, and you can safely apply your first color coat after 1-2 hours. For heavily stained surfaces, I sometimes apply a second primer coat, following the same timing rules.
How Paint Sheen Affects Dry Time
Here’s something that surprised me when I first started painting professionally: the shinier your paint, the longer you’ll wait between coats. It all comes down to what’s actually in the paint can.
Flat and Matte Finishes
These are your speed champions. Flat and matte paints have less binder and more pigment, which means they dry faster and are ready for recoating sooner. I often use these finishes when I’m working on tight deadlines because they keep projects moving.
They’re perfect for ceilings and low-traffic walls where you need coverage quickly.
Eggshell and Semi-Gloss
These fall right in the middle of the timing spectrum. They contain more binders than flat paints but less than high-gloss options, so your wait times are moderate.
I find these finishes strike a nice balance between durability and reasonable drying times, making them ideal for most interior walls.
Glossy Paints
High-gloss paints are the marathon runners of the paint world. They’re packed with binders that create that mirror-like finish, but all those extra resins need more time to properly set. I always warn clients that gloss paints will add hours to their project timeline.
The trade-off? You get a finish that can withstand serious scrubbing and still look fresh years later.
Environmental Factors That Affect Timing
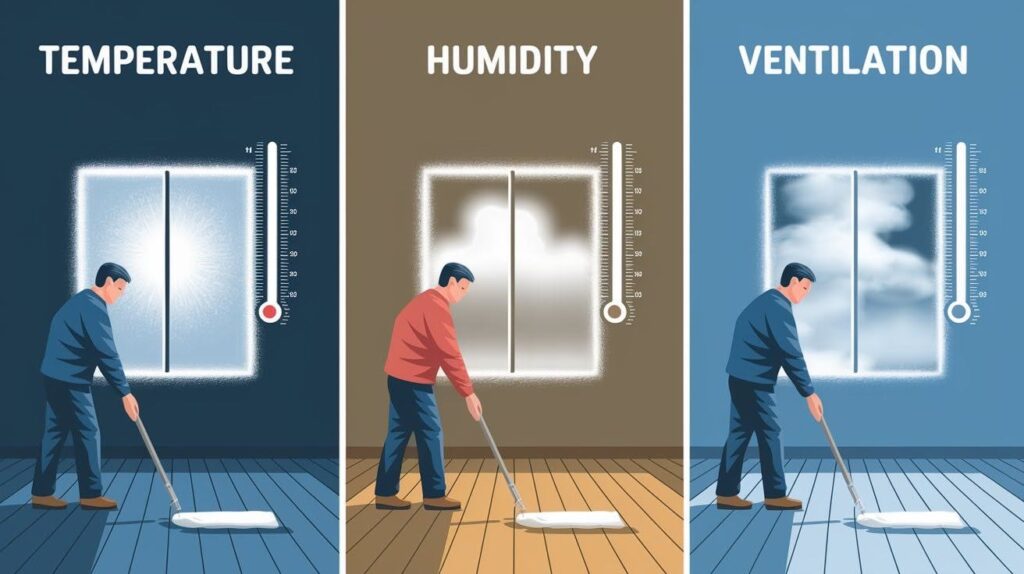
Mother Nature has a huge say in your painting timeline, and I’ve learned to work with her rather than against her. Let me share how temperature, humidity, and airflow can make or break your project schedule.
Temperature
I aim for that sweet spot around 72°F whenever possible. It’s like the Goldilocks zone for paint-not too hot, not too cold, but just right. When temperatures drop below 50°F, latex paint struggles to form a proper film, and I’ve seen it stay tacky for days.
On the flip side, painting in 90°F heat makes the paint dry so fast that brush marks become permanent before you can smooth them out. I once painted a client’s kitchen in August heat and had to sand and start over because the finish looked like corduroy.
Humidity
Here’s where many DIYers get tripped up. High humidity is paint’s kryptonite. When moisture hangs in the air at 70% or higher, paint drying slows to a crawl. I’ve waited 12 hours for what should have been a 4-hour recoat time on particularly muggy days.
The ideal humidity range of 40-50% keeps things moving smoothly without rushing the process.
Ventilation
Good airflow is your best friend for consistent drying times. I always crack windows and run fans to keep air moving, but I’m careful not to create dust storms. Stagnant air means longer wait times and potential finish problems.
Application Methods and Their Impact
The tool you choose affects more than just how the paint looks-it changes your entire timeline. I’ve used every application method out there, and each one comes with its own timing rules.
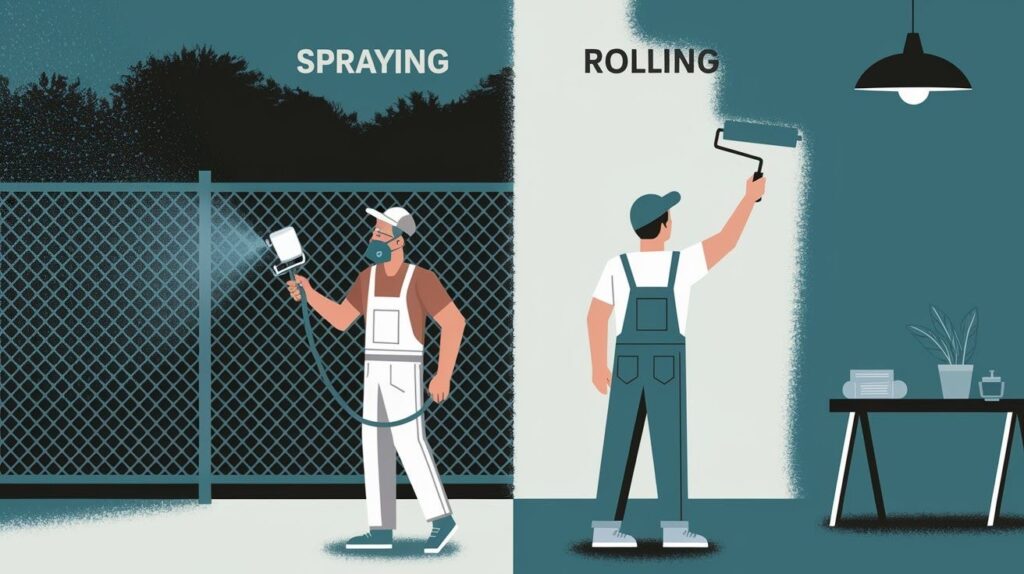
Spraying
When I spray paint, I’m laying down incredibly thin, even coats that dry much faster than rolled or brushed applications. This speed can be a blessing and a curse.
While I can often recoat in half the normal time, I need to stay alert because overspray and wind can create problems quickly.
I remember spraying a client’s fence on a breezy day and watching half my paint end up on the neighbor’s car. Lesson learned: thin coats dry fast, but they also travel far.
Rolling or Brushing
These traditional methods naturally create thicker coats, which means longer wait times between layers. When I roll walls, I’m applying roughly twice as much paint per square foot compared to spraying. That extra thickness takes time to properly cure through all layers.
The key is maintaining consistent pressure and technique, thick spots dry unevenly and can cause problems hours later.
I’ve learned that patience with hand application methods always pays off with superior adhesion and coverage. Sure, it takes longer, but the results speak for themselves.
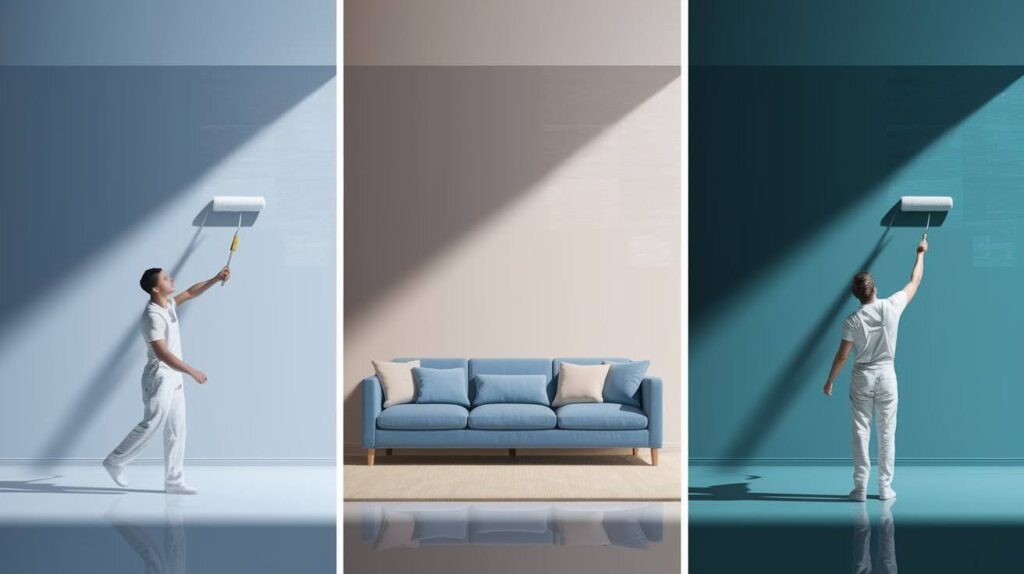
How to Plan Multi-Coat Paint Jobs
Planning a multi-coat project comes down to choosing between speed and perfection. I’ve done both approaches countless times, and each has its place depending on your goals and timeline.
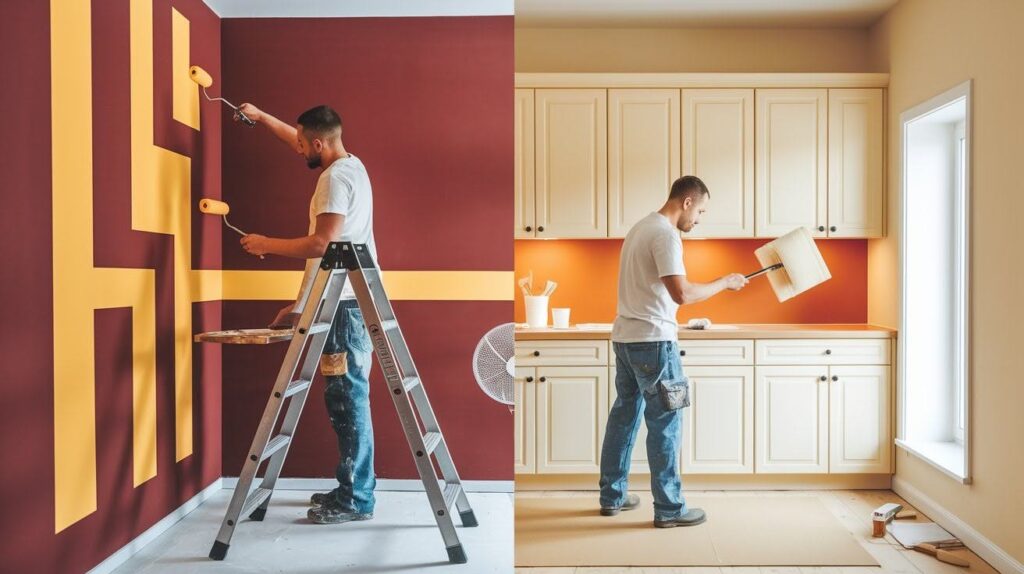
Same-Day Completion (Fast, Crisp Results)
When I’m working on smaller projects like accent walls or need to maintain crisp lines between colors, I stick to the minimum recoat times listed on the paint can – usually around 2 hours for latex.
This approach works great when you’re taping off stripes or geometric patterns, because keeping everything wet helps blend the edges seamlessly. I recently finished a client’s powder room in one afternoon using this method, and the results were sharp and clean.
The key is staying organized and working efficiently within those narrow time windows.
Multi-Day Schedule (Durability-Focused)
For larger projects or surfaces that will take heavy use, I follow the manufacturer’s full recommended cure times. This means waiting overnight between coats, sometimes longer.
I used this approach on a client’s kitchen cabinets last month – each coat got 24 hours to properly set before I applied the next one. It took a week instead of a day, but those cabinets will handle daily wear for years to come.
This method is my go-to for trim work, doors, and any surface where longevity matters more than speed.
Conclusion
After years of fixing rushed paint jobs and seeing the disappointment on homeowners’ faces, I can’t stress this enough, patience is your most valuable tool.
I’ve watched countless DIY projects turn into expensive do-overs simply because someone couldn’t wait those extra few hours between coats.
Before you crack open that first paint can, spend five minutes reading the manufacturer’s datasheet. Those guidelines aren’t suggestions, they’re the roadmap to success.
I keep a stack of these datasheets in my truck because even after all these years, I still reference them for tricky situations.
Here’s the truth: proper timing is what separates a $200 DIY paint job that looks like a million bucks from one that screams amateur hour.
Give your paint the time it needs, and it will reward you with results that make your neighbors think you hired professionals. Trust me, the wait is always worth it.
Frequently Asked Questions
Can I speed up paint drying with a hair dryer or heat gun?
Avoid using direct heat sources as they can cause the paint surface to dry too quickly while trapping moisture underneath. This leads to cracking, bubbling, and poor adhesion that will ruin your finish.
What happens if I apply the second coat too early?
Applying paint before the recommended recoat time can cause the fresh coat to lift or drag the underlying layer. This creates streaks, uneven coverage, and a finish that may peel within weeks of completion.
How do I know if my first coat is ready for the next layer?
The surface should feel completely dry to touch and not tacky or sticky when lightly pressed with your finger. Always check the manufacturer’s recoat time on the paint can rather than relying solely on touch tests.
Is it better to wait longer than the minimum recoat time?
Yes, waiting beyond the minimum recoat time won’t harm your project and often improves results. Extra drying time ensures better adhesion and reduces the risk of application problems with subsequent coats.
Can I paint over primer the same day I apply it?
Most primers are ready for topcoat application within 1-2 hours, making same-day completion possible for smaller projects. However, always verify the specific primer’s recoat time on the product label before proceeding.