
I love creating art on glass cups. It’s one of my favorite weekend activities. You can make beautiful pieces without spending much money or having years of experience.
Glass cup painting turns plain drinkware into custom art. You can make gifts for friends. You can create matching sets for your kitchen. Or you can just have fun experimenting with colors and patterns.
I remember my first painted cup. It was a simple blue stripe around the middle. Nothing fancy, but I felt so proud seeing my creation on the kitchen counter.
This guide will show you everything you need to know. I’ll share the supplies you need, helpful tips, and seven simple design ideas. By the end, you’ll feel ready to paint your first glass cup. Let’s start with the basics and work our way up to more creative designs.
What You’ll Need to Get Started
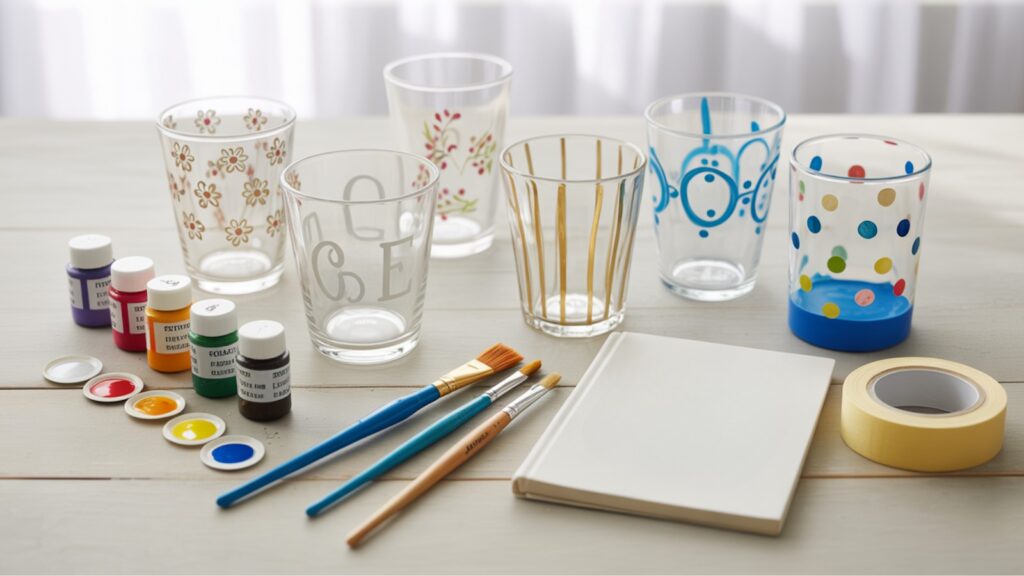
Plain Glass Cups or Mugs: Choose smooth surfaces without textures. Thrift stores have great options for practice pieces.
Acrylic Enamel or Glass Paint: These paints stick to glass better than regular craft paint. Look for dishwasher-safe options if you plan to use the cups regularly.
Paintbrushes and Sponges: Get different sizes. Fine brushes work for details. Foam brushes create smooth coverage for larger areas.
Painter’s Tape or Stencils: These help create clean lines and shapes. Masking tape works too, but painter’s tape removes more easily.
Rubbing Alcohol: You need this to clean the glass before painting. It removes fingerprints and oils that stop paint from sticking.
Cotton Pads and Q-tips: Perfect for cleaning up mistakes while the paint is still wet. Keep plenty nearby.
Tips for Beginners Before You Start Painting
- Clean your glass cups with rubbing alcohol first. This step makes a huge difference in how well your paint sticks.
- Practice your design on paper before touching the glass. This saves time and paint. You can try different color combinations, too.
- Use light pencil marks as guides if needed. They wash off easily after the paint dries.
- Start with simple designs. Don’t try to paint the Mona Lisa on your first cup.
- Let each layer dry completely before adding another. Rushing this step leads to smudged designs.
- Work in good lighting. You want to see your colors clearly as you paint.
7 Easy Glass Cup Painting Ideas for Beginners
Learn 7 simple glass cup painting ideas perfect for beginners. This guide covers supplies, techniques, and care tips to create custom drinkware for gifts or home use. No artistic experience needed.
1. Polka Dot Party Cups
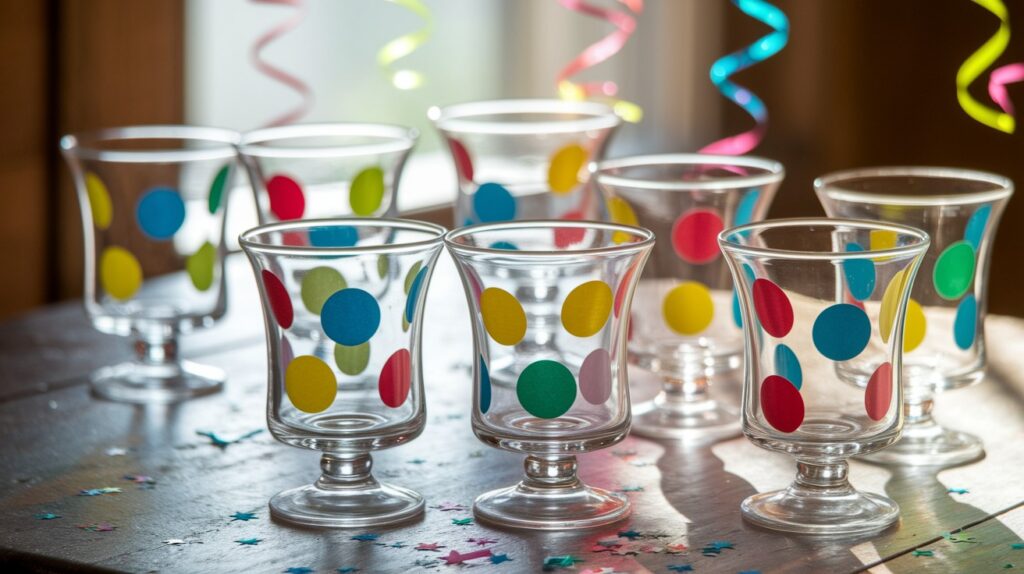
Cotton swabs make perfect circles every time. Dip the swab in paint and press it onto the glass.
Try different sizes by using various tools. Small dots with Q-tips. Medium dots with pencil erasers. Large dots with bottle caps.
Create patterns by spacing dots evenly. Or make them random for a playful look. Bold colors like red, blue, and yellow work great for parties.
2. Minimalist Monograms
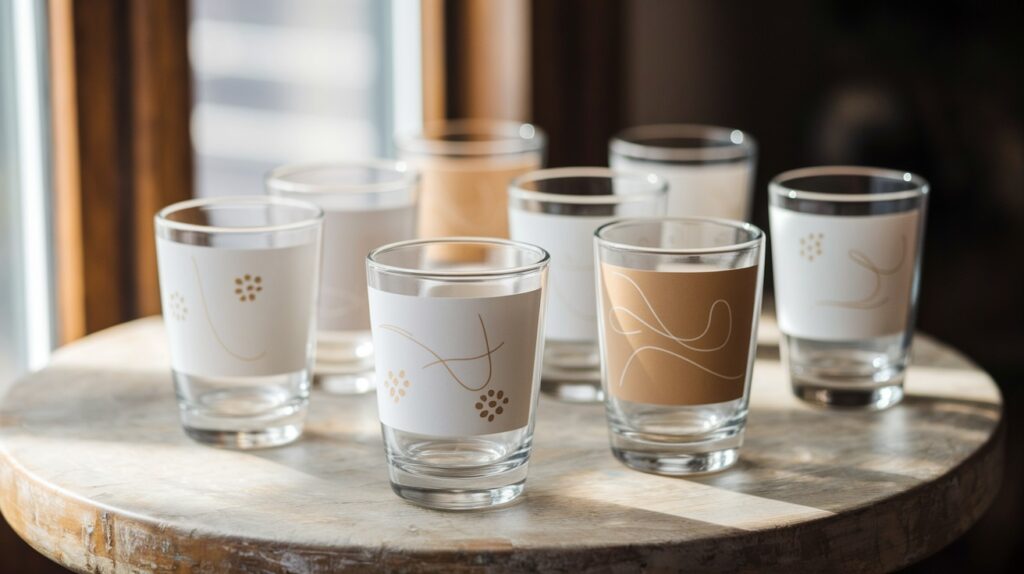
Add someone’s initials to make a personal gift. Use stencils for perfect letters. Or try freehand if you’re feeling confident.
Choose simple fonts for your first attempts. Block letters are easier than script styles.
Place the letter in the center of the cup. Or put it near the handle area. A single color looks clean and professional.
3. Floral Edge Design
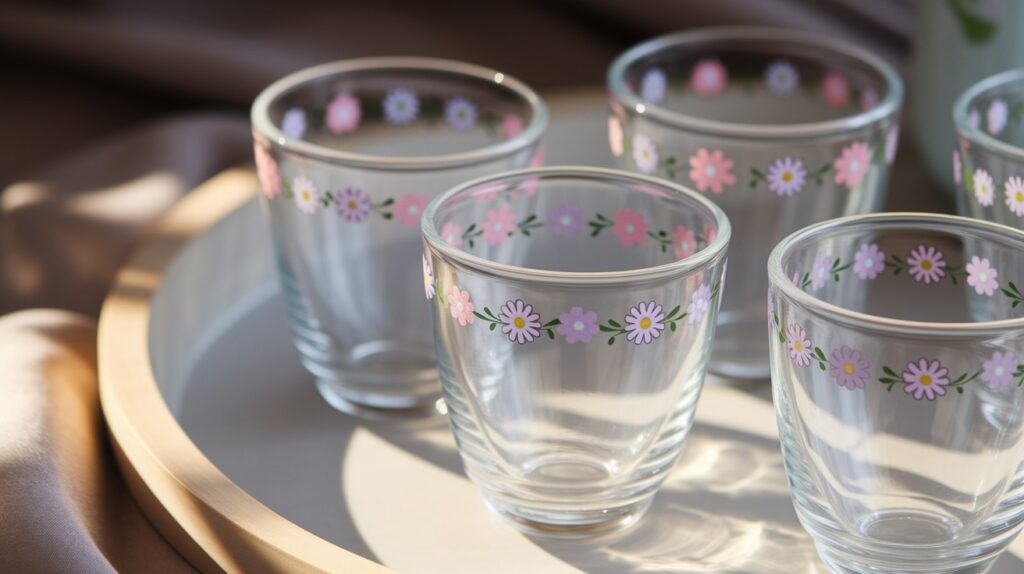
Paint simple flowers around the rim of the cup. Start with basic shapes like circles for flower centers and ovals for petals.
Daisies are perfect for beginners. White petals with yellow centers. Or try different color combinations.
Use fine-tip brushes for the details. Don’t worry about making every flower identical. Hand-painted charm comes from small differences.
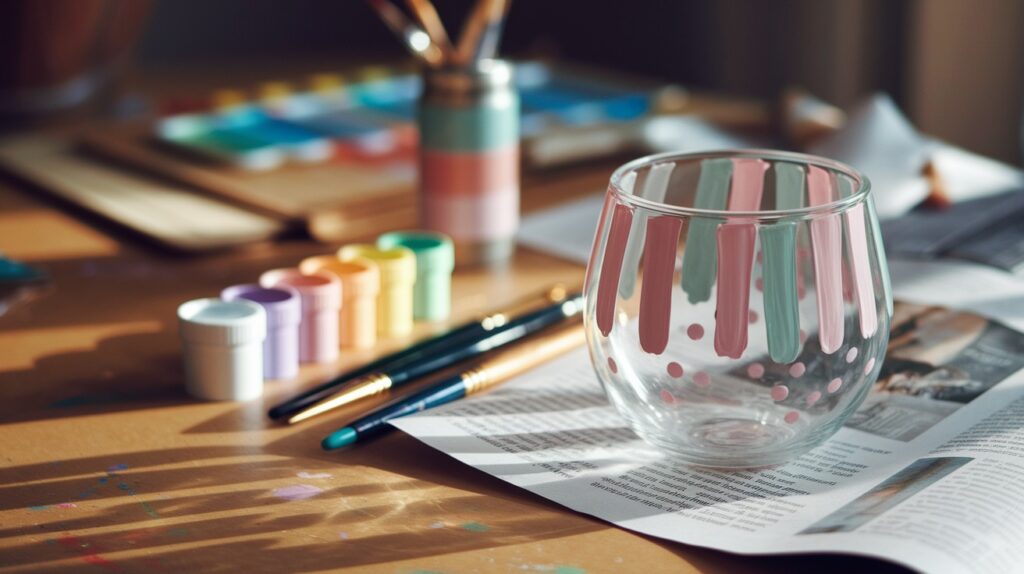
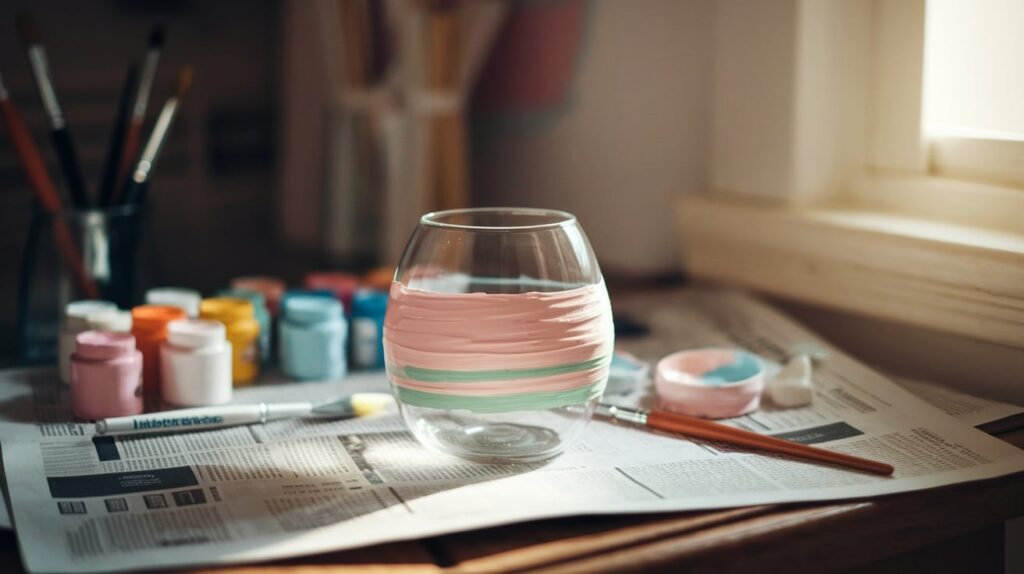
4. Color-Dipped Bottoms
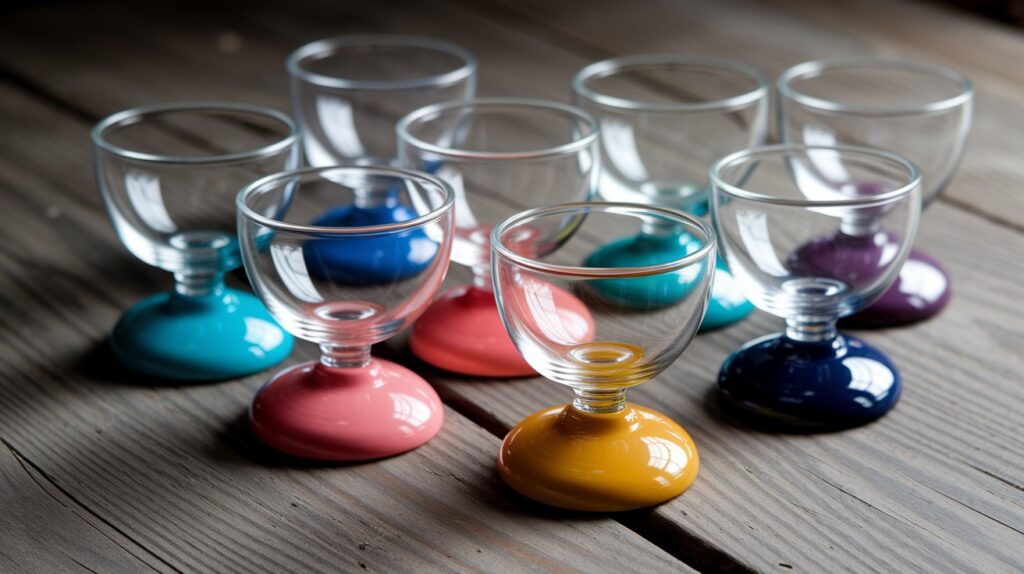
This technique looks fancy, but it’s actually simple. Tape off where you want the color to stop.
Dip the bottom of the cup into a shallow dish of paint. Or brush the paint on in smooth strokes.
Pastel colors work beautifully for this method. Try soft pink, mint green, or lavender. Remove the tape while the paint is still slightly wet for the cleanest lines.
5. Geometric Tape Patterns

Painter’s tape is your best friend for this design. Create triangles, stripes, or diamond patterns.
Press the tape down firmly so paint doesn’t seep underneath. Paint over the entire taped area.
Remove the tape after the paint dries but before it fully cures. You’ll get sharp, clean edges that look professional.
6. Fruit-Themed Fun
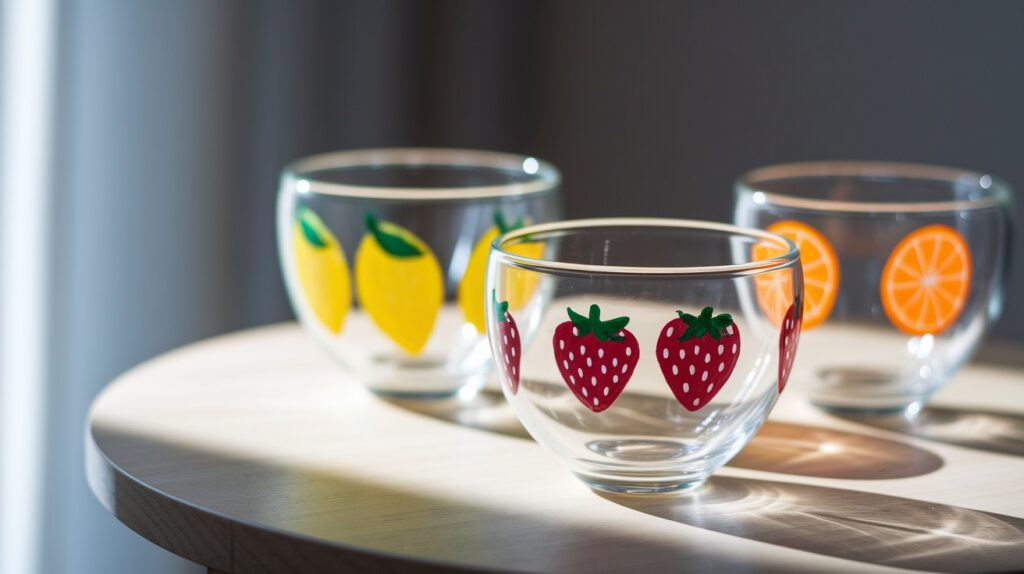
Paint simple fruits like lemons, strawberries, or oranges. Start with basic shapes and add details gradually.
Yellow ovals become lemons with green leaves. Red hearts become strawberries with tiny seeds. Orange circles become oranges with a few curved lines.
These designs work great for summer parties or kitchen décor. Kids love helping with fruit designs, too.
7. Galaxy Effect
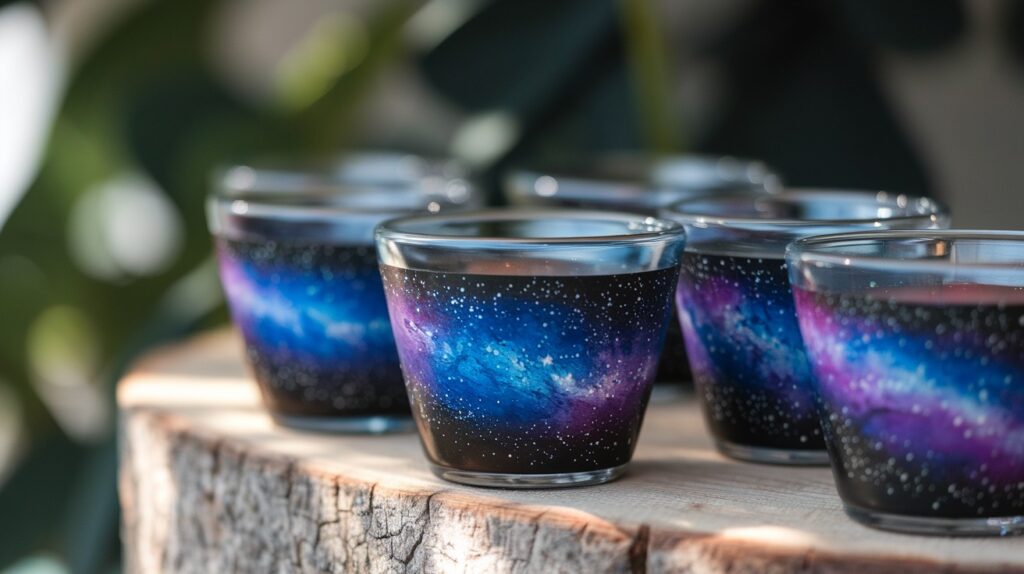
Create a dreamy space scene with sponge painting. Start with dark purple or black as your base color.
Dab on lighter purples and blues while the base is still wet. Add tiny white dots for stars using a fine brush or toothpick.
Blend colors by gently pressing with a clean sponge. The goal is a smooth transition between colors. Seal with gloss paint for extra shine.
How to Set the Paint for Durability
Check your paint label for curing instructions. Different paints have different requirements.
Air-drying method: Let painted cups sit for 21 days before regular use. This gives the paint time to fully bond with the glass.
Oven-baking method: Place cups in a cold oven. Set temperature to 350°F. Bake for 30 minutes after the oven reaches temperature.
Turn off the oven and let the cups cool inside. Don’t remove them while hot. Quick temperature changes can crack the glass.
Some paints don’t need heat curing. Read the label carefully before deciding which method to use.
Care Tips for Painted Glass Cups
- Hand wash only, even if the paint says it’s dishwasher safe
- Use mild soap and warm water
- Avoid soaking painted cups for long periods
- Don’t scrub painted areas with rough sponges
- Store carefully to prevent chips and scratches
- Keep away from extreme temperature changes
- Touch up small chips immediately to prevent spreading
- Use coasters to protect painted bottoms from scratches
- Display painted cups away from direct sunlight to prevent fading
Conclusion
Glass cup painting is a perfect craft for beginners. You don’t need expensive supplies or years of training. Start with simple designs and build your skills over time.
I hope these ideas inspire you to try painting your cups. The best part is making something unique with your own hands. Each cup becomes a small piece of art.
Don’t worry about making everything perfect. Some of my favorite cups have little imperfections that make them special. A slightly wobbly line or uneven dots give them character. Your friends and family will love receiving handmade gifts that show you put thought and effort into creating something just for them.
Try one design this weekend. See how it feels to create something beautiful and useful. You might find yourself planning your next painted cup before you finish the first one.
Frequently Asked Questions
What type of paint works best for glass cups?
Acrylic enamel paints and glass paints work best. They stick better to glass surfaces and last longer than regular acrylic paint. Look for paints labeled “glass” or “ceramic” for the best results.
Can I put painted glass cups in the dishwasher?
Hand washing is always safer, even with dishwasher-safe paints. The high heat and harsh detergents in dishwashers can damage painted designs over time. Gentle hand washing will keep your artwork looking fresh longer.
How long does the paint take to dry completely?
Surface drying usually takes 1-2 hours. Full curing can take up to 21 days for air-dry paints. Oven-cured paints are ready to use after cooling. Always check your specific paint’s instructions for exact timing.
What should I do if I make a mistake while painting?
Wet paint immediately with a Q-tip or cotton pad dipped in water. For dried paint mistakes, you can scrape them off gently with a razor blade or sand them smooth with fine sandpaper before repainting.
Can kids help with glass cup painting projects?
Yes, but with supervision. Choose non-toxic paints and let kids work on simple designs like dots or stripes. Adult help is needed for oven curing and handling glass safely. It’s a great family activity when done carefully.