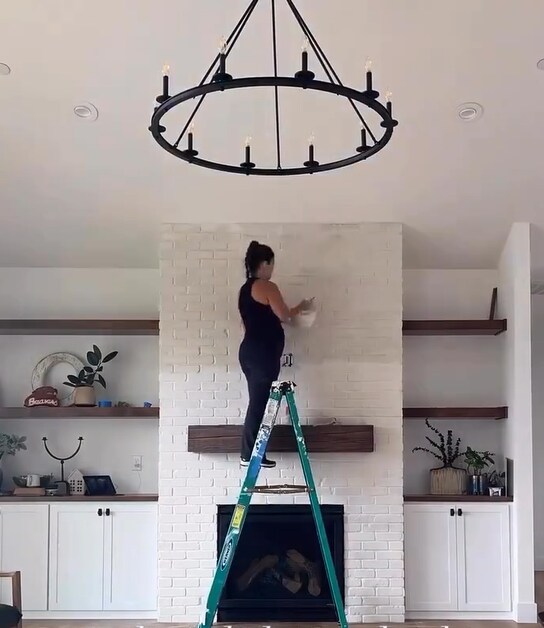
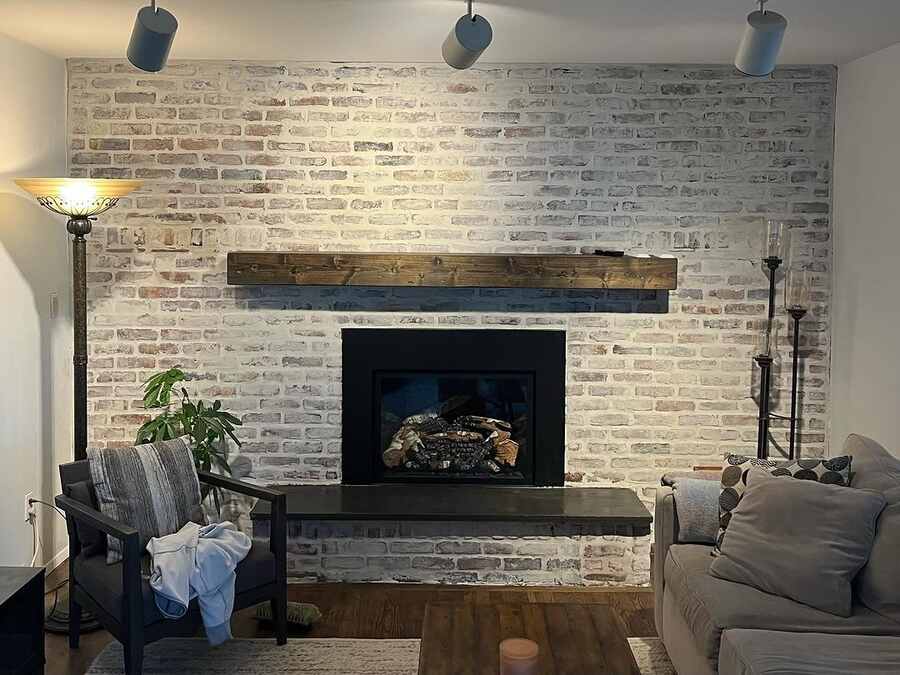
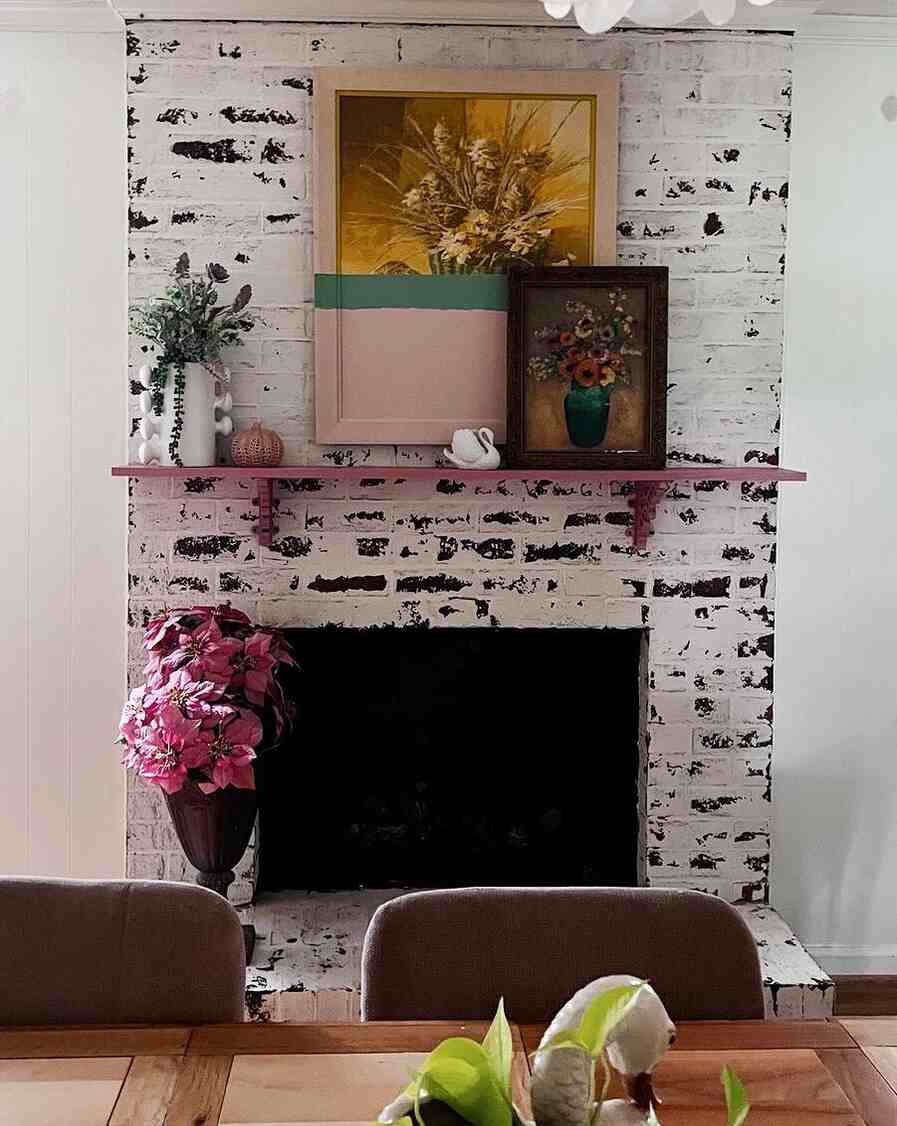
When you are transforming the house with a german smear, but find the result is far from the desired finish you envisioned. That’s exactly what happened to me this spring. I gave my home a rustic look with an old-world feel of Germany, with a smear on the brick walls. I was glad and looked forward to a positive change to take place. However, the german smear did not work out as planned. My German smear was gone bad. It ends up being very uneven and sloppy. I was disappointed.
In this article, I will share my experiences on my german smear gone bad so that you don’t face the same thing. I have mentioned what went wrong with my German smear, how I deal and repair it, and how you can maintain german smear in good shape.
Why is My German Smear Gone Bad?
My German smear went terrible for a few reasons that should have been avoided. First, the bricks were not cleaned properly. I washed it and realized it was not enough because it was completely stained. Reducing the mortar’s adhesion were washers and other particles that stuck to the bricks. As a result, the smear appeared uneven and rough.
Second, I got the mortar mix wrong. This one was too thick and had inconsistency that made it difficult to spread. This made the mortar thicken and have an undesirable appearance, resembling a patchy surface. I had no idea about the proportionality and how vital they were. Achieving the right texture is very important to end up with a smooth-looking surface.
Third, I irregularly applied the mortar. I dashed through it, planning to modify it later, maybe when I had more time. Unfortunately, that didn’t work. The thickness varied across the regions: some areas were over-coated while others were under-coated. This led to an uncoordinated and sloppy appearance.
Lastly, I overlooked the weather. The mortar was not adequately set because it was scorching and humid outside when applied. This interfered with the proper setting process of the mortar due to the weather. Some areas became overly dry and thus developed cracks, while the other zones remained wet for too long. What I did not know was that the weather conditions greatly impacted the drying process.
These all are the issues I found and now atleast I know what I had to deal with for a desirable german smear.
How Do I Fix the German Smear Gone Bad?
It was quite a task to repair my German smear. Because I can’t leave the bad german smear fireplace.
First, ensure the bricks were clean. By using a pressure washer, I was able to wash all the dirt off the surface. It was so important to do this step because clean bricks allow mortar to set better to the bricks.
After that, I again remixed the mortar. This time, I ensured that it was of the correct consistency as required by the experts. Not too thick, but not too thin either. I mixed three parts of sand and 1 part of cement and added water as required.
After this, I began to apply mortar to the bricks again. This made it easier to control. Using a trowel, I applied the mortar uniformly on the bricks. Then wash off the excess water using a damp sponge. This contributed to the achievement of a natural appearance. I took my time. Previously, rushing had a negative effect as it only led to more errors. I also ensured that each section appeared well before proceeding to the next one.

Another aspect that I focused on was the weather. This made the mortar dry up evenly. It is essential to have proper humidity and temperature levels. Heat and moisture are two factors that can lead to the formation of cracks. I also used water to mist the surface after now and then. This reduced the rate of drying.
At last, I moved backward and observed my creation. It looked much more elegant than the first time. I felt proud and relieved. Fixing the German smear took time and effort, but the result was worth it. Now, my home fits my vision of a house that looks like it was built long ago.
How Do You Maintain a German Smear in Good Shape?
So, after I got my German smear done in good shape, I wanted to ensure it did not deteriorate. To begin with, the brick surface is washed frequently. To clean my face, I gently massage it with a soft brush and wash it gently with soap. Cleaning agents such as chemicals or pressure washing can erode the mortar; thus, I do not use them. Then, I look for signs of any possible harm. I look at the weak signs, such as the cracks or flaking mortar. Locating these early ones assists me in correcting them before they escalate.
I also applied a sealant to help protect the mortar. A breathable sealant is ideal. It seals out moisture but allows air to get through to the bricks. This helps avoid harsh weather effects. I paint the sealant every two years or so. It is a simple action but has a profound impact to make.
At times, I can see minor spots that require retouching. I always ensure I have a small portion of the mortar mix for such minor repairs. This extends the possibility of maintaining a consistent appearance. It is effortless to touch up and helps retain my German smear look.
Caring for the German smear is not a difficult task. It only requires a little care from time to time. Cleaning, examining for damages, applying sealant, and repainting occasionally help maintain my home’s cute looks. Now, I used to see beautiful finishes every single day.
Conclusion
The information I gathered from my previous unfortunate experience of German smear involves preparation, application, and maintenance. I hope that through sharing my experience, I can guide others to avoid the same and attain magnificent, timeless home appearances. Time is always of the essence, and keeping your eyes on the details is essential. If done correctly, a German smear can change the look of your home and give it that unique charm you desire.
FAQs
How Long Does German Schmear Last?
Having done the above fix on my smear, I noticed it would last several years. If done correctly, the secret lies in the preparation and maintenance of the process. Even so, the appearance of my German smear has held up well, even though it needs regular cleaning and maintenance. However, it has needed some attention over the years.
Is German Schmear Better With Mortar or Grout?
So far, I’ve found that German smear performs better with mortar. Mortar is thicker and texture dressed and gives a natural and old work look. On the other hand, grout is often too smooth and less tolerant to some types of imperfections. Mortar provides the natural countryside feeling.
Does German Schmear Have to Be White?
Basically it is not imperative to apply German smear white. You can even choose different colors, but many people prefer white. In this case, I tried different tones, and it turned out that the lighter shades allowed for the classic appearance of the material. At the same time, other colors can produce exciting and individual designs.
Does German Schmear Need to Be Sealed?
He has found that sealing German smears is advisable in his practice. It shields the mortar from moisture and other harsh conditions of nature, such as weather. Compromised sealant means that the finish is more likely to deteriorate over time. I use a breathable sealant every few years to maintain the appearance and longevity of the look.
How Can I Prevent Issues With German Smears Before Starting the Project?
In preparation for my work on the German smear project, I ensured to wash the bricks and knead the mortar to the appropriate consistency. In addition, I referred to the weather so that it would not be too hot or cold, and I started in a small area first. These steps aided in avoiding problems and provided me with superior outcomes.
Read Next: 12 Unique and Stunning Board and batten wall Ideas


