
Your front door is the first thing guests see when they visit your home. It’s like a handshake – it makes that crucial first impression. A beautiful entrance tells visitors you care about your space and welcomes them warmly.
I love DIY projects because they don’t break the bank. You can create something special with materials you already have or find at the dollar store. Plus, there’s real satisfaction in making something with your own hands.
In this guide, I’ll show you 11 simple front door decor ideas. You can tackle any of these projects today. Most take just an hour or two. No special skills required.
Ready to give your entrance some personality? Let’s get started.
Easy Front Door Decor Ideas
This guide offers 11 practical DIY front door decor projects that homeowners can complete in just a few hours.
From seasonal wreaths and painted door mats to wooden welcome signs and potted plant arrangements, each idea uses affordable materials and requires no special skills.
The projects range from $10 to $30 each and include step-by-step instructions for creating personalized entrance decorations that make great first impressions on guests.
1. DIY Seasonal Wreaths
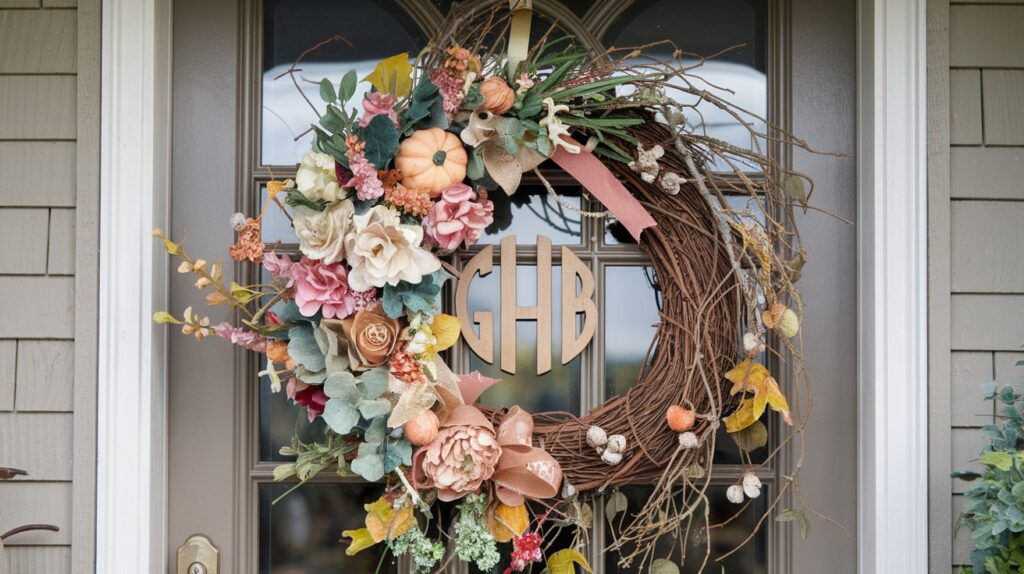
Making your wreath is easier than you think. Start with a basic wire or foam wreath form from the craft store.
For spring, try faux tulips and pastel ribbons. Fall calls for autumn leaves, mini pumpkins, and burlap bows. Winter? Go for evergreen branches with red berries.
Here’s my simple process:
- Attach larger items first with floral wire
- Fill gaps with smaller elements
- Add ribbon last for the finishing touch
Personal touches make wreaths special. Try adding wooden letters for your family’s initial. Or attach a small photo frame with your house number.
Change your wreath with the seasons. Store extras in clear bins so you can rotate them easily.
2. Wooden Welcome Signs

Nothing says “home” like a handmade wooden sign. You don’t need fancy tools or expensive wood.
Pallet wood works great for rustic signs. Hardware stores often give away broken pallets. Reclaimed fence boards add character, too.
For vertical signs, aim for 12-18 inches wide. Horizontal signs can be 24-36 inches long.
Here’s my painting process:
- Sand rough spots lightly
- Apply base coat with a foam brush
- Let dry completely
- Add your message with stencils or freehand
- Seal with outdoor polyurethane
Pro tip: Use painter’s tape for clean lines. Remove it while the paint is slightly wet for crisp edges.
Weather protection is key. Two coats of sealer will keep your sign looking fresh for years.
3. Painted Door Mats
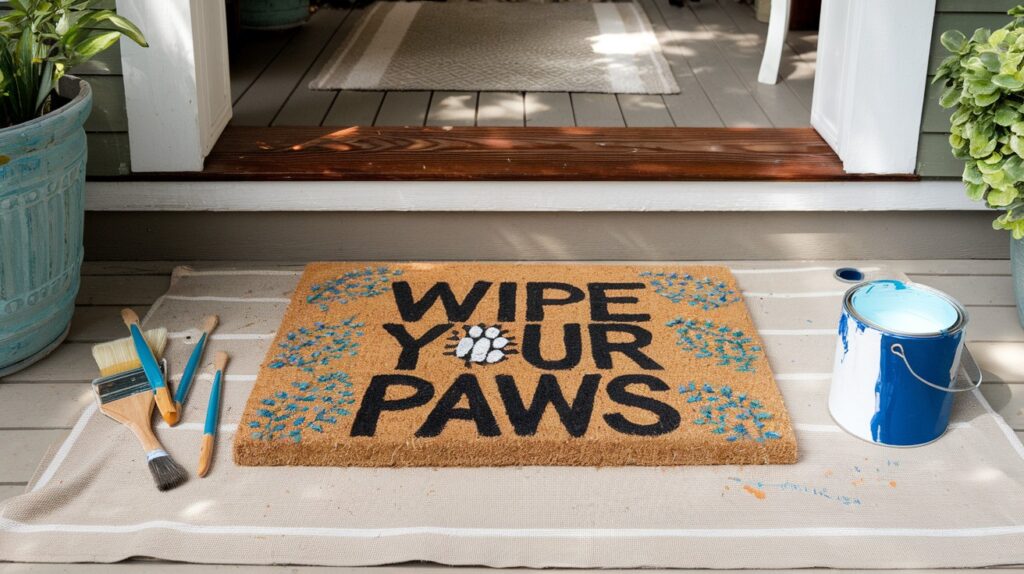
Plain coir door mats become custom art with some outdoor paint and creativity.
Stencils make this project foolproof. Try “Welcome Home” or your family name. Funny sayings work too – “Please Hide Packages from Husband” always gets laughs.
You’ll need:
- Plain coir mat
- Outdoor acrylic paint
- Stencils or cardboard templates
- Foam brushes or sponges
Clean your mat first. Shake out debris and let it dry completely.
Apply paint in thin layers. Don’t overload your brush – it causes bleeding under stencils. Let each coat dry before adding another.
Speed up drying time by placing the mat in direct sunlight. Most outdoor paints cure in 2-4 hours.
4. Potted Plant Arrangements
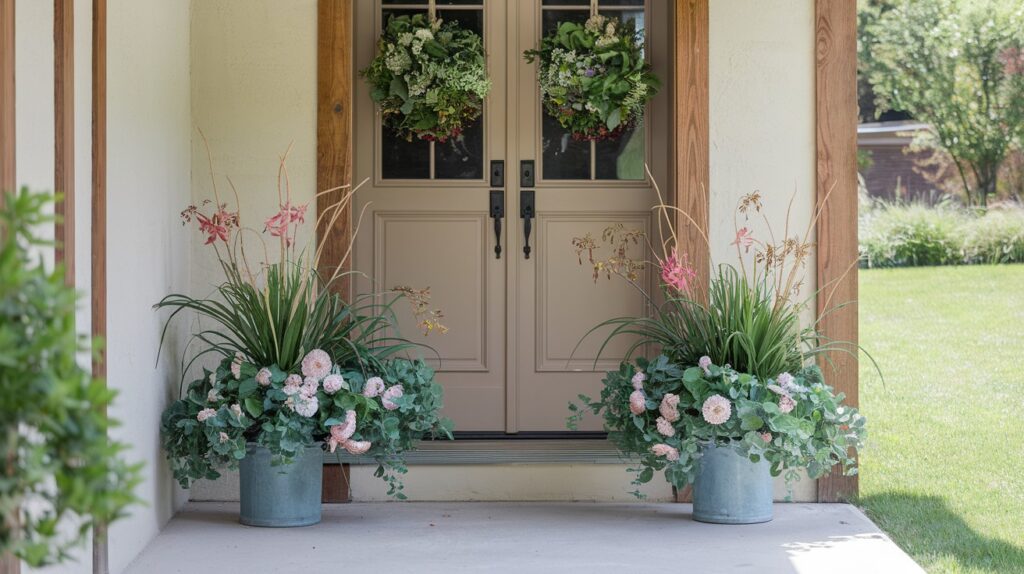
Plants bring life to your entrance instantly. You don’t need a green thumb – just follow a few simple rules.
Choose pots that complement your home’s style. Matching sets create a polished look. Mismatched vintage containers add charm.
For beginners, try these low-maintenance options:
- Marigolds (bright and cheerful)
- Pansies (cool weather champions)
- Boxwood (evergreen and classic)
- Succulents (drought-tolerant beauties)
Symmetry creates balance. Place matching pots on either side of your door. For odd numbers, use one large pot as an anchor with smaller ones grouped around it.
Water regularly, but don’t overdo it. Most plants prefer slightly dry soil to soggy conditions.
5. DIY House Number Planters
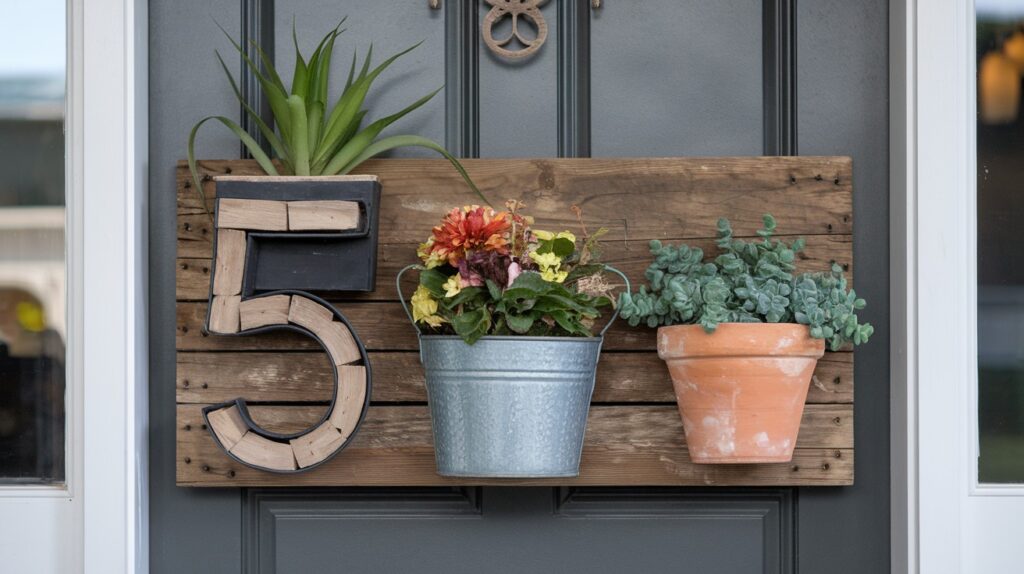
Combine function with beauty by turning your house numbers into planters.
Start with large wooden numbers from the craft store. Hollow out space for small plants or succulents.
Alternative ideas:
- Mount numbers on small wooden planters
- Use metal buckets with stenciled numbers
- Create a vertical garden with numbered clay pots
Drill drainage holes in any container you use. Plants hate sitting in water.
For mounting, use outdoor construction adhesive or screws. Make sure everything is level before the adhesive sets.
Seasonal switches keep this display fresh. Summer calls for bright annuals. Fall looks great with mums or small pumpkins.
6. Hanging Lanterns or Mason Jar Lights
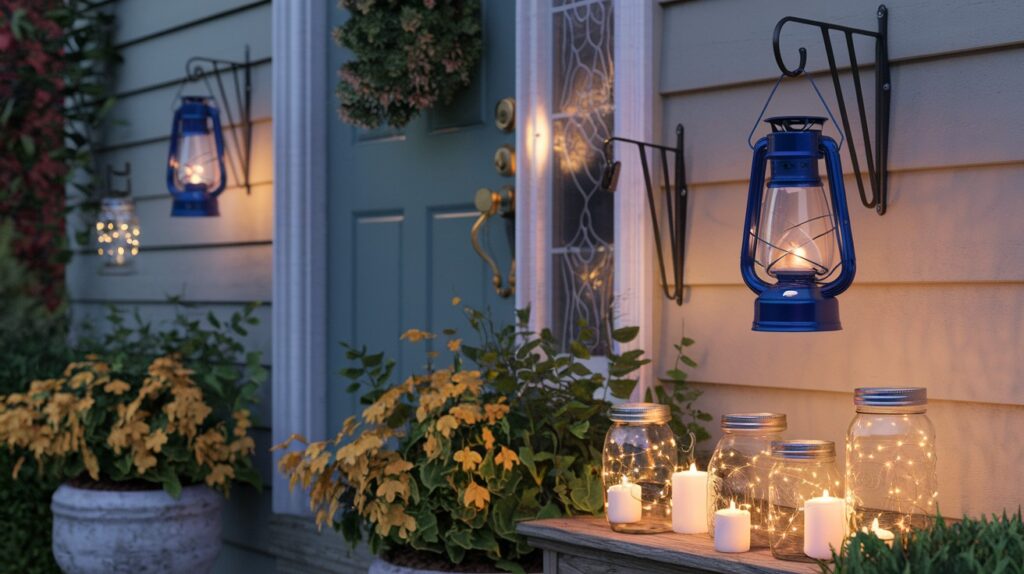
Lighting adds warmth and welcomes guests after dark.
Solar lights are my favorite – no wiring needed. They charge during the day and automatically turn on at dusk.
Mason jars make charming light fixtures:
- Punch holes in lids for fairy lights
- Add battery-operated LED strings
- Hang with sturdy jute rope or chain
Shepherd’s hooks work great for heavier lanterns. For lighter options, try wall-mounted brackets beside your door.
Safety first: Make sure all electrical connections are rated for outdoor use. Keep lights away from flammable decorations.
Citronella candles serve double duty – they provide light and keep bugs away during summer evenings.
7. Upcycled Frame Door Decor
Old picture frames get new life as door decorations.
Thrift stores are goldmines for unique frames. Look for different sizes and styles that complement each other.
Convert frames into:
- Mini chalkboard signs with blackboard paint
- Fabric-backed message boards
- Seasonal displays with artificial flowers
- Photo showcases of family memories
Hang frames with pretty ribbon or rustic jute rope. Vary the heights for visual interest.
Weather protection matters here too. Spray frames with clear sealant if they’ll face harsh elements.
8. Seasonal Garland or Greenery
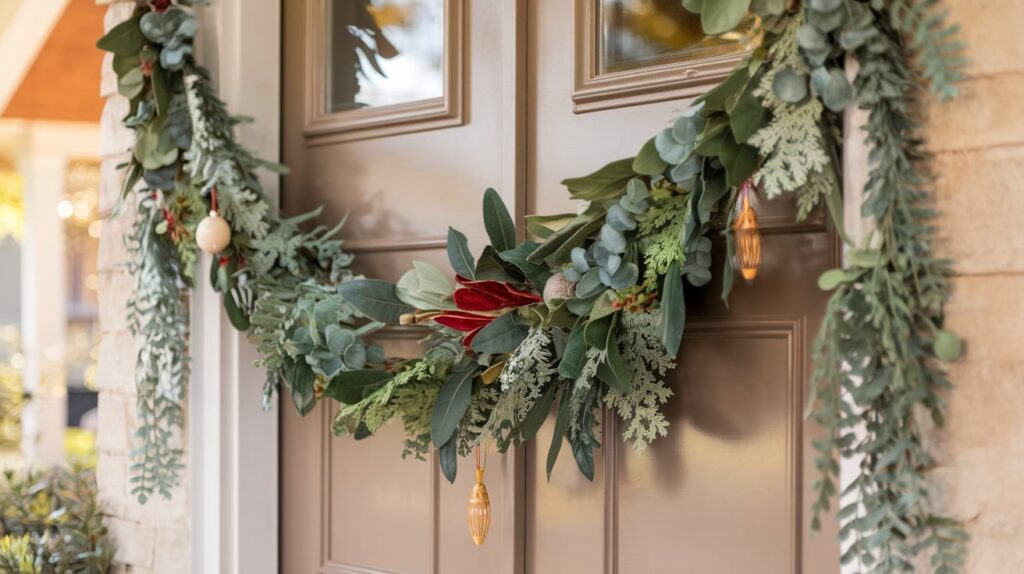
Garland softens hard lines around doorways and adds natural beauty.
Faux garland lasts all season without watering or maintenance. Eucalyptus and magnolia leaves look realistic and stay attractive longer.
Draping techniques:
- Swag garland across the top of your door frame
- Wrap-around porch columns
- Layer different textures for depth
Secure with small outdoor hooks or clear adhesive strips. Avoid nails if you’re renting.
Add personality with ribbon, lights, or seasonal ornaments. Change these accents throughout the year while keeping the base garland.
9. DIY Front Door Paint Refresh
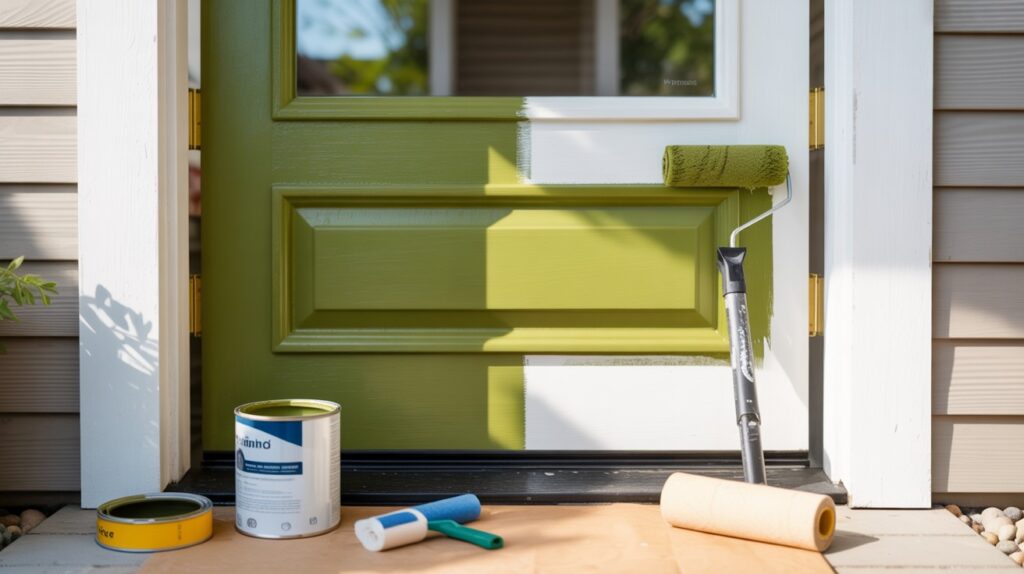
A fresh coat of paint transforms your entrance instantly.
Bold colors make statements. Navy blue feels classic and sophisticated. Bright red shows confidence and warmth. Sage green connects with nature.
Prep work determines your results:
- Remove old paint that’s peeling
- Sand glossy surfaces lightly
- Clean with a tsp solution
- Prime bare wood or dramatic color changes
Use high-quality exterior paint designed for doors. It resists fading and handles weather better than standard paint.
Work in shade when possible. Hot sun causes paint to dry too quickly, leaving brush marks.
Most doors need two coats for even coverage. Be patient between coats – rushing leads to poor results.
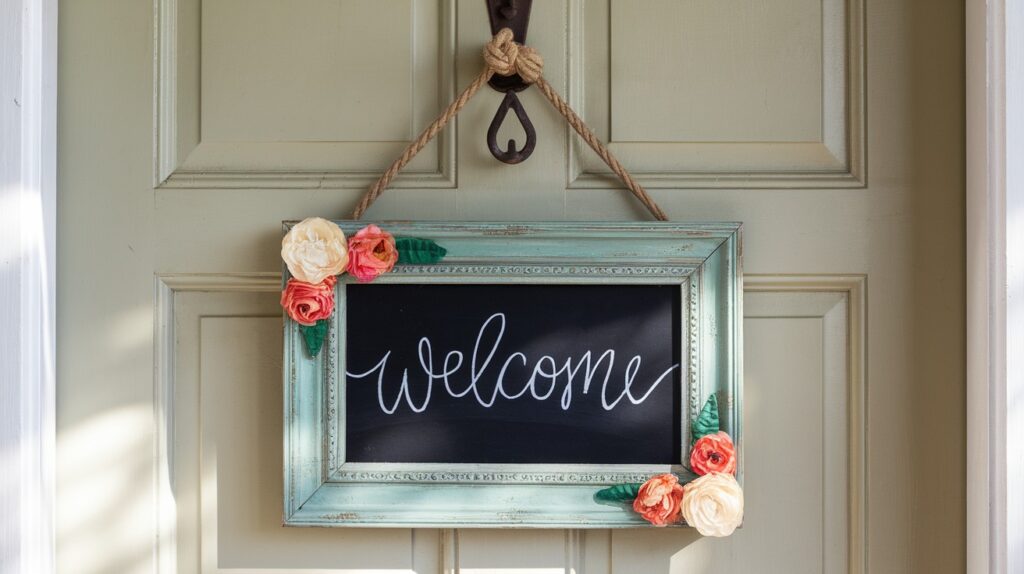
10. Chalkboard Welcome Board
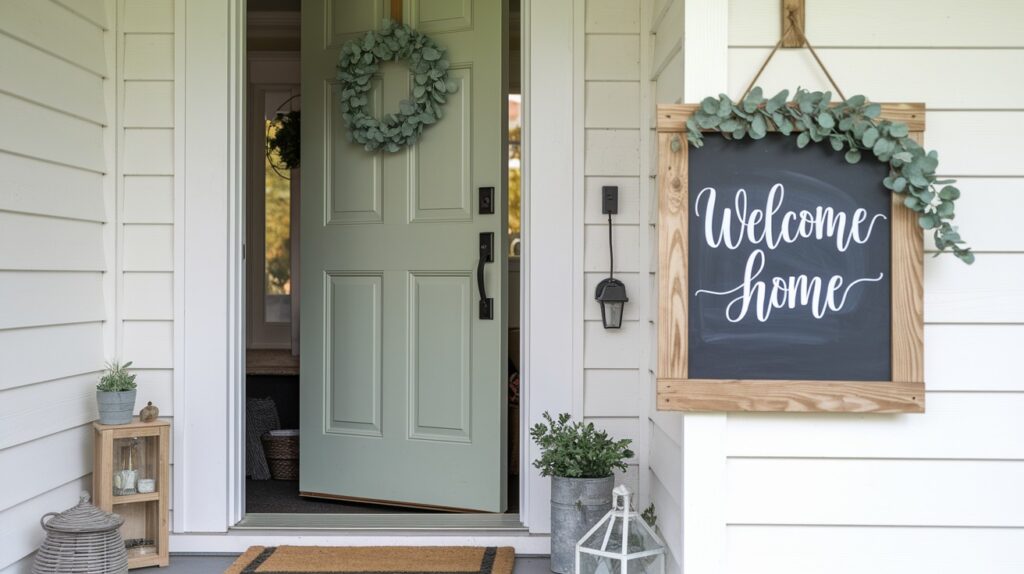
Chalkboard signs let you change messages as often as you like.
Make your own from plywood and chalkboard paint. Sand the wood smooth first. Apply paint in thin, even coats with a foam roller.
Size matters – aim for at least 12×16 inches so messages are readable from the street.
Message ideas:
- “Welcome to the Home”
- Seasonal greetings
- Birthday announcements
- Holiday countdowns
Frame your chalkboard with trim pieces for a finished look. Add small hooks for hanging seasonal mini-wreaths or flowers.
Keep chalk in a small basket nearby so you can update messages easily.
11. Rustic Crate Display
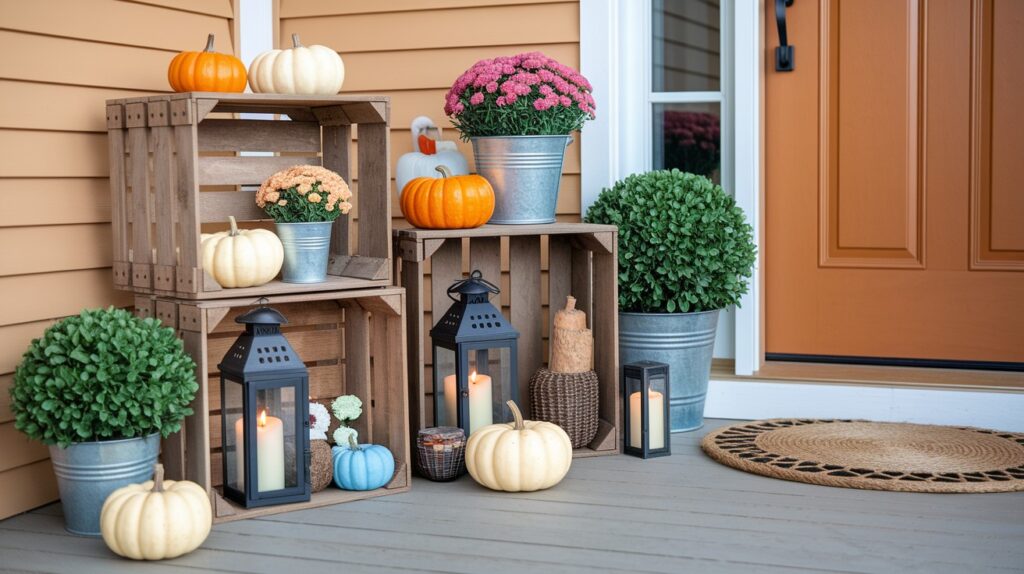
Wooden crates create flexible display space for seasonal decorations.
Find crates at craft stores, garage sales, or online marketplaces. Different sizes work better than matching sets.
Stack them at angles for visual interest. Secure with wood screws if they’ll hold heavy items.
Monthly rotation ideas:
- Spring: potted flowers and bird nests
- Summer: lanterns and citronella plants
- Fall: pumpkins and corn stalks
- Winter: evergreen branches and pinecones
Add a weathered finish with sandpaper and gray stain. This helps new crates look authentically aged.
Conclusion
Your front door doesn’t need expensive renovations to make visitors smile. These 11 DIY ideas prove that creativity beats big budgets every time.
Start small. Pick one or two projects that excite you most. Maybe it’s painting a welcome mat or making a seasonal wreath. The key is taking action today.
I’ve found that front door projects often spark bigger decorating adventures. Once you see how good your entrance looks, you’ll want to spruce up other areas too.
Don’t stress about perfection. Handmade charm is better than store-bought sameness. Your guests will appreciate the personal touches and effort you put in.
Frequently Asked Questions
How much should I expect to spend on these DIY front door projects?
Most of these projects cost between $10 and $30 each. Painted door mats and seasonal wreaths are the most budget-friendly options at under $15. Wooden signs and crate displays might run $20-30, depending on the materials you choose. You can save money by using items you already have or shopping at dollar stores and thrift shops.
How long do these decorations typically last outdoors?
With proper sealing and weather protection, most DIY door decor lasts 6-12 months. Wooden items sealed with outdoor polyurethane can last 1-2 years. Painted door mats typically need refreshing after 6-8 months of heavy use. Seasonal items like wreaths and garlands are meant to be changed every 3-4 months anyway.
Do I need special tools or skills for these projects?
No special skills required! Most projects use basic tools like paintbrushes, scissors, and screwdrivers. The wooden sign project might need a drill for mounting, but even that’s optional if you use adhesive mounting strips. I designed these ideas specifically for beginners who want great results without complicated techniques.
Can renters do these projects without damaging their doors or frames?
Absolutely! Use removable mounting options like adhesive strips, over-door hangers, or shepherd’s hooks that don’t require permanent installation. Avoid drilling holes or using nails. Most of these decorations can hang with ribbons, suction cups, or temporary hooks that won’t leave marks.
What’s the best way to store seasonal decorations between uses?
Clear plastic bins work perfectly for storing seasonal door decor. Label each bin with the season and contents. Keep bins in a dry area like a garage, basement, or closet. For wreaths, use special storage containers that prevent crushing, or hang them on hooks in a storage room. Take photos of your displays so you remember how to set them up next year.