
Ever noticed that clean horizontal board running along your home’s roofline? That’s frieze board siding. And you’ve probably walked past hundreds of houses with it without giving it a second thought.
Here’s the thing. This simple piece of trim does more work than most homeowners realize.
Frieze boards bridge the gap between your home’s siding and soffit. They create that finished look that separates amateur construction from professional craftsmanship. Think of them as the final brushstroke on a painting.
But what exactly makes a good frieze board? What materials work best for your climate? And can you install one yourself?
We’ll answer all these questions. Plus, we’ll walk through the installation process step by step. Ready to give your home’s exterior that polished finish it deserves?
What Is a Frieze Board?
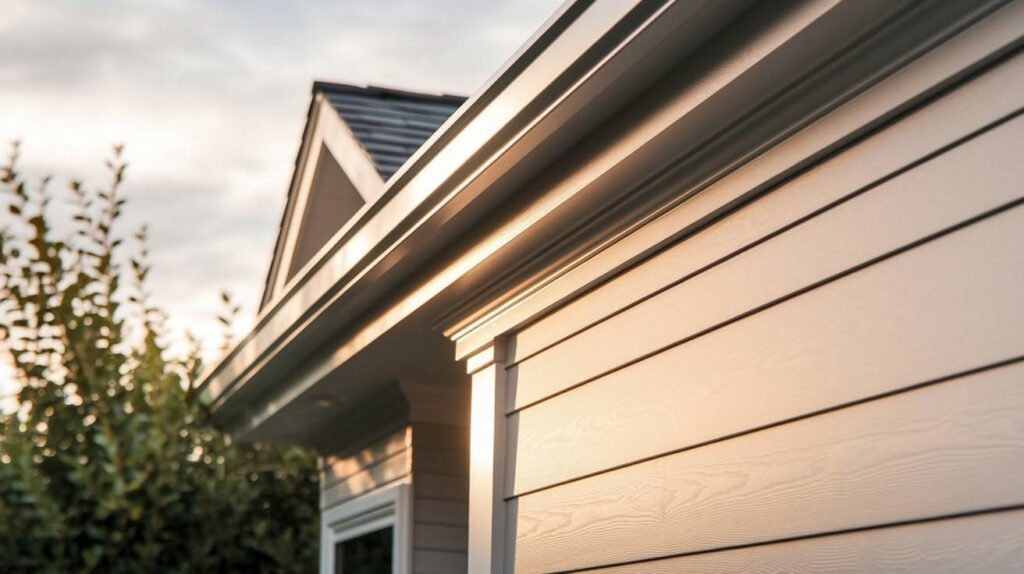
A frieze board is a flat, horizontal piece of trim that sits between your home’s siding and the soffit. You’ll find it running along the roofline where the wall meets the roof overhang.
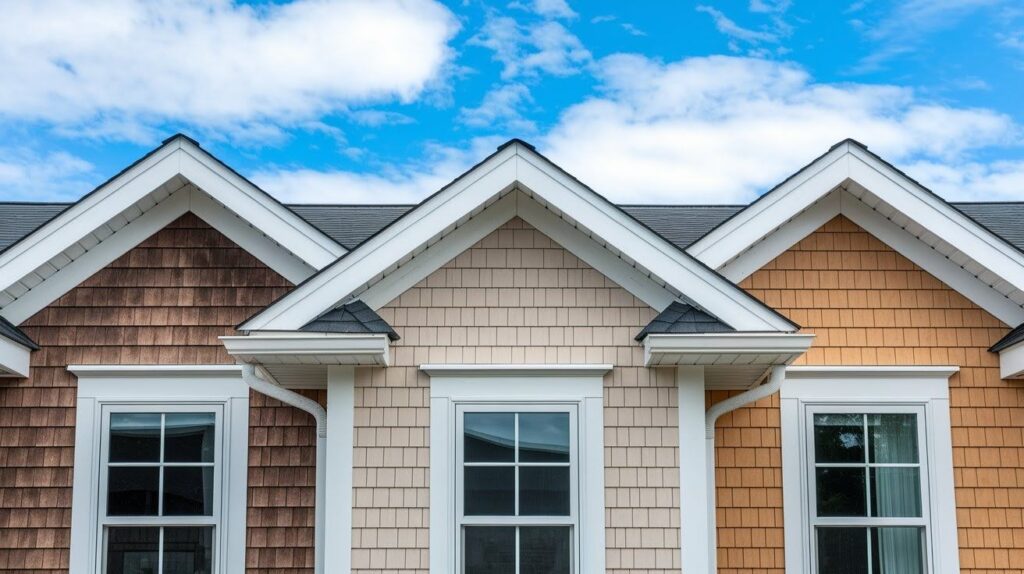
Most homes have frieze boards on all exterior walls. But they’re especially noticeable on gable ends. That’s where the triangular part of your roof creates the most visible transition between siding and soffit.
Think of it as a border. It covers the gap and creates a smooth visual line around your home’s perimeter.
Now here’s where people get confused. Fascia and frieze boards are not the same thing.
Fascia boards run vertically along the roof edge. They cover the ends of your roof rafters. You’ll see them hanging down from the roof line.
Frieze boards run horizontally along the wall. They sit between the siding and the soffit. Different jobs. Different locations. Both are important for your home’s finished appearance.
The fascia protects structural elements. The frieze board provides a clean transition and prevents water infiltration.
Why Frieze Board Siding Matters
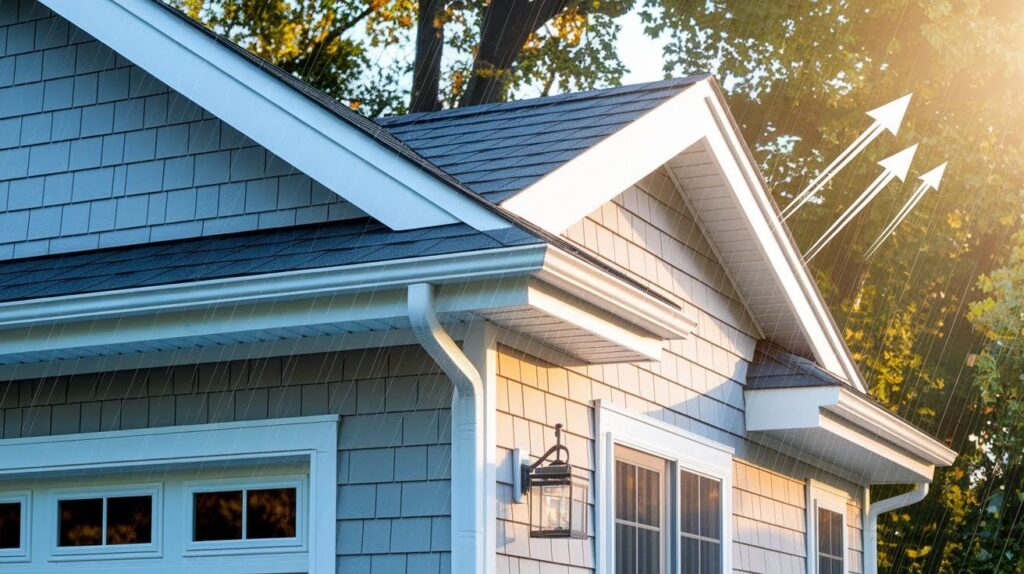
1. Moisture Protection
Your home’s exterior has dozens of gaps and seams. Most of them are invisible from the ground. But they’re all potential entry points for problems.
Water is your biggest enemy. Without proper sealing, moisture seeps into wall cavities. This leads to rot, mold, and expensive structural damage. A properly installed frieze board acts as your first line of defense.
2. Pest Prevention
But water isn’t the only concern.
Ever found mice in your attic? They probably entered through gaps around your roofline. Insects love these spaces too. Wasps, carpenter ants, and beetles all look for easy access points. A tight frieze board installation blocks these entry routes.
3. Aesthetic Value
Then there’s the visual impact. Walk down any street and you’ll spot homes with and without frieze boards. The difference is obvious.
Frieze boards create clean lines and hide construction gaps that would otherwise look unfinished.
4. Energy Efficiency
Your energy bills benefit too. Proper frieze board installation supports healthy attic ventilation.
This keeps your attic cooler in summer and prevents ice dams in winter. Better airflow means your HVAC system works less. That shows up in lower monthly costs.
Common Materials for Frieze Board Siding
Wood: Classic natural appearance that paints well, but requires regular maintenance and is vulnerable to rot, warping, and insect damage over time.
Fiber Cement: Extremely durable material that resists rot, fire, and pests with long warranties, but heavy to install and more expensive upfront.
Aluminum: Pre-finished, lightweight, and affordable option that won’t rot or need painting, though some prefer wood’s natural appearance over metal.
Engineered Wood or Treated Trim: Combines wood’s natural look with improved moisture and insect resistance, costing more than regular wood but less than cement.
Cost of Frieze Board Siding
Frieze board costs vary widely based on your material choice.
Wood boards typically run $2 to $8 per linear foot. Fiber cement ranges from $5 to $12 per linear foot. Aluminum falls between $3 $7 per linear foot.
Labor adds $3 to $8 per linear foot for professional installation. Complex rooflines with multiple angles increase labor time. Two-story homes require scaffolding, which bumps up costs.
Your climate affects material selection, too. Coastal areas need corrosion-resistant options. Cold climates require materials that handle freeze-thaw cycles.
Frieze Board Siding Installation
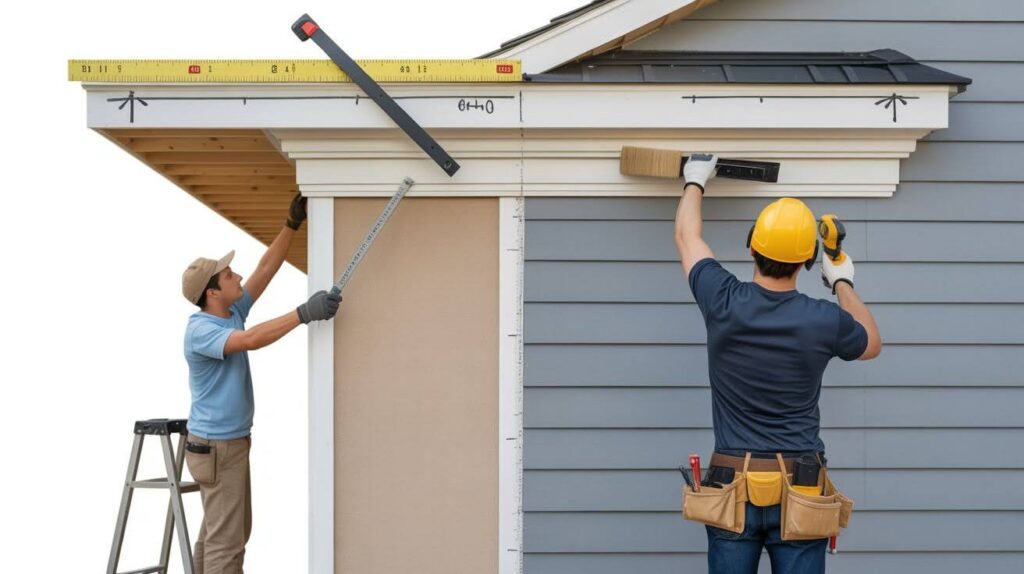
Basic Installation Steps
Start with accurate measurements. Mark your level line around the entire house perimeter. This ensures your frieze board runs straight.
Cut your boards to length. Test-fit each piece before securing. Use appropriate fasteners for your wall type. Galvanized nails or screws work for most applications.
Seal all joints with quality caulk. This prevents water infiltration. Prime and paint wood boards immediately after installation.
DIY vs. Professional Installation
DIY installation saves $3 to $8 per linear foot in labor costs. Basic carpentry skills and standard tools handle most jobs.
But professionals bring experience and proper tools. They handle complex cuts and ensure proper sealing. Most offer warranties too.
Consider professional installation for two-story homes or complex rooflines.
Choosing the Right Frieze Board for Your Home
- Style Matching: Vinyl siding pairs well with aluminum or engineered wood boards. Cedar shingle homes look best with natural wood frieze boards.
- Color Coordination: Match your frieze board to your trim color, not your siding. This creates clean lines and visual continuity.
- Climate Considerations: Hot, humid areas favor fiber cement or aluminum over wood. Cold regions need materials that handle freeze-thaw cycles.
- Maintenance Preferences: Wood looks great, but needs regular painting. Aluminum and fiber cement offer decades of low-maintenance service.
- Warranty Protection: Quality materials come with 15 to 50-year warranties. Cheap options often lack warranty coverage entirely.
- Architectural Style: Traditional homes suit wood boards. Modern homes work well with clean aluminum lines. Colonial styles need wider boards.
- Installation Complexity: Some materials require special tools or professional installation. Consider your skill level and available tools.
Conclusion
After years in construction, I’ve seen what happens to homes without proper frieze boards. Water damage. Pest problems. That unfinished look that screams amateur work.
Don’t skip this detail on your home.
Frieze boards protect your investment while adding that professional finish every homeowner wants. They’re not expensive. The installation isn’t rocket science. But the difference they make is huge.
My advice? Choose your material based on your climate and maintenance comfort level. Wood for traditional charm. Aluminum for low maintenance. Fiber cement for maximum durability.
Get quotes from three contractors if you’re hiring out. Check their previous work. Ask about warranties.
Your home deserves that finished look. Frieze boards deliver it while protecting everything underneath. That’s a win you can live with for decades.
Frequently Asked Questions
What is the main purpose of frieze board siding?
Frieze boards seal the gap between your home’s siding and soffit, preventing water infiltration and pest entry. They also provide a clean, finished appearance that enhances your home’s curb appeal.
How much does frieze board installation typically cost?
Material costs range from $2 to $12 per linear foot, depending on your choice. Professional installation adds another $3 to $8 per linear foot for labor and materials.
Can I install frieze boards myself, or do I need a professional?
DIY installation is possible for homeowners with basic carpentry skills and the right tools. However, complex rooflines or two-story homes often require professional expertise for proper installation and safety.
What material works best for frieze boards in different climates?
Wood suits moderate climates but requires regular maintenance, while aluminum and fiber cement perform better in harsh weather conditions. Coastal areas benefit from corrosion-resistant materials like aluminum or treated options.
How do I know if my frieze boards need replacement?
Look for signs of rot, warping, gaps, or peeling paint on wood boards. Also, check for loose boards, water stains, or pest entry points around the roofline area.