
Building your pantry cabinet convert kitchen storage while saving money. This project gives you complete control over size, style, and functionality to match your exact needs.
Many homeowners struggle with limited kitchen storage and expensive custom solutions. A DIY pantry cabinet solves both problems. You’ll spend less than half the cost of store-bought options while creating something perfectly suited to your space.
This guide walks you through every step of the building process. You’ll learn to measure your space, choose materials, cut pieces, and assemble your cabinet. We cover tools, techniques, and troubleshooting tips that ensure success.
The process takes one weekend for beginners. Advanced builders can complete it in a day. Either way, you’ll have a functional storage solution that looks professional and lasts for years.
Your kitchen will become more organized and efficient. Let’s start building your custom pantry cabinet today.
DIY Pantry Cabinet Building Steps
Step 1: Gather Your Tools and Materials
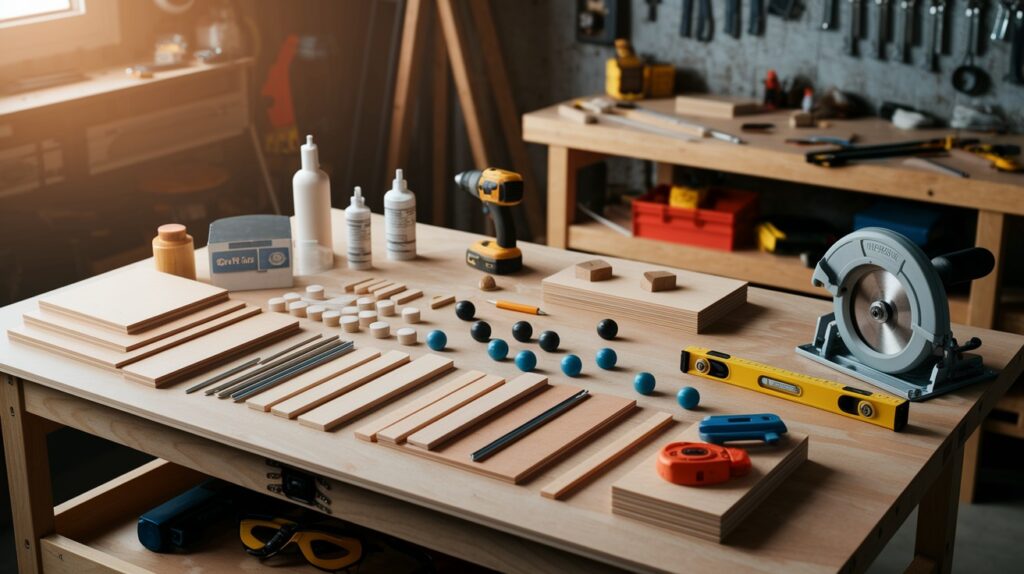
Collect everything before you start. This saves time and prevents frustration.
Materials:
- Plywood or MDF boards (3/4-inch)
- Wood screws (1 1/4-inch and 2 1/2-inch)
- Wood glue, sandpaper, hinges, knobs
Tools:
- Circular saw, drill, clamps, measuring tape, level, pencil, safety glasses
Hardware stores rent tools by the day. Buy 10% extra materials for mistakes.
Step 2: Plan Your Pantry Cabinet Dimensions

Measure your space twice. Write down height, width, and depth.
Standard sizes:
- Height: 84 inches
- Width: 18-24 inches
- Depth: 12-18 inches
Sketch your design. Include shelf spacing (12-15 inches apart works well). Use free online tools like SketchUp or graph paper.
Decide: Single door or double doors? Freestanding or built-in?
Step 3: Cut the Wood Panels
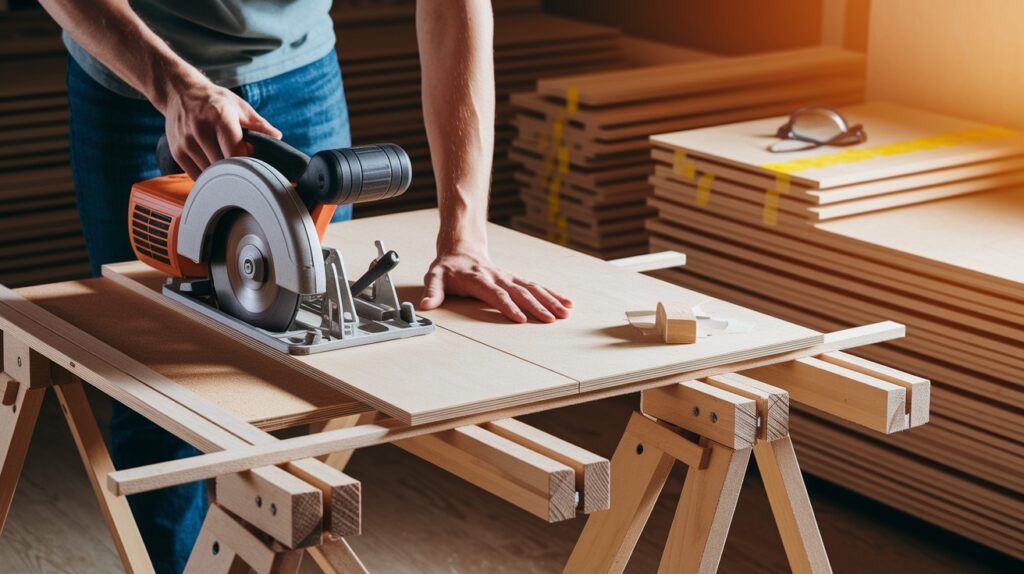
Panels needed: 2 sides, 1 back, 1 top, 1 bottom, shelves, doors
Label each piece with masking tape. Use a sharp blade and support both sides of the cuts. Cut slightly outside your line, then sand to fit.
Wear safety glasses. Never rush cuts.
Most lumber yards cut panels for you if you lack tools.
Step 4: Assemble the Frame
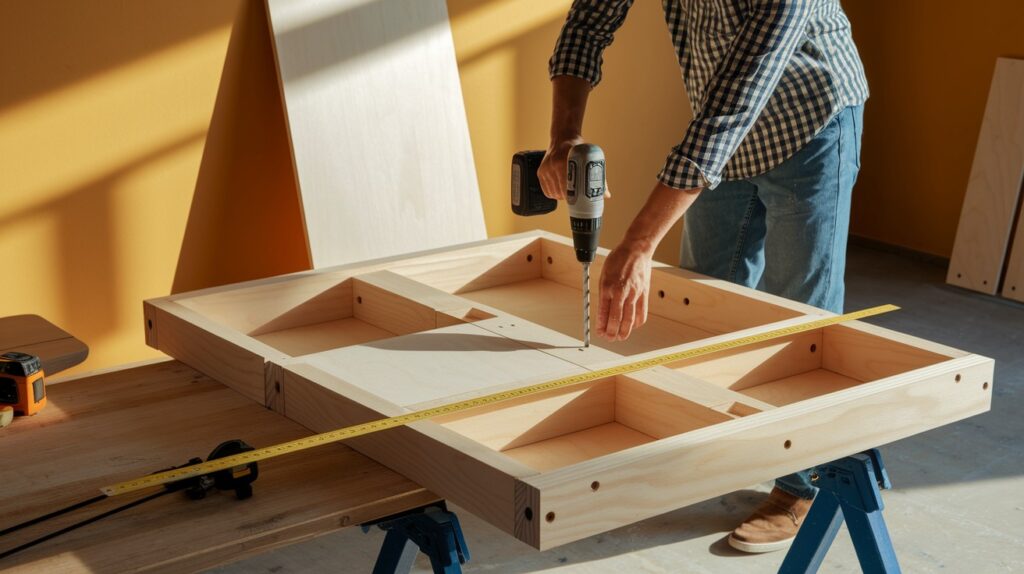
Assembly order:
- Bottom to sides (use wood glue and screws)
- Top to sides
- Back panel last
Drill pilot holes to prevent splitting. Use clamps to hold pieces while screwing.
Check for a square by measuring diagonals. Both should match exactly. Adjust before the glue sets if needed.
Step 5: Add Interior Shelves
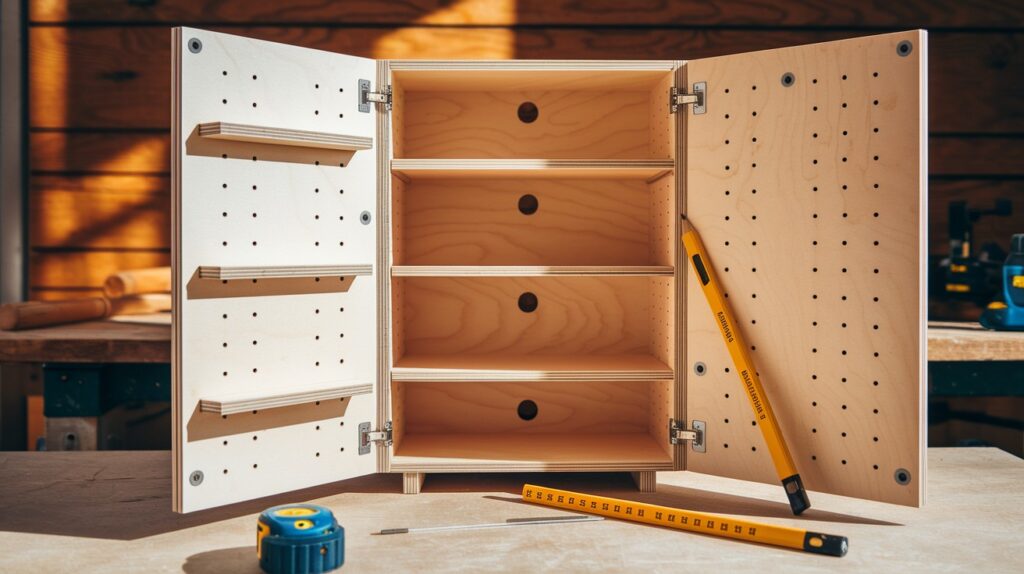
Mark shelf locations with a pencil and a level. Use the same measurements on both sides.
Two methods:
- Cleats: Cut wood strips, attach them to the sides, and rest the shelves on top
- Pins: Drill holes, insert metal pins (adjustable but requires precision)
Spacing ideas:
- Bottom: 18 inches (large items)
- Middle: 12-14 inches (cans, boxes)
- Top: 10 inches (lightweight items)
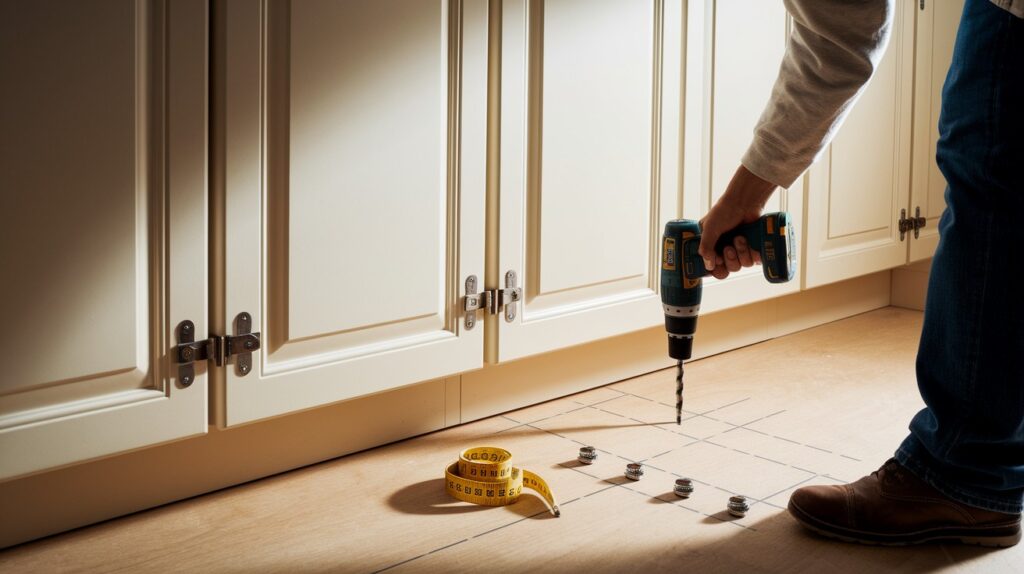
Step 6: Install the Doors and Hardware
Hinge placement:
- Top: 2 inches from the top
- Bottom: 2 inches from the bottom
- Middle: centered (for tall doors)
Attach hinges to doors first. Then position on cabinet and mark locations. Drill pilot holes to prevent splitting.
Doors need a 1/8-inch gap on all sides. Adjust hinges if doors bind or gap unevenly.
Install knobs last. Measure carefully for alignment.
Step 7: Sand, Paint, or Stain
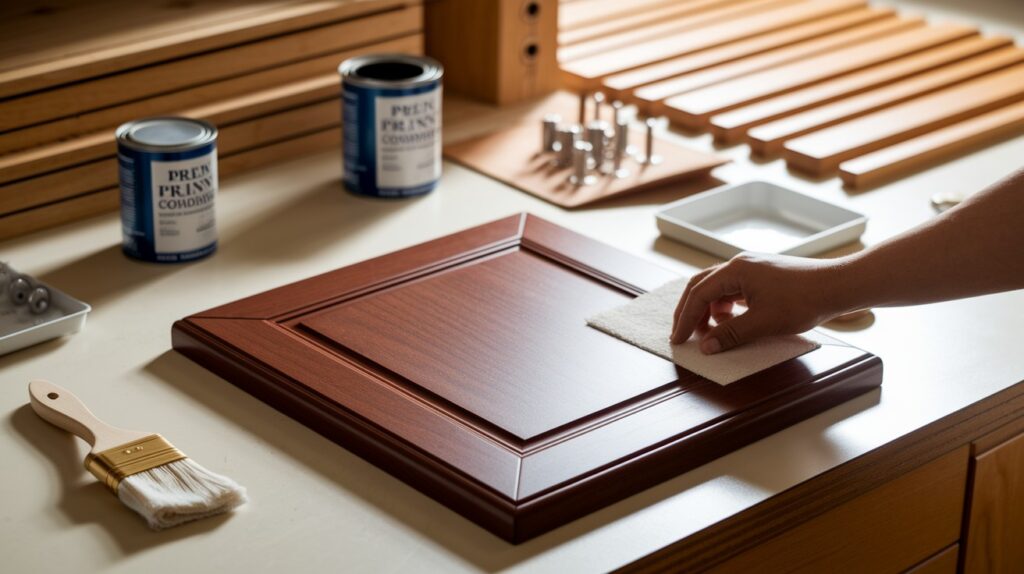
Sand with 120-grit, then 220-grit. Always sand with the grain.
For paint: Prime first, sand lightly between coats, and apply two paint coats.
For stain: Use pre-stain conditioner, apply stain, wipe excess after 5-10 minutes, and add polyurethane protection.
Remove doors and hardware before finishing for easier work.
Step 8: Final Touches and Installation
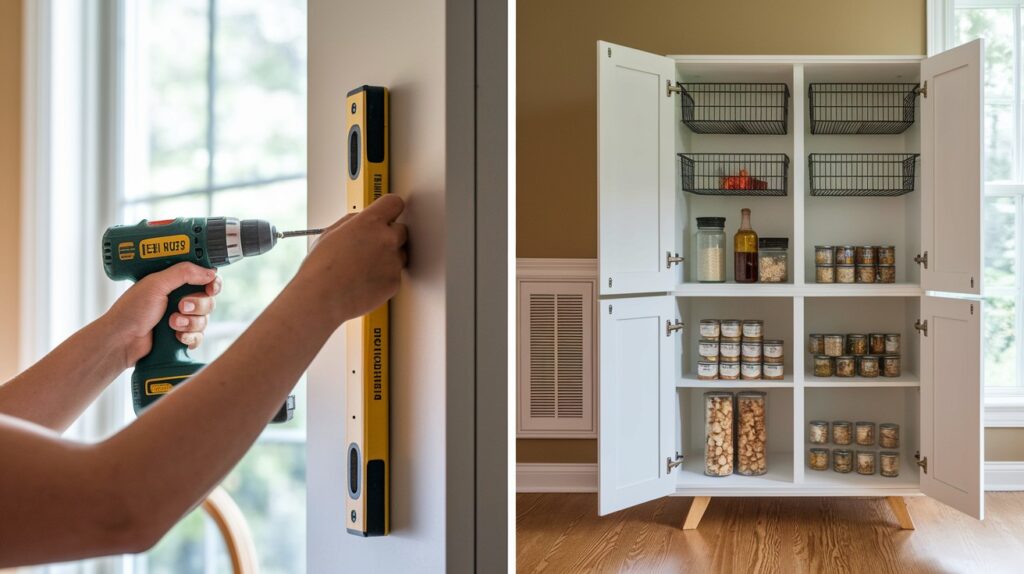
Wall-mounted: Find studs, use 3-inch screws, check level before final tightening.
Freestanding: Add adjustable feet if needed, position away from heat.
Organization: Wire baskets, clear containers, lazy susans, door-mounted racks.
Keep heavy items on lower shelves. Put frequently used items at eye level. Label everything.
You’ve built a custom pantry that fits perfectly and costs less than store-bought options.
Conclusion
You now have a custom pantry cabinet that perfectly fits your space and needs. This project saved you hundreds of dollars compared to store-bought options while giving you complete control over design and functionality.
Your new pantry will transform kitchen organization. No more digging through cluttered shelves or buying duplicate items you already own. Everything has its place and stays visible.
The skills you learned building this cabinet apply to other home projects. You can now tackle bookcases, storage benches, or even kitchen islands with confidence.
Take a moment to appreciate your work. You planned, measured, cut, assembled, and finished a piece of furniture that will serve your family for years. Every time you open those doors, you’ll remember the satisfaction of building something useful with your own hands.
Here are the frequently asked questions and answers:
Frequently Asked Questions
How much does it cost to build a DIY pantry cabinet?
You can build a basic pantry cabinet for $75-150, depending on materials and size. Plywood costs less than solid wood but looks great when painted. Store-bought cabinets of similar size cost $300-600, so you’ll save at least 50%.
What tools do I need if I’m a beginner?
You need a circular saw, drill, measuring tape, level, and clamps. If you don’t own these, rent them from a hardware store for about $40-60 per day. Many stores also offer free wood-cutting services when you buy materials there.
How long does this project take to complete?
Plan for one full weekend. Day one covers measuring, cutting, and assembly. Day two handles doors, hardware, and finishing. Experienced builders can finish in 6-8 hours. Drying time for paint or stain adds extra days.
Can I build this without advanced woodworking skills?
Yes. This project uses basic cuts and simple assembly techniques. The most challenging part is keeping everything square during assembly. Take your time, measure twice, and don’t rush. Many beginners complete this successfully as their first major project.
What’s the difference between plywood and MDF for this project?
Plywood is stronger and handles moisture better, making it ideal for kitchens. MDF is cheaper and takes paint beautifully, but it can swell if it gets wet. For pantry cabinets, either works well. Choose plywood if your budget allows, MDF if you want to save money.