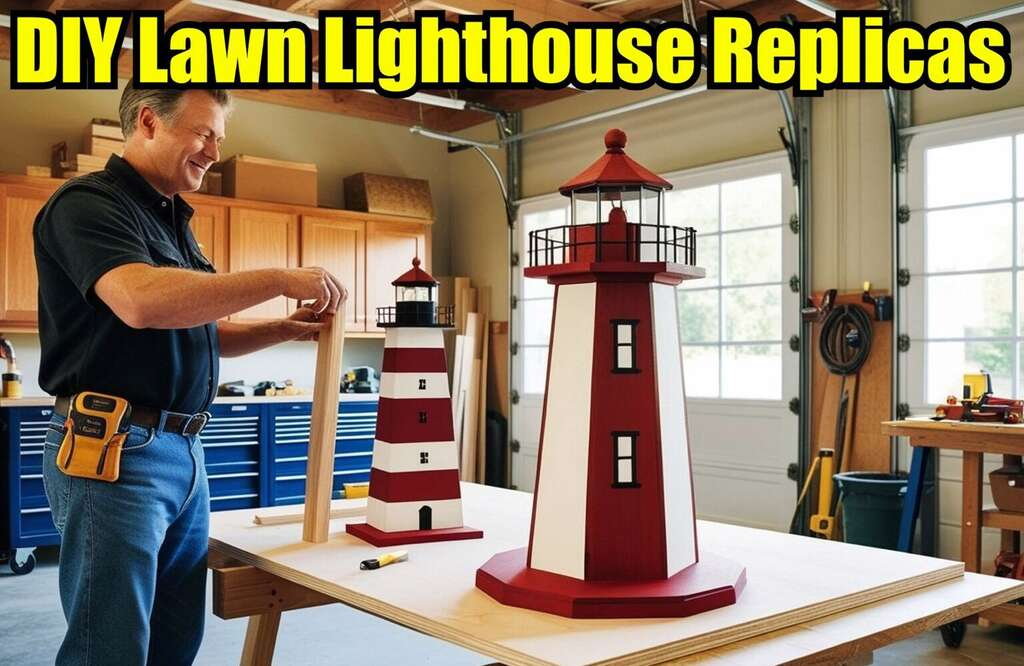
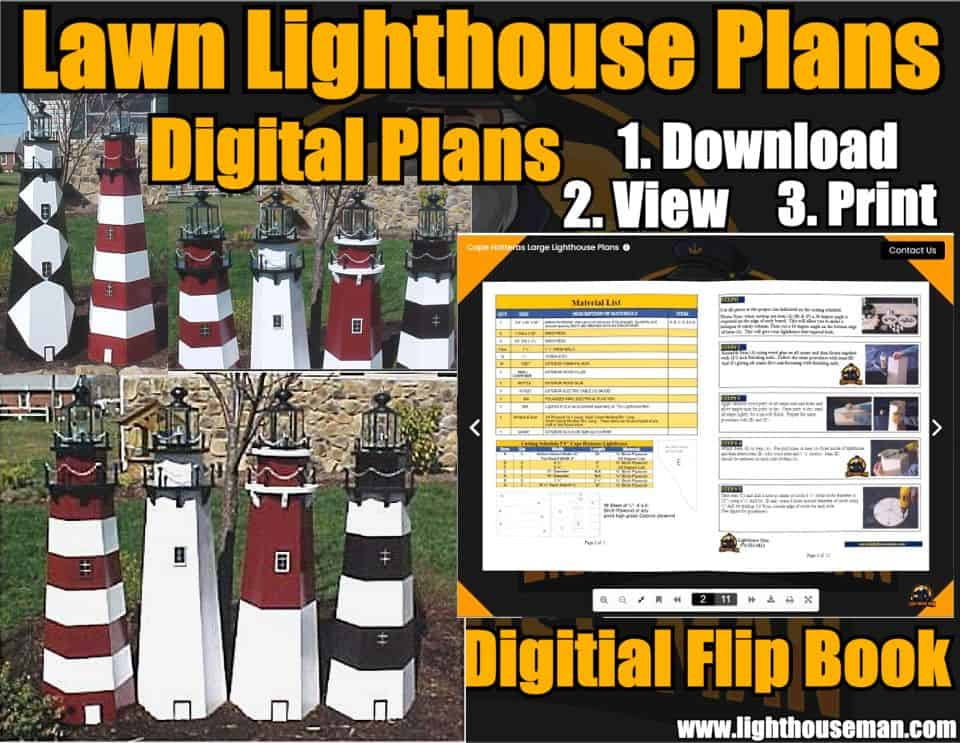
DIY Lawn lighthouse replicas are more than just decorative pieces, they bring a piece of maritime history into your home, transforming any yard into a coastal oasis.
Whether you’ve always admired these iconic structures or simply want to add something unique to your outdoor space, building your own DIY Lawn Lighthouse is a fun and rewarding project.
In this guide, we’ll walk you through the entire process, from gathering materials to adding the final touches, so you can create a stunning lighthouse that will be the pride of your yard.
Gathering Supplies: What You’ll Need
Before diving into your DIY project, it’s essential to have the right materials and tools. Without them, your project could be like navigating stormy seas without a lighthouse! Here’s what you’ll need to get started:
- Materials: Start with durable, weather-resistant materials like wood, fiberglass, or resin. These will ensure your lighthouse stands the test of time, much like the originals.
- Outdoor Paints: Choose vibrant, weatherproof paints to give your lighthouse that classic nautical look. Red, white, and blue are popular choices, but feel free to get creative!
- Light Source: Every lighthouse needs a light. A solar-powered LED light is an excellent, eco-friendly choice that will shine brightly without running up your electricity bill.
- Tools: A drill, saw, screws, and measuring tape will be essential for cutting, assembling, and securing your lighthouse pieces.
- Finishing Touches: Sandpaper and a sealer will protect your lighthouse from the elements, keeping it looking great for years to come.
Having all of these materials and tools ready before you start will save you time and frustration down the line. Once you’ve gathered everything, you’re ready to begin!
Designing Your Lighthouse Replica
Now comes the fun part: designing your lighthouse. This is where your creativity can truly shine. Are you drawn to the classic, timeless look of traditional lighthouses, or do you prefer a more modern, artistic approach? Start by sketching out your ideas. Your design doesn’t need to be a masterpiece—just a rough idea of how you want your lighthouse to look. You can always refine it as you go.
If you’re looking for inspiration, check out examples of vintage lighthouse replicas. These will give you a great sense of how to capture that authentic lighthouse charm. On the other hand, if modern designs are more your style, there are plenty of sleek, minimalist lighthouses to draw from.
Whether you go traditional or modern, your lighthouse should reflect your personal style. You might even want to add a fun twist, like a diamond shape pattern lighthouse. The sky’s the limit! Remember, this project is about expressing your creativity, so don’t be afraid to make it your own.
Building the Structure
With your design in hand, it’s time to start building the structure. Your lighthouse will consist of three main parts: the base, the tower, and the top. Here’s how to tackle each section:
- Base: This is the foundation of your lighthouse, and it’s essential that it’s strong and stable. Use screws to secure the base to the ground or to a wooden platform to ensure it stays in place, even during windy days.
- Tower: The tower is the heart of the lighthouse. Make sure it’s properly aligned with the base to ensure stability. You may want to use additional bracing as you assemble the tower to keep it straight and sturdy.
- Top: The top is where the light will go, and it’s also the most detailed part of the lighthouse. This is where you can really get creative with decorative touches like railings, balconies, or even a miniature lantern room. Once the top is securely attached, your lighthouse will start to come to life!
Throughout this process, remember to take your time. Building a lighthouse is an intricate project, and precision is key. But don’t worry—if you ever get stuck, The Lighthouse Man is here to help with detailed plans and guides to ensure your lighthouse turns out perfect!
Adding Details and Windows
Now that the structure is complete, it’s time to add the details that will make your lighthouse stand out. Start by cutting out small window openings. While this might seem tricky at first, with a steady hand and the right tools, you’ll be able to add realistic, charming windows to your lighthouse.
Windows not only enhance the authenticity of your lighthouse, but they also give it character. You can even add unique features like a balcony or a railing for added flair. These small touches can transform your basic lighthouse into a true work of art. You can find pre-made accessories like miniature railings or windows, or if you’re feeling crafty, you can make them yourself from wood.
If you want to take your design to the next level, consider adding stripes or other distinctive patterns to your lighthouse. The Cape Hatteras Lighthouse, for example, is famous for its black-and-white spiral stripes. Adding such details will make your lighthouse feel even more authentic.
Painting and Weatherproofing
Once your lighthouse structure is complete, it’s time to paint. This is where your creativity really comes to life. Choose bold, bright colors that capture the essence of a traditional lighthouse—red, white, blue, or even black and white stripes. Be sure to use outdoor, weather-resistant paints to ensure your lighthouse will withstand the elements.
After painting, apply a sealer to protect the paint from rain, sun, and wind. This will help keep your lighthouse looking fresh for years to come. Sealants provide an invisible shield that keeps the paint from fading or chipping, so your lighthouse stays beautiful no matter the weather.
At this point, your lighthouse is really starting to take shape! But there’s one more step to complete before it’s ready for display.
Lighting and Final Assembly
No lighthouse would be complete without its light. For the final touch, add a solar-powered light to the top of your lighthouse. Lighthouse Solar Beacons are perfect for this project because they charge during the day and automatically illuminate at night. Not only do they add that finishing touch, but they’re also eco-friendly and cost-effective.
Position the light so that it shines brightly, illuminating your lighthouse in the evening. Once you’ve secured the light, take a moment to admire your work. You’ve built something beautiful and functional—just like a true lighthouse keeper!
Displaying Your Masterpiece
Now that your lighthouse is complete, it’s time to showcase it in your yard. Choose a spot that will highlight your creation. You might want to place it near a flower bed or on a raised platform where it will stand out. A solar lighthouse can even provide gentle illumination along a garden path or driveway.
If you’re feeling creative, you can design a whole coastal-themed garden around your lighthouse. Add seashells, beach chairs, or nautical decorations to enhance the theme. The possibilities are endless!
Conclusion
Building your own lawn lighthouse is a rewarding and fun project that adds a unique touch to your outdoor space. By gathering the right materials, designing your lighthouse, and adding thoughtful details, you can create a beautiful and lasting piece of garden art.
Remember, whether you’re a seasoned DIYer or a first-time builder, The Lighthouse Man is here to help. With over 25 years of experience in lighthouse crafting, we offer comprehensive plans, custom tops, windows, doors, and all the parts you need to bring your vision to life. Don’t hesitate to explore our website and get started on your lighthouse journey today. With our guidance, your lighthouse will be the envy of the neighborhood!
Let’s get started—your DIY lighthouse awaits!


