
A fireplace surround serves as the decorative frame that encases your fireplace, transforming a basic heating unit into a stunning focal point for any room.
Creating your own fireplace surround offers numerous advantages, including significant cost savings, complete customization to match your home’s style, and the satisfaction of completing a rewarding home improvement project.
This comprehensive guide will walk you through building an impressive faux fireplace featuring an electric insert for warmth and ambiance, an integrated TV mounting system for entertainment, and a cleverly concealed drawer for storage.
This versatile design combines functionality with visual appeal, creating a multi-purpose centerpiece that serves as both a cozy gathering spot and an organized entertainment center for your living space.
5 Steps to Build DIY Fireplace Surround
Create a stunning focal point for your living room by following these straightforward steps to construct a custom fireplace surround with built-in storage and TV mounting capabilities.
Step 1: Plan and Prep Your Space
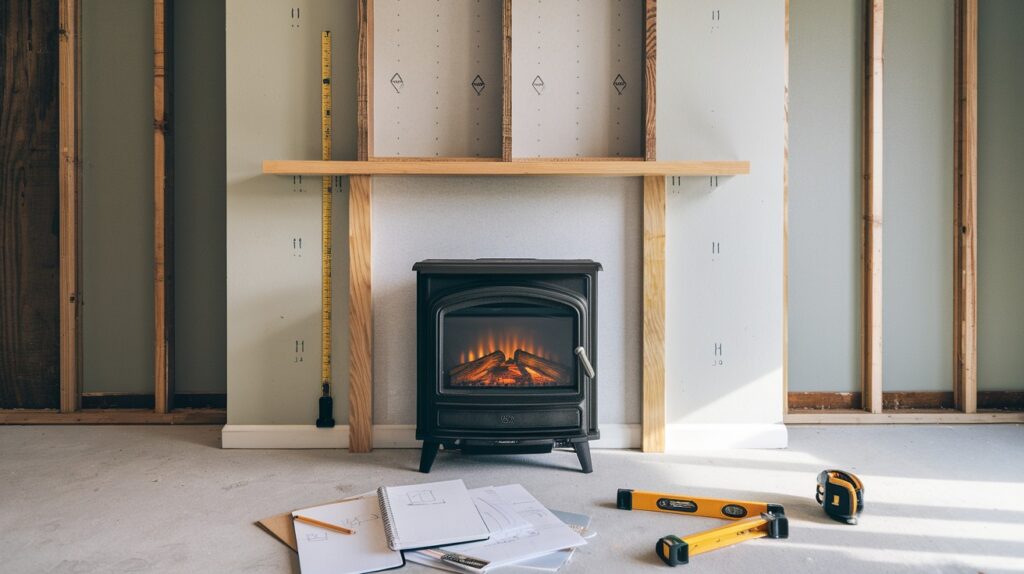
Mark the Wall Studs: Locate and mark wall studs using a reliable stud finder to ensure your frame has solid anchoring points. Planning electrical outlet placement and cord management at this stage prevents complications later in the build process.
Measure Your Fireplace Insert: Carefully measure your electric fireplace insert’s dimensions and note its weight specifications. These measurements will determine your frame size and help you select appropriate support materials for safe installation.
Step 2: Cut and Assemble the Frame
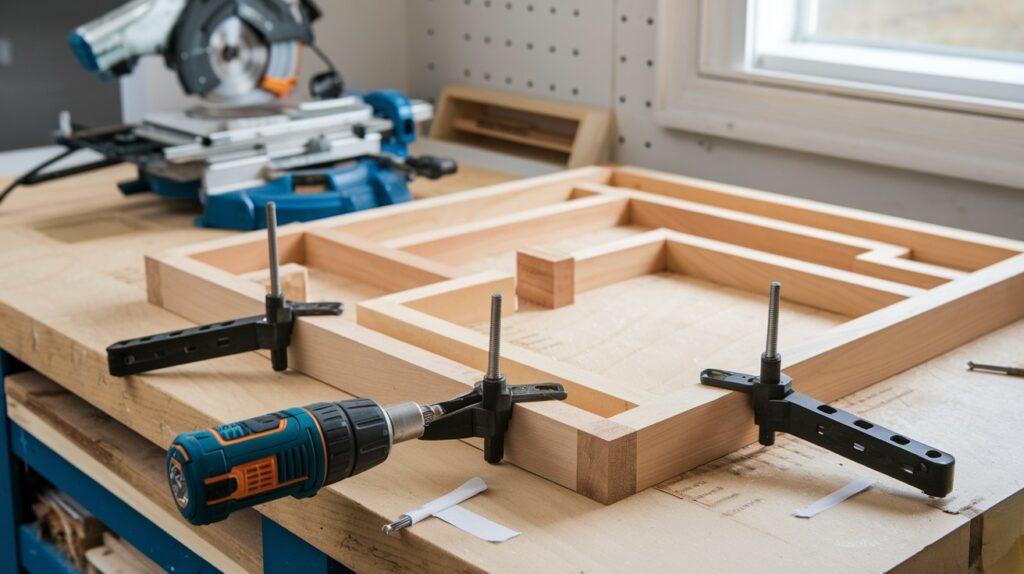
Cut All Your Wood First A miter saw produces clean, precise cuts for professional results. Organize your cut pieces by size and label them to streamline the assembly process and avoid confusion during construction.
Build Side and Front Frames Corner clamps ensure perfectly square connections while you work. Pre-drilling with countersink bits prevents wood splitting and creates flush screw placement. Use 2×6 lumber for areas requiring extra support, particularly beneath the fireplace insert.
Step 3: Build the Mantel and Hidden Drawer
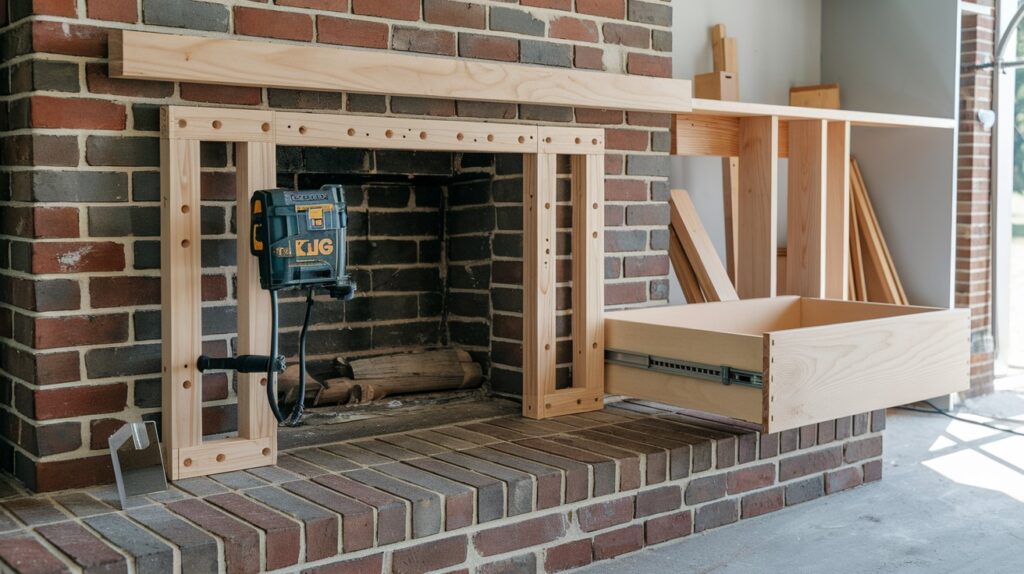
Install Mantel Supports Create strong connections using pocket holes made with a Kreg jig system. Verify that your mantel frame sits perfectly level and maintains square corners before final attachment.
Build the Hidden Drawer Construct the drawer frame using 1×3 boards with a plywood bottom panel. Combine brad nails with wood glue for maximum joint strength. Install quality side-mount slides to ensure smooth drawer operation and longevity.
Step 4: Cover with Drywall and Spackle
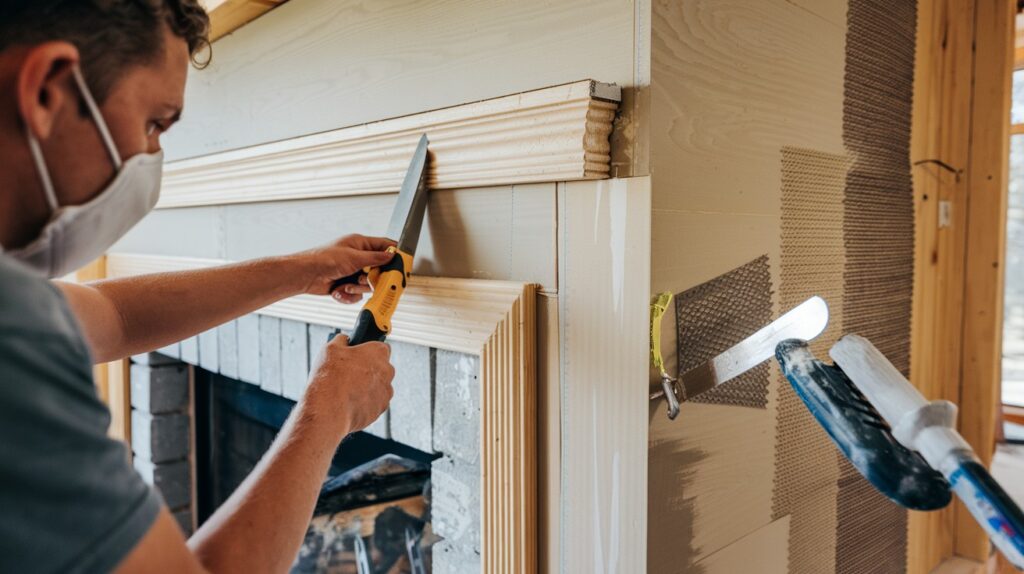
Attach Drywall Panels Score drywall panels with a sharp utility knife for clean breaks. Cut precise openings for electrical outlets and cord access points before installation.
Apply Spackle and Sand Apply mesh tape to all seams and cover with two coats of spackle compound. For premium results, apply a thin skim coat across the entire surface. Sand thoroughly between applications while wearing proper dust protection.
Step 5: Paint and Finish Your Fireplace Surround
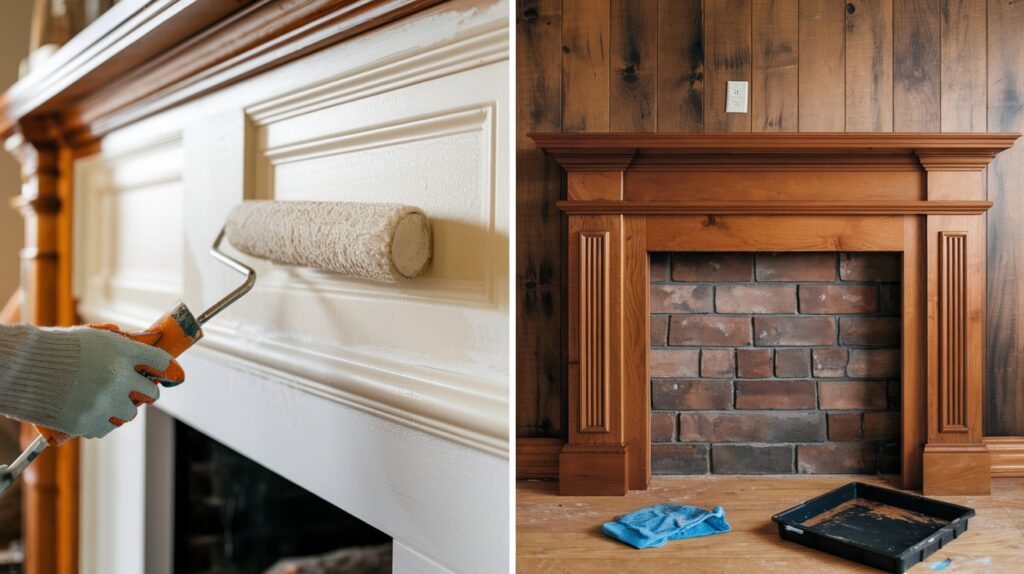
Prime and Paint Apply Kilz low-odor primer as your base coat for optimal paint adhesion. Select your finish paint based on desired texture and sheen level to complement your room’s aesthetic.
Stain and Install the Mantel Construct your mantel using 1×5 boards for a substantial appearance. Sand all surfaces smooth, fill any gaps, then apply your chosen stain combination such as Weathered Oak mixed with Early American for rich color depth. Secure the finished mantel to the support framework positioned above the storage drawer.
Helpful Tips Before You Start
Success in any DIY project begins with careful preparation and attention to detail.
Always verify your measurements twice before making any cuts, as this simple habit prevents costly material waste and ensures proper fit during assembly.
Safety should remain your top priority throughout the build process, so wear protective goggles when cutting or sanding, use dust masks during drywall work, and keep gloves handy for rough material handling.
Maintaining an organized workspace significantly improves your efficiency and reduces frustration during construction.
Keep your tools sorted and within easy reach, and clean up wood shavings and debris regularly to maintain a safe working environment.
Before committing to permanent connections, dry-fit all pieces together to confirm proper alignment and spacing.
This practice allows you to make adjustments without damaging materials or starting over.
The finishing stages require patience for professional results. Allow adequate drying time between spackle coats and sand thoroughly between applications.
Similarly, don’t rush your primer and paint application, as these final steps determine your project’s overall appearance and quality.
Taking time during these crucial phases ensures your fireplace surround looks polished and professionally completed.
Final Thoughts
Congratulations on completing this rewarding DIY project! You’ve successfully created a stunning addition that brings warmth, functionality, and visual appeal to your living space.
This custom fireplace surround serves multiple purposes – providing cozy ambiance through the electric insert, offering convenient storage with the hidden drawer, and creating an organized entertainment center with the integrated TV mount.
Remember that careful measurement checking before final installations ensures professional results and prevents costly mistakes.
Your new fireplace surround stands as proof of your craftsmanship and creativity, transforming an ordinary wall into an impressive centerpiece that family and friends will admire.
Take a moment to appreciate the skill and effort you’ve invested in enhancing your home’s comfort and style.
Frequently Asked Questions
What tools do I need to build a DIY fireplace surround?
You’ll need basic woodworking tools including a miter saw, drill, stud finder, and Kreg jig for pocket holes. Additional supplies include corner clamps, countersink bits, brad nailer, and standard measuring tools for accurate construction.
How much does it cost to build a DIY fireplace surround?
Material costs typically range from $200-500 depending on wood quality and finish choices you select. This represents significant savings compared to hiring professionals or purchasing pre-made units that can cost $1000 or more.
Can I install this fireplace surround on any wall?
Most walls can accommodate this design, but you’ll need access to wall studs for secure mounting. Check local building codes and ensure adequate electrical supply for your electric fireplace insert before beginning construction.
How long does this project take to complete?
Plan for 2-3 weekends to complete all steps, including drying time for paint and stain applications. The actual construction time varies based on your skill level and whether you work alone or have assistance.
Do I need special permits for this fireplace surround project?
Since this uses an electric insert rather than gas or wood-burning components, permits are typically not required. However, check with your local building department if you’re making electrical modifications or have specific municipal requirements.