
Looking for a cost-effective way to upgrade your driveway? You’re not alone. Many homeowners are tired of expensive asphalt repairs and cracked concrete surfaces.
I’ve helped dozens of property owners explore chip and seal driveways over the past few years. This surface treatment combines liquid asphalt with small stone chips to create a durable, attractive driveway at half the cost of traditional options.
In this guide, I’ll walk you through exactly what chip and seal is and why it’s gaining popularity. You’ll learn about the installation process, costs, and benefits compared to other materials. I’ll also share real experiences from homeowners who made the switch.
By the end, you’ll know if chip and seal is right for your property. No sales pitch – just honest information to help you make the best choice for your home and budget.
What Is a Chip and Seal Driveway?
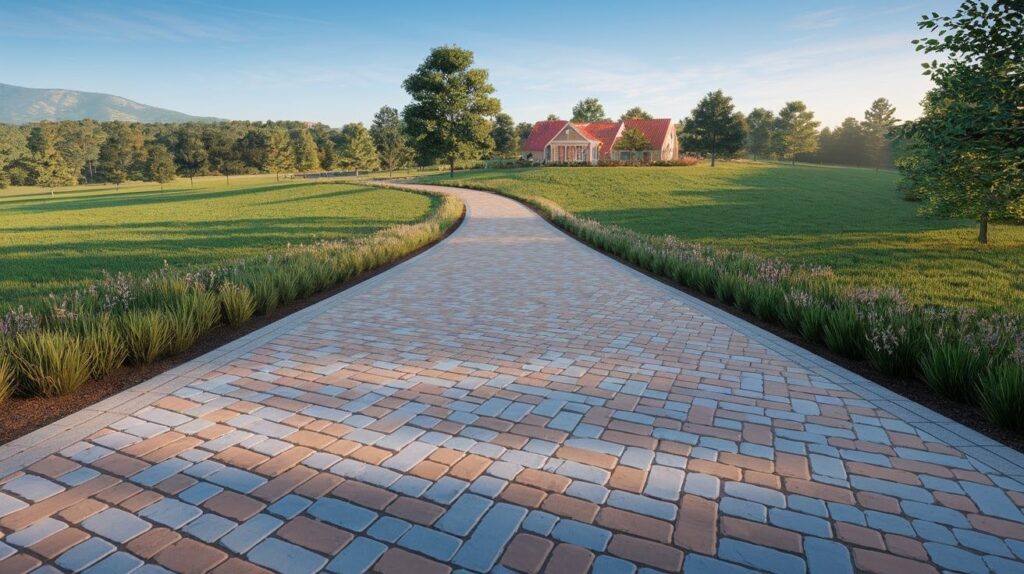
A chip and seal driveway combines hot liquid asphalt with crushed stone to create an affordable, long-lasting surface that costs much less than traditional paving.
You might hear different names for this type of driveway. Some contractors call it chip seal, others say tar-and-chip or chip and stone. They’re all talking about the same thing.
The concept is simple. We start with liquid asphalt as the base layer. Then we spread crushed stone chips on top. The stones get pressed into the asphalt, creating a textured surface that grips your tires well.
I see chip and seal used most often on:
- Rural roads and country lanes
- Long private driveways
- Farm access roads
- Residential driveways in suburban areas
It works great for properties where you need a solid surface but don’t want to spend a fortune.
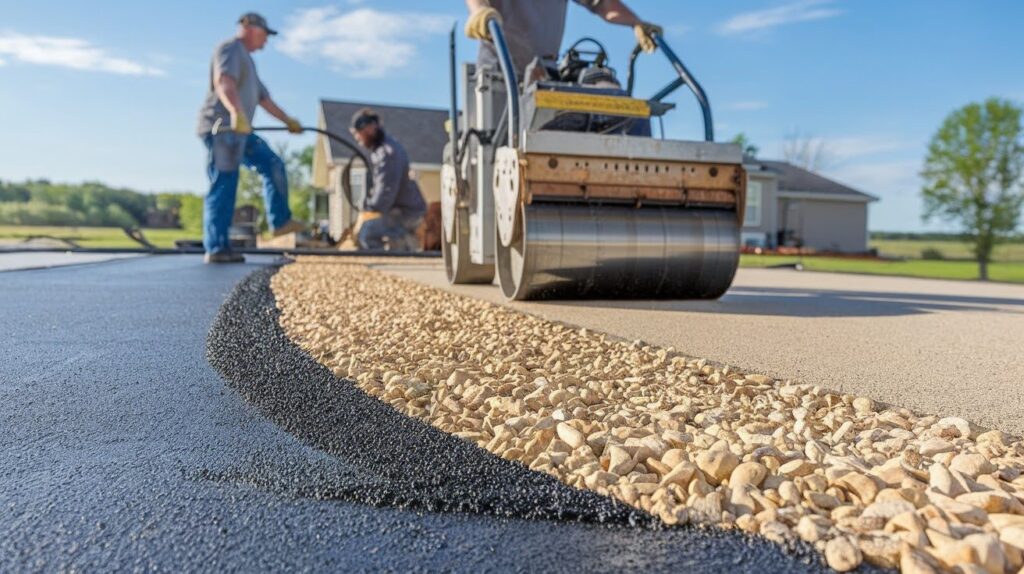
How Chip and Seal Driveways Are Installed

The installation process involves four main steps: preparing the base, applying hot asphalt, spreading stone chips, and compacting everything together.
Here’s how I typically handle a chip and seal installation:
Base Preparation First, we grade and compact the existing surface. If your current driveway is in decent shape, we can often install right over it. This saves you money on excavation.
Asphalt Application Next, we spray hot liquid asphalt evenly across the surface. Timing matters here – the asphalt needs to stay hot for proper bonding.
Stone Layer We immediately spread crushed stone chips over the wet asphalt. The stones need to be the right size and clean for good adhesion.
Compaction Finally, we roll everything with heavy equipment. This presses the stones into the asphalt and creates a smooth, unified surface.
The whole process usually takes one day for most residential driveways. You can even choose custom stone colors to match your home’s style.
Why Choose a Chip and Seal Driveway?
Chip and seal driveways offer multiple advantages including lower costs, quick installation, better traction, and minimal maintenance needs compared to traditional paving options.
Cost-Effective Surface
I always tell my clients that chip and seal costs about half what you’d pay for new asphalt. For concrete, the savings are even bigger.
This makes it perfect for long driveways or large properties where traditional paving would break your budget. I’ve installed chip and seal on driveways over 1,000 feet long where asphalt wasn’t financially realistic.
Quick Installation
Most residential driveways take just one day to complete. Compare that to concrete, which needs several days to cure properly.
You won’t have your driveway tied up for weeks. In most cases, you can drive on it within 24 hours.
Enhanced Traction
The textured stone surface grips your tires much better than smooth asphalt. This really shows during rain or snow.
I recommend chip and seal for sloped driveways because of this extra traction. It’s much safer than slick surfaces when conditions get wet or icy.
Low Maintenance Requirements
Here’s something I love about chip and seal: you don’t need to seal it every few years like asphalt. The surface actually heals small cracks on its own as traffic works the stones.
When it does need attention after 7 to 10 years, resurfacing is simple and affordable.
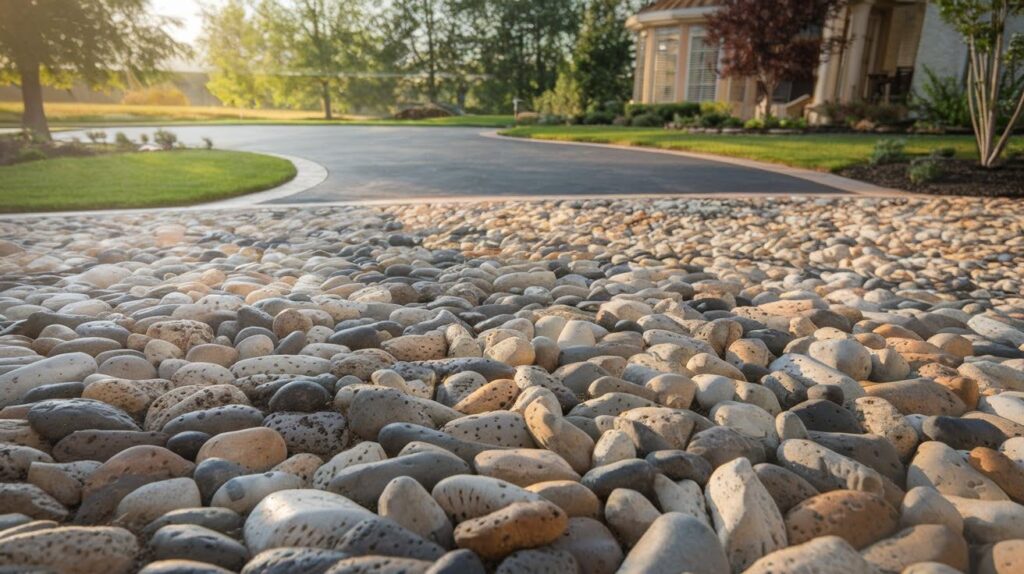
Rustic and Customizable Look
Chip and seal has a natural, country feel that works great with most landscaping. It doesn’t look as industrial as plain asphalt.
You can choose from different stone colors and sizes to match your home’s style. I’ve used everything from gray granite chips to warm brown limestone.
Durability for Moderate Traffic
This surface handles normal residential traffic very well. It resists UV damage better than asphalt and doesn’t crack from temperature changes like concrete.
With periodic touch-ups, chip and seal driveways can last 15 to 20 years.
Environmentally Friendly
Chip and seal uses less raw material than full-depth asphalt or concrete installations. Many contractors now use recycled stone chips or reclaimed asphalt in the mix.
It’s a greener choice that still gives you a professional-looking driveway.
Potential Drawbacks to Consider
While chip and seal has many benefits, it’s important to understand its limitations including traffic restrictions, maintenance cycles, and initial loose stone cleanup.
Not Ideal for High-Traffic Areas
I’m honest with clients about this limitation. Chip and seal works best for residential driveways and rural roads.
If you have heavy commercial traffic or lots of turning and braking, traditional asphalt holds up better. I usually recommend chip and seal for properties with normal family vehicle use.
Periodic Reapplication Needed
Every 7 to 10 years, you’ll need to resurface your chip and seal driveway. The good news is this costs much less than replacing asphalt completely.
I view this as regular maintenance rather than a major expense. It’s similar to repainting your house or replacing your roof shingles.
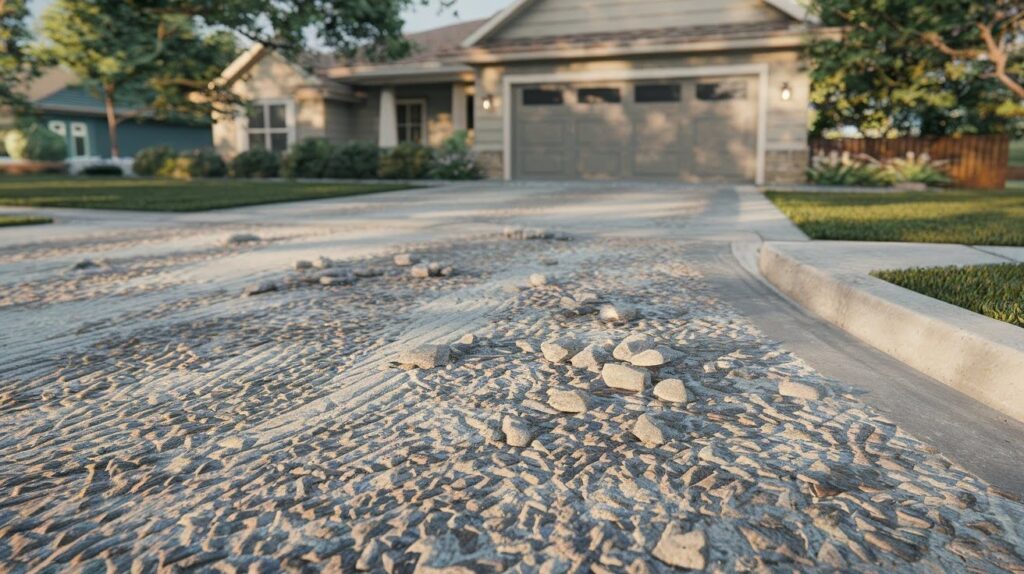
Loose Stones After Installation
For the first few weeks, you’ll find some loose stones around your driveway. This is completely normal.
A quick sweep with a broom takes care of it. Once traffic works the stones in properly, this stops being an issue.
Chip and Seal vs. Asphalt – Key Differences
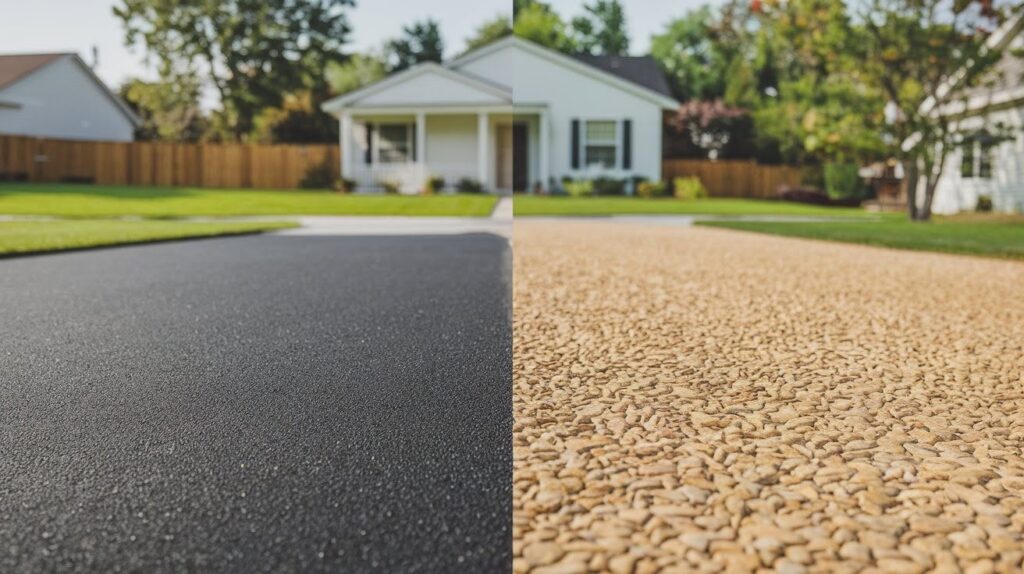
Understanding the main differences between chip and seal and traditional asphalt helps you choose the right option for your specific needs and budget.
Here’s how these two options compare:
Cost: Chip and seal costs about 50% less than new asphalt installation.
Durability: Asphalt lasts longer with heavy traffic, but chip and seal handles residential use just fine.
Appearance: Asphalt gives you that smooth, dark finish. Chip and seal has more texture and natural stone color.
Maintenance: Asphalt needs sealing every 3-5 years. Chip and seal needs resurfacing every 7-10 years.
I recommend asphalt for busy commercial areas and chip and seal for residential properties where cost matters.
Who Should Consider Chip and Seal?
Chip and seal works best for specific property types and homeowner priorities including rural locations, long driveways, and budget-conscious projects.
You’re a great candidate for chip and seal if you’re:
Rural homeowners who want a durable surface without city prices. It fits the country setting perfectly.
Property owners with long driveways where asphalt costs would be excessive. I’ve saved clients thousands on quarter-mile driveways.
Budget-conscious families who need a quality surface but have financial limits. You get professional results at a fraction of the cost.
Anyone seeking a natural look that complements landscaping better than stark black asphalt.
Farm roads and private lanes are ideal applications. The rustic appearance and lower cost make it the smart choice for these situations.
Tips for Chip and Seal Driveways
Before Installation:
- Get multiple quotes to compare pricing and contractors
- Check if your existing driveway can support overlay installation
- Choose stone colors that complement your home’s exterior
- Plan installation during dry weather for best results
During Installation:
- Stay off the surface until contractors give the all-clear
- Keep pets and children away from the work area
- Expect some dust and noise during the process
- Take photos for future reference and maintenance records
After Installation:
- Sweep loose stones regularly for the first month
- Drive slowly and avoid sharp turns initially
- Wait 24-48 hours before normal traffic use
- Don’t panic about minor loose stones – this is normal
Long-term Maintenance:
- Inspect annually for wear spots or damage
- Address drainage issues promptly to prevent washouts
- Plan for resurfacing every 7-10 years
- Keep records of maintenance for warranty purposes
Cost-Saving Tips:
- Consider chip and seal for long driveways over 200 feet
- Bundle with neighbors for potential volume discounts
- Schedule during contractors’ slower seasons
- Maintain existing base properly to avoid extra prep costs
When NOT to Choose Chip and Seal:
- High-traffic commercial properties
- Areas with frequent heavy truck access
- Properties requiring smooth wheelchair accessibility
- Locations with strict HOA appearance requirements
Conclusion
Chip and seal driveways offer a practical solution for homeowners who want quality without breaking the bank. At half the cost of traditional asphalt, this option makes sense for rural properties, long driveways, and budget-conscious families.
Yes, you’ll need to resurface every 7-10 years and deal with some loose stones initially. But the low maintenance requirements, excellent traction, and natural appearance make these minor inconveniences worthwhile.
I’ve seen countless satisfied customers who chose chip and seal for their properties. The key is understanding your specific needs and traffic patterns.
If you’re considering this option, get quotes from experienced contractors in your area. A well-installed chip and seal driveway can serve your family reliably for decades while keeping more money in your pocket.
Frequently Asked Questions
How long does a chip and seal driveway last?
A properly installed chip and seal driveway typically lasts 15-20 years with normal residential use. You’ll need to resurface it every 7-10 years to maintain optimal performance and appearance.
Can chip and seal be installed over my existing asphalt driveway?
Yes, chip and seal can be applied over existing asphalt if the base is in good structural condition. This saves money on excavation and makes the installation process faster and more affordable.
How much does chip and seal cost compared to regular asphalt?
Chip and seal costs about 50% less than new asphalt installation. For a typical residential driveway, you might pay $2-4 per square foot versus $4-8 for traditional asphalt paving.
Is chip and seal slippery when wet?
No, chip and seal actually provides better traction than smooth asphalt surfaces. The textured stone chips create grip that helps prevent slipping, making it safer in wet or icy conditions.
How soon can I drive on my new chip and seal driveway?
You can typically drive on your chip and seal driveway within 24-48 hours after installation. However, drive slowly and avoid sharp turns for the first few weeks while the stones fully set into place.