
Your chimney might seem sturdy from the outside, but water leaks can cause serious problems that many homeowners overlook. I’ve seen too many families deal with expensive repairs that could have been prevented with early action.
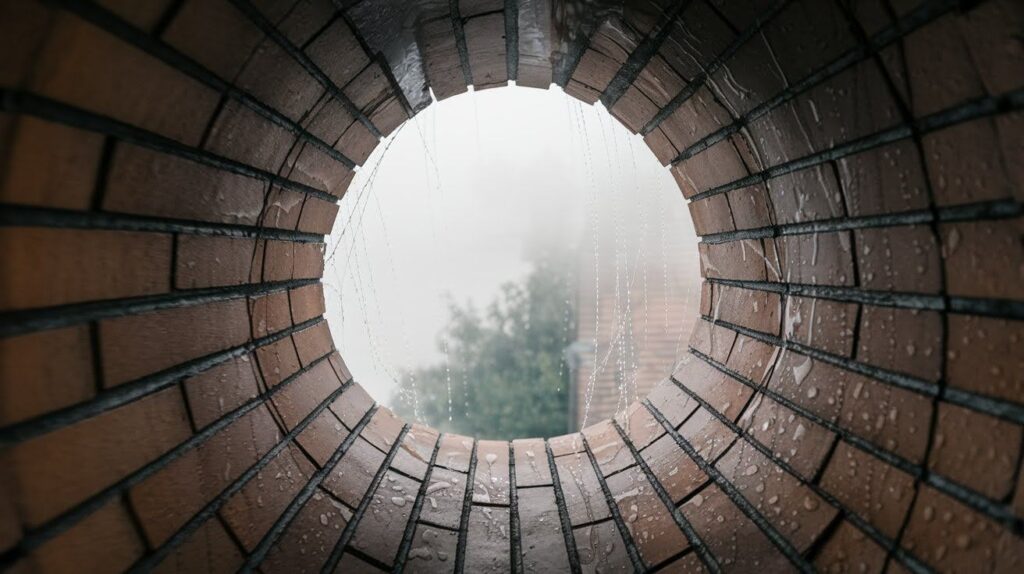
When water gets into your chimney, it doesn’t just stay there. It spreads through your walls and creates the perfect conditions for mold growth that can affect your family’s health.
In this guide, I’ll walk you through everything you need to know about fixing chimney leaks before they become major headaches.
You’ll learn how to spot the warning signs, understand what causes these leaks, and how to fix them properly. I’ve helped hundreds of homeowners tackle this exact problem these methods will work for your home.
Don’t let a small leak turn into a costly disaster. Let’s get your chimney fixed right.
Understanding Chimney Leaks: Common Causes Of Chimney Leak Repair
Let me break down the main culprits behind those pesky chimney leaks you’re dealing with.
Cracked Chimney Crown
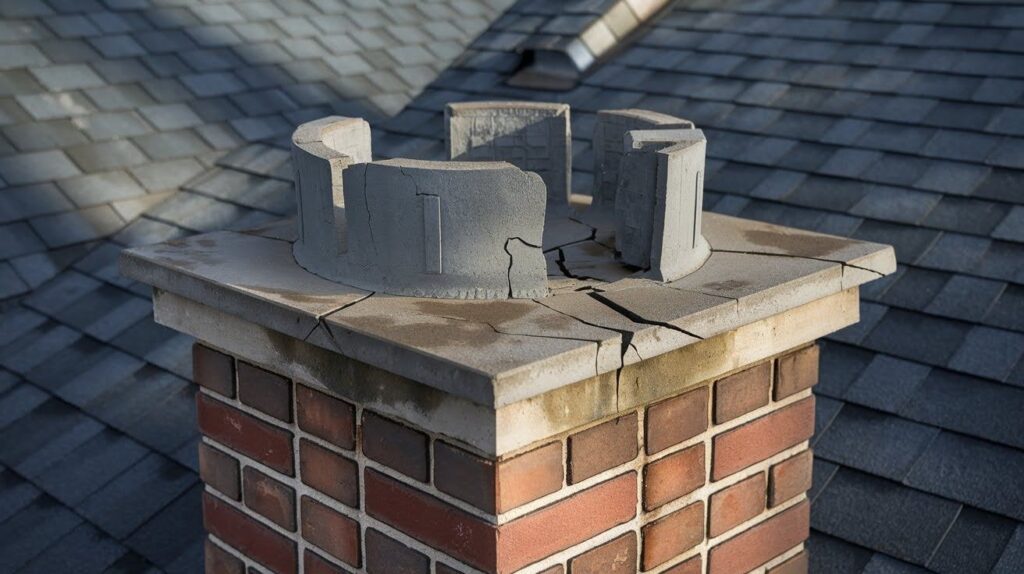
Your chimney crown sits at the very top. Think of it as your chimney’s helmet. When it cracks, rain has a direct path inside your home.
I see this problem all the time. Temperature changes cause concrete to expand and contract. Over time, small hairline cracks turn into major problems. Once water gets in, it freezes and makes those cracks even bigger.
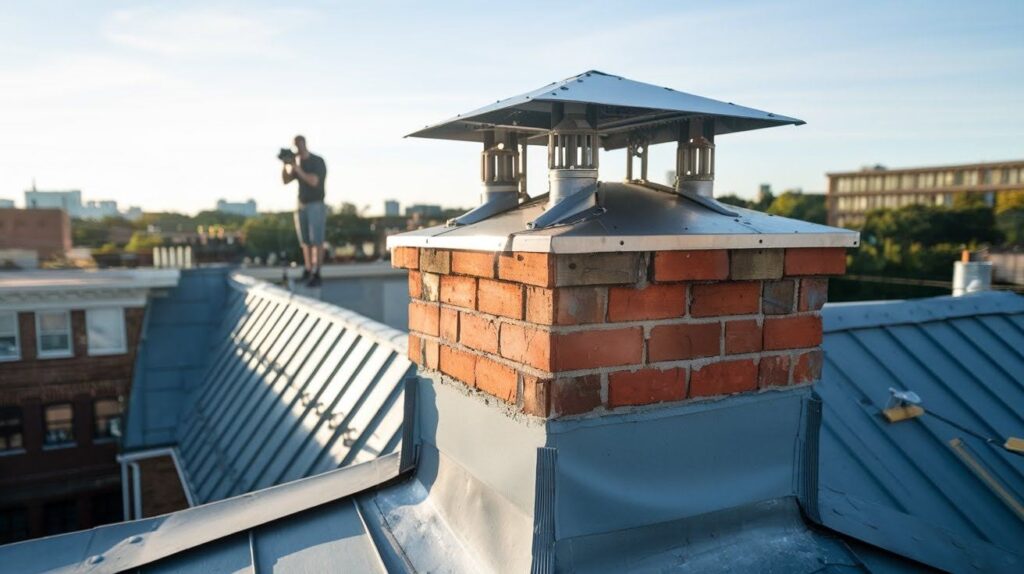
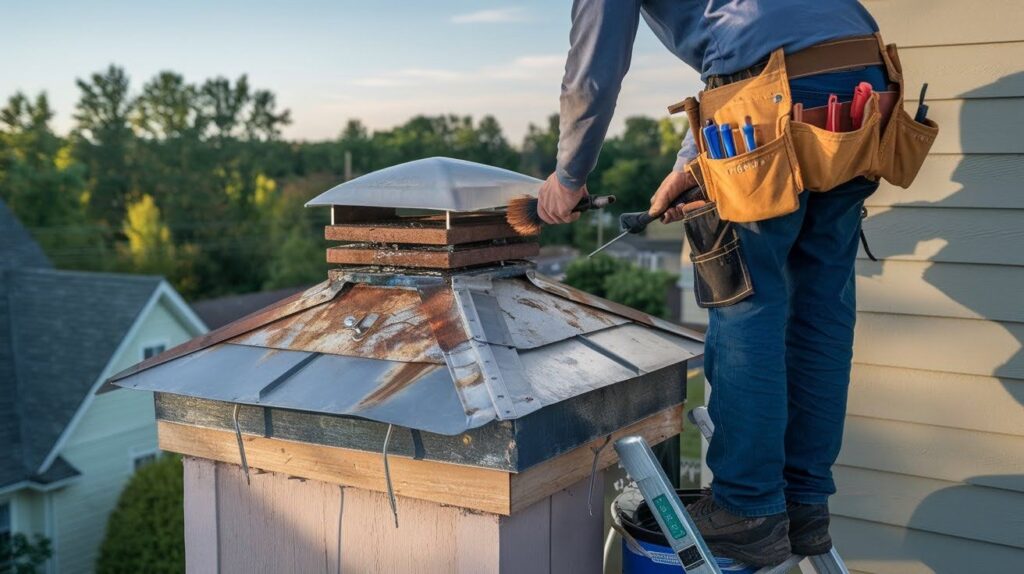
Damaged Or Missing Chimney Cap
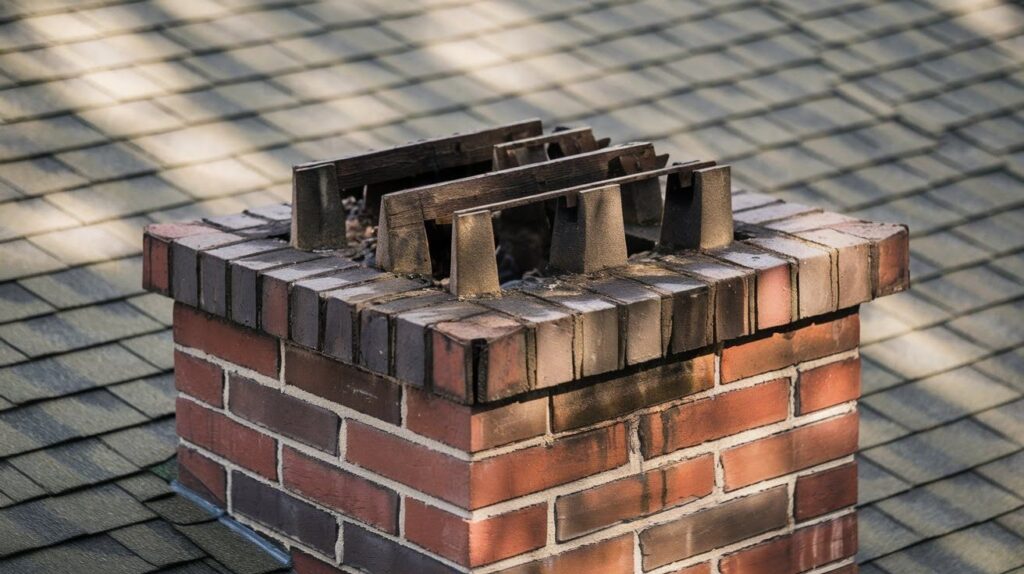
No chimney cap? You might as well leave your front door wide open during a storm.
The cap is your first line of defense against rain, snow, and animals. When it’s broken or completely gone, water pours straight down your chimney. I’ve pulled everything from birds to tennis balls out of uncapped chimneys.
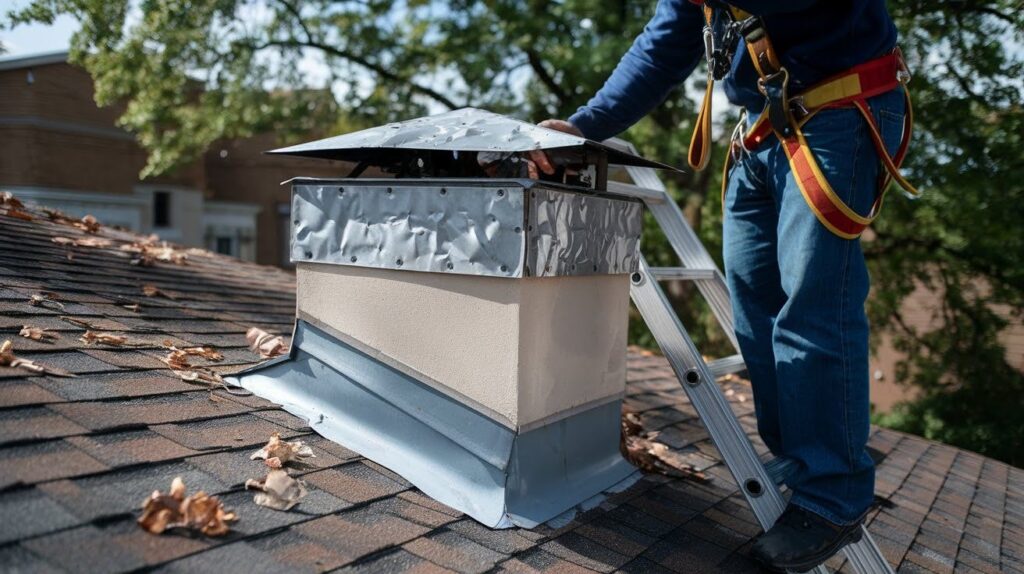
Worn Flashing Around Chimney
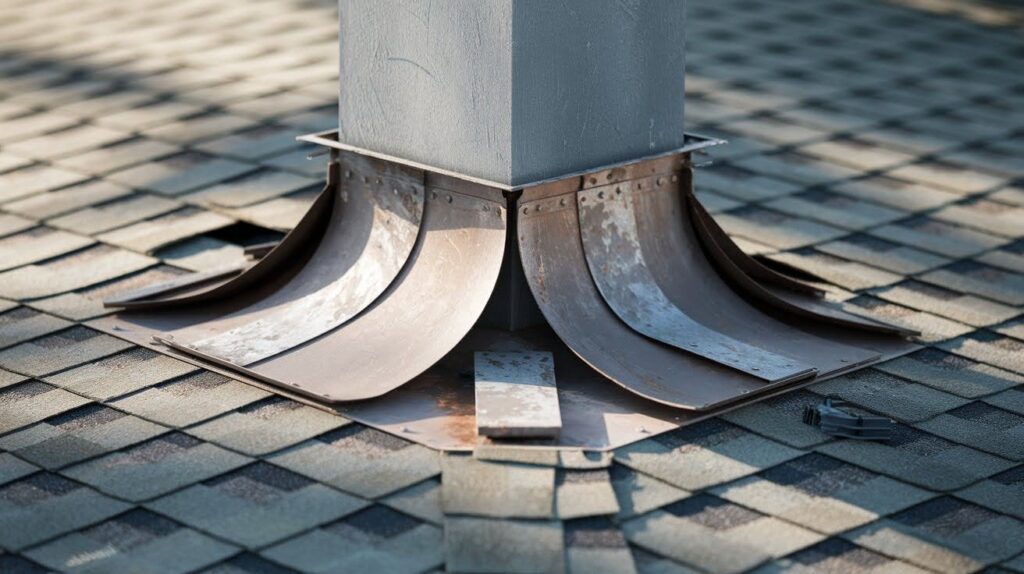
Here’s where your roof meets your chimney. This metal barrier keeps water from sneaking in where two different materials connect.
Flashing fails more often than people think. Weather beats it up. Roofers sometimes install it wrong. When it goes bad, water finds every tiny gap.
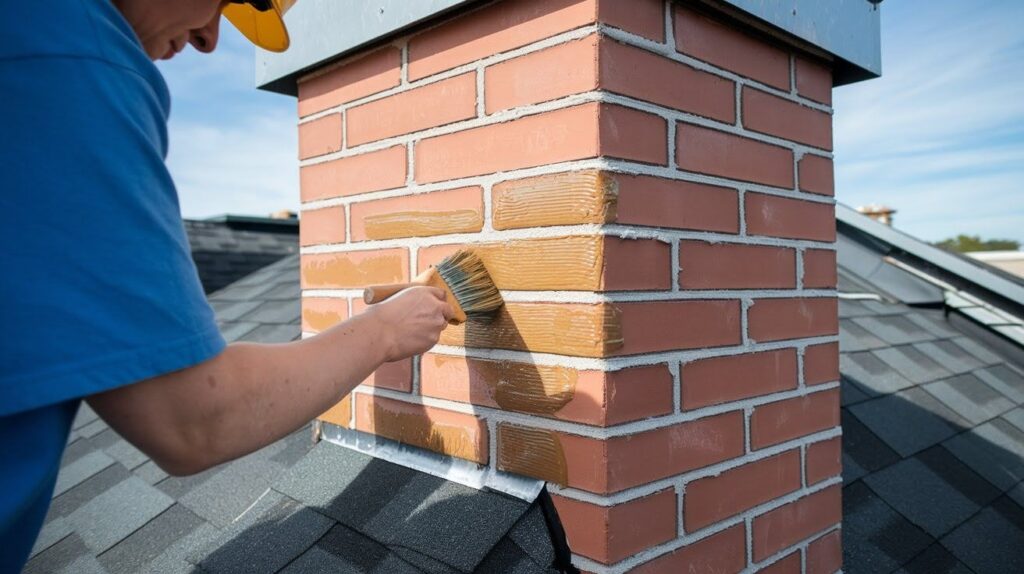
Porous Masonry Or Mortar Joints
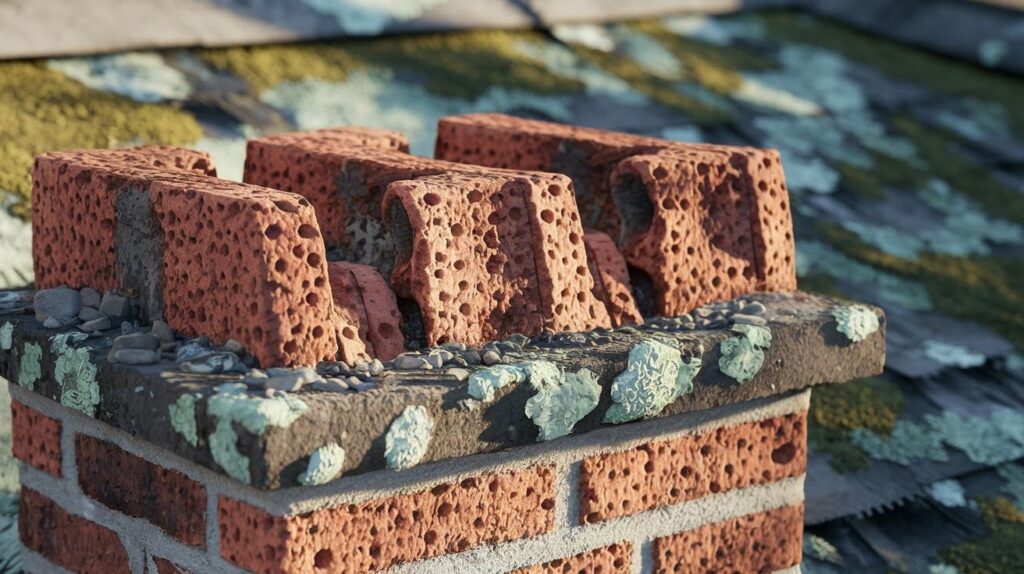
Brick and mortar look solid, but they’re actually like sponges. Old mortar especially soaks up water like crazy.
I’ve seen 50-year-old chimneys where the mortar just crumbles when you touch it. The brick itself can also develop tiny holes over time.
Condensation Issues Inside Chimney
This one surprises most homeowners. Your chimney can create its own moisture problems even without outside water.
Temperature differences between hot flue gases and cold chimney walls create condensation. It’s like when your bathroom mirror fogs up after a hot shower.
How To Repair A Leaking Chimney
Here’s my proven method for fixing chimney leaks that actually works long term.
Step-By-Step Approach To Chimney Leak Repair
Step 1: Safety Preparation
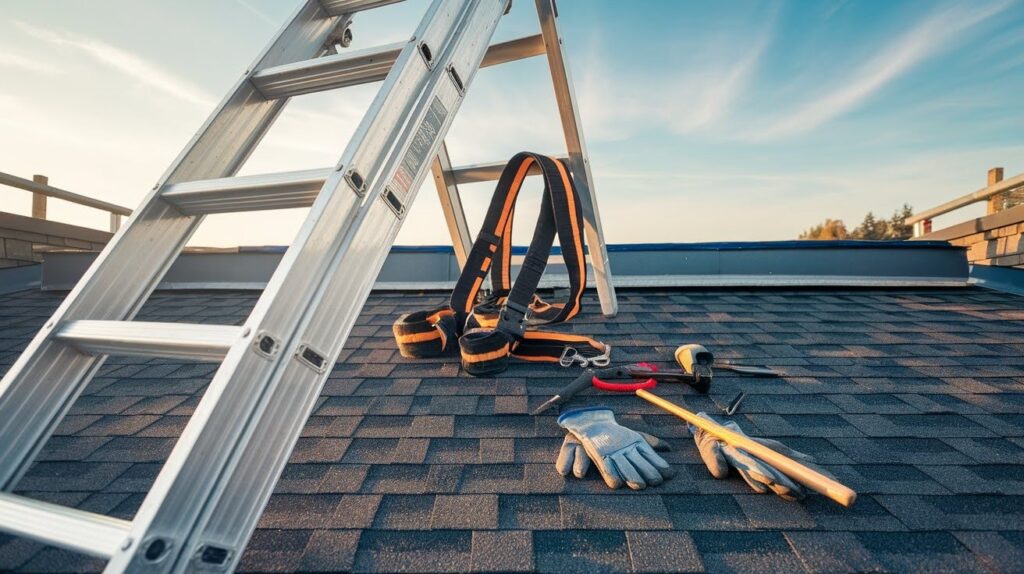
Safety comes first. Never work on your roof during wet or windy conditions. I always wait for clear, dry days.
Gather all necessary tools and safety equipment before starting.
Step 2: Identify The Leak Source
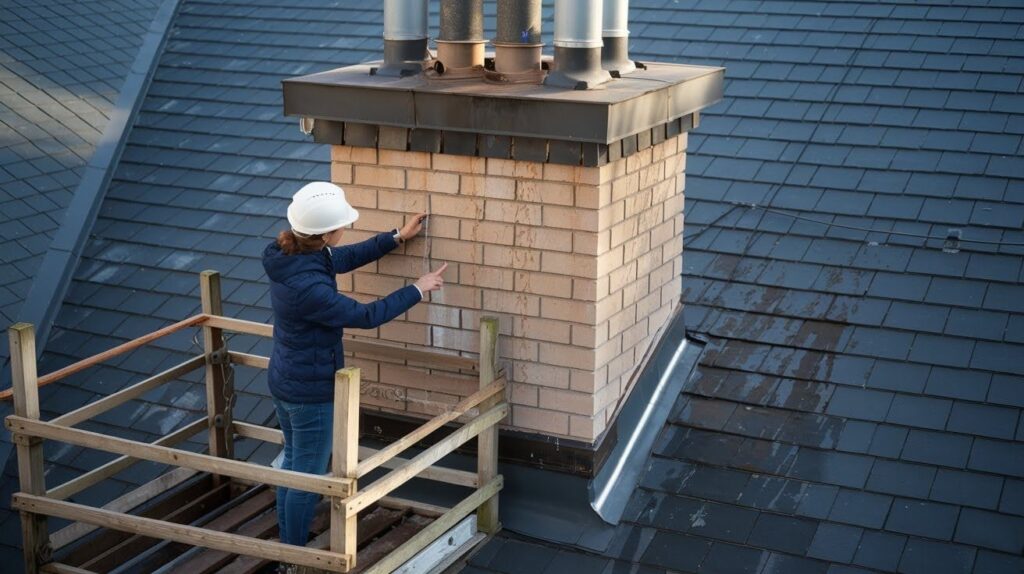
Start by finding the exact source of your leak. Water travels in weird ways inside walls. The wet spot you see might be far from where water actually enters.
Take time to trace water paths carefully.
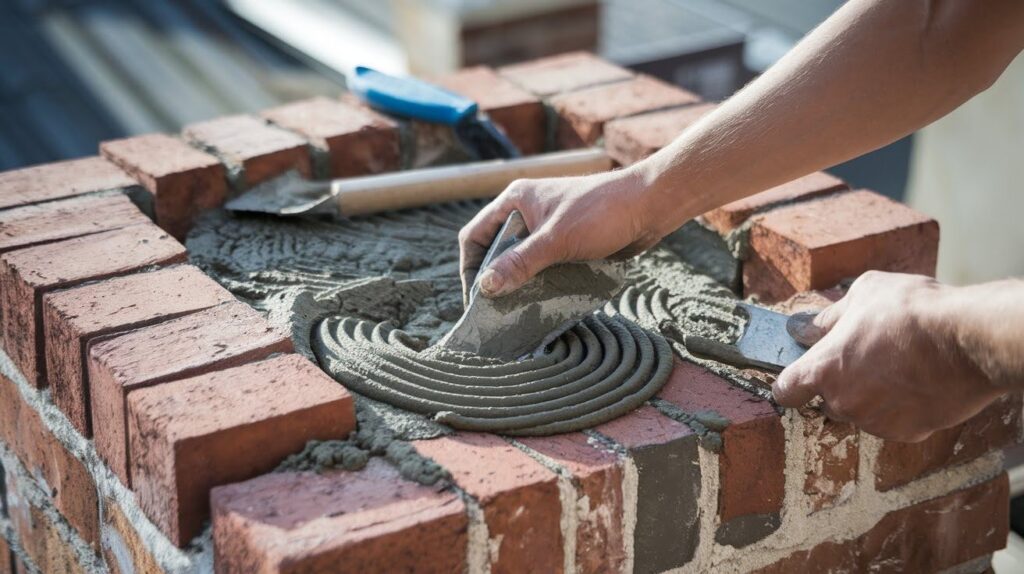
Step 3:Inspect And Replace Chimney Cap
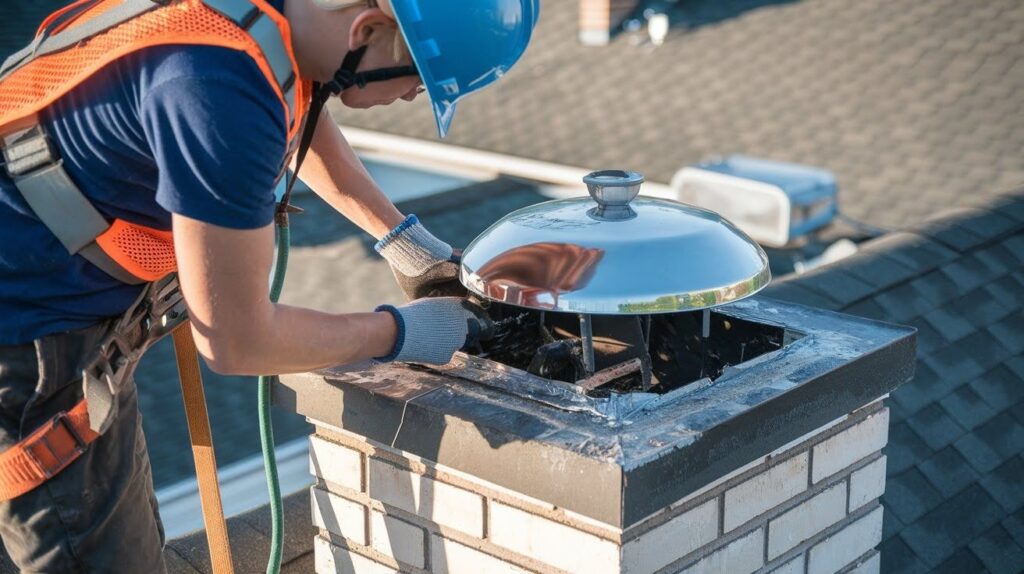
Check your chimney cap first. It’s the easiest fix if that’s your problem. Remove the old cap completely and clean the crown surface.
Install a new stainless steel cap with a tight seal.
Step 4: Examine And Repair Flashing
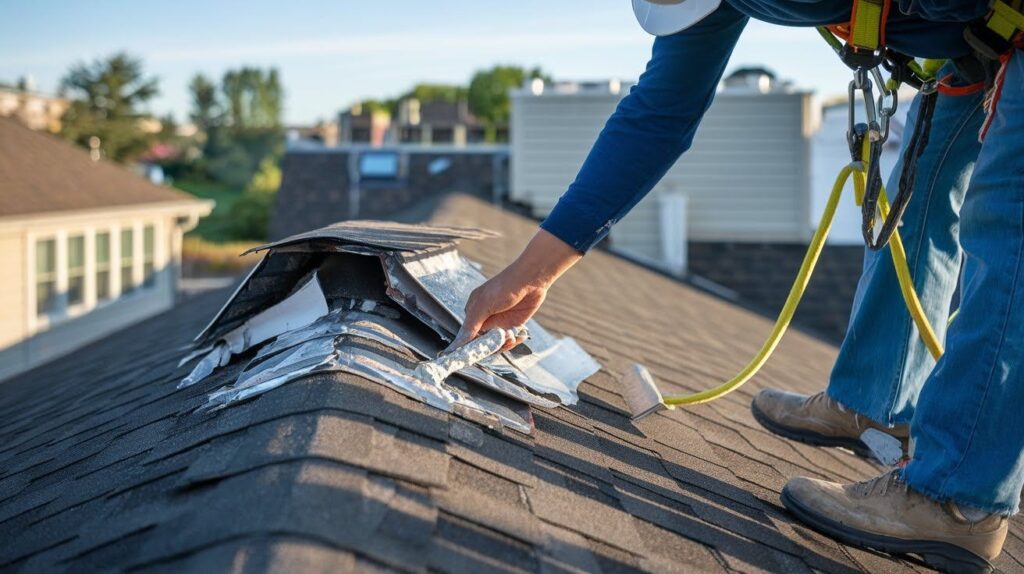
Examine the flashing carefully. Look for rust, holes, or loose sections. Pull back any roofing material around the chimney base.
Clean out all old caulk and debris. Apply high quality roofing cement to seal gaps.
Step 5: Fix Crown Cracks
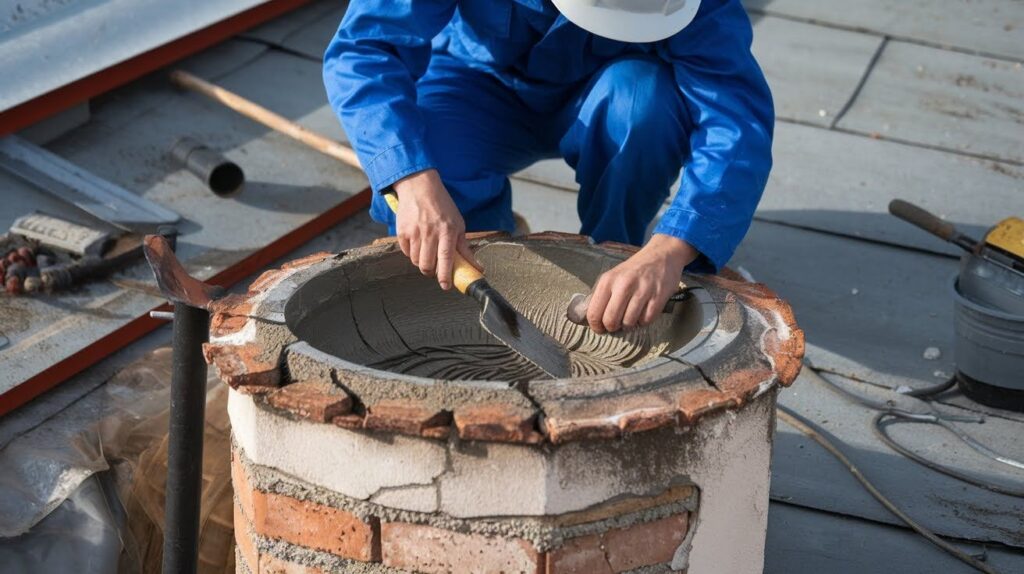
For crown cracks, clean out loose concrete first. Small cracks need flexible sealant. Large cracks might require a complete crown replacement.
Step 6: Test Your Repairs
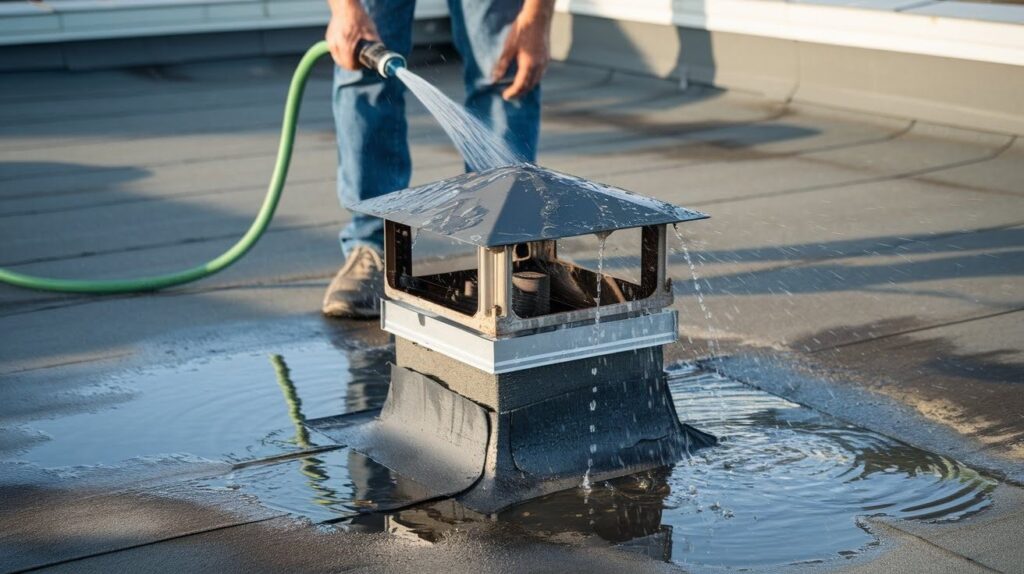
Test your repair with a garden hose before calling it done. Spray water on each area you fixed.
Wait and watch for leaks inside.
Step 7: Repair Mortar Joints
Mortar repair takes patience. Chip out damaged mortar between bricks. Mix new mortar to match the original color.
Pack it tight and smooth the joints.
Step 8: Document Your Work
Document everything you do with photos. This helps if you need professional help later or want to check your work next year.
The whole process usually takes a full weekend if you’re doing it yourself.
Signs That Require Immediate Chimney Leak Repair
These warning signs mean you need to act fast before small problems become expensive disasters.
Water Stains On Ceiling Or Walls Near Chimney
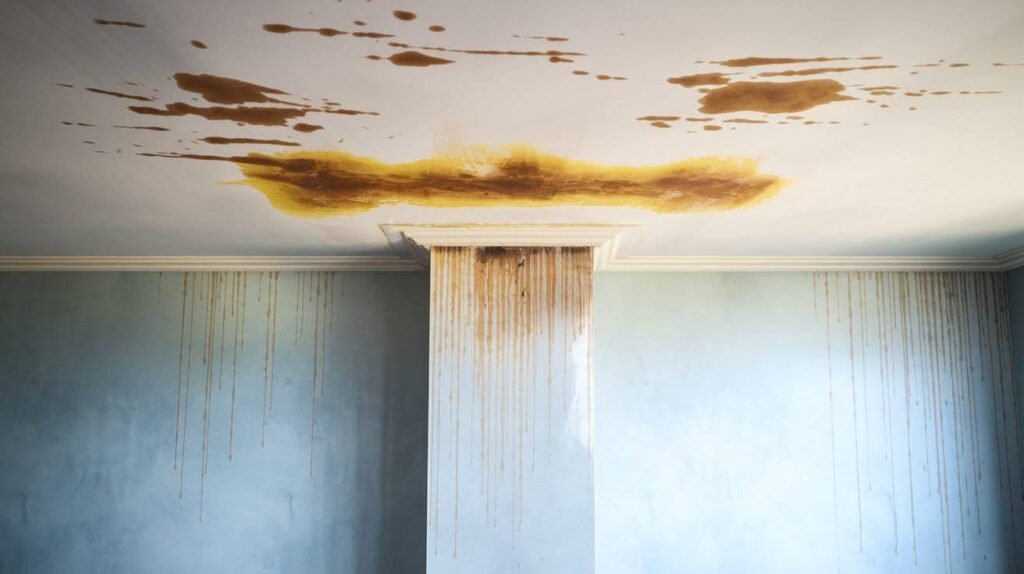
Brown or yellow patches around your chimney area are red flags. I see homeowners ignore these thinking they’ll dry up and disappear.
They won’t. Those stains will keep growing every time it rains. The water behind your walls is doing damage you can’t see yet.
Musty Odor Or Mold Growth
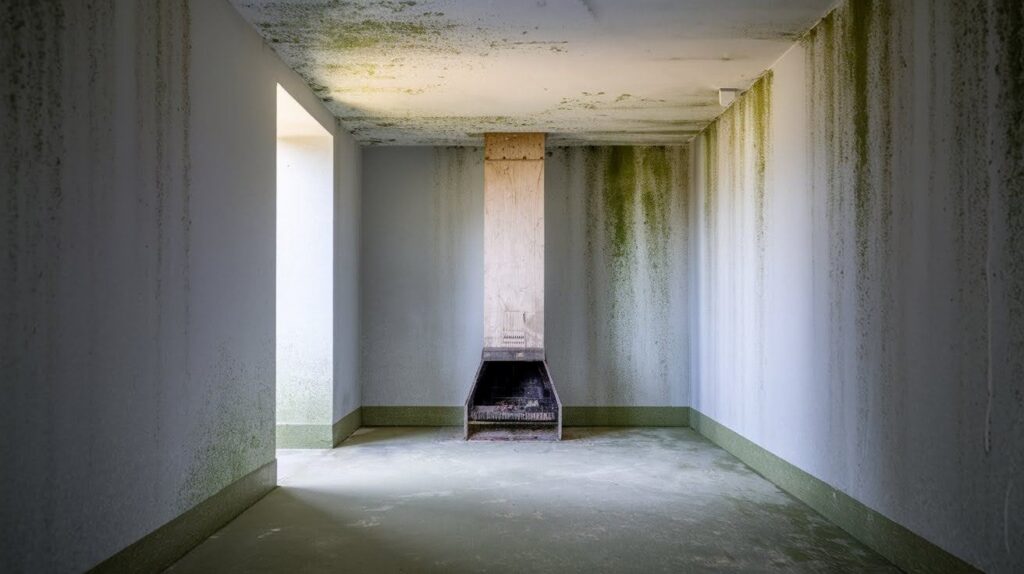
That basement smell coming from your fireplace? It’s not normal. Healthy chimneys don’t smell like old socks.
Mold loves moisture and dark spaces. Your chimney provides both when it’s leaking. I’ve seen mold spread from chimneys into living spaces faster than most people realize.
Rust Inside Fireplace Or On Damper
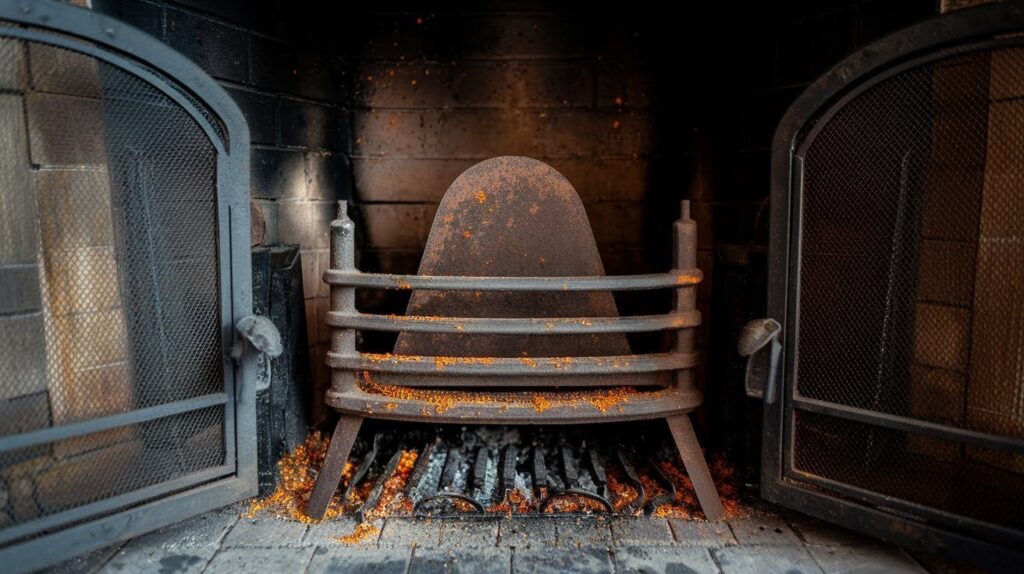
Metal parts shouldn’t rust in a properly working chimney. When I see orange flakes on dampers or fireplace screens, I know water is getting in.
Rust means ongoing moisture problems. Your damper might stop closing properly once rust builds up. Then you’re losing heated air up the chimney all winter.
Deteriorating Bricks Or Mortar
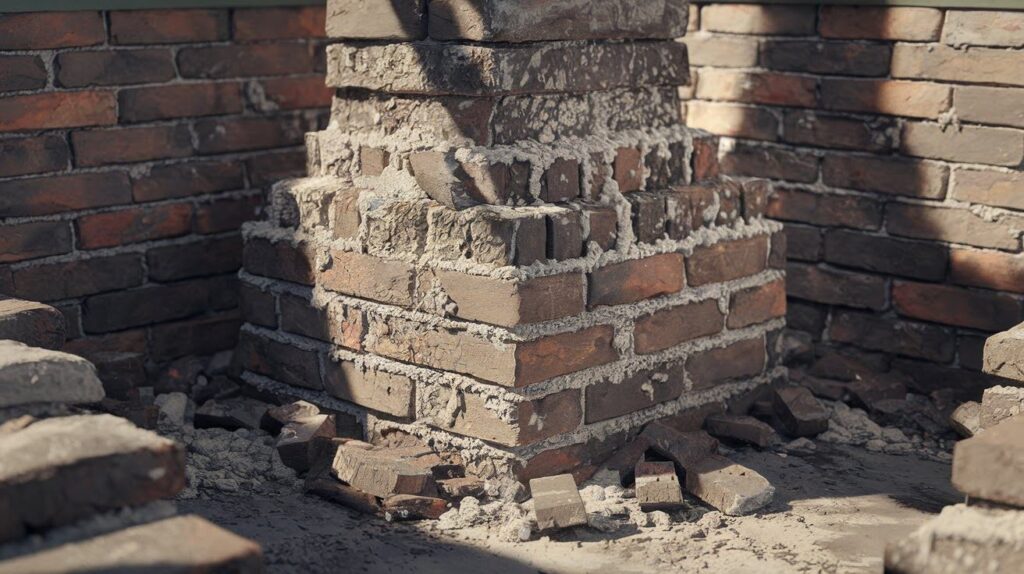
Crumbling mortar between bricks is a clear sign. You might find pieces of mortar in your fireplace after storms.
White chalky residue on brick faces means water is pulling salts out of the masonry. This process weakens your entire chimney structure over time.
Dripping Water Sounds During Rain
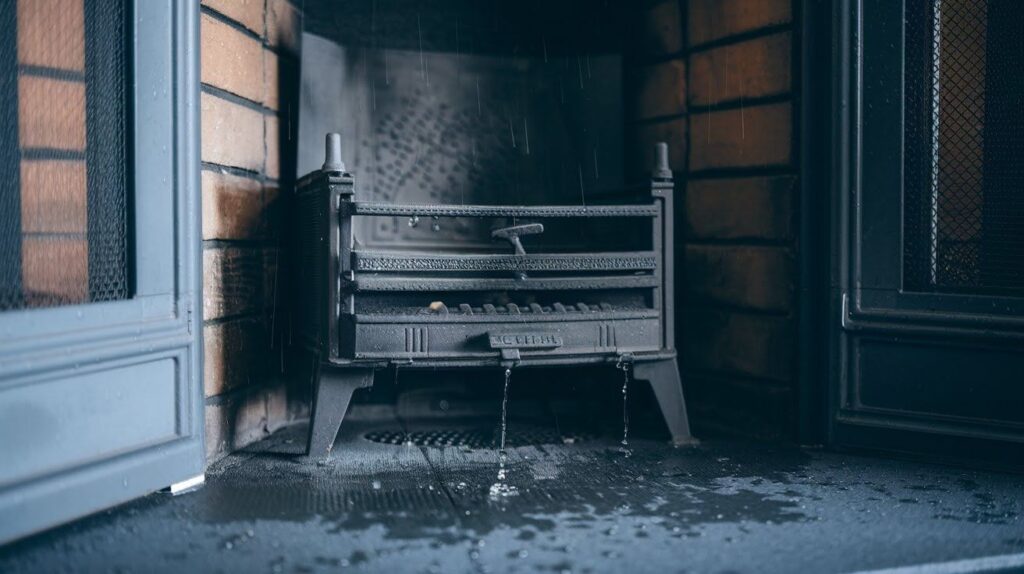
Hearing water drip inside your fireplace when it rains outside? That’s not condensation.
The sound usually means water is hitting metal parts like your damper or firebox. By the time you hear dripping, significant damage might already be happening above.
The Cost Of Chimney Leak Repair
Understanding what drives repair costs helps you budget properly and avoid surprise bills.
Factors That Affect Chimney Leak Repair Cost
Location & Access: Ground-level work costs less than three-story repairs. Difficult roof access requiring special equipment increases quotes.
Damage Extent: Simple cap replacements run $150-$300. Full rebuilds can hit $10,000+.
Materials: Basic aluminum flashing costs less upfront, but copper lasts decades longer.
Labor & Timing: Quick cap installations take hours. Repointing mortar takes days of careful work.
External Factors:
- Weather delays add costs
- Spring/fall demand increases prices
- Winter emergency repairs cost most
- Local permits and inspections add fees
Hidden Issues: What appears as simple flashing repair may reveal rotted decking underneath. Older chimneys typically need multiple simultaneous fixes, while modern ones have simpler problems.
Always budget for potential additional costs beyond the initial estimate.
How To Prevent Future Chimney Leaks With Regular Chimney Leak Repair
Smart prevention saves you thousands compared to emergency repairs down the road.
Annual Chimney Inspections And Maintenance
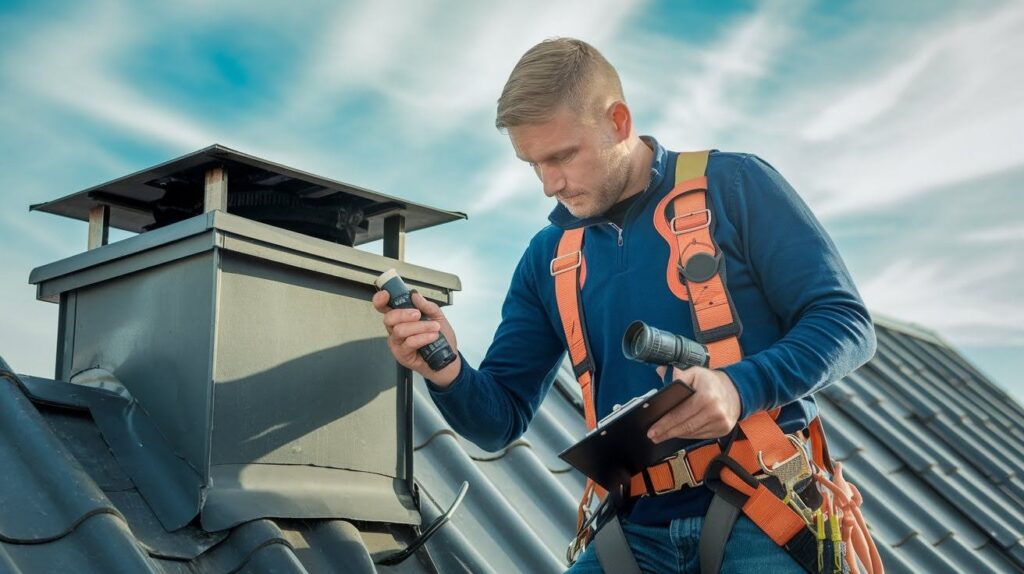
Schedule your inspection every fall before heating season starts. I catch most problems during these routine visits when they’re still cheap to fix.
Don’t wait for problems to appear. Small issues become big expenses when ignored for years. A $200 inspection beats a $5,000 repair bill.
Waterproofing Treatments For Masonry
Apply waterproof sealant every 3-5 years depending on your climate. Think of it like sunscreen for your chimney.
The right product lets moisture escape while keeping rain out. Cheap sealants trap moisture inside your chimney and cause more damage. I only recommend breathable masonry sealers.
Keeping Chimney Cap And Flashing In Good Condition
Check your chimney cap twice a year. Look for rust, dents, or loose mounting hardware. Replace caps before they fail completely.
Flashing needs attention too. Caulk dries out and cracks over time. Fresh caulk every few years prevents major water damage.
Cleaning Gutters And Roof To Avoid Water Pooling
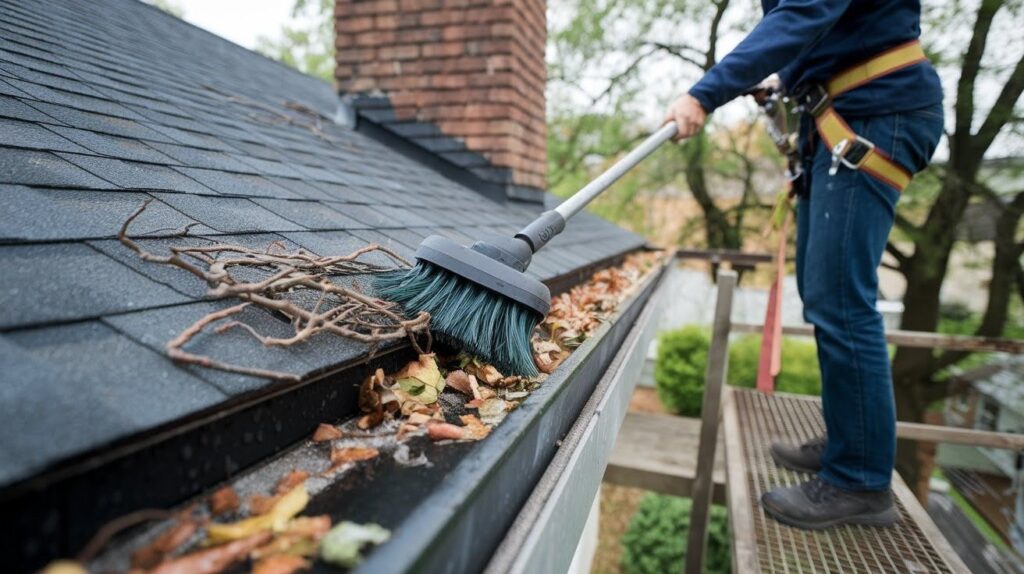
Clogged gutters create ice dams that force water into your chimney area. I see this problem every winter in cold climates.
Keep roof areas around your chimney clear of debris. Leaves and branches trap moisture against your flashing and masonry.
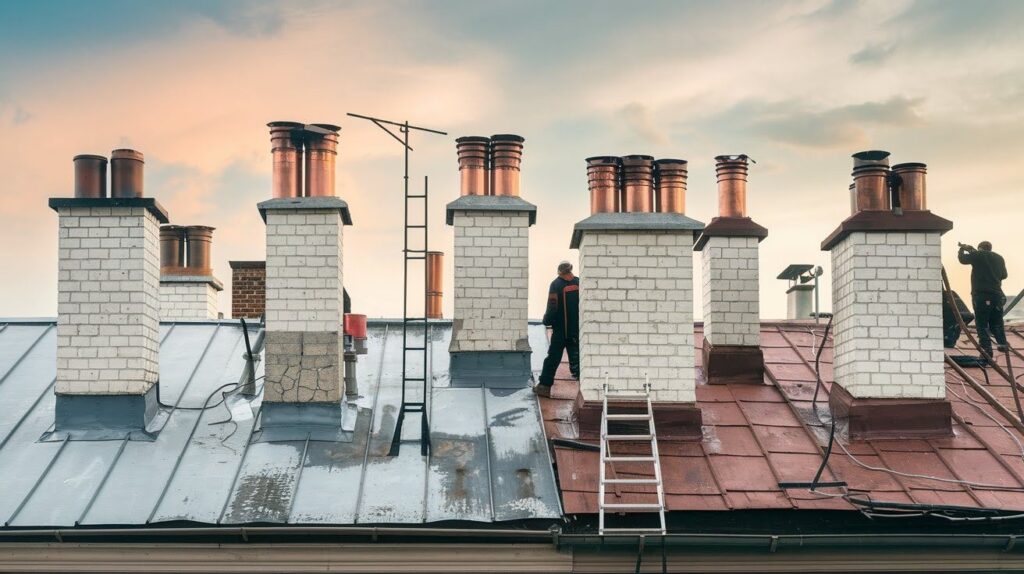
Professional Checkups After Severe Weather
Call for inspection after major storms. High winds can damage caps and flashing in ways you can’t see from the ground.
Hail especially beats up metal components. What looks fine from below might have dozens of small dents that let water through.
I offer storm damage assessments within 48 hours of severe weather. Insurance often covers storm repairs if you document damage quickly.
Don’t climb on your roof yourself after storms. Wet or damaged roofing materials are extremely dangerous.
Tips For Fixes And Solutions For Chimney Leak Repair
- Start with safety first – Never work on wet or windy days, and always use proper ladder safety when checking your chimney
- Find the real source – Water stains inside don’t always match where water enters, so check the entire chimney system thoroughly
- Replace chimney caps immediately – A missing or damaged cap is like leaving your door open during a storm
- Test repairs with water – Use a garden hose to spray each fixed area and wait inside to check for leaks before considering the job done
- Schedule fall inspections annually – Catch small problems before they become expensive winter emergencies
Conclusion
Chimney leaks stem from five main causes: cracked crowns, damaged caps, worn flashing, porous masonry, and condensation buildup. Each problem has specific fixes, from simple cap replacements to complete flashing overhauls.
Acting quickly saves money. Small leaks become major structural damage when ignored. Water stains, musty odors, rust, and deteriorating bricks all signal immediate repair needs.
Regular maintenance is your best investment. Annual inspections, waterproof treatments, and storm damage checkups prevent most serious problems. Clean gutters and properly maintained flashing protect your home year round.
Remember, fixing chimney leaks isn’t just about stopping water. It’s about protecting your family’s health, your home’s value, and avoiding thousands in future repair costs. Don’t wait until next season to address these issues.
Frequently Asked Questions
How Much Does Chimney Leak Repair Typically Cost?
Basic repairs like cap replacement cost $150 to $300, while flashing work ranges from $500 to $1,200. Complex issues requiring structural work can reach $5,000 to $10,000 depending on damage extent.
Can I Fix A Chimney Leak Myself?
Simple tasks like replacing a chimney cap or applying caulk are DIY friendly for handy homeowners. However, flashing repairs and structural work require professional expertise due to safety risks and building code requirements.
How Do I Know If My Chimney Leak Is Serious?
Water stains on walls, musty odors, visible rust on metal parts, or crumbling mortar indicate serious problems. If you hear dripping sounds during rain or see mold growth, call a professional immediately.
When Is The Best Time To Repair Chimney Leaks?
Spring and early fall offer ideal weather conditions for chimney repairs. Avoid winter emergency repairs when possible, as they cost significantly more due to weather challenges and high demand.
How Often Should I Inspect My Chimney For Leaks?
Schedule professional inspections annually, preferably in fall before heating season begins. Additionally, check your chimney after severe storms or heavy weather that might cause damage to caps or flashing.